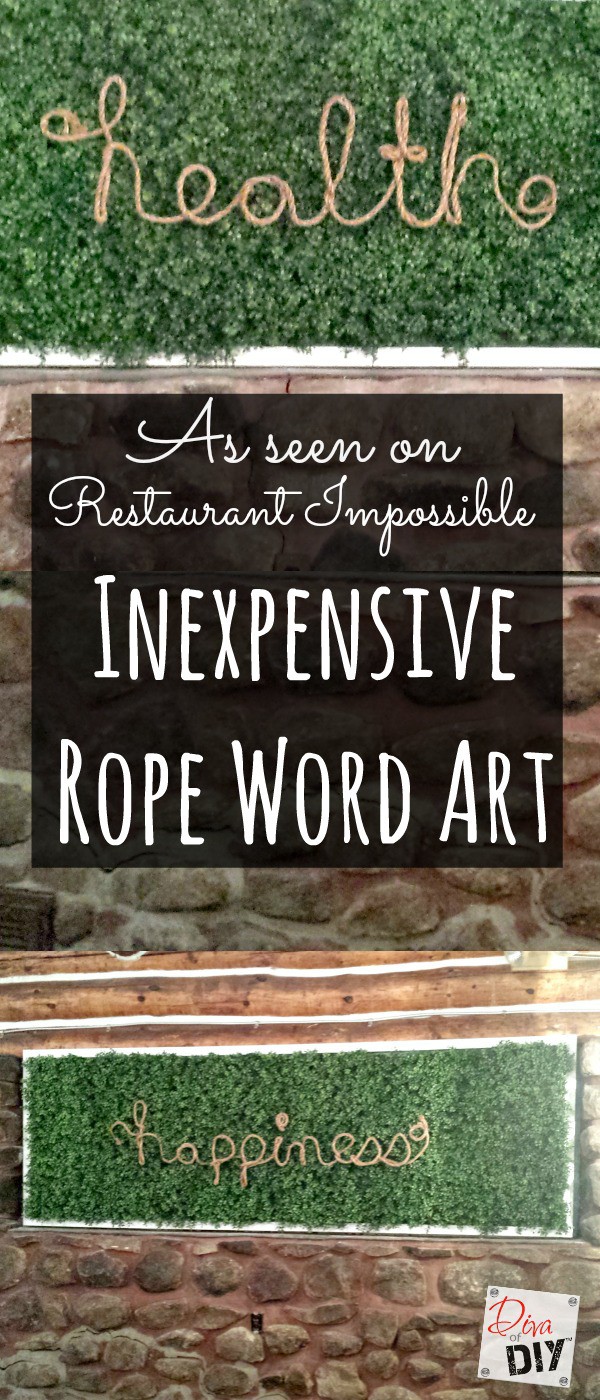
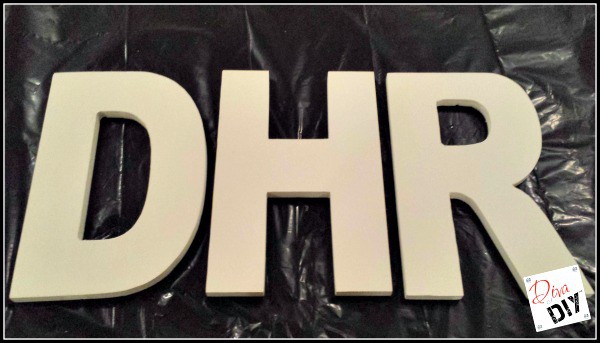
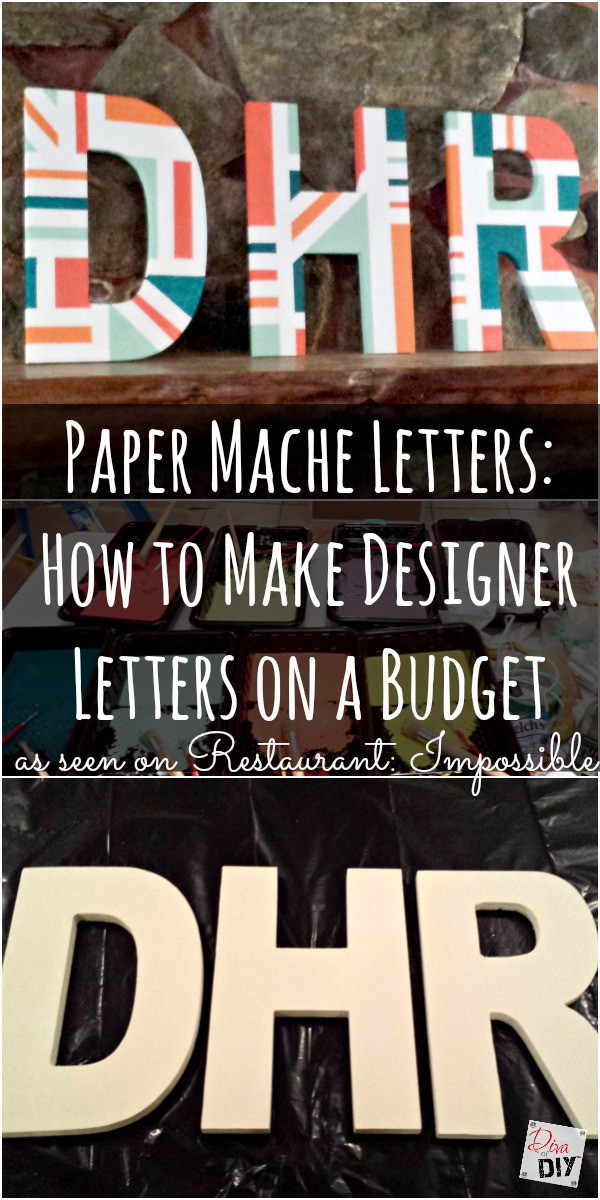
While on the set of Restaurant: Impossible, the designer Cheryl gave me this set of 3 paper mache letters and said “Do what you do best, make them pop”. I took the challenge and went to work. The result were eye-catching DIY letters that made quite a statement at the Double H Ranch.
 When you only have 36 hours and a very limited budget all projects must be quick and inexpensive. Tape is an inexpensive way to create patterns to walls, furniture and home accessories such as these DIY letters.
Paper Mache Letters Supplies:

- Latex paints in assorted colors (I used the same paint colors I used on the Herringbone Stenciled project)
- Paint trays or plastic bowls to hold paint
Paper Mache Letter Instructions:
1) Using the 1″ & 1.5″ tape, create a pattern on the paper mache letters. I taped them off using the same method I used for the Painted Oars Project
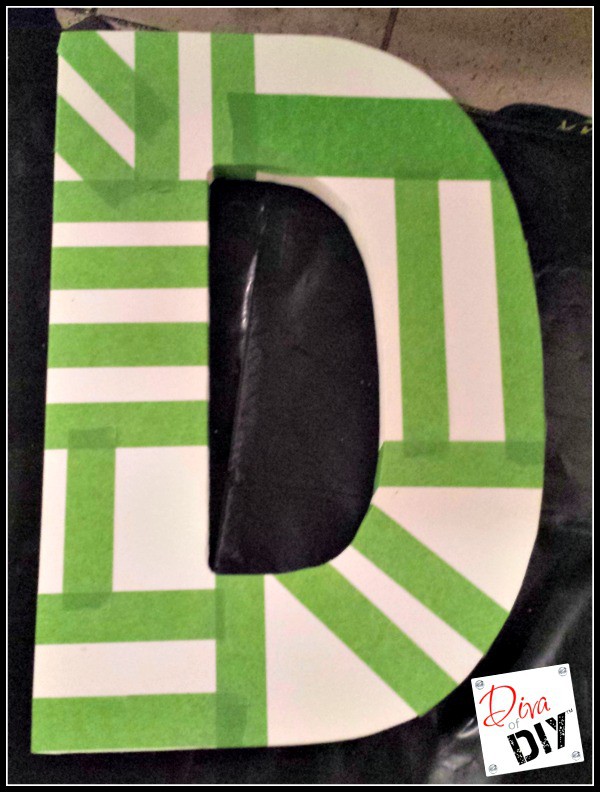
2) Burnish the tape with a credit card or edge of a paint stick to keep the paint from seeping underneath the tape.
3) Paint each of the letters with the latex paint colors. You may need 2 coats for some of the colors. Let dry.
4) Carefully pull the tape off the letters.
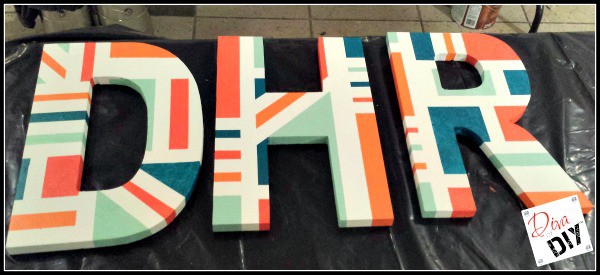
It is that easy! The geometric look of these letters really make them stick out. The greatest thing is you can personalize these however you would like. You can make any straight pattern and use any color of paint that works for your decor.
Be sure to check out all the projects that we covered at the Restaurant Impossible Holiday Special at the Double H Ranch.
Each and everyone of you inspire me and I LOVE to see the work that you’ve created. Feel free to share with me on Instagram, Twitter or Facebook. And as always, be sure to follow Diva Of DIY on Pinterest and sign up for our FREE Newsletter to receive the latest projects delivered straight to your inbox!
If you enjoyed this project, check out these: