There are so many DIY projects we created for our Lake House Fixer Upper. When doing a complete remodel or building a new home, budget issues always arise. Obviously, the decor budget takes a back seat to the structural budget, and as you know from my previous posts, fixing the bones of this house took 75% of our building allowance. That’s just how it goes! So when selecting outdoor accessory projects for the home, staying within a tight budget was the #1 concern. I started by making our patio furniture. This basic 2 x 4 plan needed a punch of color… and these beautiful DIY outdoor throw pillows were the perfect touch!
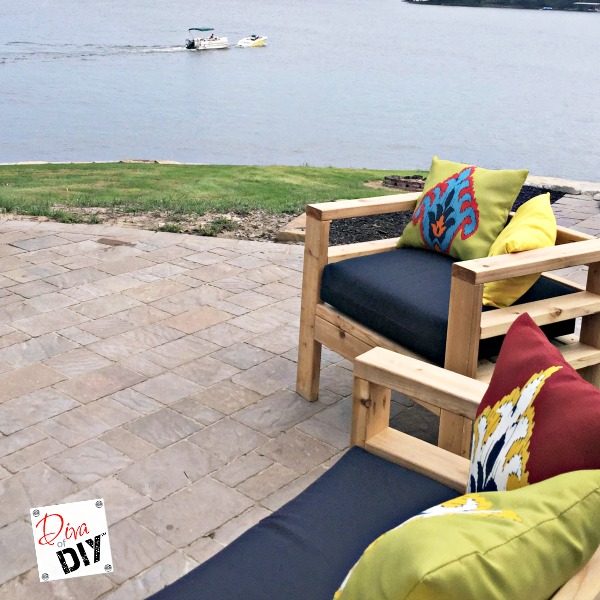
I am obsessed with our lake house view so when I made my furniture I wanted to keep the backs low. Nothing was going to obstruct that view! I found some great outdoor navy cushions for the seats on clearance and planned to use throw pillows for the backs. The pillows were also a great way to add some color to the outdoor decor. Here is how I took plain pillows and turned them into decorative outdoor throw pillows!
This post contains affiliate links. If you buy something from clicking one of my links, I will get a commission from the sale. It will not cost you a penny more and allows me to keep sharing my ideas with you for free. You can see my full disclosure here. Thank you for supporting my blog!
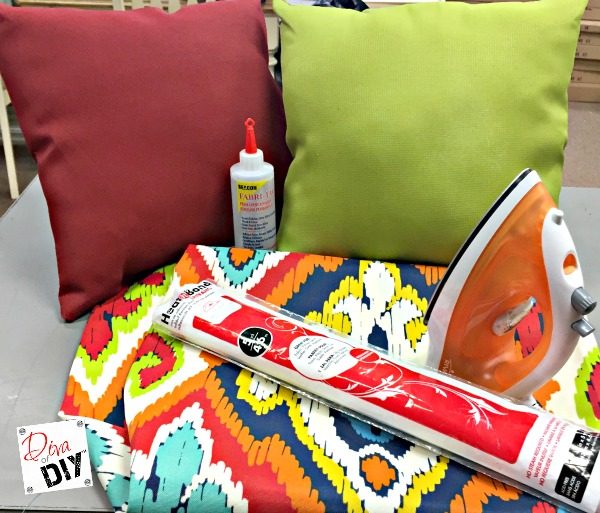
Supplies for Outdoor Throw Pillows:
- Plain Outdoor Throw Pillows (You could also buy pillow covers
like these and stuff them and zip them up)
- Coordinating Fabric
- Heat-n-Bond Iron on Adhesive
(make sure it is the Ultra-Hold like this)
- Fabric Glue
- Iron
- Scissors
- Seam Ripper
- Stick Pins
Instructions for Outdoor Throw Pillows:
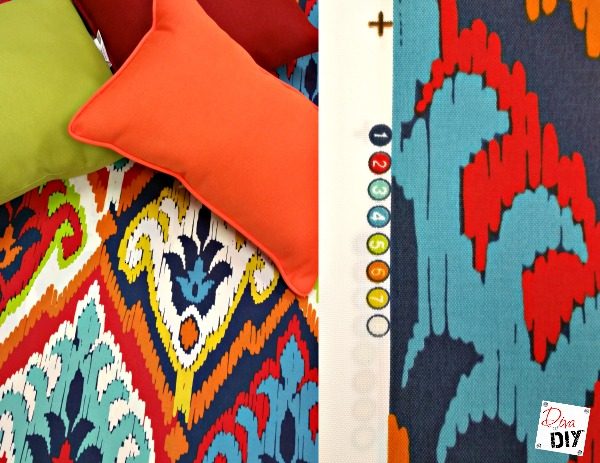
Step 1) Start by buying coordinating pillows and fabric. A large pattern fabric works best.
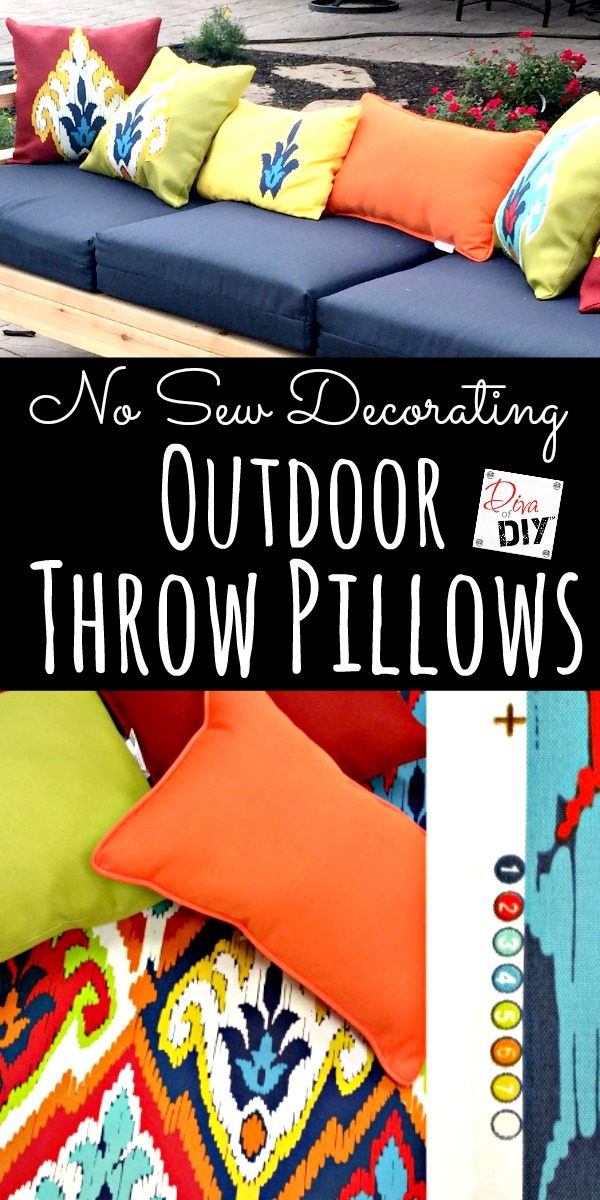
Diva Tip: Did you know the little circles in the margins of the fabric show the colors used in the fabric? Most people have seen them but never thought about what they were for. Well now you know! It makes it quick and easy to buy coordinating pillows!
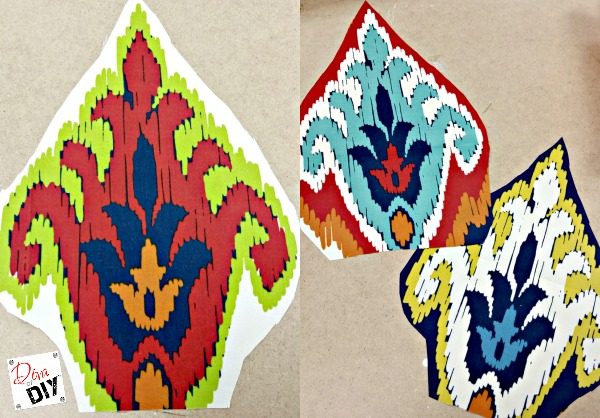
Step 2) Select the pattern on your fabric you are going to use.
Step 3) Roughly cut out the pattern leaving a small margin around the pattern.
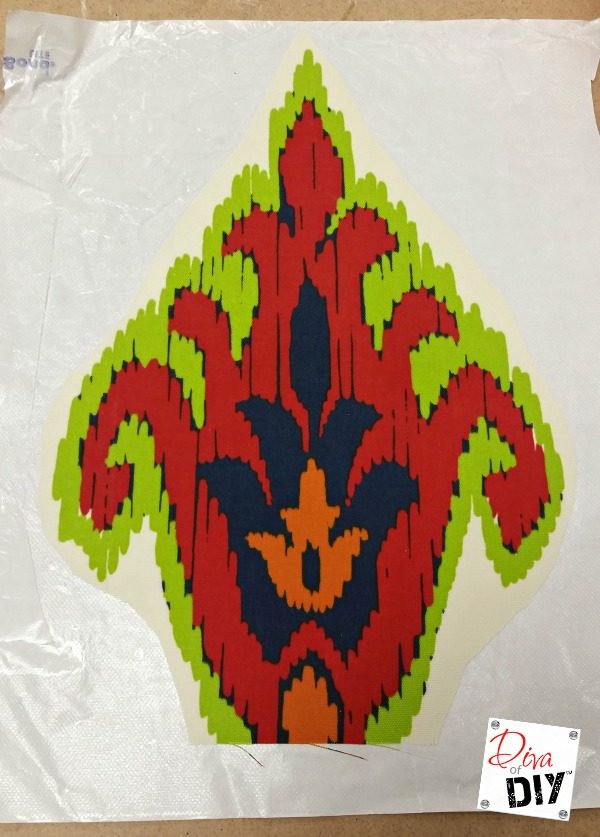
Step 4) Lay the backside of fabric to the adhesive side of the Heat-n-Bond.
Step 5) Using an iron set to the setting of the type of fabric you are using, iron the two pieces together per instructions on the package.
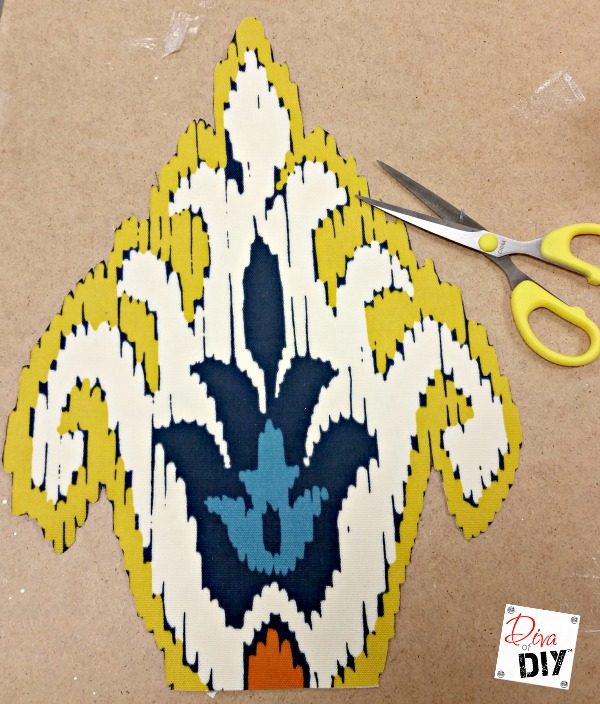
Step 6) Cut around the design you want to be displayed on your pillow.
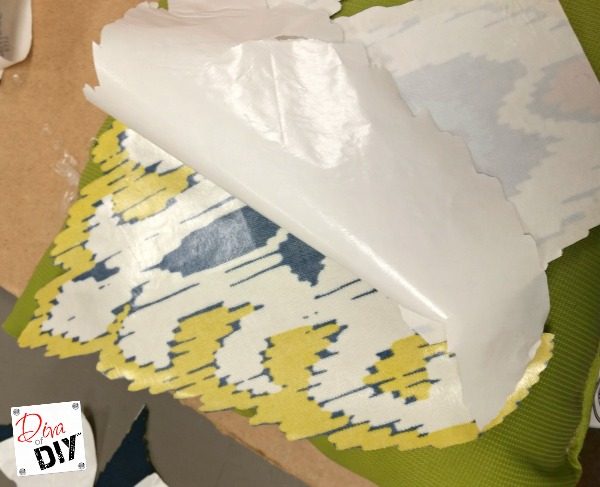
Step 7) Pull the paper backing off the back of the fabric. The adhesive will show up shiny on the back.
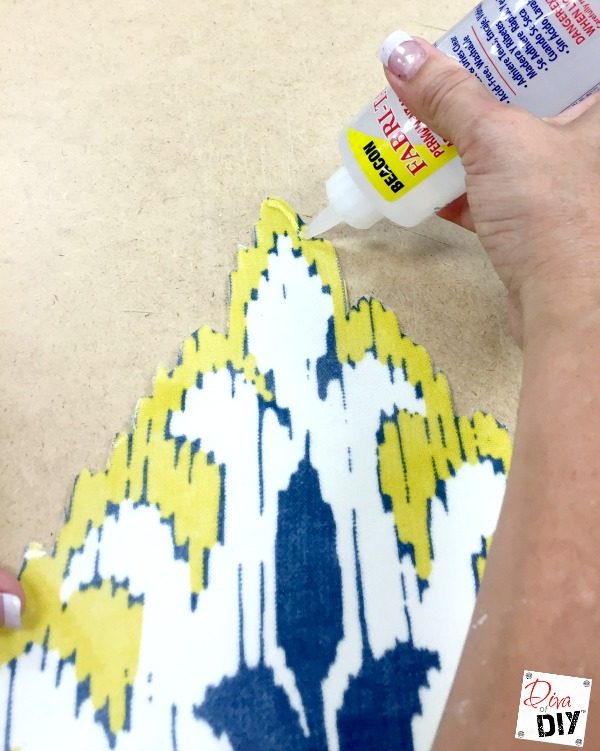
Step 8) For added bonding add fabric glue to the edges of the backside of the pattern. This will be a thin layer so it does not ooze out of the edges.
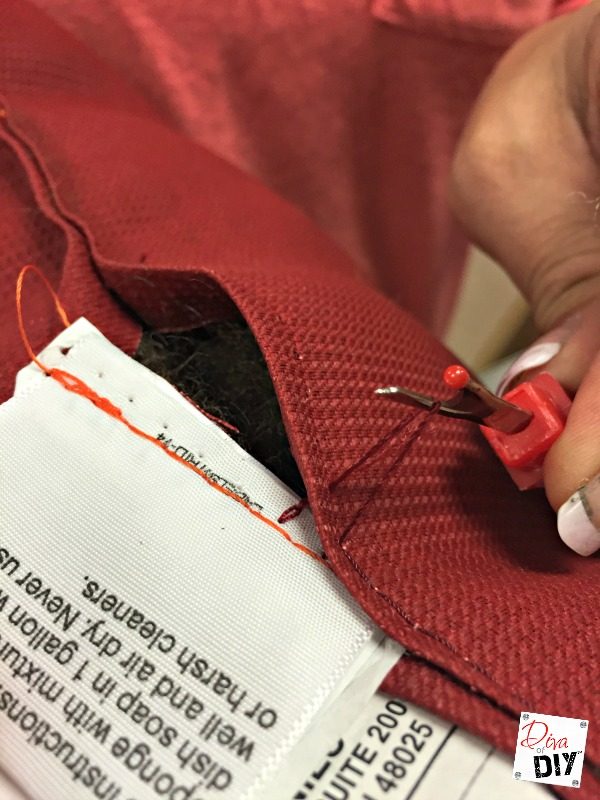
Step 8) Using a seam ripper, make a small opening in the middle of the pillow. I did mine where the label was so I could remove the label at the same time.
Step 9) Pull the stuffing out of the pillow.
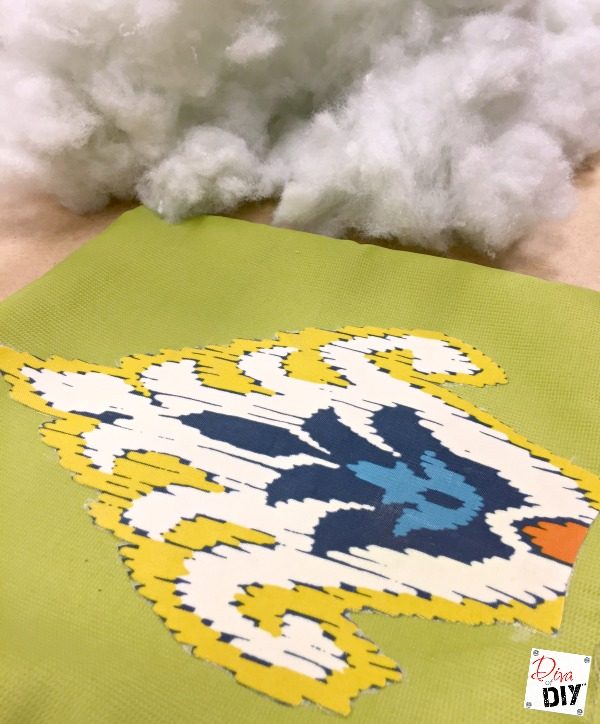
Step 10) Lay the pattern face up on the pillow. Tap the glue edges down, wiping off any oozing glue.
Step 11) Iron the pattern down to adhere the Heat-n-Bond per package instructions.
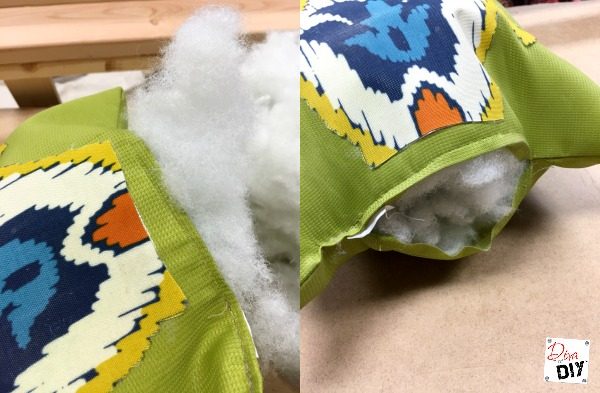
Step 12) Allow pillow to cool. It is best to let the glue dry as well, but if you are in a hurry you can start after a few minutes.
Diva Tip: Do not feel like you have to add all the stuffing back in. I felt mine were overstuffed when I began putting the stuffing back in.
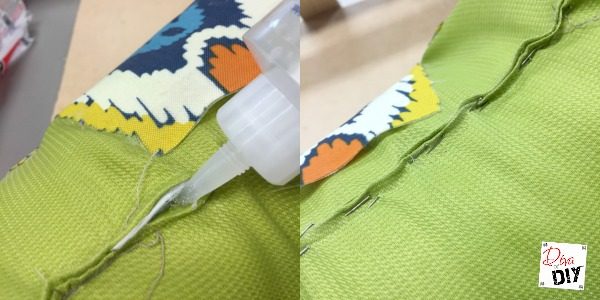
Step 13) Using fabric glue, glue the open seam together and secure with straight pins while drying.
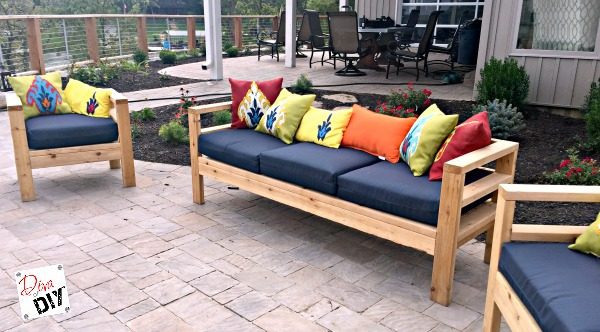
There you have it! I mixed and matched different colors of the patterns to the different pillows and cut a smaller part out to put on the rectangular yellow pillows. We tried out our new furniture over Labor Day weekend. Our family and friends raved about the comfort and pops of color. It was a huge success!
Each and everyone of you inspire me and I LOVE to see the work that you’ve created. Feel free to share with me on Instagram, Twitter or Facebook. And as always, be sure to follow Diva Of DIY on Pinterest and sign up for our FREE Newsletter to receive the latest projects delivered straight to your inbox!
If you like this project, check out these:


