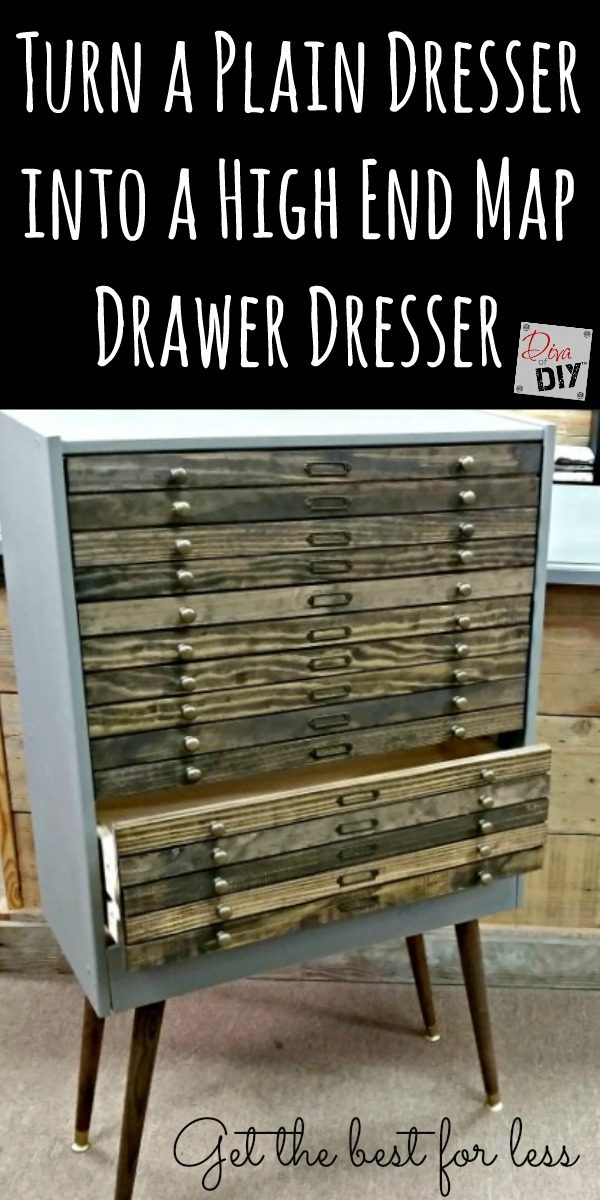
I have had so many wonderful comments on my custom IKEA Hack dresser I first shared on Hallmark’s Home and Family show.
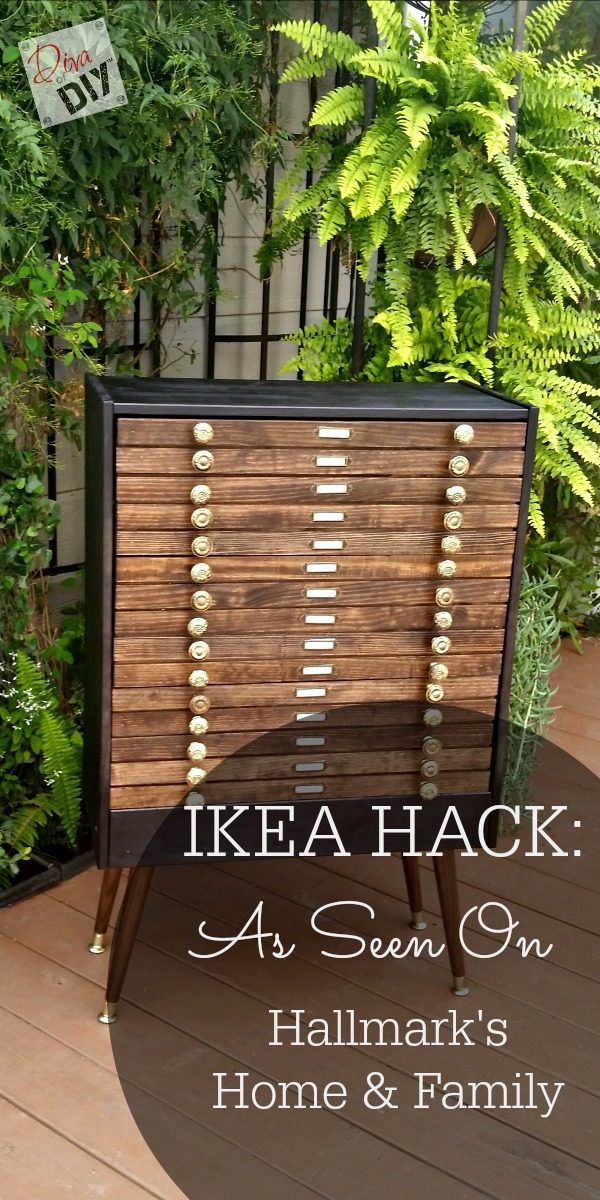 Don’t worry, this piece only looks expensive. You can have the look of high-end furniture without the heavy price tag. It is such an easy upcycled project and I can’t wait to share it with you.
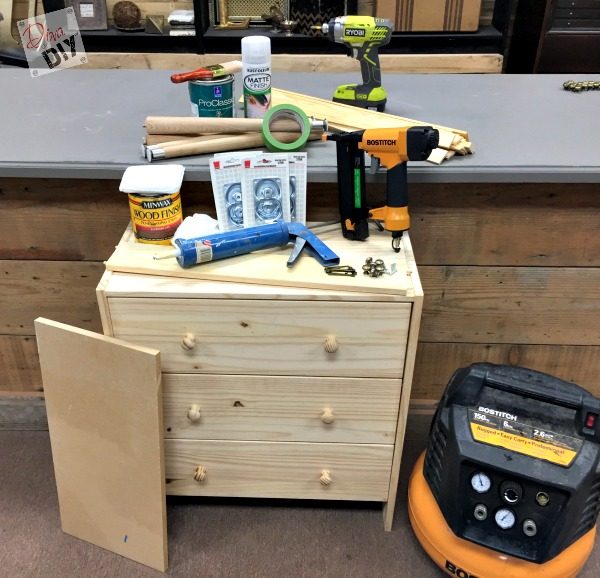
This IKEA Hack uses the Rast Unfinished 3-Drawer Dresser. This is the perfect dresser for someone who wants to customize a piece of furniture without building it from scratch. This dresser is very versatile. If you are looking for another Rast dresser hack, check out my bathroom furniture vanity!
I have provided affiliate links for your shopping convenience. If you buy something from clicking one of my links, I will get a commission from the sale. It will not cost you a penny more and allows me to keep sharing my ideas with you for free. You can see my full disclosure here. Thank you for supporting my blog!
Ikea Hack Dresser Supply List:
- IKEA Rast 3-drawer dresser
- Round Tapered Table Legs (These are the ones I used)
- 4 Leg Plates (These are the ones I used)
- 3 packs of 10 Brass Drawer Knobs (These are the ones I used and make all the difference in the finished piece).
- 1 pack of 20 Metal Label Holders (These are the ones I used)
- Piece of 3/4” Plywood measuring 11″ x 23 1/4″
- 15 lattice strips cut 23″ (you will need five 8′ lattice strips like these)
- 220-grit sandpaper
1 5” roll of painters tape
- 8 oz. Minwax Penetrating Stain in Espresso
(This is my favorite color)
- 1 Quart Sherwin Williams Pro-Classic Latex Enamel in Gauntlet Gray
- 1 Can Fast Drying Sealer in Satin
(This is one I love)
- Drop Cloth
- Drill and assorted drill bits
- 18-guage finish nailer
with 1/2″ finish nails
- Mitre Saw
- Circular Saw (may need this just in case my plywood measurement is off)
- Framing Square
Ikea Hack Dresser Instructions:
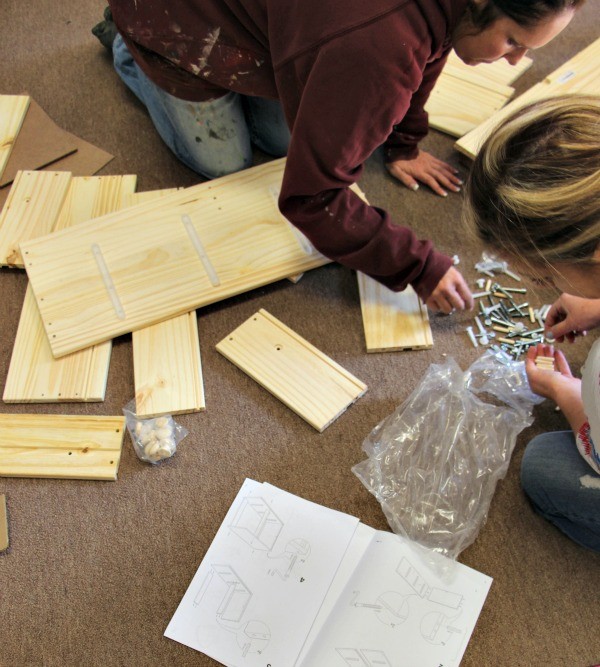
Step 1) Open the Ikea dresser box and lay out all of the pieces on a flat surface.
Step 2) Assemble the drawers according to manufacturer’s instructions. Set aside.
Step 3) Assemble the frame of the dresser according to manufacturer’s instructions except for the kick-plate. (Save this. We will add it on later.)
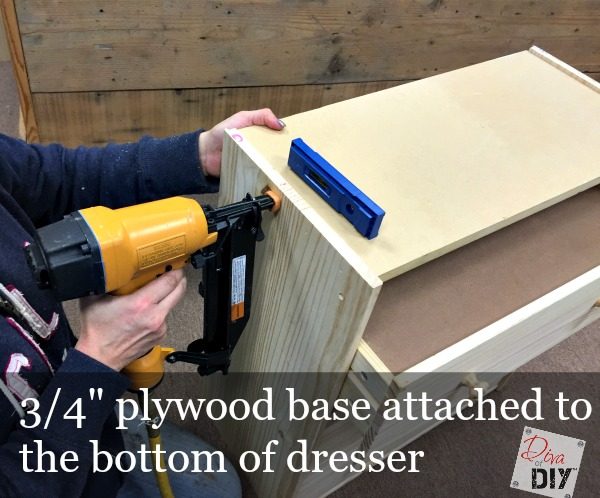
Step 4) Place dresser top-down on a flat surface. Attach the pre-cut ½” plywood to the bottom of the dresser. This piece should attach to the sides of the dresser frame just under the bottom drawer slides and recessed back far enough to accommodate the kick-plate
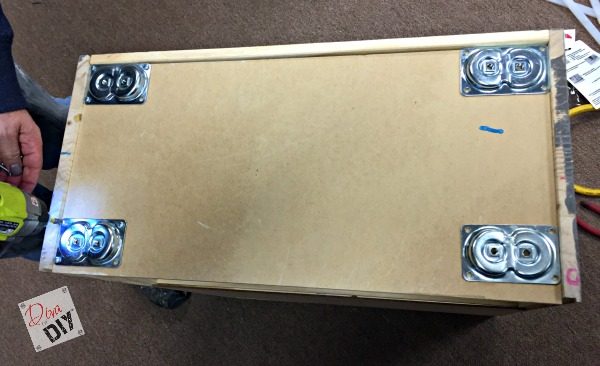
Step 5) Attach leg brackets to corners of plywood.
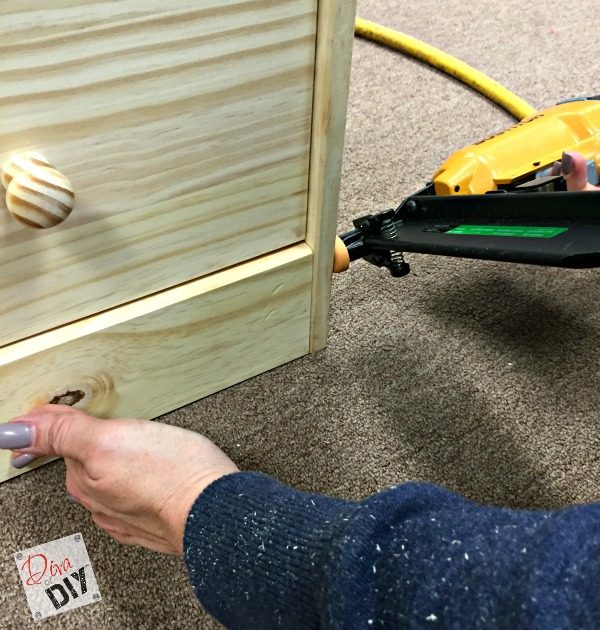
Step 6) Attach kick-plate to the front edge of the dresser to conceal leg brackets.
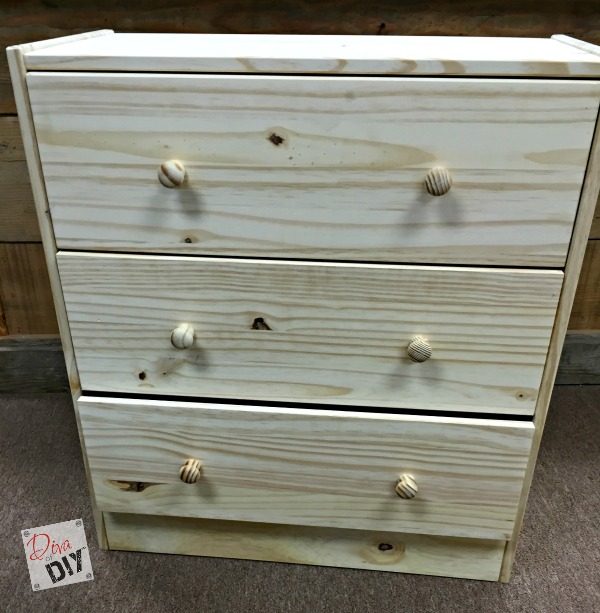
Step 7) Flip dresser frame back over.
Step 8) Using your 220-grit sandpaper, lightly scuff the dresser frame and the front of the drawers. Wipe clean.
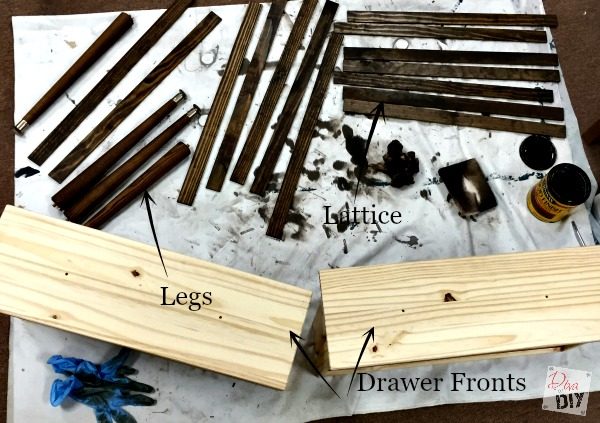
Step 9) Stain the drawer fronts, the lattice strips and the table legs. Let Dry.
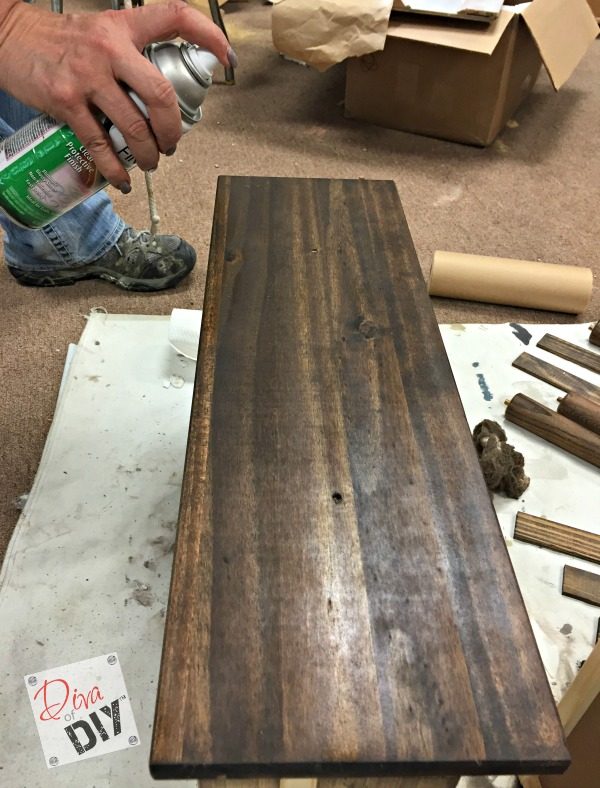
Step 10) Seal the table legs, the lattice strips and the drawer fronts with sealer. Let Dry.
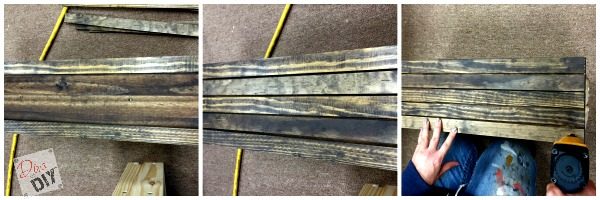
Step 11) Arrange lattice strips on drawer fronts. Attach with finish-nailer.
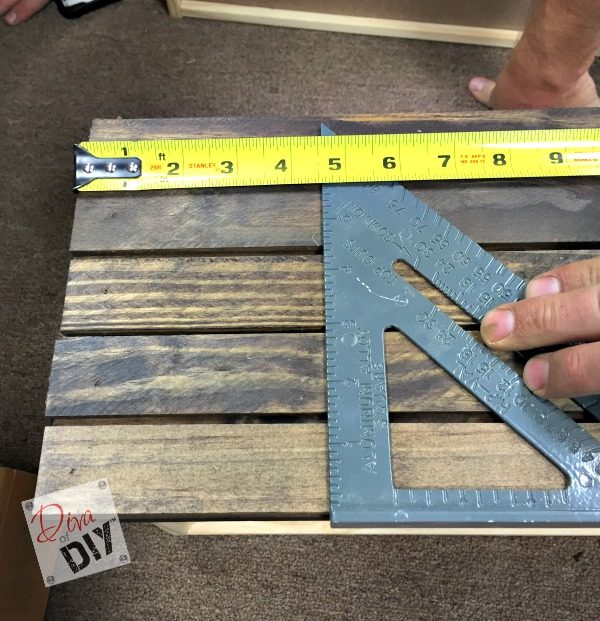
Step 12) Using a square, mark placement for knobs.
Step 13) Drill holes in lattice strips for drawer knobs. I am placing 2 knobs on each lattice strip.
Step 14) Attach knobs and metal label holders.
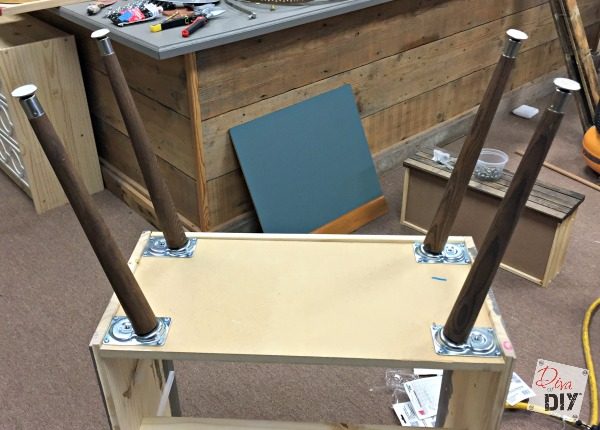
Step 15) Attach table legs.
Step 16) Flip dresser back over and insert drawers.
Craigslist Dresser Transformation:
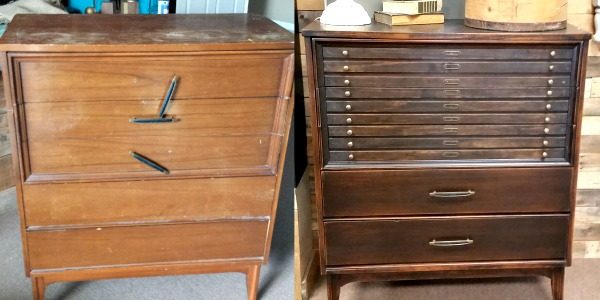
Do you already have an old dresser that can be upgraded into a map drawer dresser? When I saw this dresser listed on Craigslist I knew I had to have it! See how the top two drawers are recessed in? Can you believe that huge drawer on the top? Heaven! I transformed the top two drawers to look like map drawers and used the original handles on the bottom drawers. This beauty is going to be the inspiration piece for one of the lake house bedrooms! I want to give my dear hubby, affectionally know around here as “My LawnBoy” a shout out for picking up this dresser for me in a rather seedy part of town. He risked his life for me, but it worth it for this beauty!
Each and everyone of you inspire me and I LOVE to see the work that you’ve created. Feel free to share with me on Instagram, Twitter or Facebook. And as always, be sure to follow Diva Of DIY on Pinterest and sign up for our FREE Newsletter to receive the latest projects delivered straight to your inbox!
If you want to know more about my experiences on television, check those out here:


