Today I’m excited to share one of my favorite ways to add character to your home without having to spend a lot of money. All you need are a few building supplies and pallet wood. Can you guess what we’re making? Yep – we’re building a pallet wood wall.
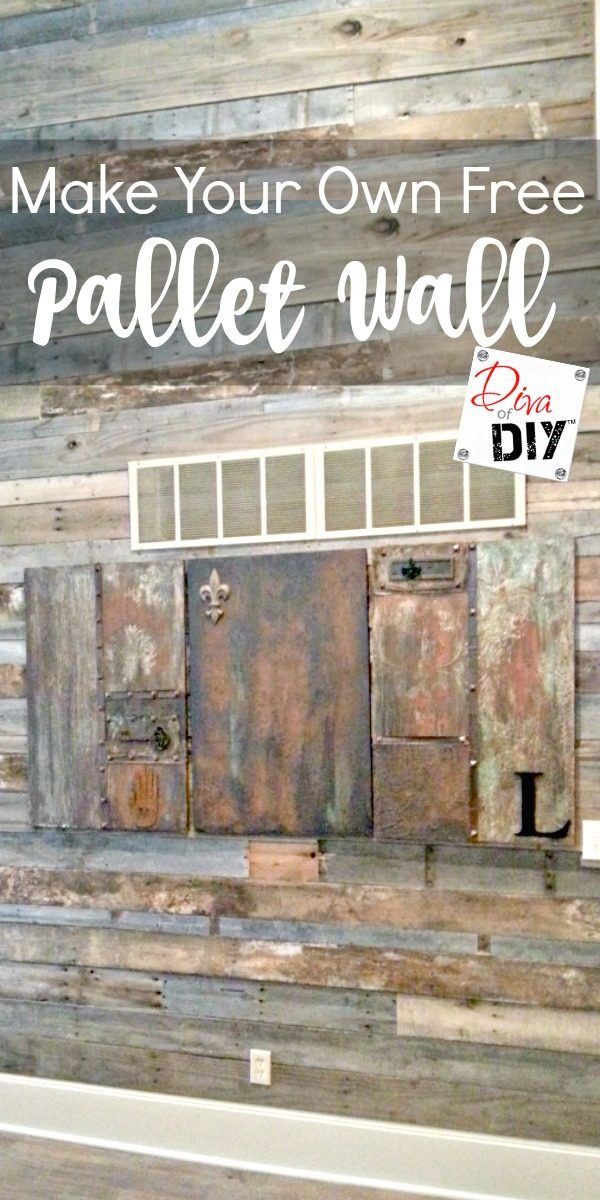
I love using pallet wood for DIY projects for a number of reasons but mostly because it’s an easy and inexpensive way to add color and texture to any space.
Want to know how to make a Pallet Wall?
Well, you’ve come to the right place because I’m going to show you how easy it is and howquickly it transforms something boring into something fabulous.
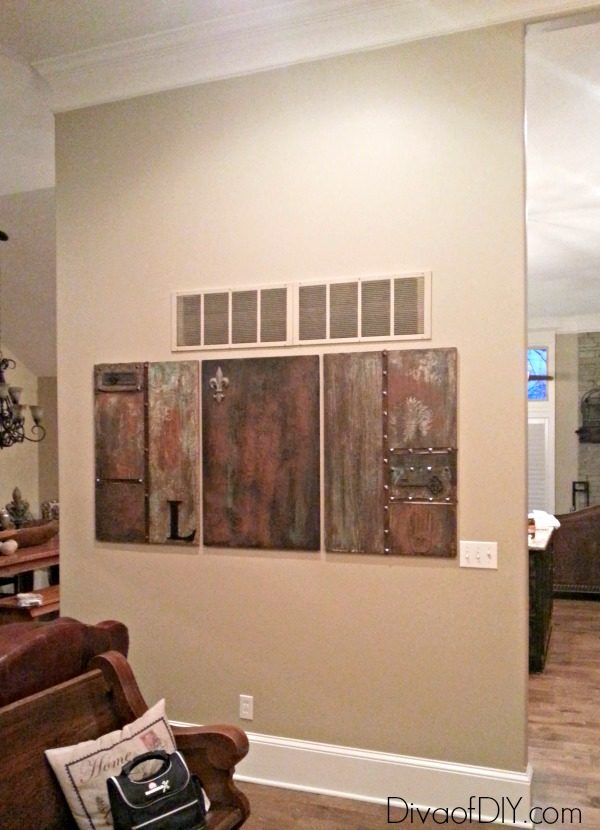
Let me start by showing you my wall before the pallet wood. This wall is 12′ tall and the first thing you see when you walk in my home. It seemed so cold and uninviting. For those of you who know me, you know I want you to feel like you are getting a hug when you walk in my home. I want it super comfortable and inviting.
I tried to fix the problem by adding some custom artwork pieces. I love them on the wall but even these three 24″x36″ pieces of art looked out of proportion on this massive wall.
I have provided affiliate links for your shopping convenience. If you buy something from clicking one of my links, I will get a commission from the sale. It will not cost you a penny more and allows me to keep sharing my ideas with you for free. You can see my full disclosure here. Thank you for supporting my blog!
Pallet Wall Supplies:
- Pallet wood
- Nail Gun
- Brad Nails
- Mitre Saw
- Tape Measure
- Level
Total wood cost for this project: FREE
Pallet Wall Instructions:
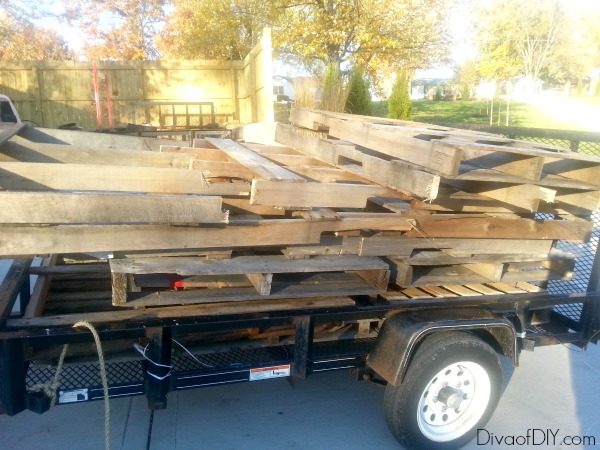
Step 1) Accumulate enough pallet wood to cover your wall. Depending on the size of your wall, this may seem like a daunting task but they are easy to get.
Diva Tip: I was able to get long pallets from a local hot tub company. Having longer pallets will help break up the wall.
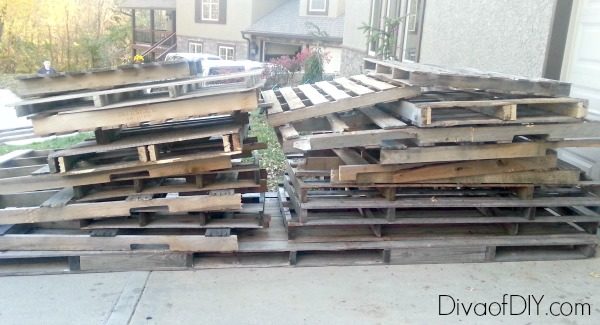
This is what my pile of pallets looked like before we started disassembling them.
Step 2) Using a sawzall, saw through the nail between the board and the frame. If you try and pry them off, you will end up spitting the boards. You will be so happy you did it this way because it leaves the nail heads in the wood which looks awesome!
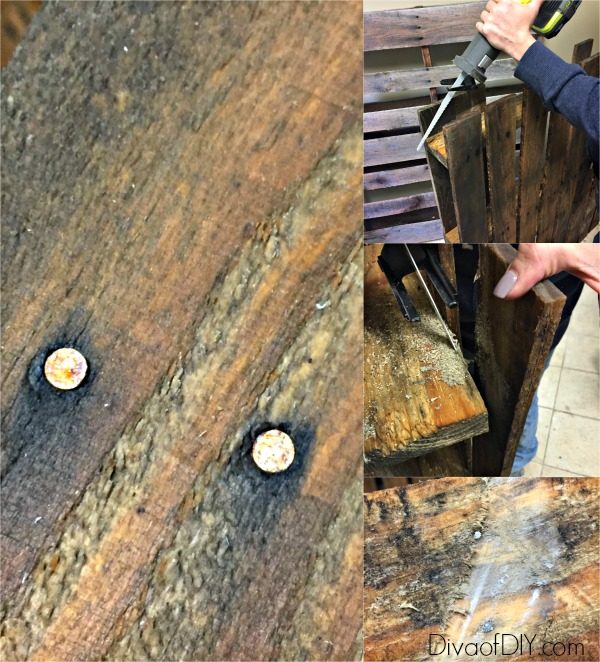
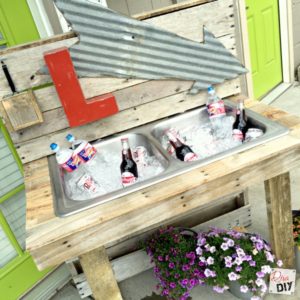
Here are photos I took when breaking down pallets for my Pallet Outdoor Cooler Drinking Station. I love the look of the nails!
Step 3) Once the pallets are broken apart spray them with a 1 to 1 mixture of bleach and water with a pump sprayer. Allow to dry in the sun. This will kill any germs, bacteria or critters.
Diva Tip: To achieve a wall with varied color, leave the pallets in the sun. Wet them down again with water and allow them to dry. Then pull some in while continuing to age others. This will give you the variation in color!
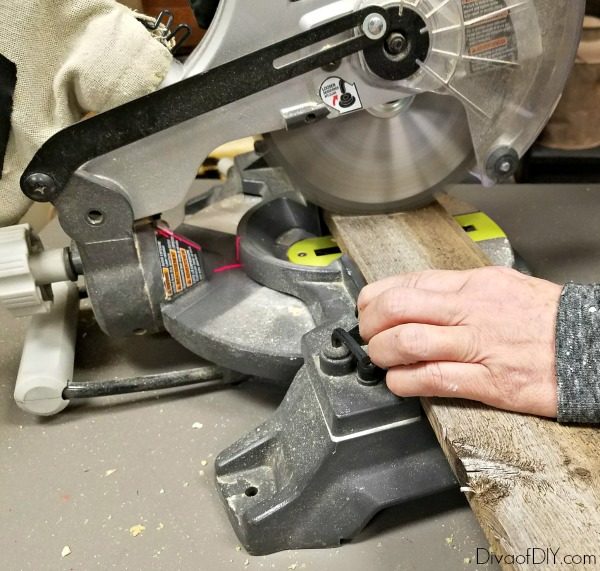
Step 4) Cut pallet boards into various lengths with a Mitre Saw.
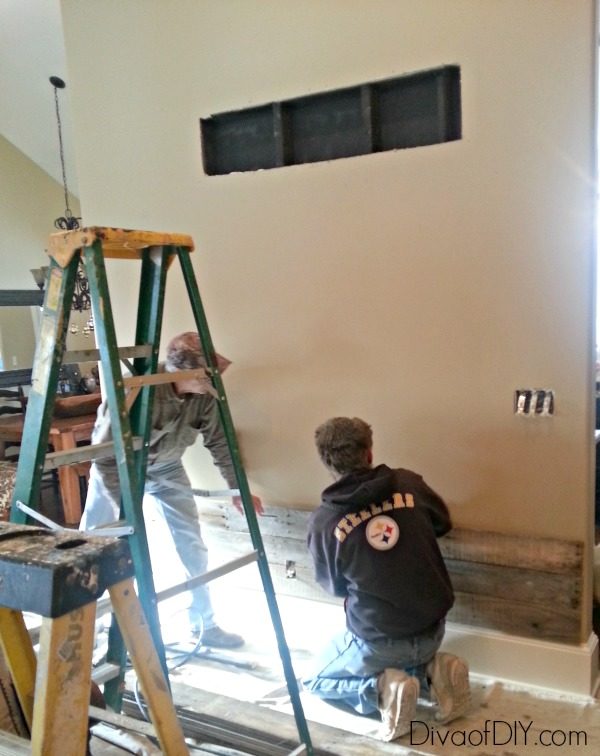
Step 5) Start at the bottom and work your way up the wall. I wanted to make sure my first board was straight so I butted the board right up against my baseboard and then used a level to adjusted it to straight. This is extremely important because if you start out crooked, you will just get more and more crooked as you go up the wall. Sorry, I didn’t get a shot of that but I did take a shot of my dear hubby helping out with my “crazy” wall idea.
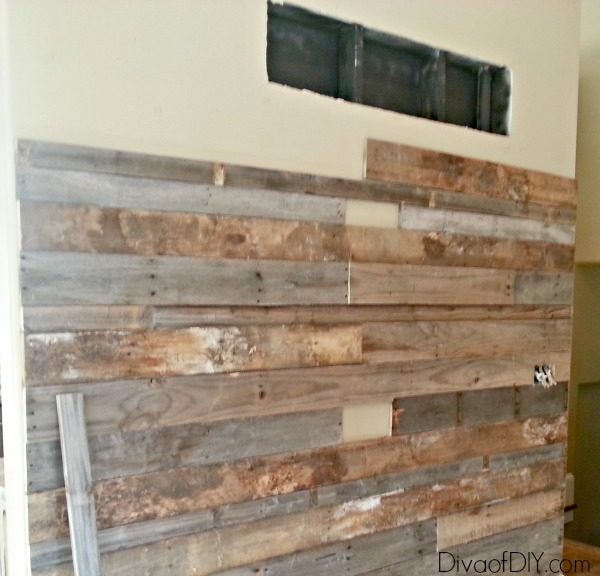
Step 6) Nail boards to the wall making sure to stagger the seams. This gives the wall a more realistic reclaimed look.
Step 7) Check the boards with a level every 3-4 rows to make sure it’s still straight. If not, adjust accordingly.
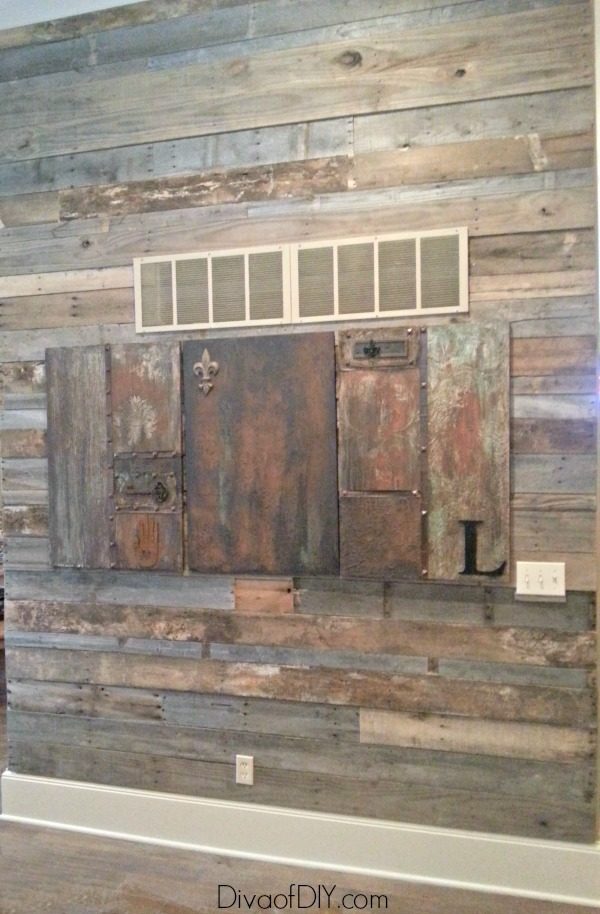
Step 8) Step back and admire your beautiful work. This is always my favorite step and I’m pretty sure it will be your favorite too.
And here is my pallet wall finished. I am seriously obsessed with it and I love how my artwork looks on it. I also love that it’s the first thing people see when they walk in my house. It’s definitely a statement wall that gets a lot of attention.
Don’t you just LOVE the colors and texture it adds to the room? So much fun and with that price – it just doesn’t get any better than that!

Be sure to check out my other Pallet Projects!
Each and everyone of you inspire me and I LOVE to see the work that you’ve created. Feel free to share with me on Instagram, Twitter or Facebook. And as always, be sure to follow Diva Of DIY on Pinterest and sign up for our FREE Newsletter to receive the latest projects delivered straight to your inbox!
If you like this project, check out these:
