Do you love the look of a burlap wreath but have know idea how to make one? I have been making them for years but I could never figure out a way to translate the instructions so they made sense. Finally I did it…I came up with a burlap wreath tutorial that is quick and easy. This wreath is the perfect project for the beginning DIYer or the experienced crafter.
This post contains affiliate links. If you buy something from clicking one of my links, I will get a commission from the sale. It will not cost you a penny more and allows me to keep sharing my ideas with you for free. You can see my full disclosure here. Thank you for supporting my blog!
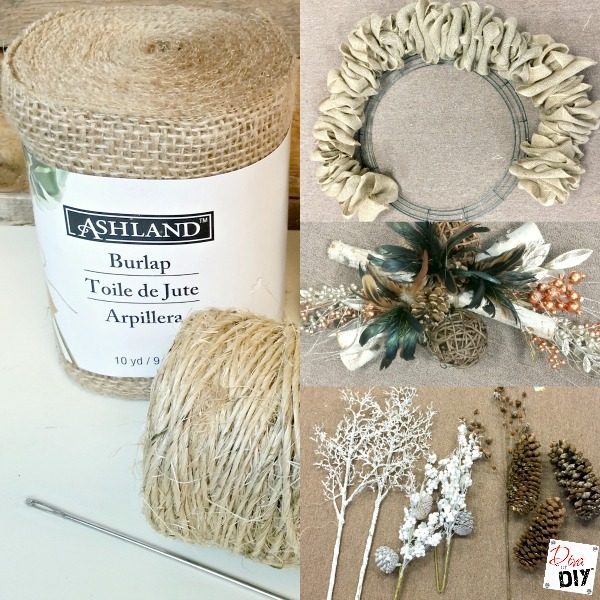
Burlap Wreath Tutorial Supplies:
- 3 rolls of burlap ribbon
(I used one like this)
- Jute Twine
- Wire wreath frame
- Upholstery needle
- Accessories to decorate wreath
Burlap Wreath Tutorial Instructions:
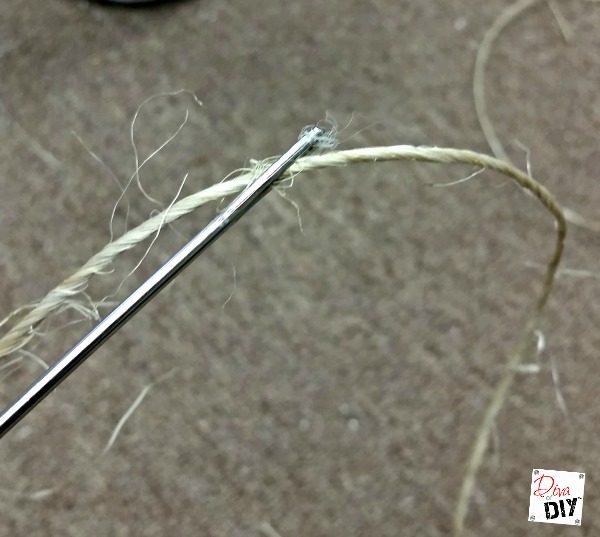
Step 1) Thread twine onto upholstery needle
.
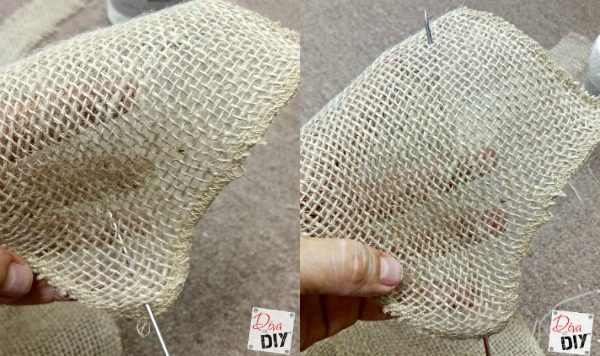
Step 2) Starting in the corner insert needle.
Step 3) Bring needle out on the outside of the opposite side as shown in above photo.
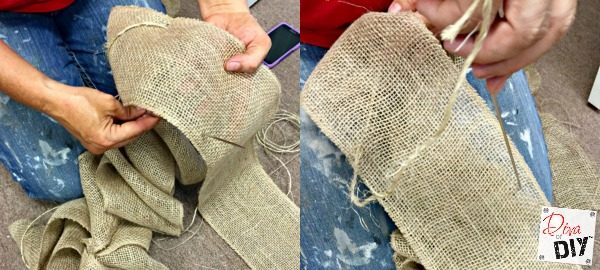
Step 4) Continue to weave the twine through the burlap keeping the stitches equal distances apart gathering as you go.
Step 5) Repeat until all 3 rolls are laced onto your twine.
Step 6) Tie twine into a knot at the end of the burlap ribbon.
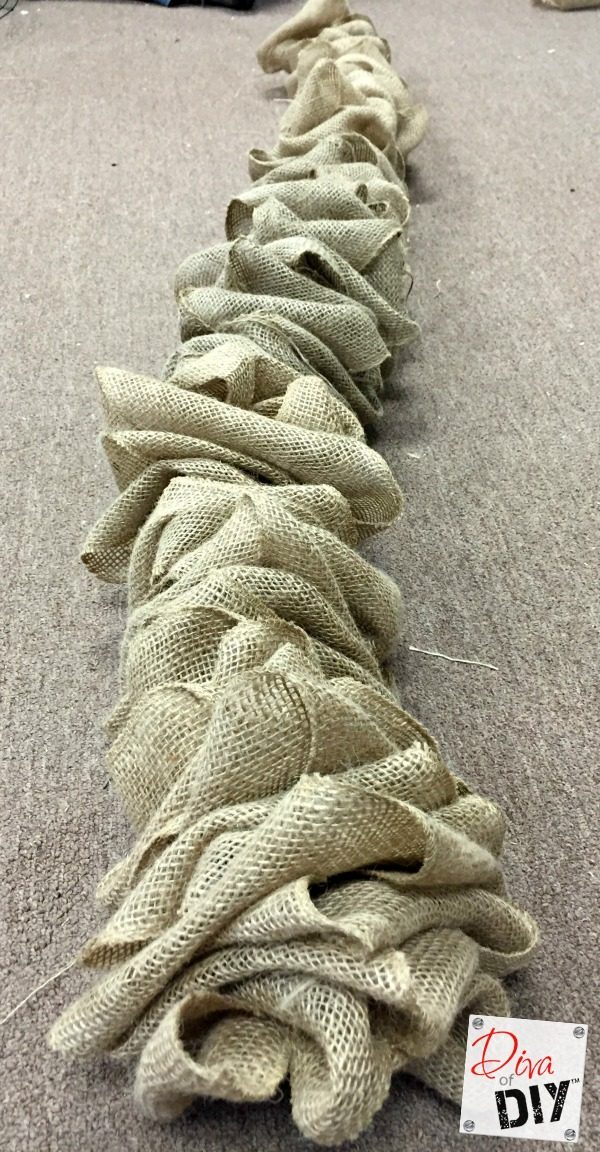
Diva Tip: Notice that the middle run of ribbon is a slightly different color. Burlap can have color variations like yarn so be sure to look for this.
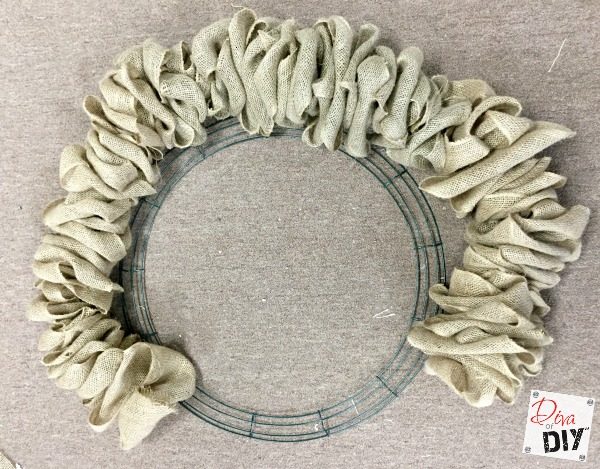
Step 7) Lay the burlap around the wreath form.
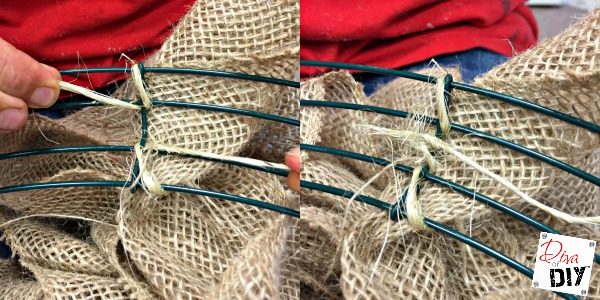
Step 8) Tie the burlap onto the wire wreath frame with twine as shown so the burlap will not slide around the wreath frame.
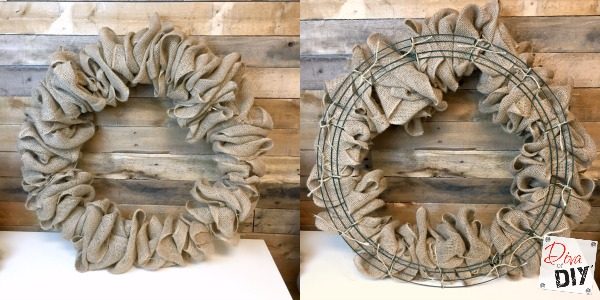
Step 9) Arrange the burlap until the gathers are even and look the way you like.
Fall Burlap Wreath Tutorial:
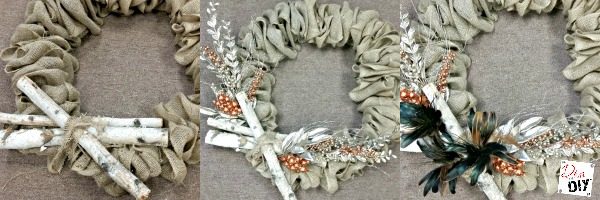
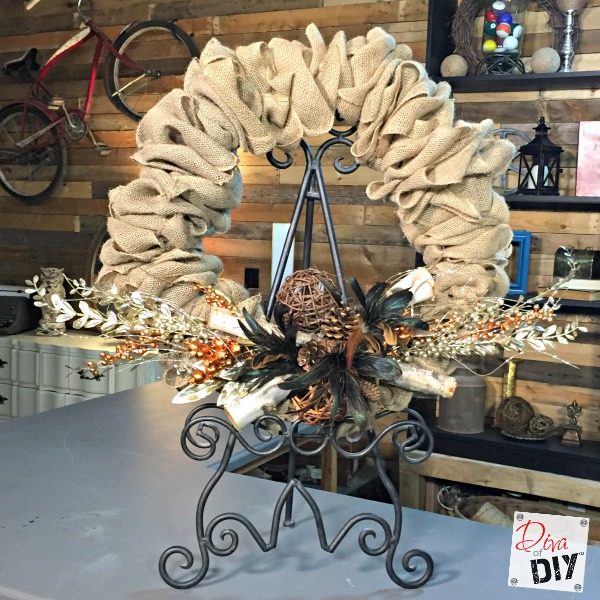
Step 1) Gather fall picks and supplies to decorate the wreath.
Step 2) Start with a base that you can attach and layer the picks on.
Step 3) Attach the finished decoration to the wreath with wire so that it can easily be taken off to save when you use the wreath for another season.
Winter Burlap Wreath Tutorial:
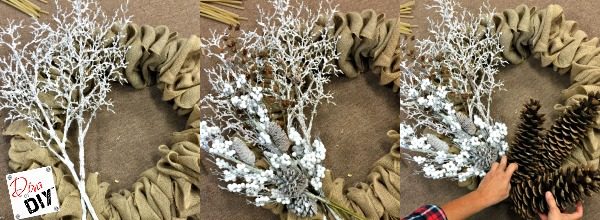
Step 1) Gather Winter picks and accessories.
Step 2) Lay them out and layer them until you like the look.
Step 3) Attach them together with wire and then wire them to the wreath.
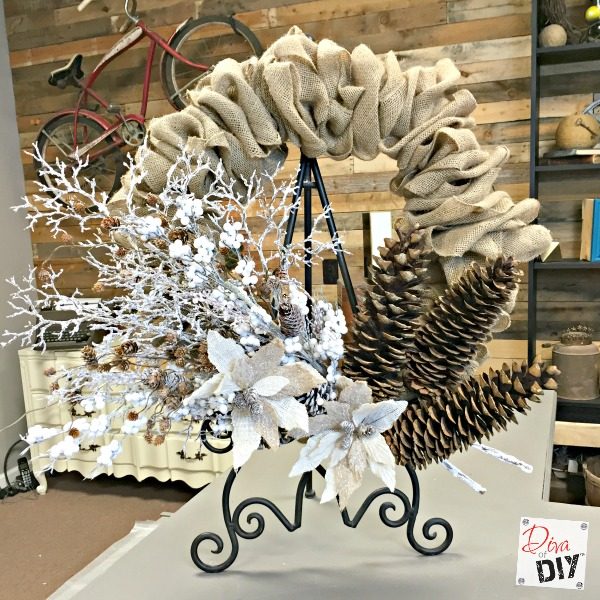
I added a couple DIY Burlap Poinsettias to the front my design to finish it off!
I like that this wreath can be used over and over again for different seasons. Even if you use hot glue to tack things down it will pull off and you can cover it with the next seasons grouping of accessories.
Each and everyone of you inspire me and I LOVE to see the work that you’ve created. Feel free to share with me on Instagram, Twitter or Facebook. And as always, be sure to follow Diva Of DIY on Pinterest and sign up for our FREE Newsletter to receive the latest projects delivered straight to your inbox!
If you like this project, check out these:
