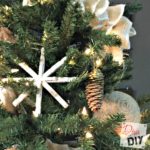
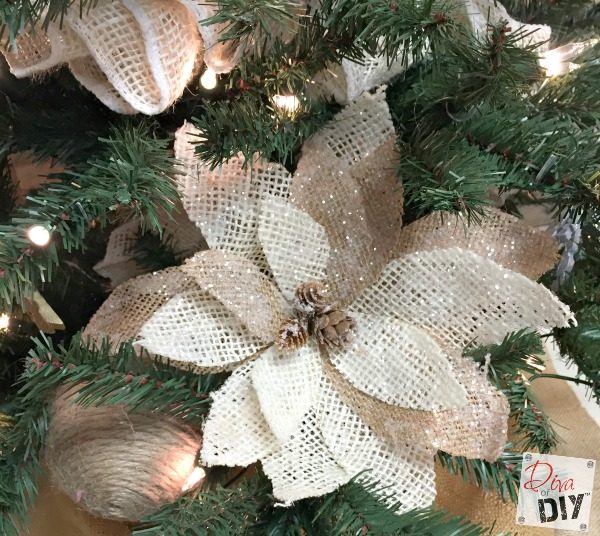
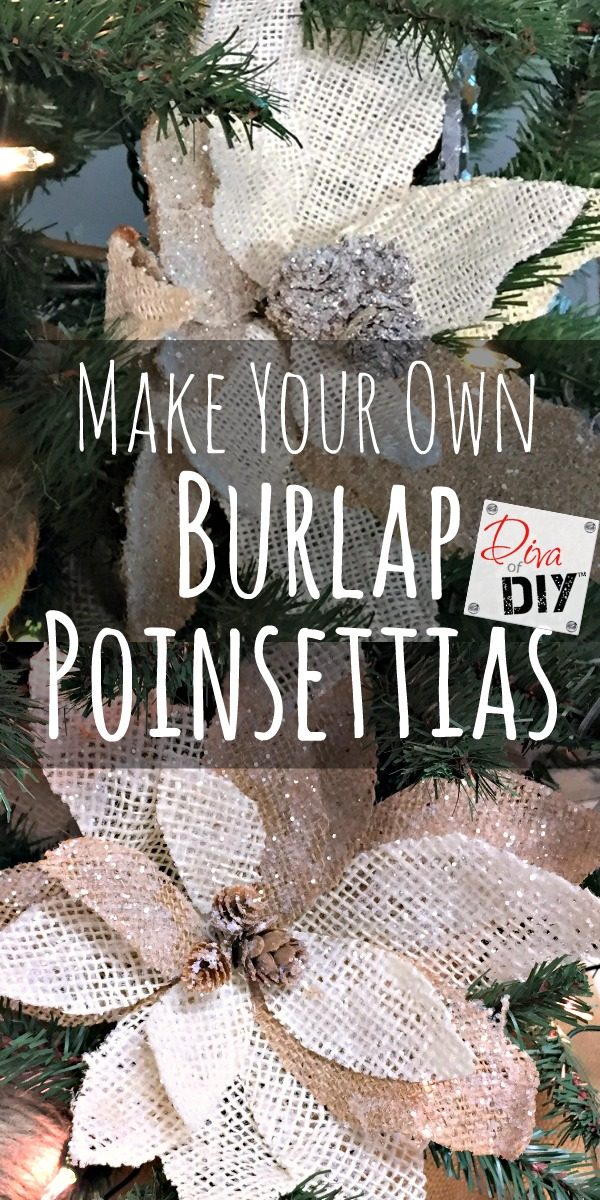
As a DIYer, whenever I see something at a big boxed store the first thing I think about is… how can I make this? That is exactly what happened when I saw the burlap poinsettias stems at my local Michaels Store. I had recently made some Classic Cheesecloth Ghost and thought, well heck I can stiffen up burlap and make these! Then they can be any size or color I need!
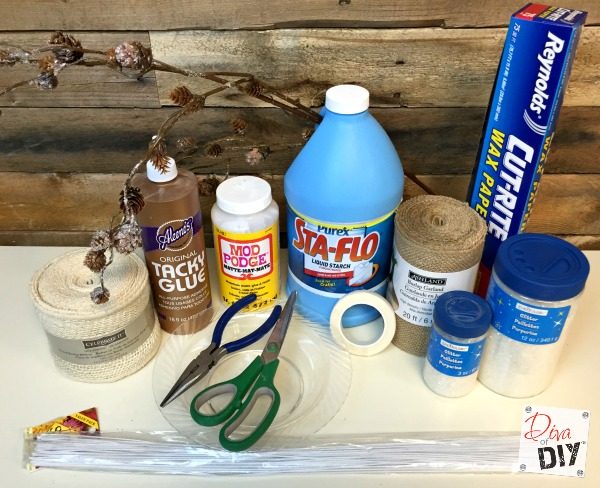
Burlap Poinsettias Supplies:
- Tan Tight Weave Burlap
- Cream Tight Weave Burlap
- Laundry Starch
(this is the one I use)
- White Floral Wire
- White Floral Tape
- Floral Stem with Small Pinecones
- Tacky Glue
- Mod Podge
- Glitter
- Wax Paper
- Wire Cutters
- Scissors


Burlap Poinsettias Instructions:
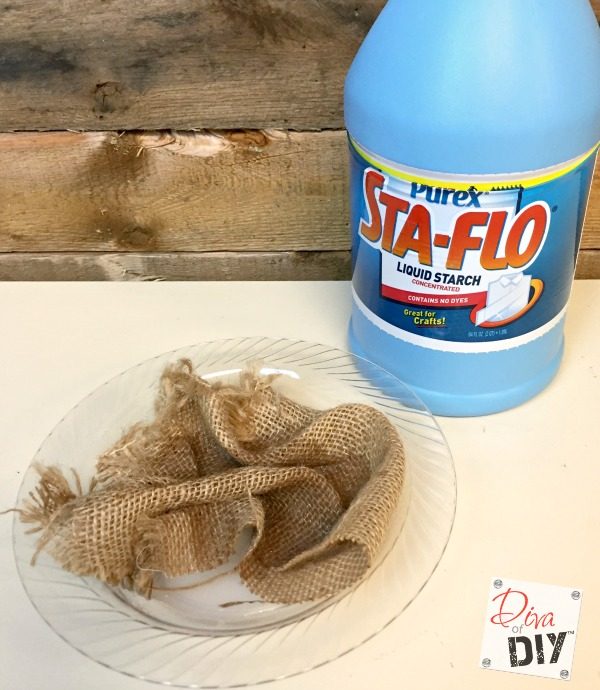
Step 1) Put burlap in the liquid starch and completely saturate.
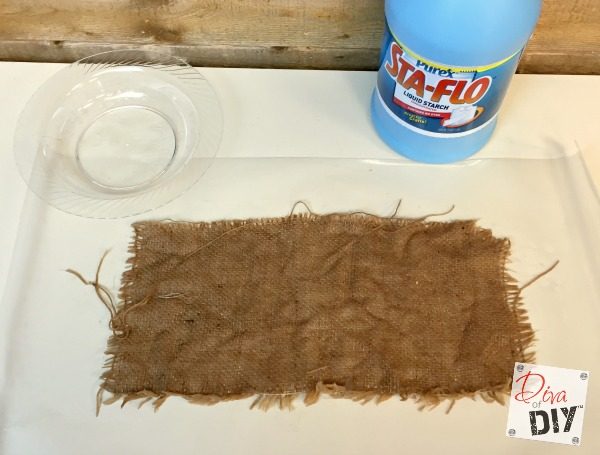
Step 2) Lay the burlap out and smooth down on a piece of waxed paper
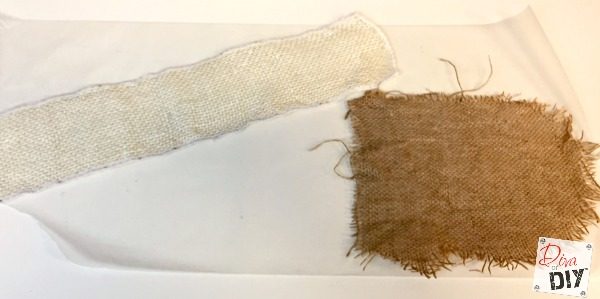
Step 3) Do the same thing with the cream colored burlap as well. Let dry completely.
Diva tip: Flip the burlap over and onto fresh waxed paper after it has been drying for a few hours to help it dry.
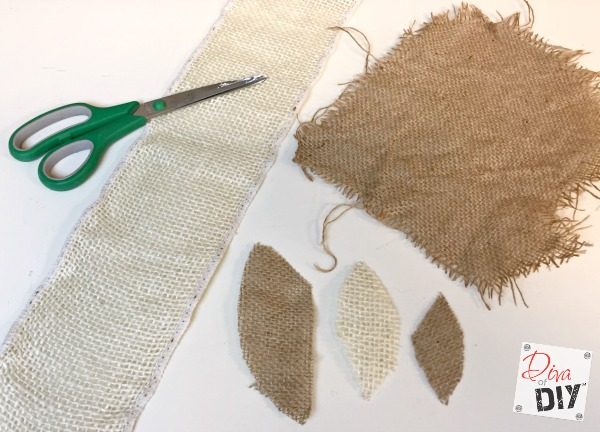
Step 4) Cut out three sizes of petals to use as a template. This template can be made out of cardboard or the burlap fabric.
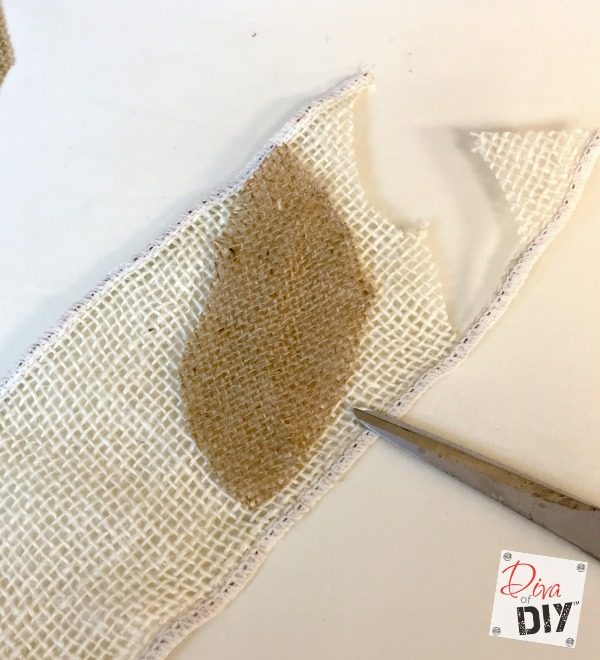
Step 5) Cut petals around the templates. These do not have to be perfect.
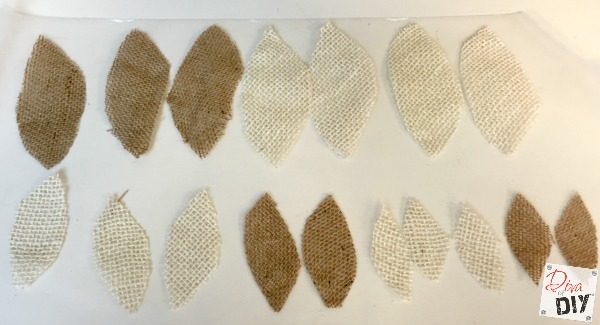
Step 6) You will need to cut out 8 large petals, 5 medium petals and 3 small petals. (not sure what I was doing with this pic. Lol! I realize it’s not the same number in the photo. Oops!)
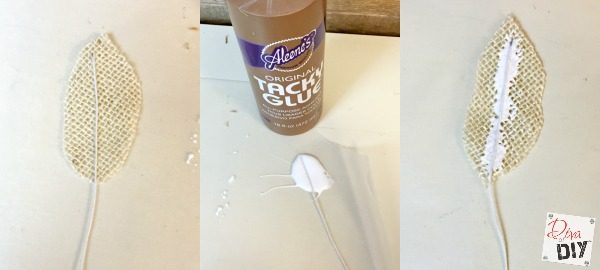
Step 7) Cut the white floral wire
Step 8) Pull the floral wire through the tacky glue and put it on the petal.
Step 9) Add more glue to the back and smooth down with your finger.
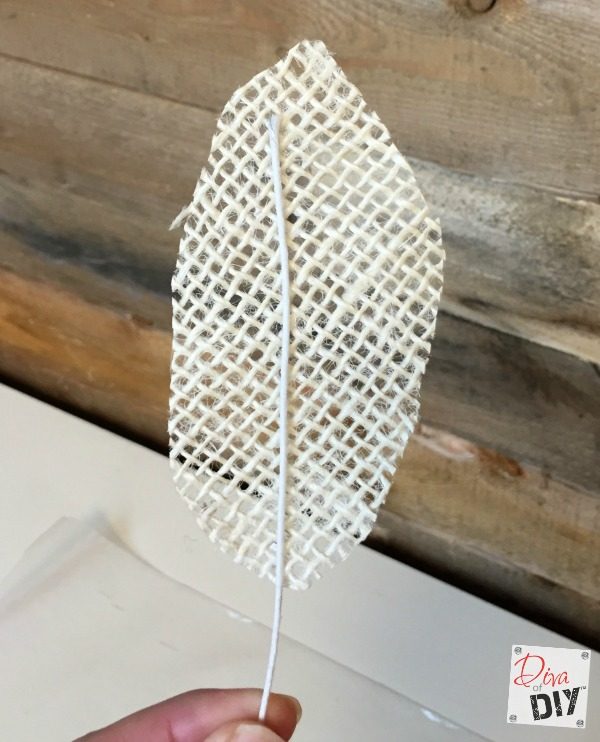
Step 10) Allow to completely dry. The glue will dry clear.
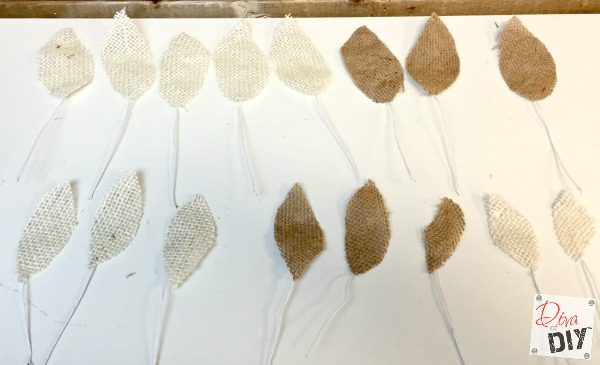
Now you have all your pieces to start your flower.
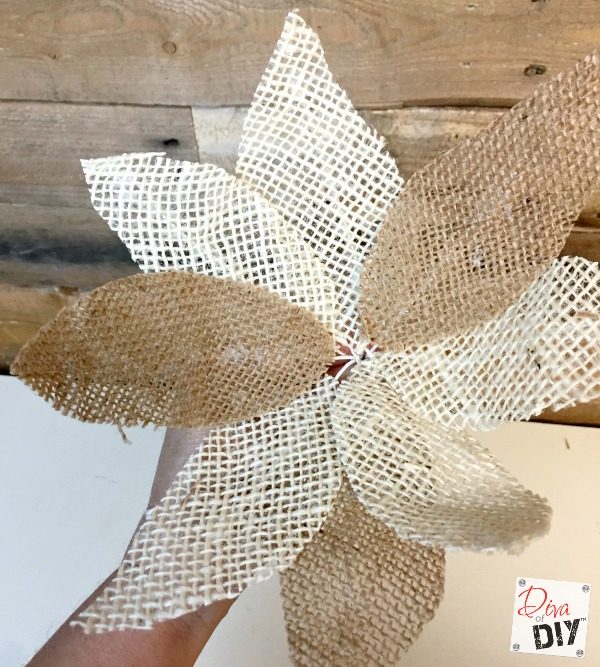
Step 11) Start with the large petals and bend them out and around like the picture above.
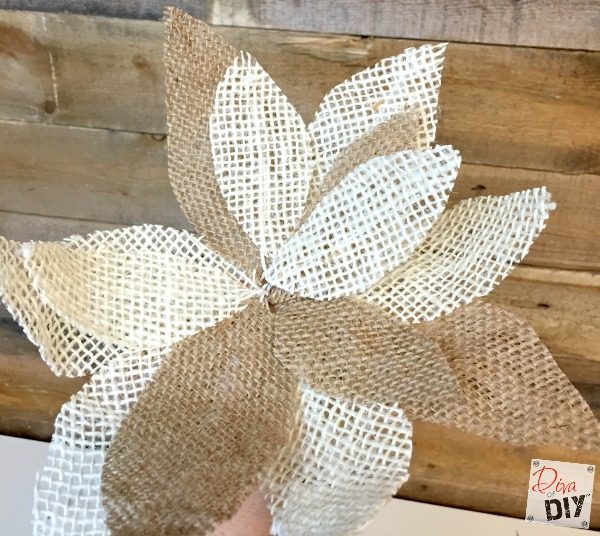
Step 12) Layer the medium petals and then the small petals. You can subtract petals of add petal as you need to.
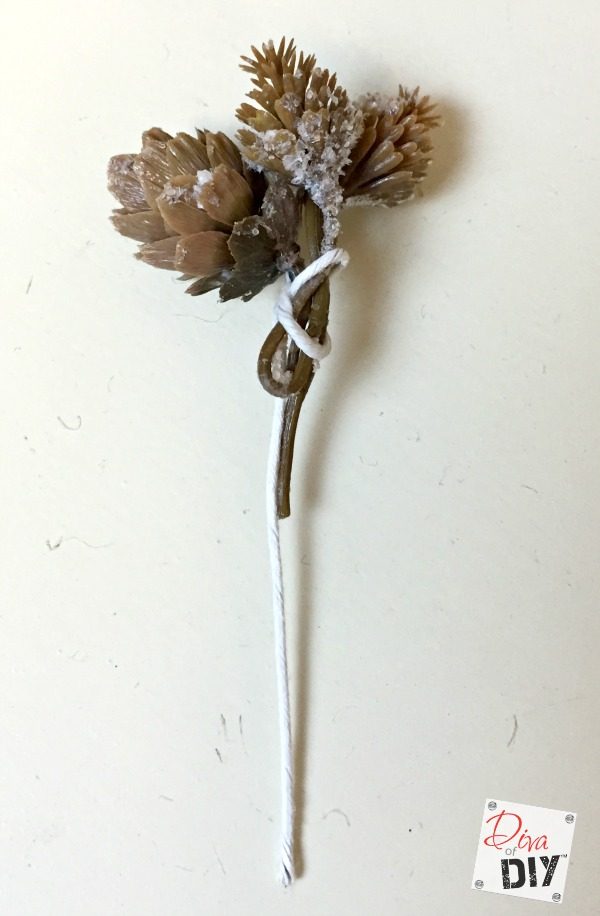
Step 13) Cut off a piece of the pinecone stem and attach it to floral wire.
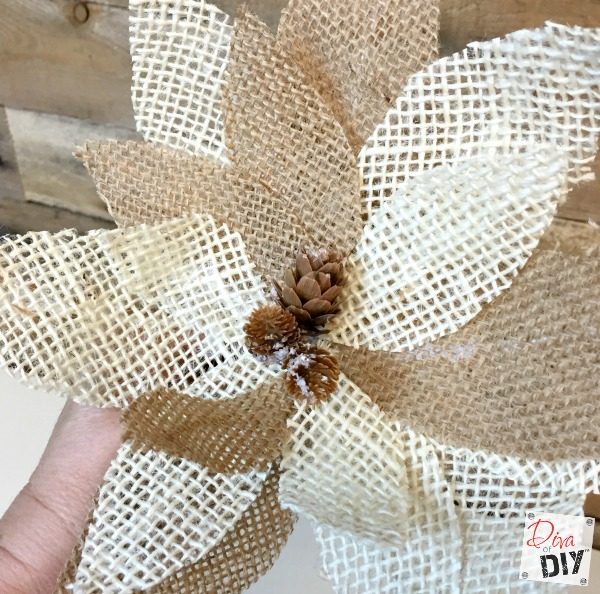
Step 13) Put the pinecones in the center of the burlap poinsettia.
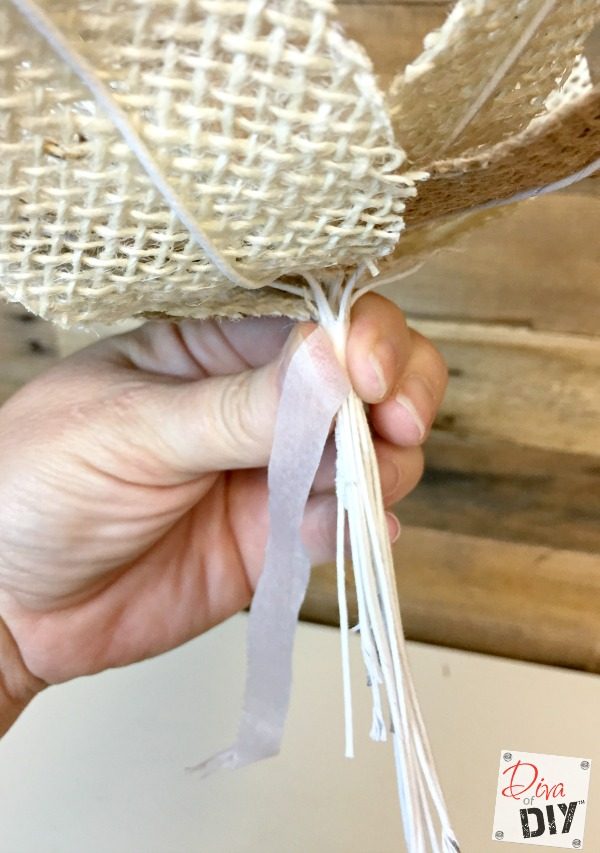
Step 14) Begin to tape the floral wire together with white floral tape. If you are having trouble holding all the wires you can always tape the wires together in steps as needed.
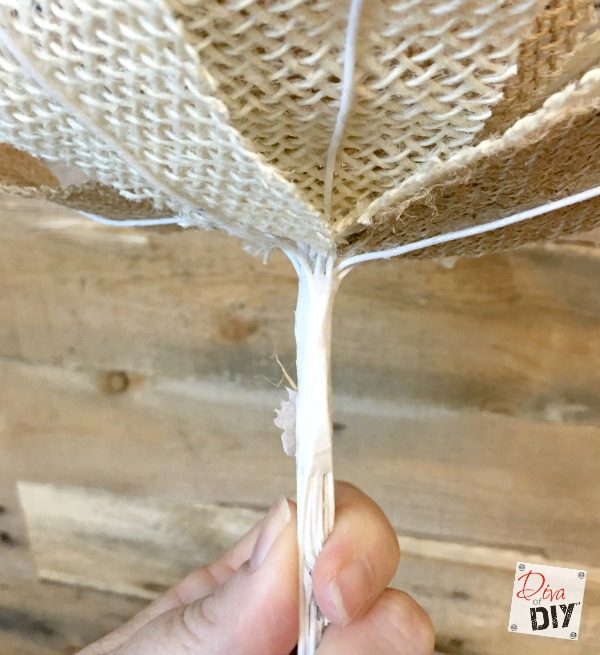
Step 15) Finish wrapping the wires together with floral tape.
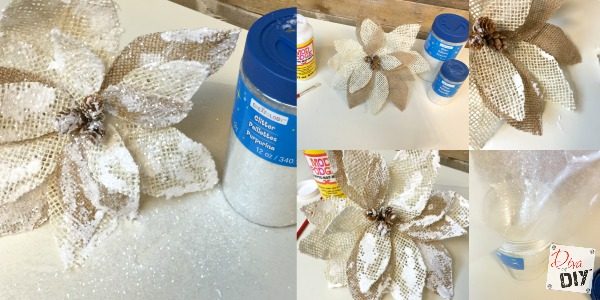
Step 16) Using Mod Podge
Step 17) With a clean piece of wax paper under the flower pour glitter all over the mod podge. I used chunky glitter in clear and iridescent to add some depth. You could also use colored glitter as well or even epsom salt!
Step 18) Pour the glitter back into the jar to use again.
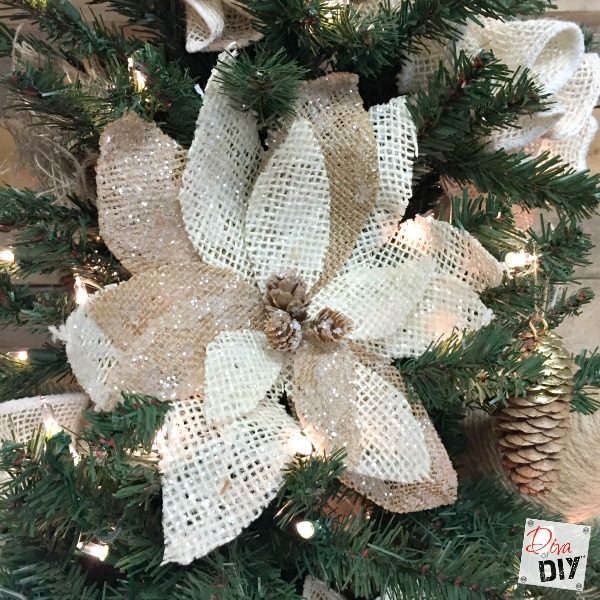
Step 19) Allow the burlap poinsettias to dry completely and then shape them by carefully bending the floral wire.
Each and everyone of you inspire me and I LOVE to see the work that you’ve created. Feel free to share with me on Instagram, Twitter or Facebook. And as always, be sure to follow Diva Of DIY on Pinterest and sign up for our FREE Newsletter to receive the latest projects delivered straight to your inbox!
If you like this project, check out these: