Halloween is the perfect time for children to show their creativity and making their own trick or treat bags is a great place to start! Anyone who knows me knows I don’t sew. This tutorial shows you 2 no-sew options: one is making a treat bag from a pillowcase and the second is taking a canvas or cotton bag and decorating with a faux no-sew appliqué method.
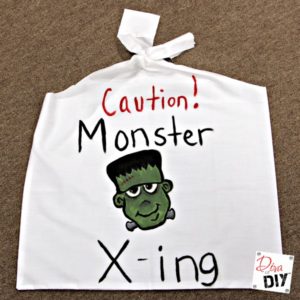

Pillow Case Trick or Treat Bags:

This post contains affiliate links. If you buy something from clicking one of my links, I will get a commission from the sale. It will not cost you a penny more and allows me to keep sharing my ideas with you for free. You can see my full disclosure here. Thank you for supporting my blog!
Supplies for Trick or Treat Bags:
- Pillow Case
- Acrylic Paint
- Brushes
- Cardboard or T-shirt form
- Clip Art
- Iron *optional
Instructions for Trick or Treat Bags:
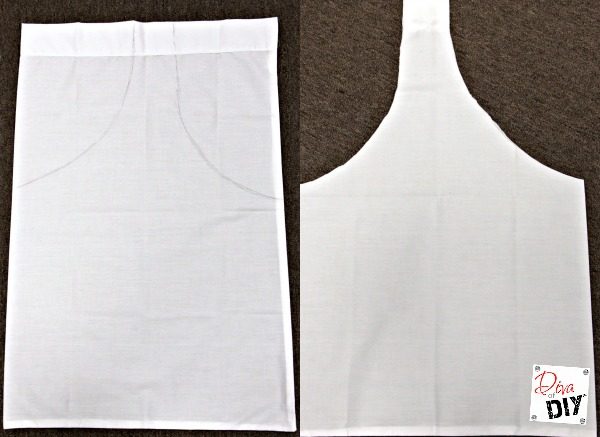
Step 1) Lay out pillowcase and iron it.
Step 2) Draw lines on the pillowcase as shown above for the handles.
Step 3) Cut handles out on lines.
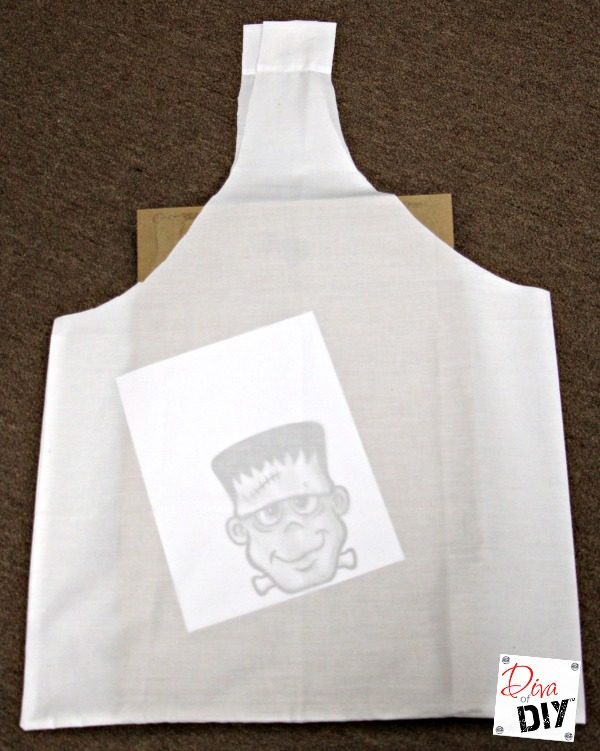
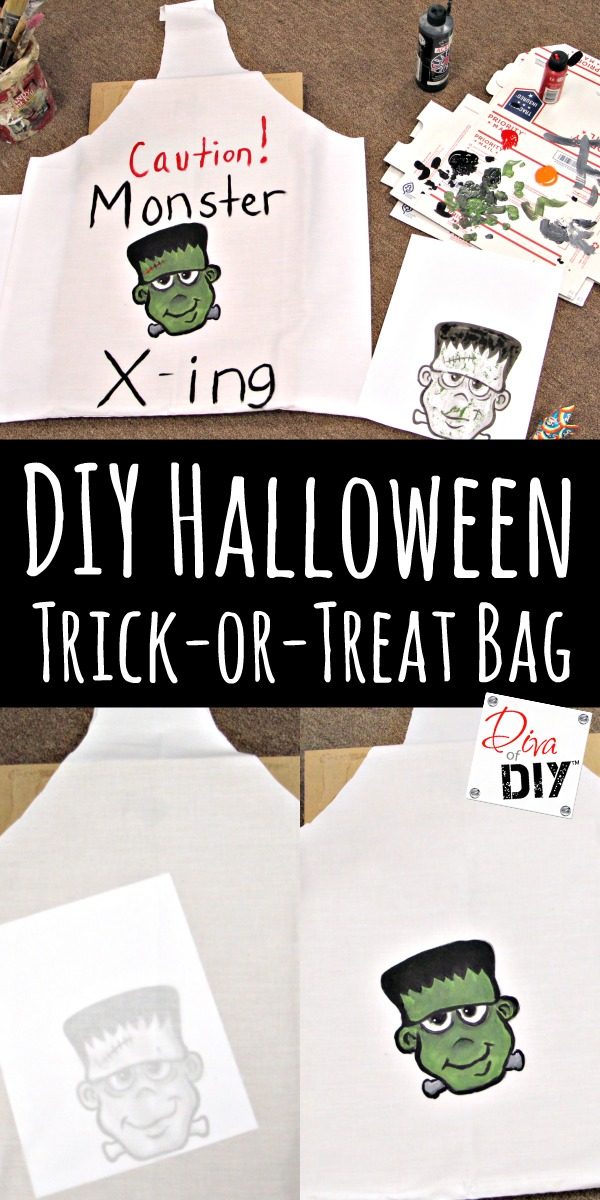
Step 4) Find a picture you want to paint on your treat bag. You can make the clip art the size you need and print it out.
Step 5) Put cardboard in between the layers of the treat bag and lay clip art on the top. You can see through the pillow case to the picture for guide lines.
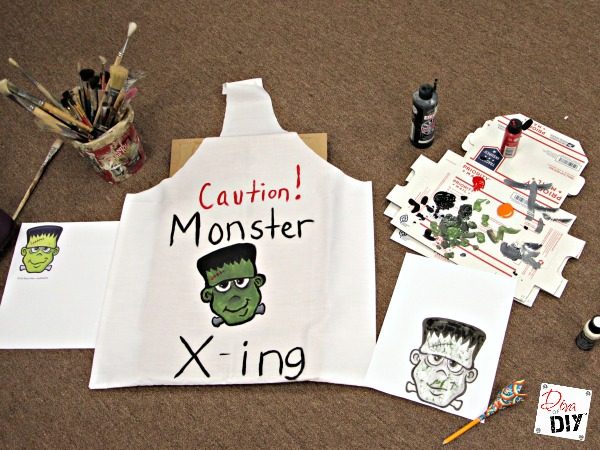
Step 6) Using brushes, paint your clip art with acrylic paints in the color of your choice. Let dry.
Step 7) Add words or other embellishments to your bag. Let dry.
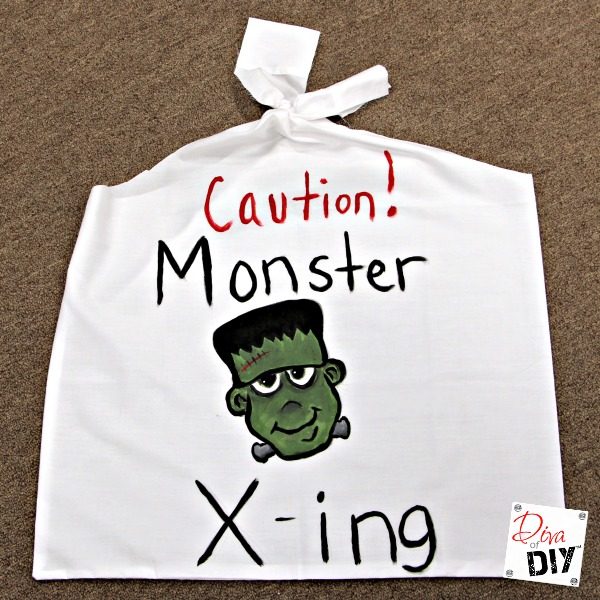
Step 8) Take out the cardboard and tie the handles at the top.
No Sew Faux Applique Trick or Treat Bags:
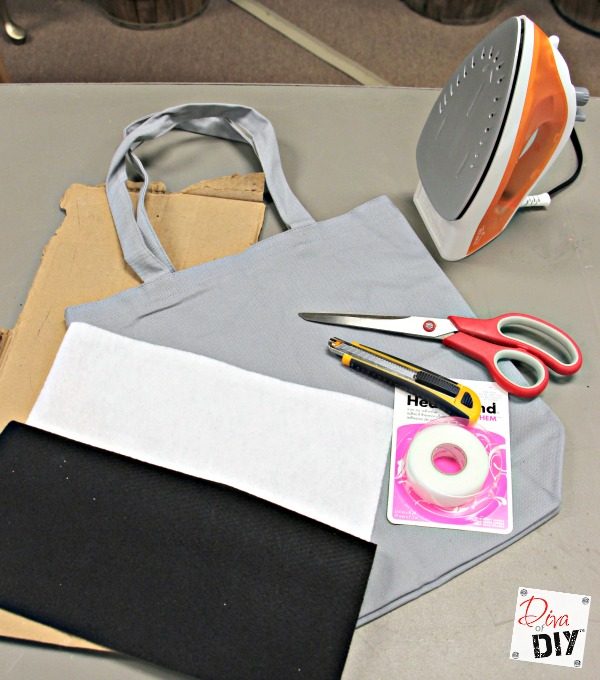
Supplies for Faux Applique Trick or Treat Bags:
- Cotton or Canvas Bag
- Fabric or Felt
- Heat ‘n Bond
- Scissors
- Utility Knife
- Cardboard or Cutting Mat
Instructions for Faux Applique Trick or Treat Bags:

Step 1) Draw the faux appliqué shape you want on the bag.
Step 2) Put the cardboard or cutting mat inside the bag.
Step 3) Cut out the shape with utility knife.
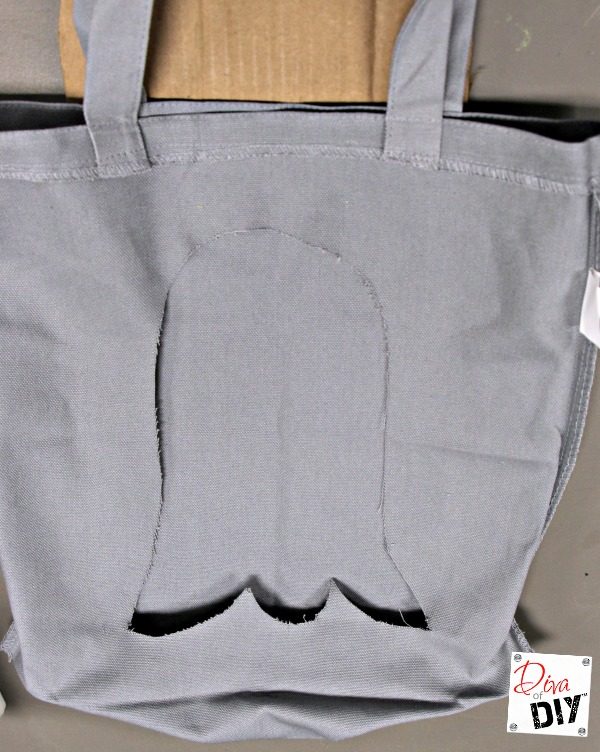
Step 4) Turn the bag inside out.
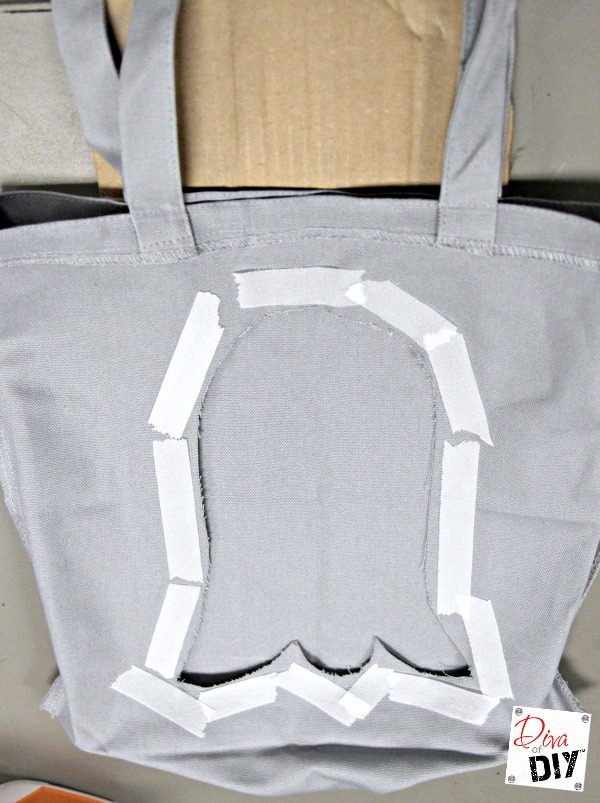
Step 5) Cut strips of the Heat ‘n Bond to go around the shape.
Step 6) Iron the Heat ‘n Bond per package instructions.
Step 7) Pull the paper off and adhere the fabric or felt to the bag.
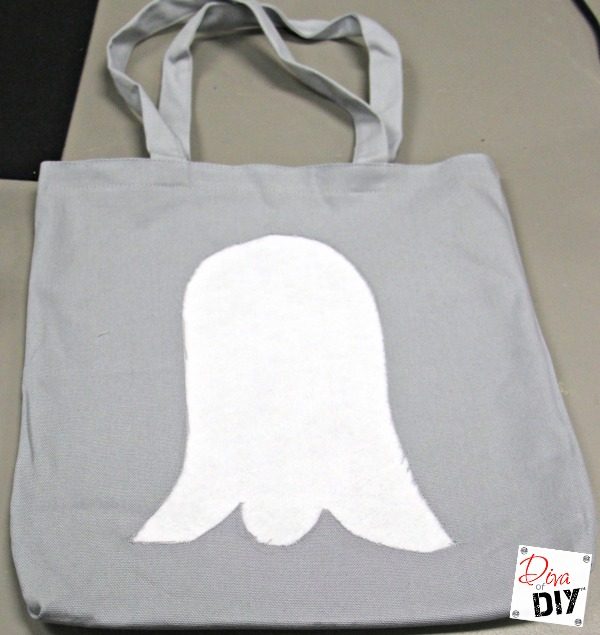
Step 8) Turn the bag back right side out.

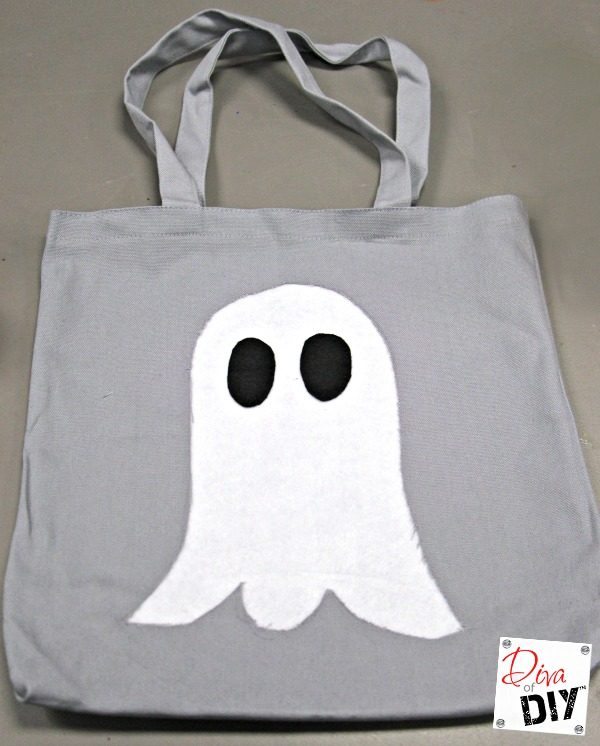
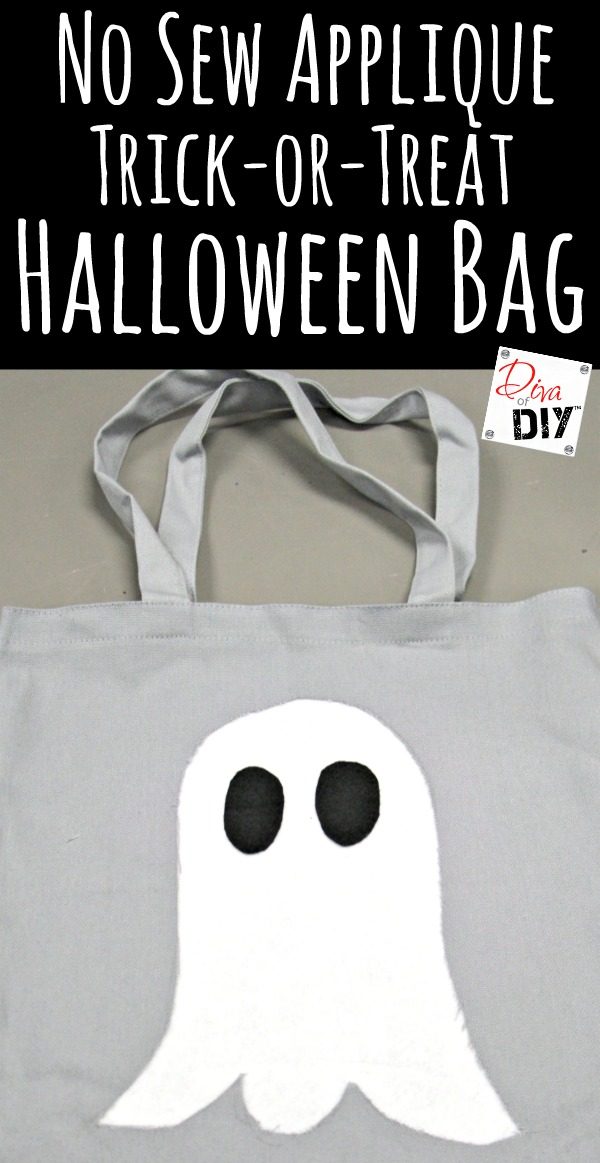
Step 9) Embellish the appliquéd shape as you wish. I put felt eyes on my ghost with fabric glue. It would be easy to step it up a bit by adding “stitch” marks with a fabric marker or paint.
Each and everyone of you inspire me and I LOVE to see the work that you’ve created. Feel free to share with me on Instagram, Twitter or Facebook. And as always, be sure to follow Diva Of DIY on Pinterest and sign up for our FREE Newsletter to receive the latest projects delivered straight to your inbox!

