This DIY cooler was born at The ReStore Habitat for Humanity when I kept seeing stainless steel sinks and thought, what can I do with these…
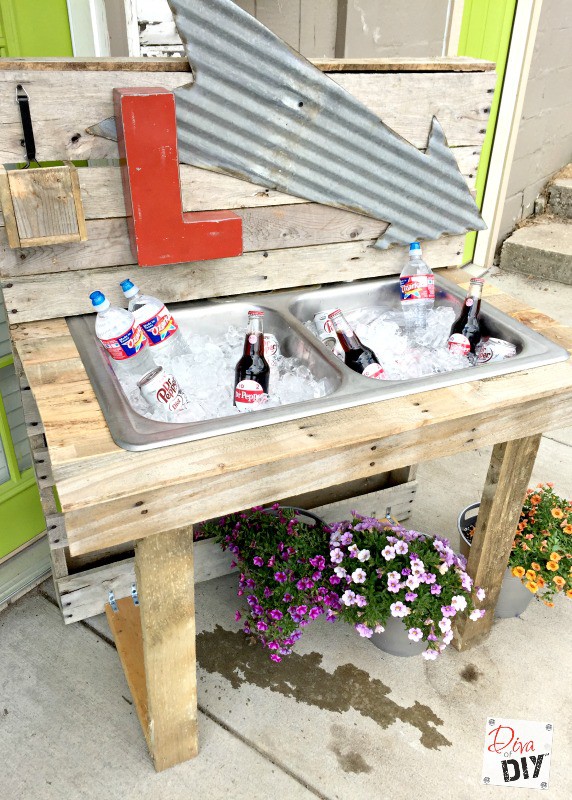
With our lake house fixer upper in full swing, I can’t help but get excited at the thought of backyard barbecues. Wouldn’t this DIY cooler be amazing sitting out by the dock? And… bonus, I didn’t even have to get this sink at Restore because we took one out of the lake house so I used that one. That is a true upcycler/repurposers dream! I was able to use something from the old house, that would normally just be discarded, and repurpose it into something useful for the new one!
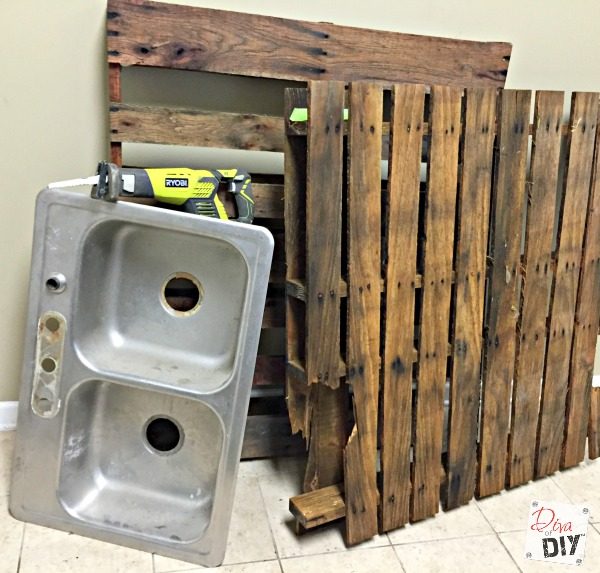
DIY Cooler Supplies:
- 2 pallets*
- Stainless Steel Sink
- 2″ screws
- Reciprocating Saw
with Metal Blade
- Mitre Saw
- Jigsaw
- Angle Brackets
- Sharpie
*Diva tip- when making a pallet project and it’s been raining for a month, bring them in to dry, taking apart a wet pallet is no fun because the wood has swelled. Ugh!
This post contains affiliate links. If you buy something from clicking one of my links, I will get a commission from the sale. You can see my full disclosure here. Thank you for supporting my blog!
DIY Cooler Instructions:
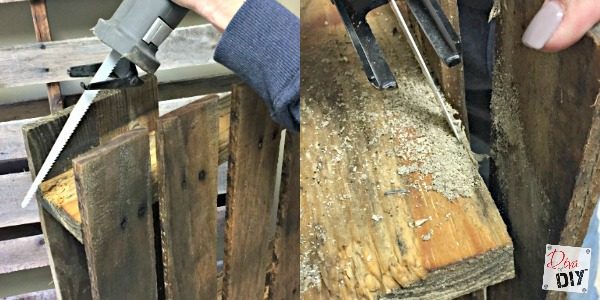
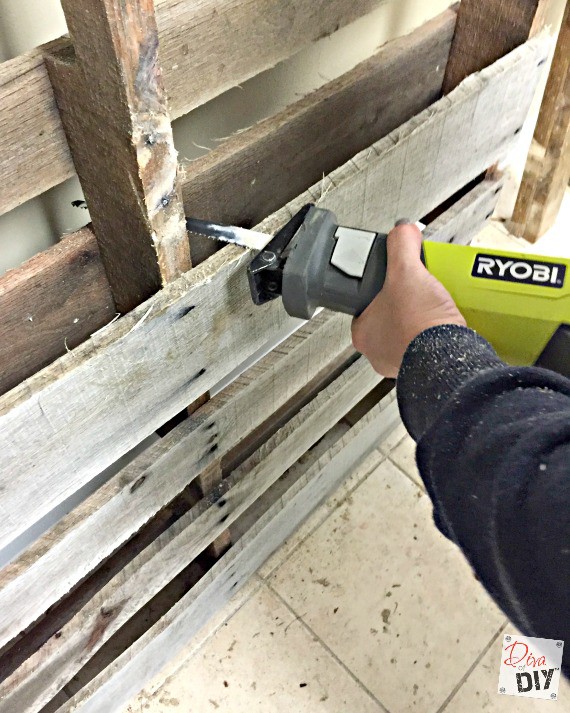
Step 1) Using your reciprocating saw, remove all of the boards from one pallet. I personally like to cut right through the nails because I like the look of the nails left in the boards.
Step 2) Remove the top 1/2 of the pallet boards from the second pallet. Save them because you will re-attach them later.
Step 3) Using your reciprocating saw or a jigsaw, cut the center braces out so that you can fit your other pallet into it. Read all of the instructions because this will make much more sense.
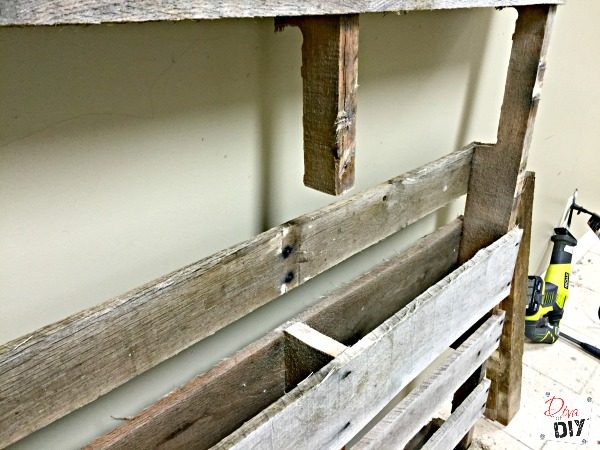
Here is a picture of how it will look from the side.
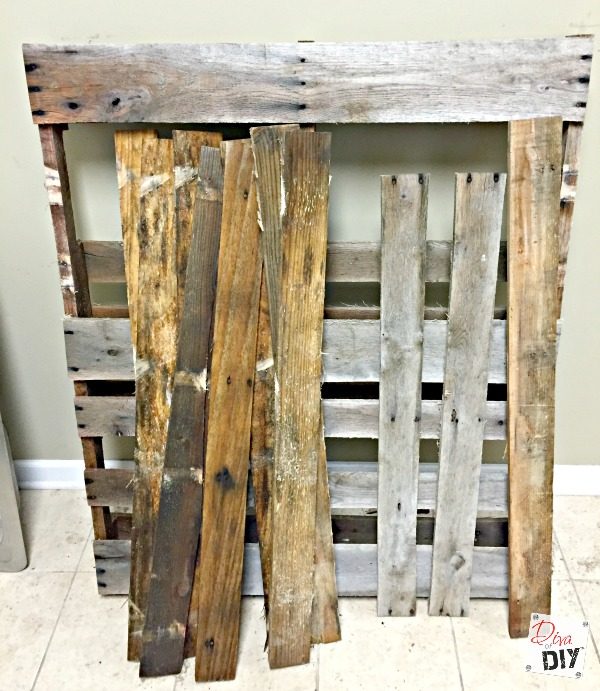
Step 4) You should have all of the wood you need to finish your DIY Cooler.
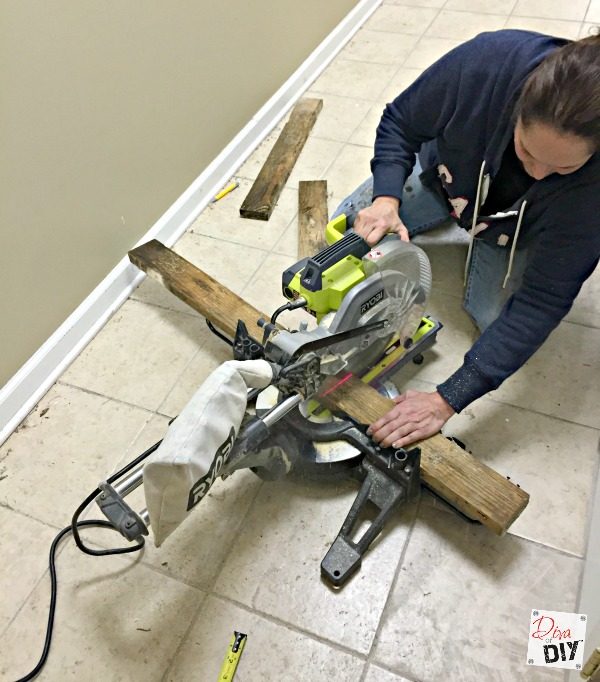
Step 5) Using your mitre saw, cut boards to make frame of the sink.
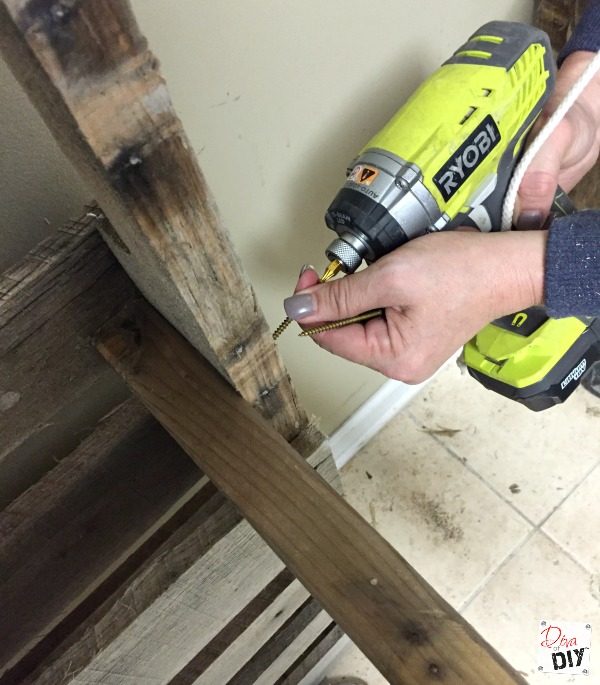
Step 6) Secure the new pallet braces with 2″ wood screws
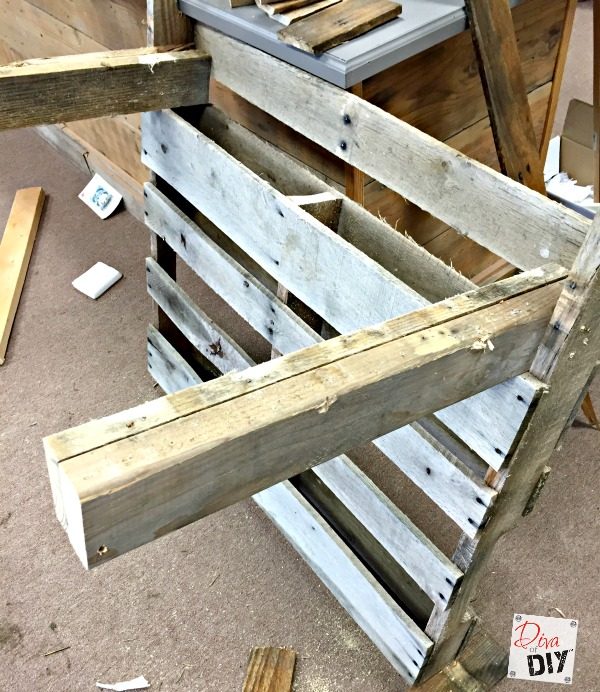
Step 7) Repeat on the other side.
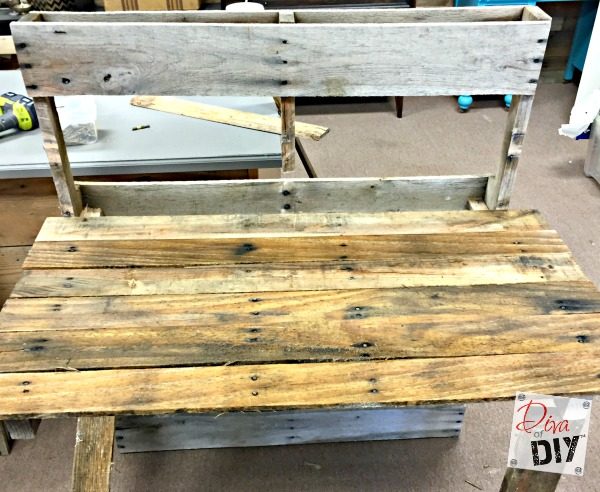
Step 8) Reattach Pallet boards to the new frame.
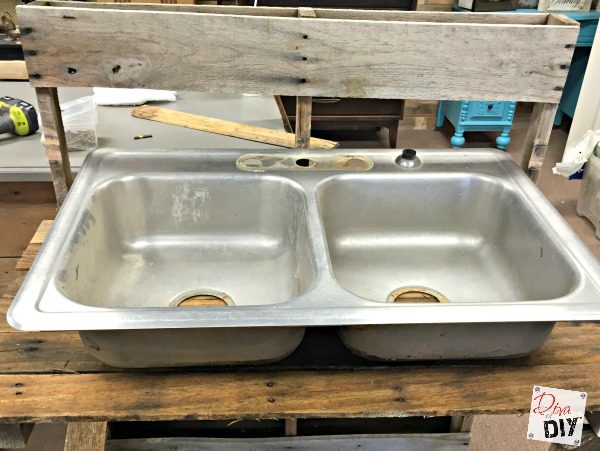
Step 9) Set sink on top of the full pallet boards.
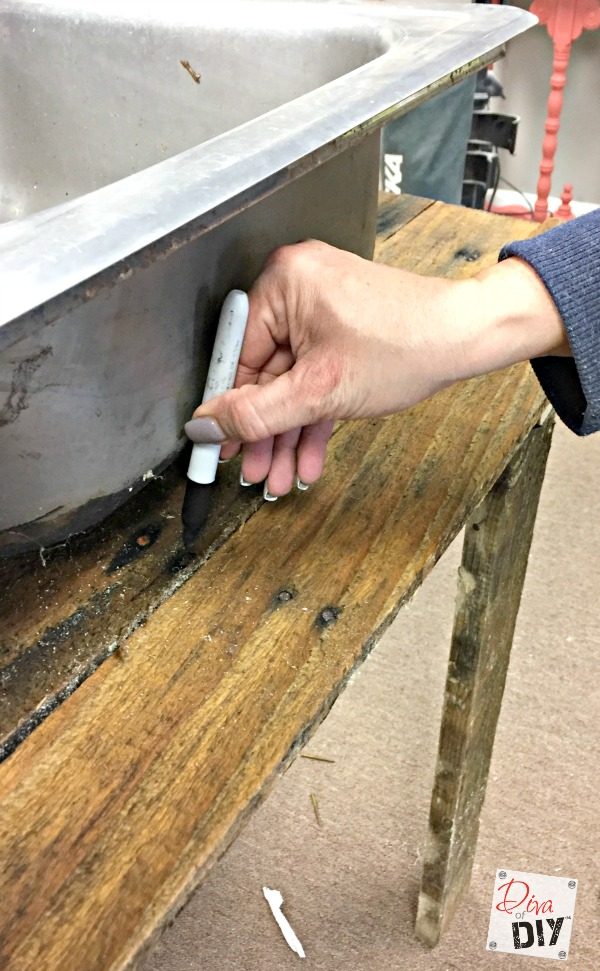
Step 10) Using a sharpie, outline the inside liner of the sink.
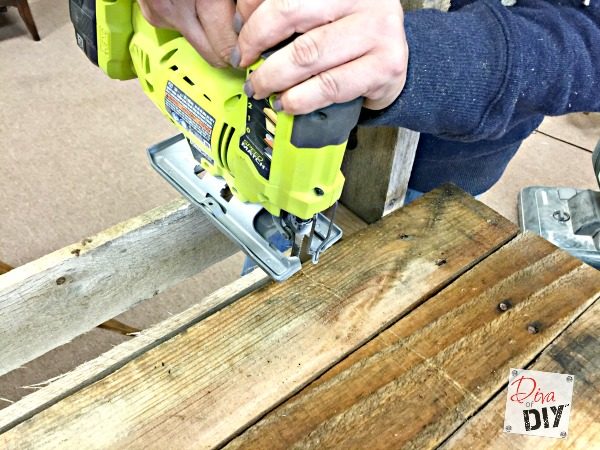
Step 11) Using the jigsaw, cut out the center of the pallet top.
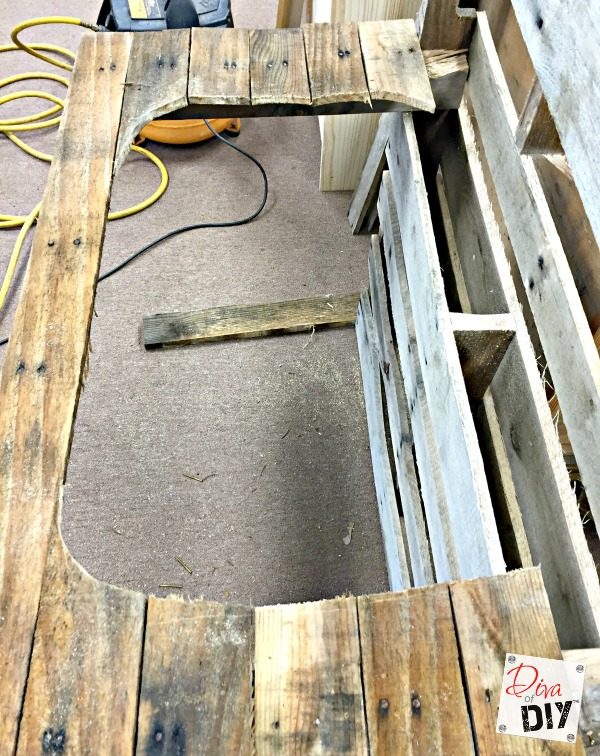
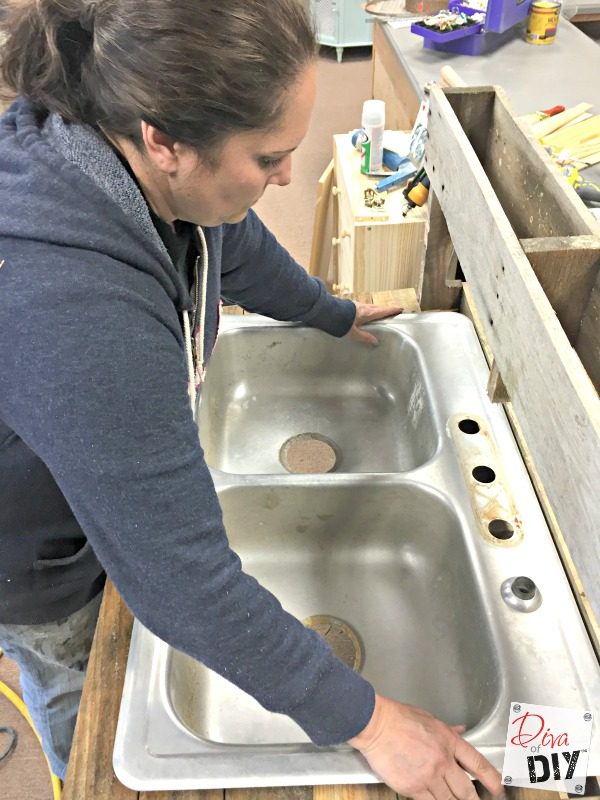
Step 12) Place sink back in the hole. If it doesn’t fit flush, adjust accordingly.
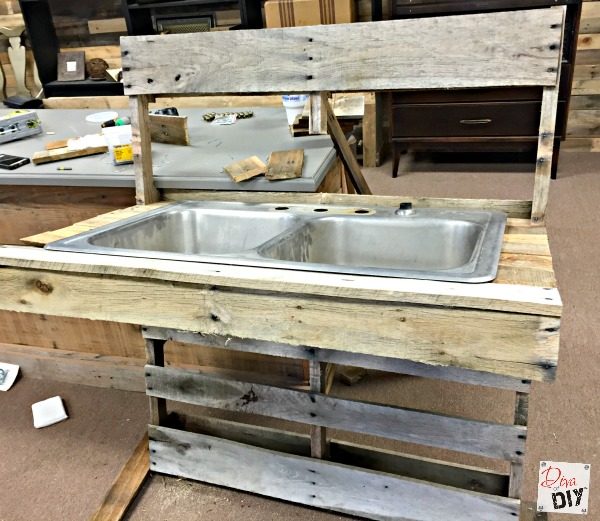
This is what it will look like from straight on.
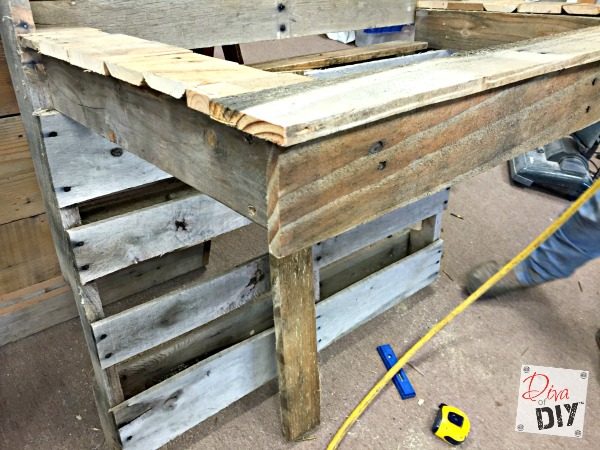
Step 13) Measure for the bottom legs/braces.
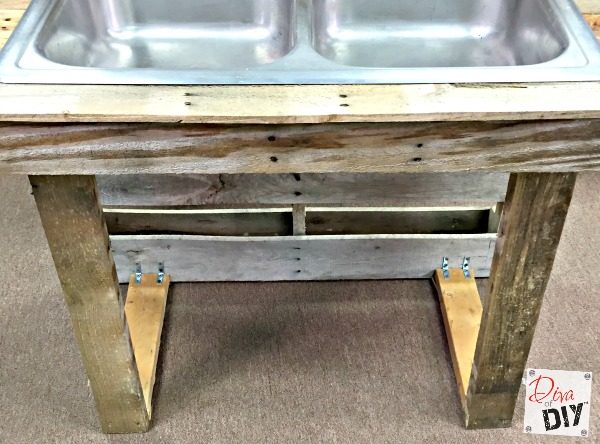
Step 14) Attach the legs in an L-shape. Attach to the pallet with angle brackets.
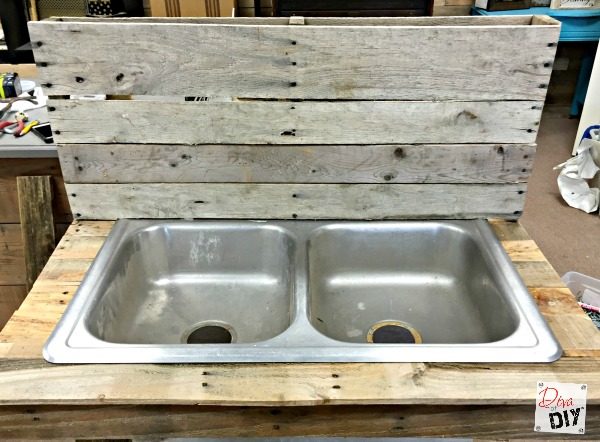
Step 15) Re-attach pallet boards across the back of the upright pallet to hide the sink holes.
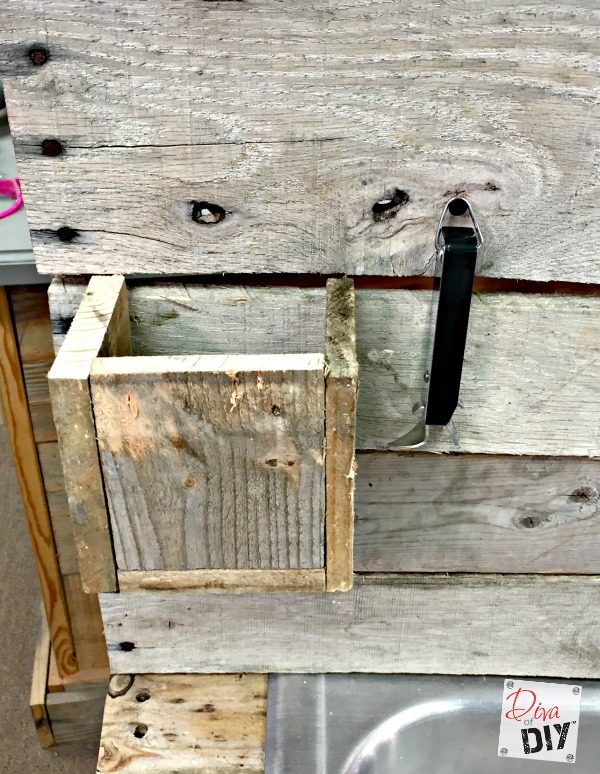
Optional Step 16) Using scraps of the pallet wood, make a box to hold bottle tops or tabs. You also hang a bottle opener from a screw or nail.
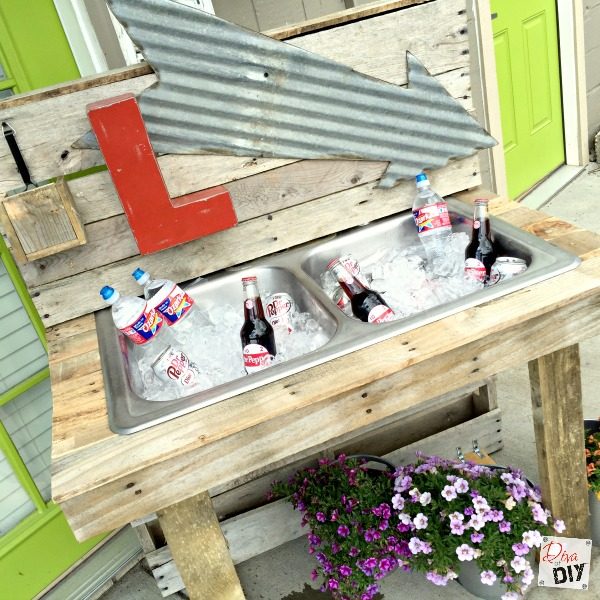
Step 17) Add some screen or sink stoppers to plug sink holes. Fill with your favorite drinks!
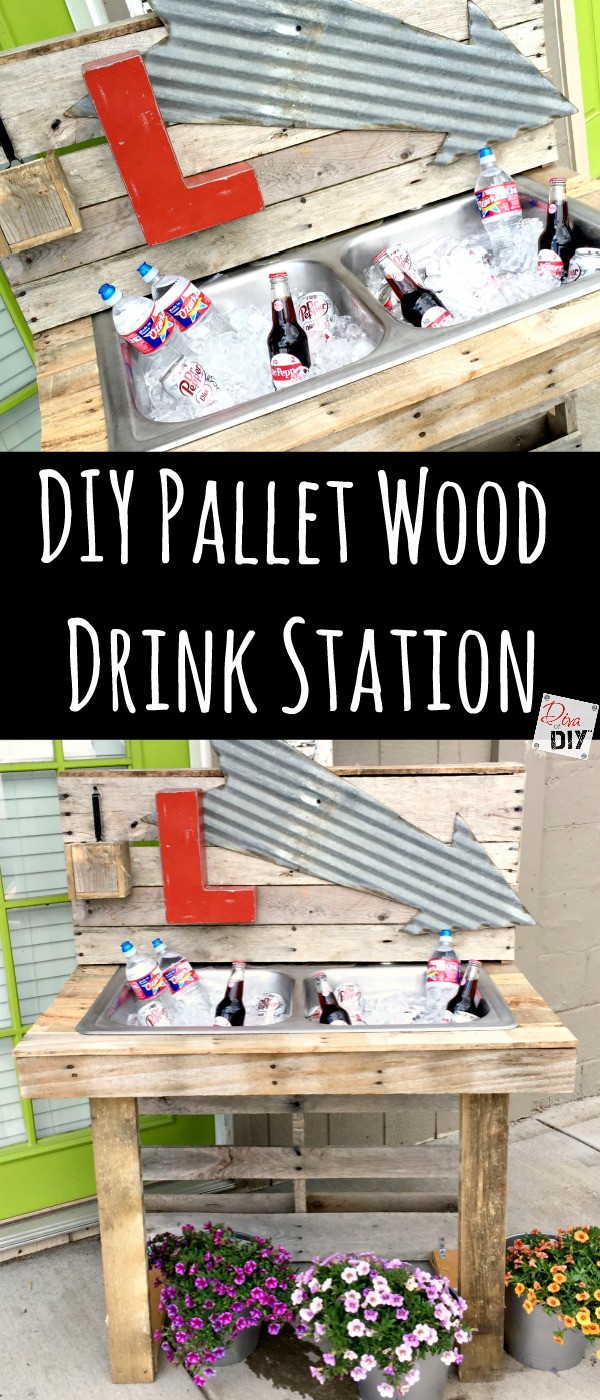
I can’t wait to fill this up on the dock at the lake this summer!
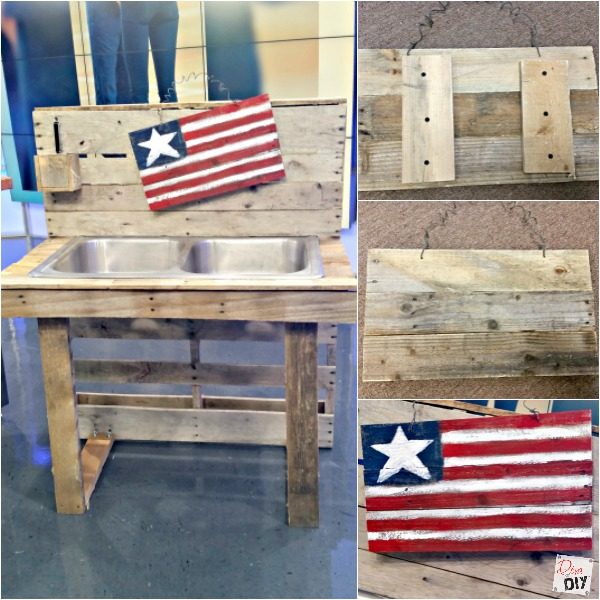
Make a quick pallet flag to hang on your station to celebrate Memorial Day and Fourth of July! Now how cute is that!!
Each and everyone of you inspire me and I LOVE to see the work that you’ve created. Feel free to share with me on Instagram, Twitter or Facebook. And as always, be sure to follow Diva Of DIY on Pinterest and sign up for our FREE Newsletter to receive the latest projects delivered straight to your inbox!
If you like this project, check out these:
