This time of the year makes me so happy. The warm weather; the smell of fresh cut grass and tulips blooming all signal that summer is coming. I can’t wait to start decorating outside and this large outdoor planter is going to be the perfect addition to our lake house fixer upper.
I knew I wanted 2 stately planters…one for either side of the front door. Have you priced planters? I couldn’t find any I liked for less that $70.00/piece
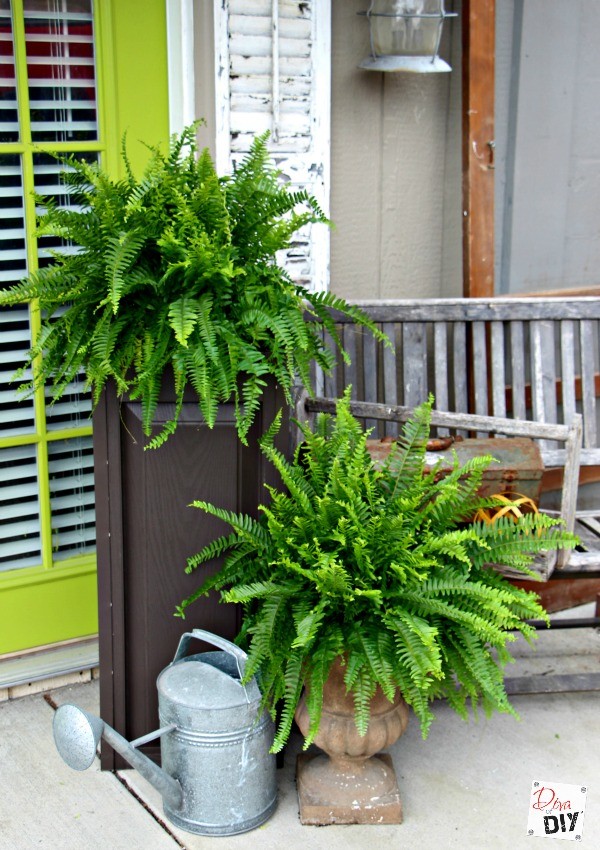
The new house is a Craftsman style so I wanted my DIY planters to have the same feel…simple with clean lines.
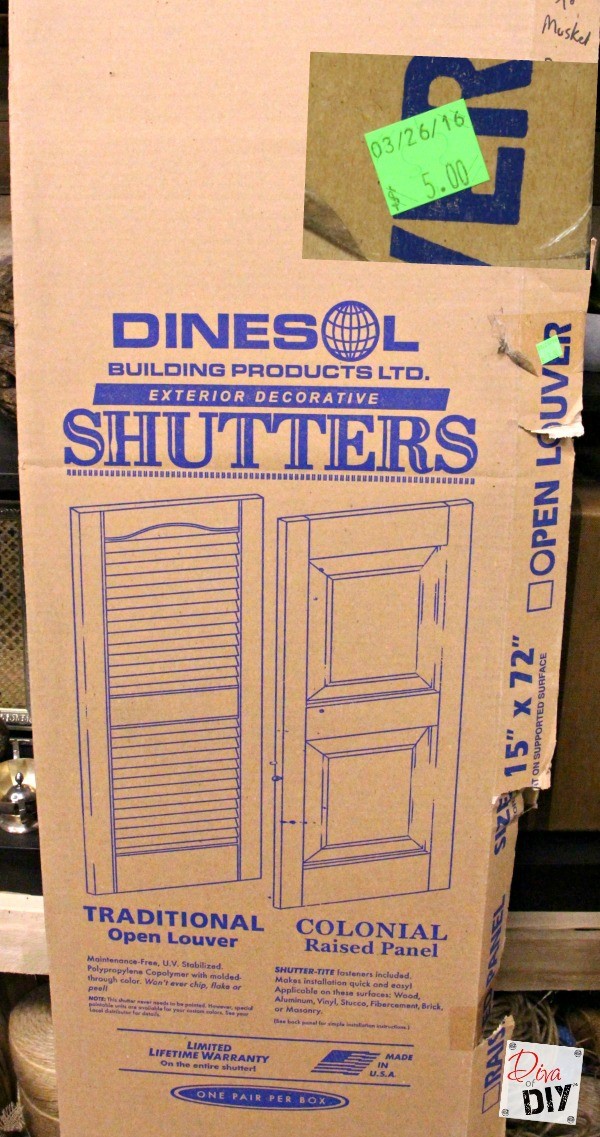
I saw a tutorial on Pinterest for planters made with wooden bi-fold doors and loved the look but I wasn’t sure how they would hold up outside. I decided to go to my local ReStore Habitat for Humanity to look for some inspiration and I found these exterior vinyl shutters. They’re weather resistant, tall enough to cut in half, and simple with clean lines…They’re perfect.
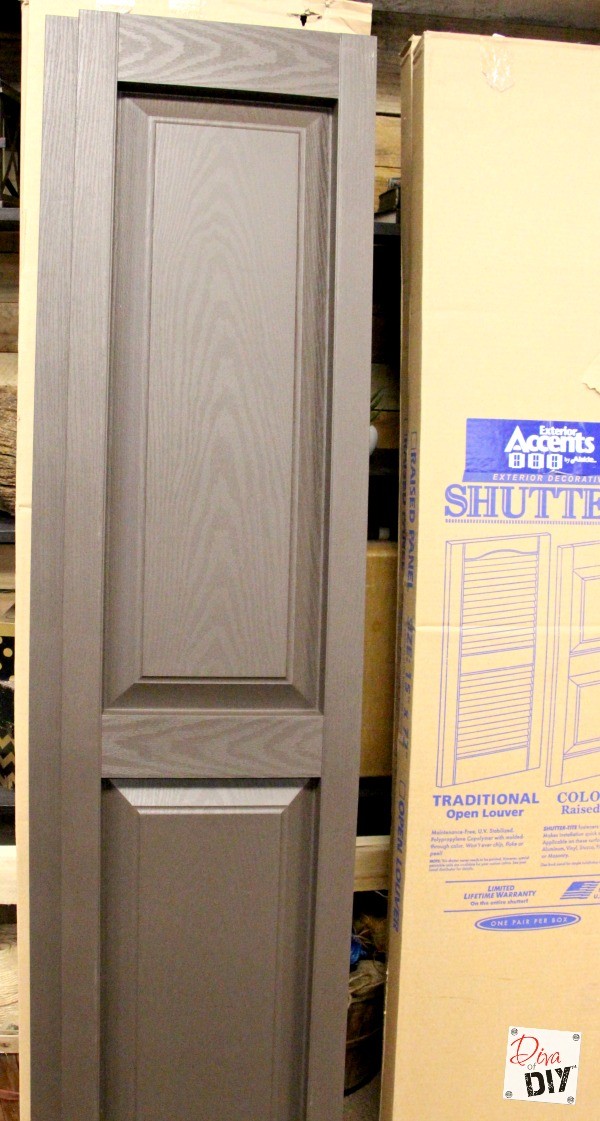
I chose the Colonial Raised panel design in Musket Brown. If you can’t find 2 sets in the perfect color, just paint them with spray paint suitable for outdoors and made to adhere to vinyl or plastic.
This post contains affiliate links. Please see my full disclosure here.
Supplies needed for Shutter Planter:
- 2 sets of shutters 60-72″ tall. Make sure the shutters are symmetrical on the top & bottom.
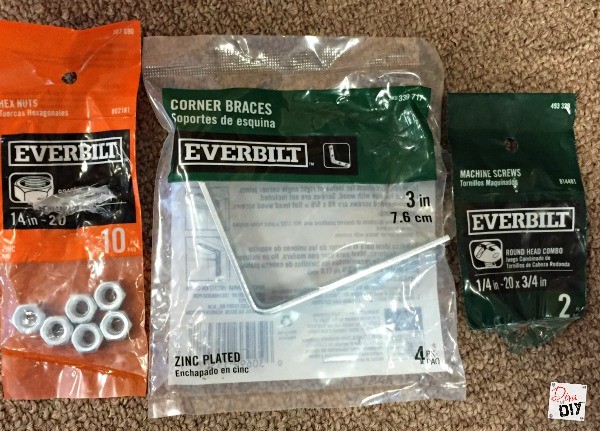
- Corner Braces
- Black Cap Screw with Hex Nut (This set is perfect for a dark color)
- Drill
- Drill Bits
- Mitre Saw (This is the one I use)
- Safety Eyewear
- Tape Measure
- Treated wood for shelf
Shutter Planter Instructions:
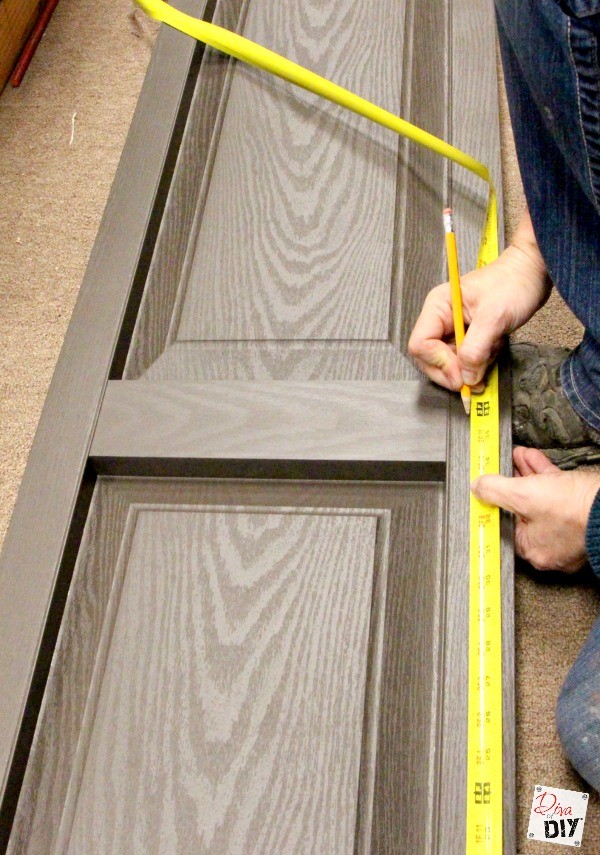
Step 1) Using your tape measure, mark the center of your shutter. My shutters are 72″ so my center point is 36″
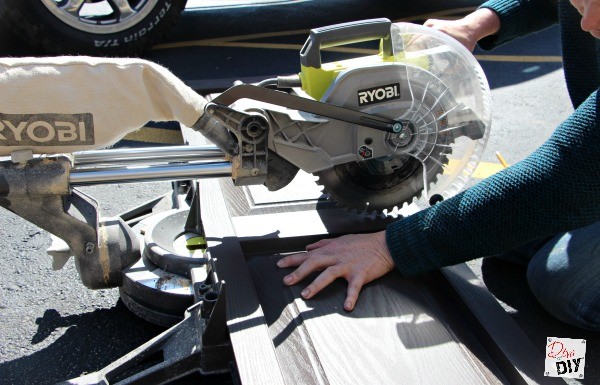
Step 2) Using your mitre saw, cut your vinyl shutter at your center point.
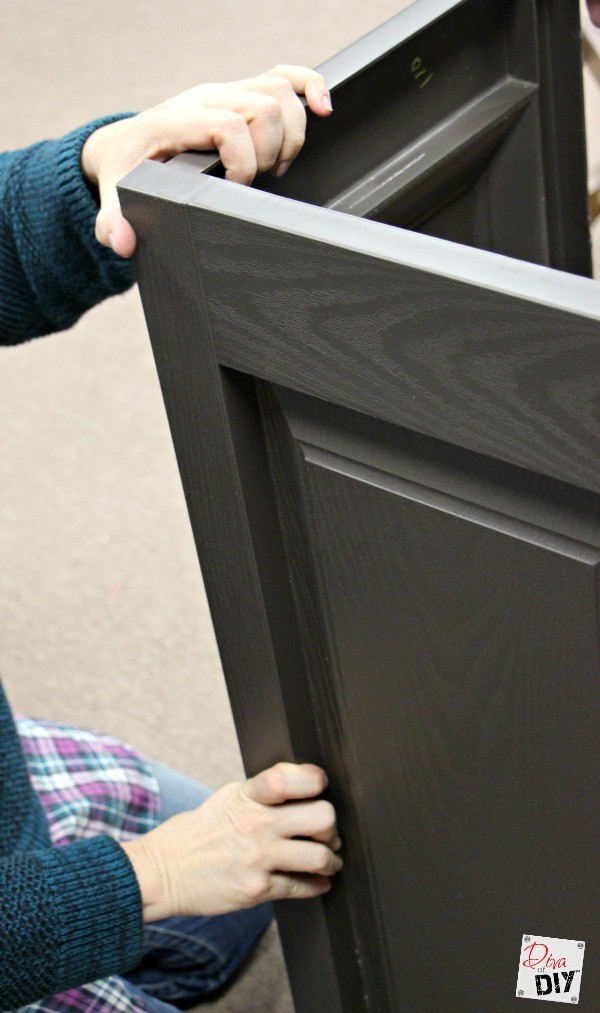
Step 3) Once you have your 2 shutters cut in half, make sure your 4 pieces line up to make a box.
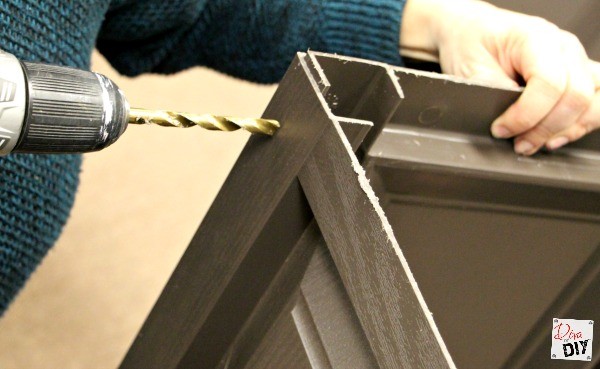
Step 4) Using your drill and bit, drill a hole at each intersection.
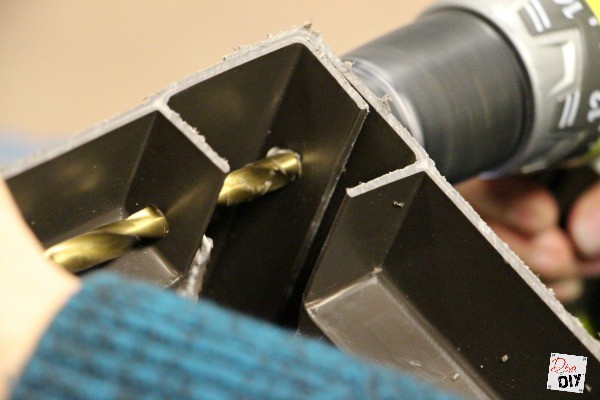
Drill all the way through both pieces.
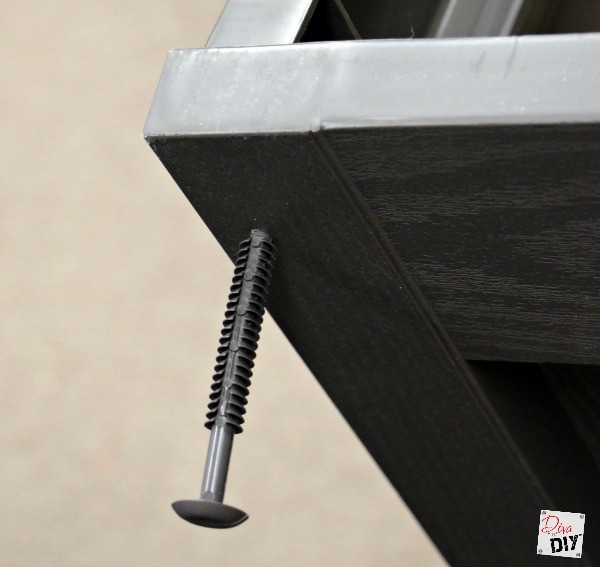
Step 5) I attached the sections with the matching vinyl spikes that came with the shutters. You can use screws instead.
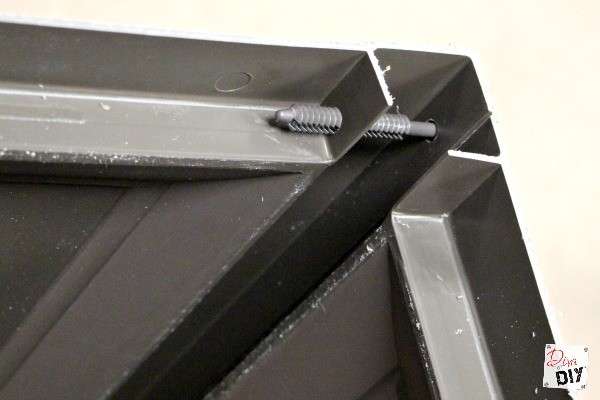
This is what the spikes look like once their in place.
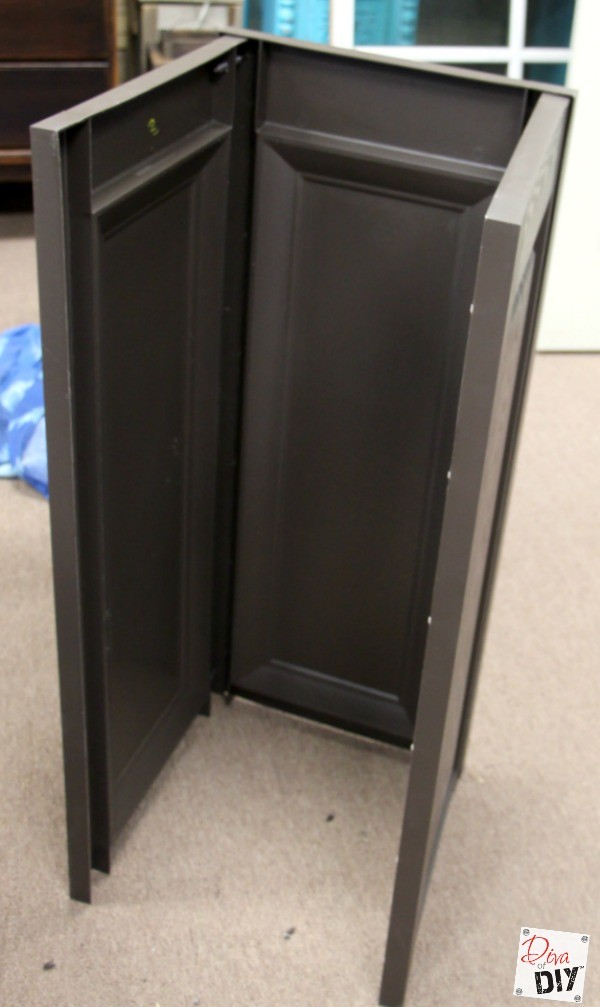
Step 6) Finish attaching all 4 sides to create a box.
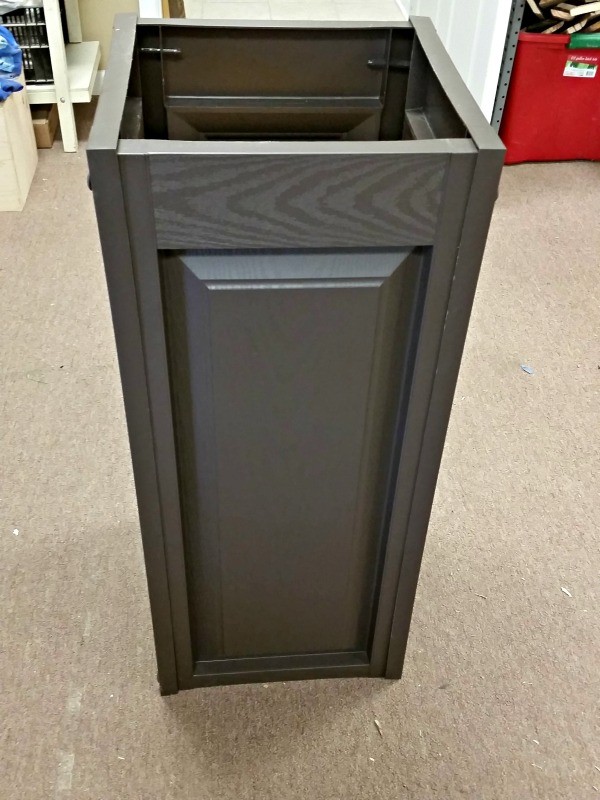
Here is your planter before the corner brackets and shelf.
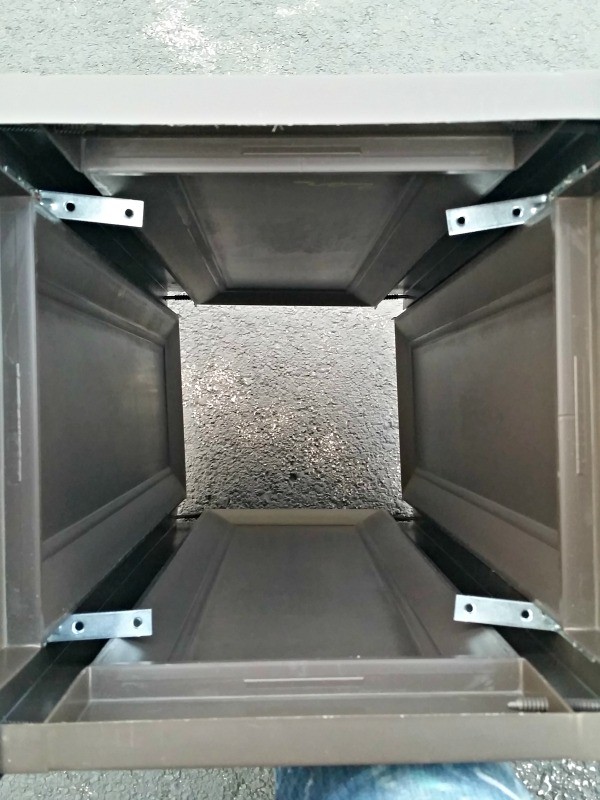
Step 7) Attach your corner brackets using the Black Cap Screw with Hex Nut (This set is perfect for a dark color) . Tighten.
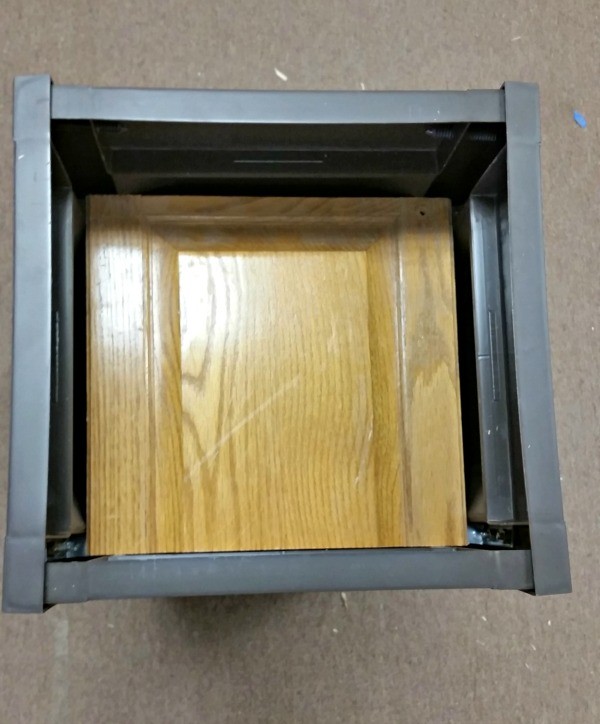
Step 8) Add shelf. I used a salvaged cabinet door but you can use any wood you have on hand.
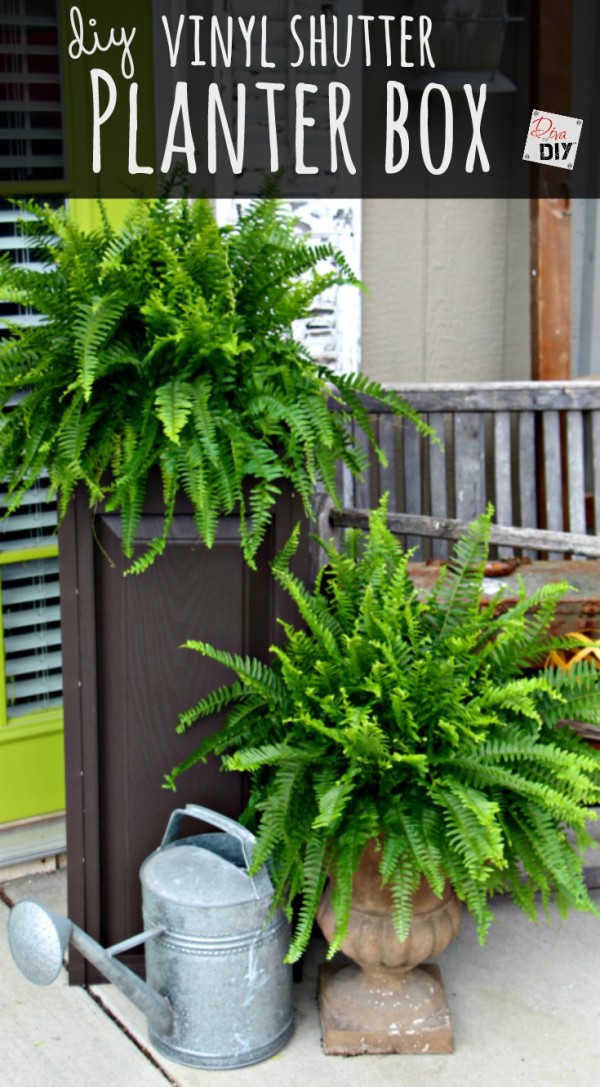
So what so you think? I am super excited to use these at the Lake House this summer. They will look amazing as long as I keep the plants alive. True confession, I struggle sometimes at making sure my planters get watered as often as they should. Hey, a girl gets busy! Don’t forget to follow our Lake House Fixer Upper Series to see where these beauties will live!
Each and everyone of you inspire me and I LOVE to see the work that you’ve created. Feel free to share with me on Instagram, Twitter or Facebook. And as always, be sure to follow Diva Of DIY on Pinterest and sign up for our FREE Newsletter to receive the latest projects delivered straight to your inbox!
Check out the other DIY projects I have done for the Lake House:
