This Valentine’s Day Craft is one of my favorites. I love string art. It’s super easy and inexpensive because it uses free pallet wood as its base. This is a great project for all ages.
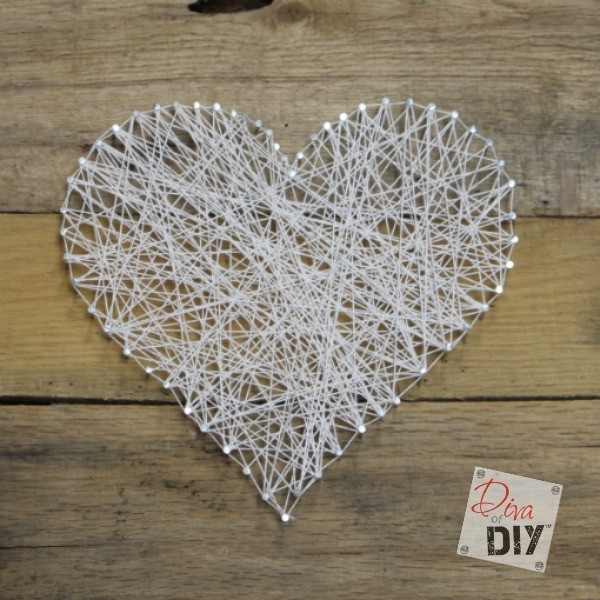
Valentine’s Day Craft Supplies
- Pallet Wood
- 1″ Wire Nails
- Printable Design {or free hand it if ya are that good, I’m not!}
- Hammer
- String
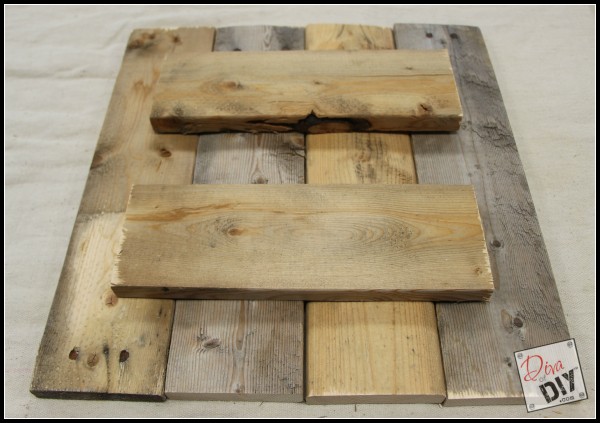
Valentine’s Day Craft Instructions
Step 1) Begin by cutting 3-6 pallet boards the same length. This length depends on the size of your project. I cut 4 boards 16″ long.
Step 2) Cut 2 more pallet boards long enough to fit across your first boards.
Step 3) Screw these into the back of the pallet wood to hold them together. I cut these 2 boards 14″ long.
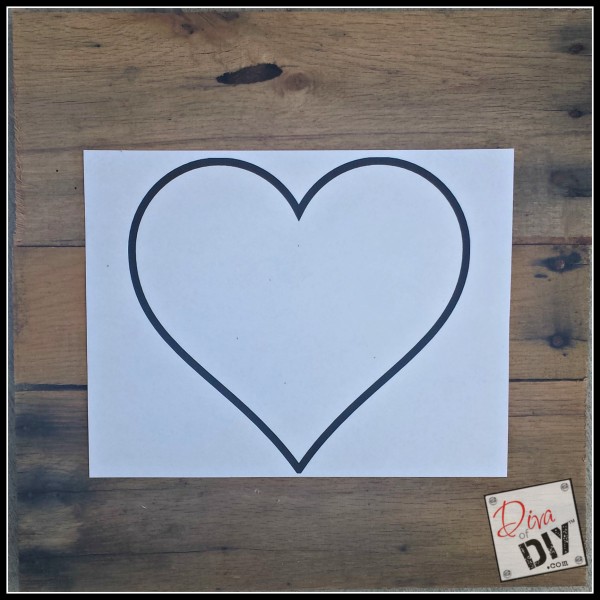
Step 4) Find your favorite Valentine’s Day Craft clip art picture and print it out on inexpensive copy paper. Here are a couple of my favorite string art “printables”.
Step 5) Lay the paper across your Pallet boards and tape it down when you find the position you like. This will keep your pattern in place.
For my string art projects, I like to use 1″ wire nails . I am telling you this picture because if you have never been down the nail/screw aisle of a big box hardware store….it can be overwhelming! lol
You will need quite a few nails and you can’t reuse them, so buy a decent sized box. Plus…I promise you will use the rest of them in another string art project…it is addictive!
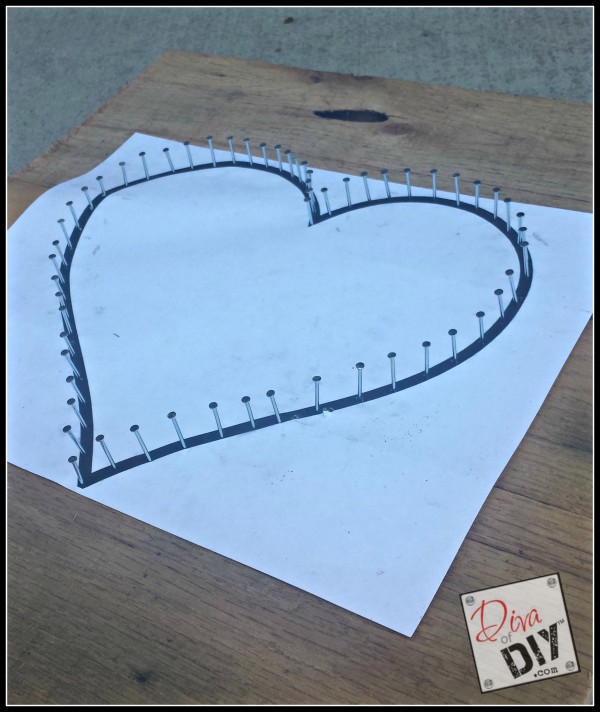
Step 6) Hammer nails all the way around the pattern leaving a 1/2″ gap between nails to make it easy to wind in and out of each space.
Step 7) Remove the paper and you have your string art template. Honestly, I like it just like this. I could see using big-headed nails and creating a work of art without the string. We will save that for another day…but have no doubt I will try it.

This is where our string art comes to life! I love this part and your kids will too! You can use any type of string. I used a large spool of embroidery thread. You could use baker’s twine, yarn,jute, paracord, etc…
Step 8) Tie off one end of the string to one nail. I doesn’t matter which nail…pick any one you want.
Step 9) Begin wrapping the string around the circumference of your design. I like to make one full loop around each nail for the entire circumference of the design.
Step 10) Once you have gone all the way around the circumference of your string art, begin zig-zagging across your design making sure to catch the string on the head of each nail.
Step 11) Repeat this process until you have filled your design in completely.
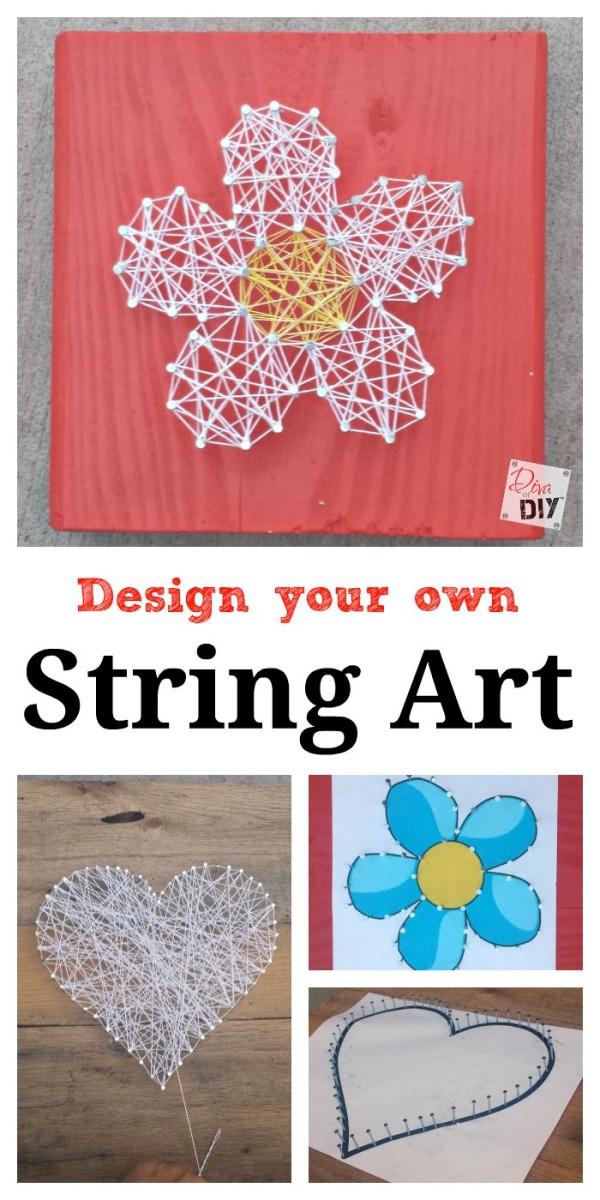
Did this Valentine’s Day String Art tutorial help you create your own Valentine’s Day Craft? If so, I would LOVE to see how yours turned out! Simply tag me on Instagram, Twitter or feel free to upload your image to The Diva of DIY Facebook Page! It really puts a smile on my face to see the projects that you created ![]()
If you like this project, check out these:

