Looking for a fun super simple craft to keep the kids busy? Whether they are off school, need a indoor craft for a rainy or snowy day or just to beat the heat this Shaving Cream Art is super fun for kids of all ages! I actually like doing this outside on the picnic table so the kids can have as much fun as they want without worrying too much about the mess!
When it comes to kid crafts you’ve got to be creative and come up with ways to play with items that you already have in your home. Chances are you have paper, shaving cream and a few colors of acrylic paint lying around, right?!? Well, let’s put them to good use by keeping the kids hands busy for even just a few minutes. However, I’m willing to bet this Shaving Cream Art project is going to keep them busy for at least a good 30 minutes!
This would also make a great project for a rainy or snowy day. I would lay down some newspaper that’s heading to the recycling bin to make clean up a bit easier!
This post contains affiliate links. If you buy something from clicking one of my links, I will get a commission from the sale. You can see my full disclosure here. Thank you for supporting my blog!
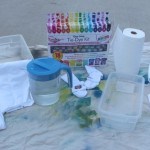
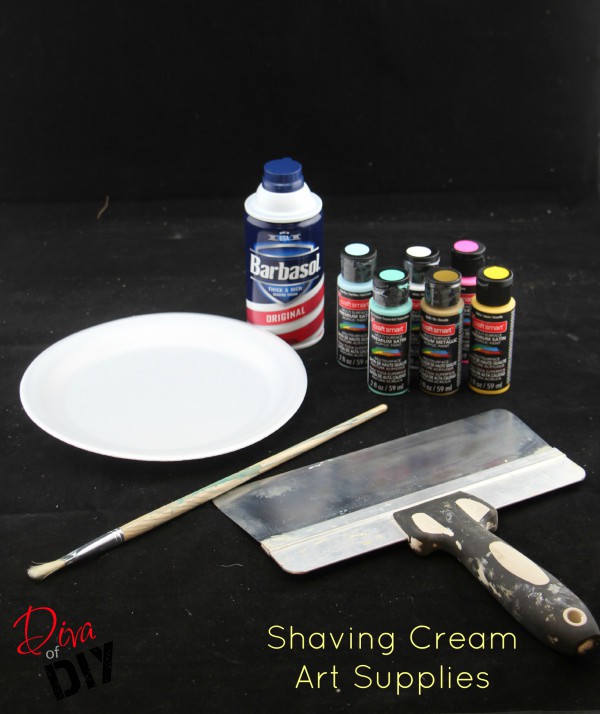
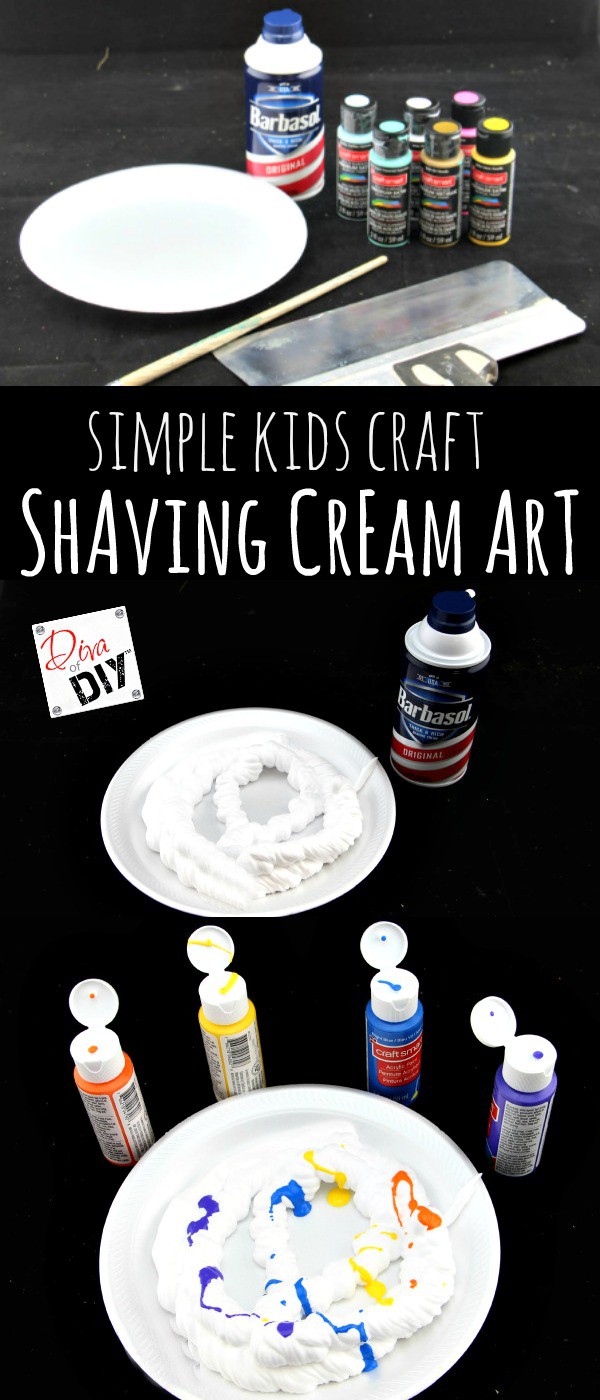
Shaving Cream Art Simple Craft Supplies:
- Styrofoam Plate or Cardboard to Mix Shaving Cream and Paint
- Shaving Cream
- Trowel or squeegie
- Cardstock
- Acrylic Paint
in various colors
- Something to swirl the paint around with- the back of a paintbrush, popsicle sticks
, unsharpened pencil…


Shaving Cream Art Simple Craft Instructions:
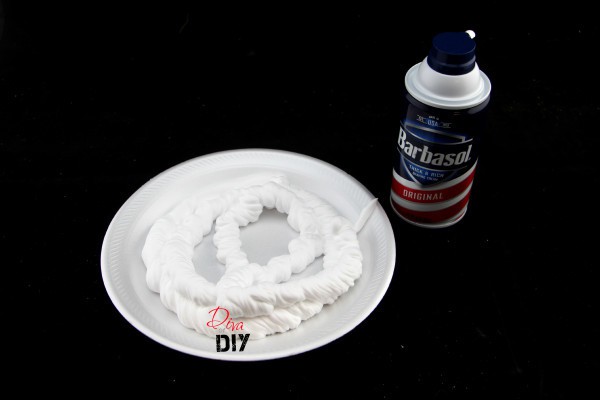
Step 1) Spray shaving cream
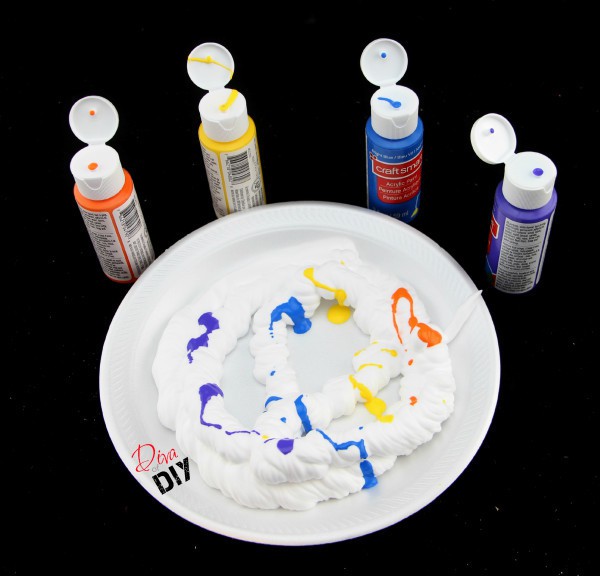
Step 2) Add drops of acrylic paint
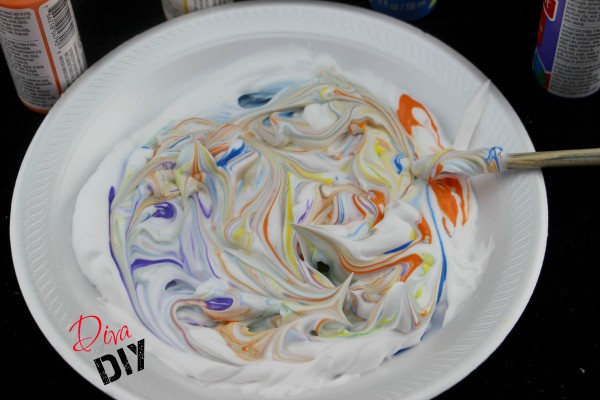
Step 3) Mix the shaving cream and paint up a bit. This is going to give you the design and coloring for your shaving cream art.
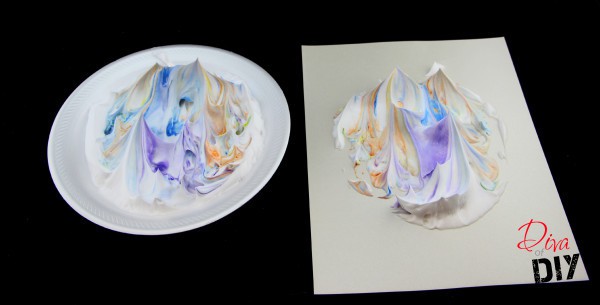
Step 4) Place your paper over the top of the shaving cream and paint mixture. Very slightly press the back of the paper down into the shaving cream mixture.
Step 5) Carefully lift the paper off the shaving cream mixture.
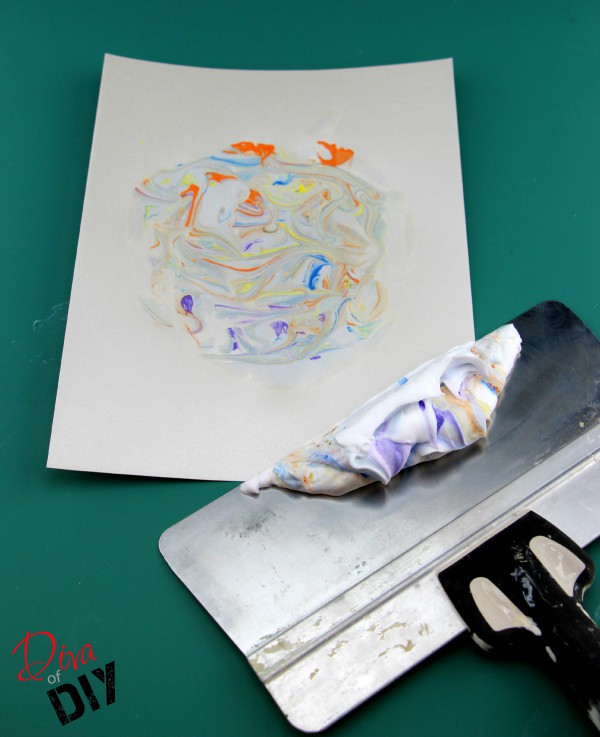
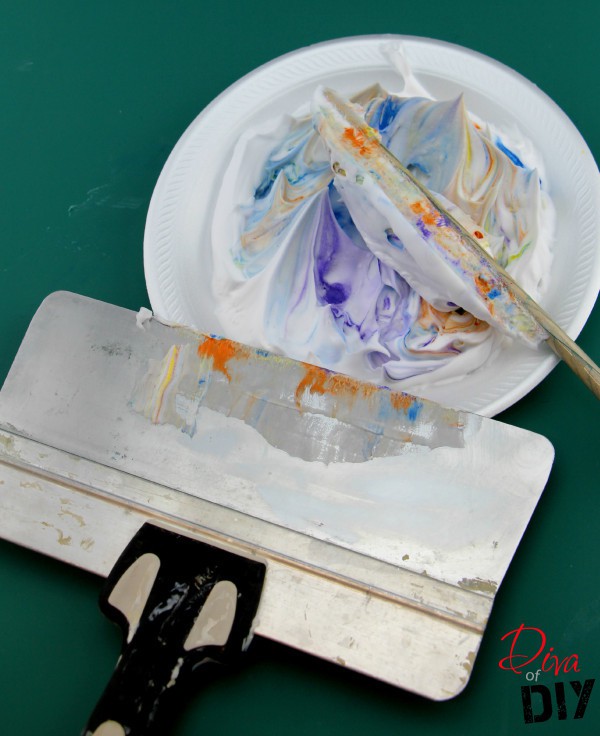
Step 6) Using your trowel or squeegee 
Step 7) Allow the card stock to lay flat to dry.
Step 8) You can place your access shaving cream back onto the shaving cream/paint mixture. Repeat the process as many times as you would like.
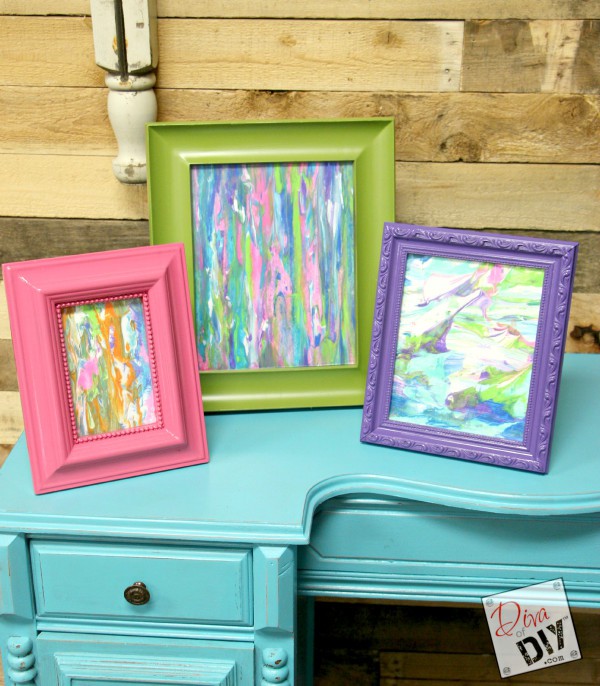
I promise you are going to get right in there with the kids on this one! This paper makes great backgrounds for personalized cards or background of your favorite quote! If you want to give this as a gift place your Shaving Cream Art in a frame from the Dollar Store for a personalized, but yet, inexpensive gift. I think these would be a great addition to a kids room or even a playroom to liven the space up a bit. Heck if you are a school teacher this would also make a great project 😉 Okay – I was really enjoying this project maybe a little to much.
Each and everyone of you inspire me and I LOVE to see the work that you’ve created. Feel free to share with me on Instagram, Twitter or Facebook. And as always, be sure to follow Diva Of DIY on Pinterest and sign up for our FREE Newsletter to receive the latest projects delivered straight to your inbox!
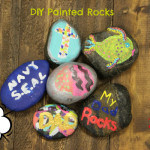
If you like this project, check out these: