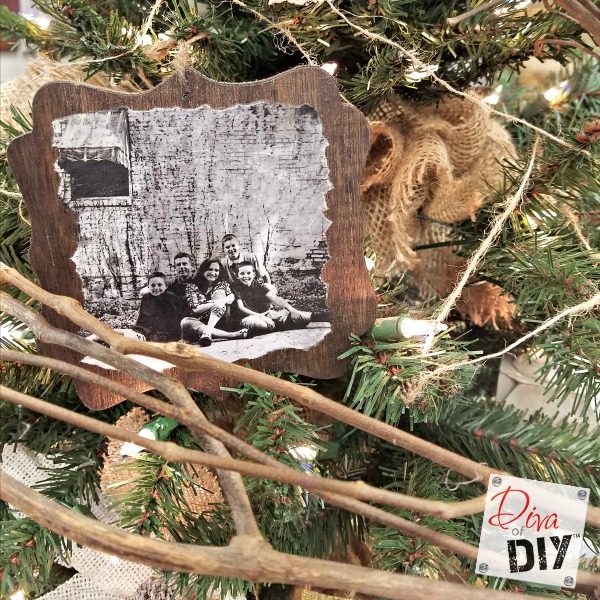
These handmade wooden ornaments are just the right added personal touch to your rustic holiday decorations! My oldest son is a Senior in High School this year and you know what that means, Sr pictures! I decided to do something special with them and make these wooden ornaments to put on everyone’s packages this year to remember this special year for Connor!
Wooden Ornaments Supplies:
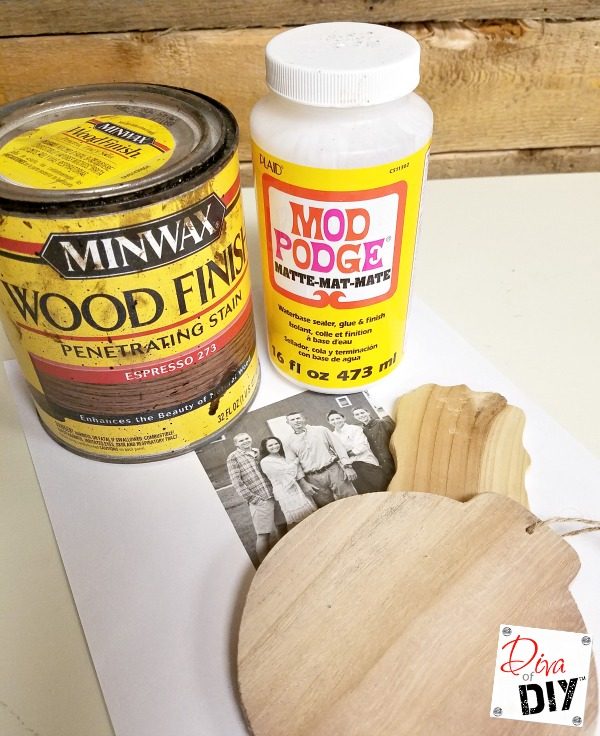
You will need…
- Wooden Ornament or plaque
- Photo Copy of Picture
- Mod Podge
- Wood Stain
- Brush
Wooden Ornaments Instructions:
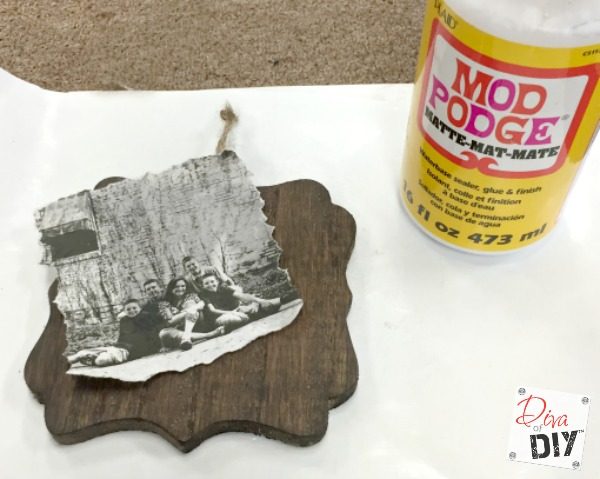
Step 1) Stain the wooden ornament or plaque. Let dry.
Step 2) Tear out the copy of the photo into the size you need. You can also use scissors, I personally like the rustic look of the torn edges.
Step 3) Brush the back of the copy of the photo with Mod Podge.
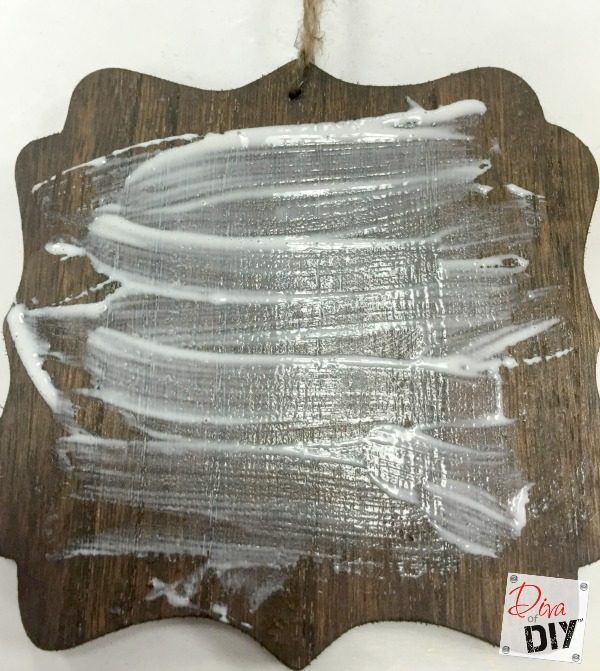
Step 4) Brush a layer of Mod Podge onto the wooden ornament or plaque.
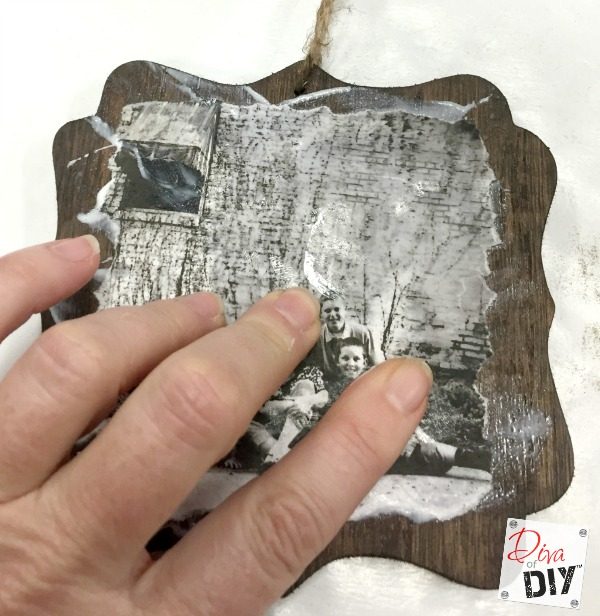
Step 5) Place the photo down flat on the wooden ornament .
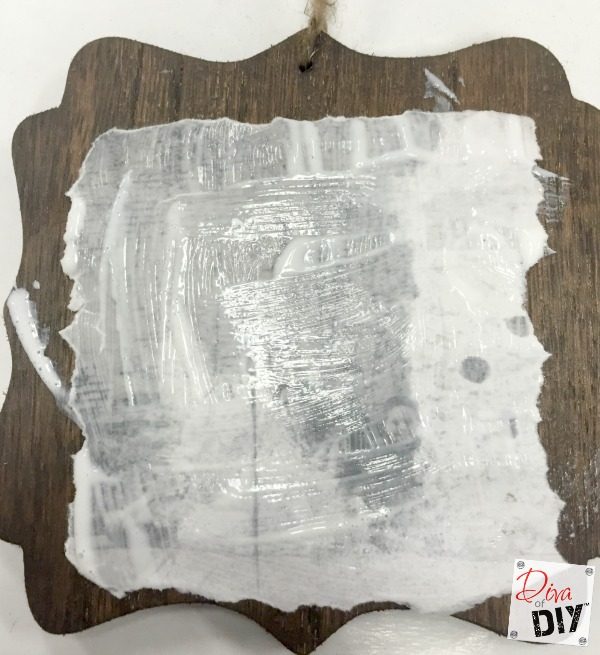
Step 6) Brush on a layer of Mod Podge then smooth out any bubbles carefully with your fingers until the photo is smooth.
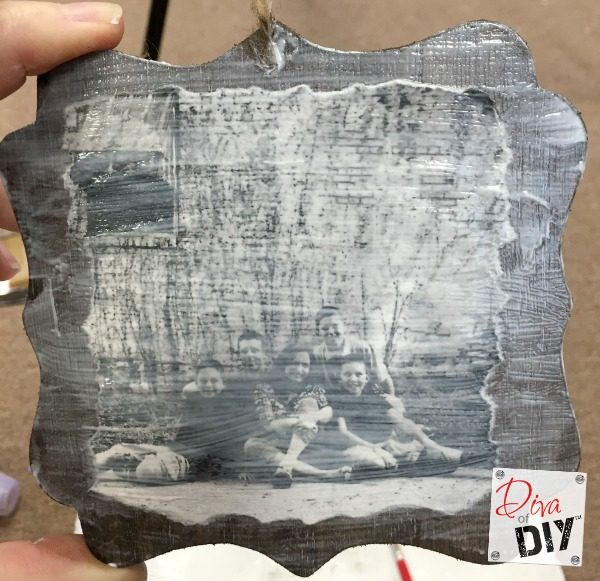
Step 7) Cover the top of the ornament with a final layer of Mod Podge. Let dry.
Step 8) If the wooden ornament doesn’t already have a hole or a hanger you can drill a small hole at the top or hot glue a piece of jute to the back of the ornament.

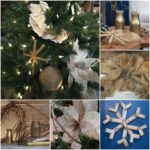
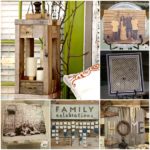
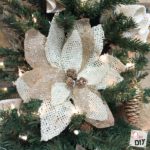
These look great on a Christmas tree and check out how they look on packages! I don’t know about you, but getting or giving that little extra present on top of a package is like icing on the cake! Check out these awesome burlap packaging ideas here:
Each and everyone of you inspire me and I LOVE to see the work that you’ve created. Feel free to share with me on Instagram, Twitter or Facebook. And as always, be sure to follow Diva Of DIY on Pinterest and sign up for our FREE Newsletter to receive the latest projects delivered straight to your inbox!
If you like this project, check out these: