Fairy gardens add such a whimsical feel to any garden. Who doesn’t want to think that there are tiny little fairies who inhabit your garden when you are not around? I have a little spot in my flower bed and love it, but you know me my need for creativity is not usually fed enough with just one project so I let my ideas run wild making this fairy garden village, with DIY accessories!
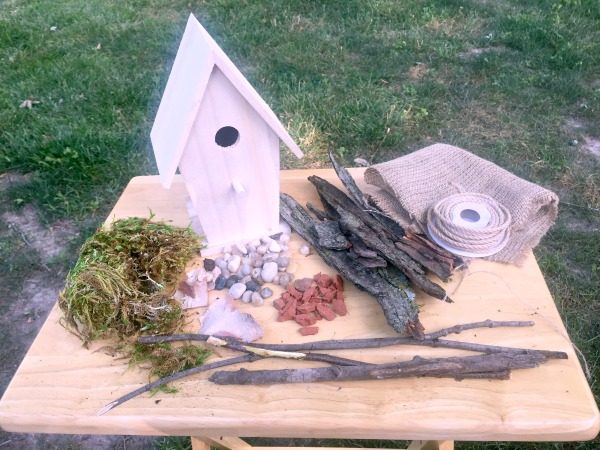
For my Fairy Garden Village I decided to think inside the box…literally! I am a think outside the box girl but there are times to keep your thought inside the box! Call me cheap, thrifty or obsessed with recycling, but I’m not about to pay $30 for a 7 piece “starter kit”. So what’s a Diva to do? I took a walk in my yard for some inspiration and then went through some leftover project supplies in the shop that I thought I might need to create my very own Fairy Garden. If you are lucky enough to have little people helping you just turn the supply gathering into a big scavenger hunt!
Fairy Garden Supplies:
All other supplies are up to you! Make your fairy garden your own. My job is to just get your creative juices flowing…
Optional supplies for your unique fairy garden:
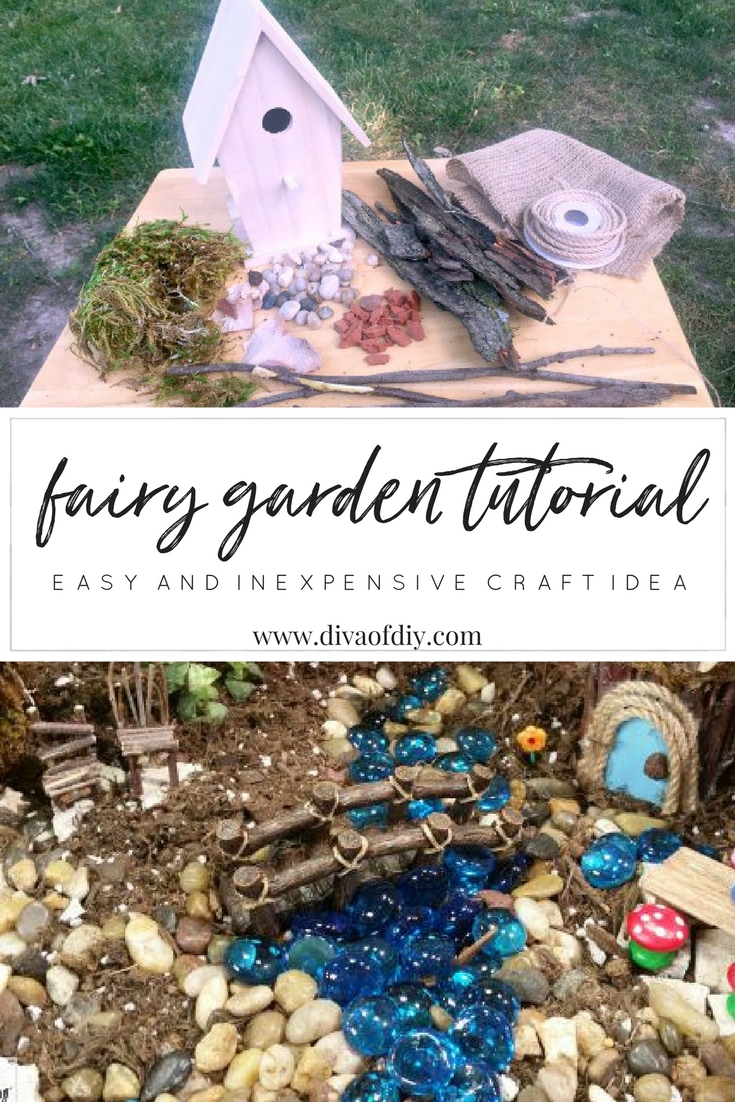
- Craft leftovers- wooden shapes, moss, burlap, twine, blue gems, upholstery tacks, rocks, tile, Crayola Model Magic
- Yard finds- sticks, tree bark, rocks, bricks, small birch tree branch
- Wooden box or crate – if you choose to build a box village
- Wood stain – this is what I used
- Tin snips
- Glue – I used a combination of hot glue and e6000
- Acrylic paint
- Store made fairy garden accessories
- potting soil
- succulents or other small plants
I started by using a wooden bird house for my structure. This is a great shortcut structure base to build your fairy house on. Then I gathered my natural supplies found in my yard, and finally added some leftover craft supplies from my stash to round it out. I had leftover tiles from my Personalized Coasters Project, gems from DIY Stepping Stones, burlap from fall and Halloween projects…. I think you get the idea. Lol!
So let’s get started!
Fairy House Instructions:
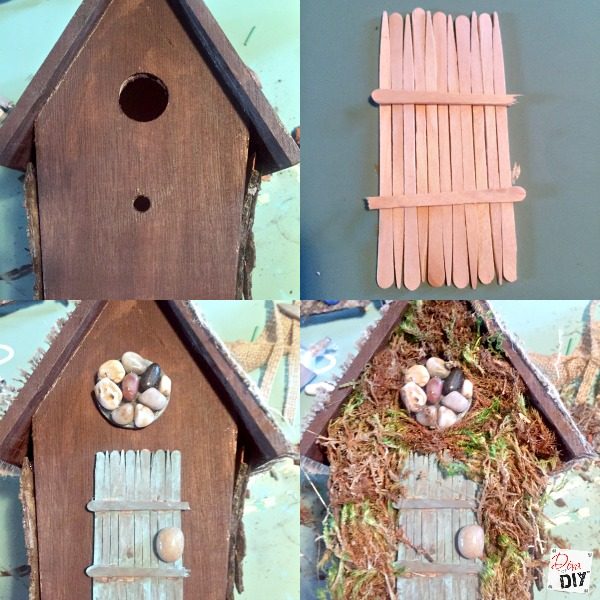
Step 1) Paint or stain the wooden birdhouse.
Step 2) Begin decorating.
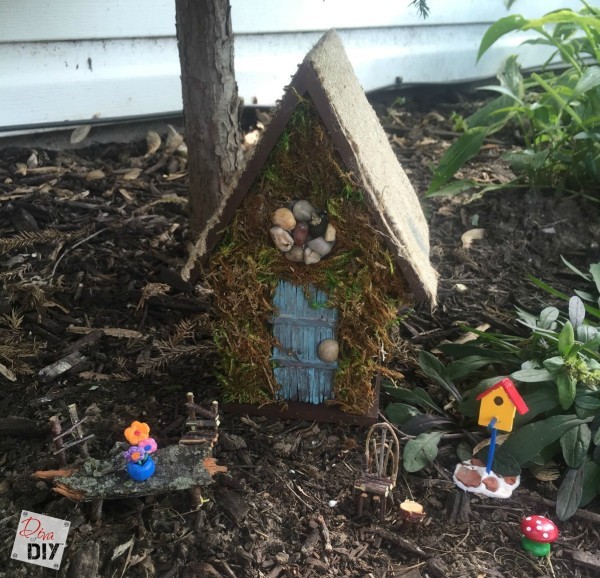
- Make a door out of woodsie toothpicks, paint door add rock for a door handle and glue door to the house.
- Cover the bird hole cutout with a circular woodsie and glue on rocks
- Glue moss on the entire front of house
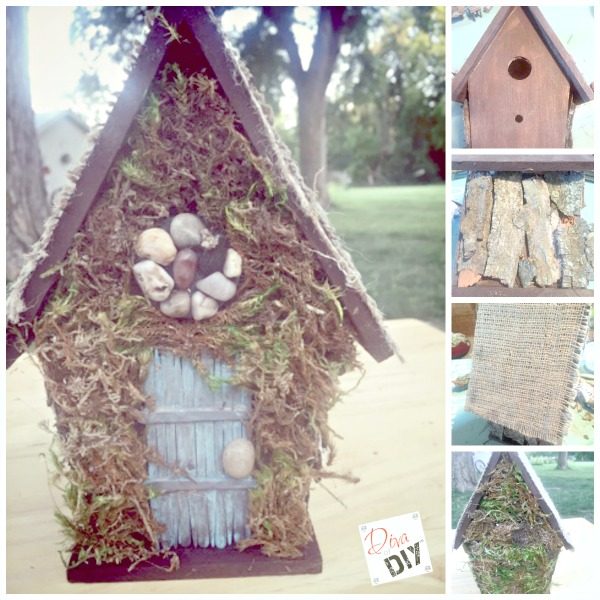
- Glue burlap to the roof
- Glue tree bark to the sides
- Cover the back with moss
Step 3) Prepare your wooden box.
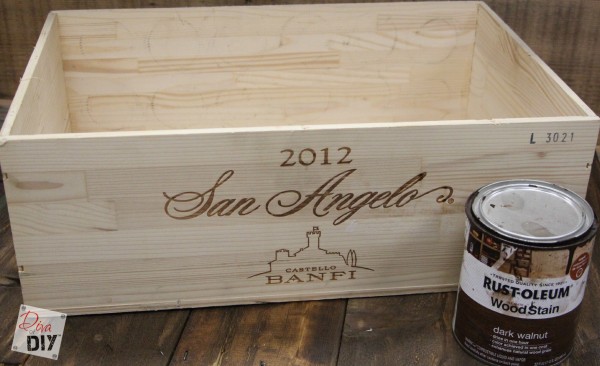
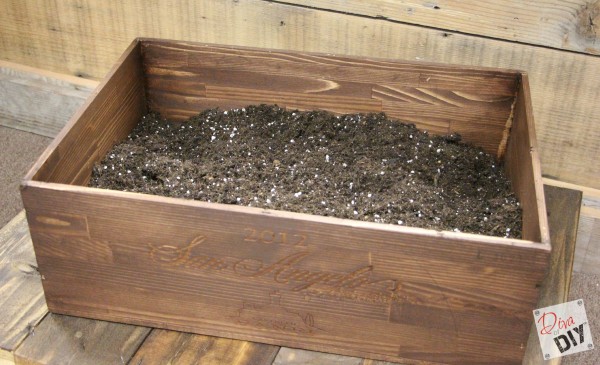
I had this San Angelo box just hanging out in corner and that is when I thought about making a fairy garden by thinking “inside the box”. This wooden box it would be the perfect base for the Fairy Garden. As always, I had some Rust-oleum Wood Stain laying around. It just happened to be a Dark Walnut and was perfect for the Fairy Garden box… so it joined the supply list.
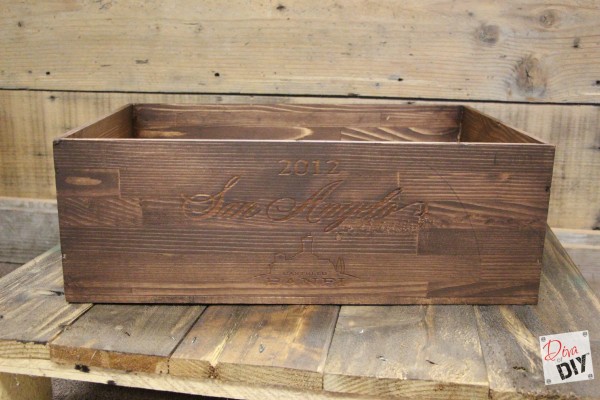
Step 4) Put potting soil inside the box and level it out to make the ground surface for your fairy garden. I had leftover soil from my Tire Planter project, again using what I already had.
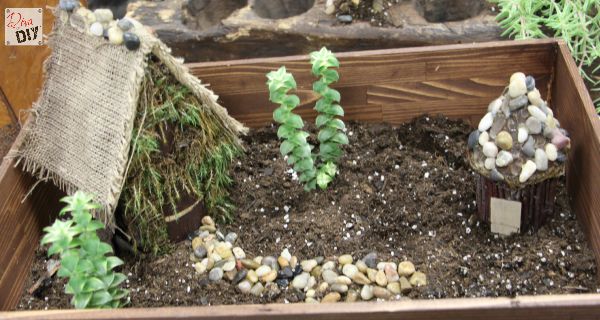
Step 5) Start making your village. Start by laying out the larger pieces and then fill in from there.
DIY Fairy Garden Accessories:
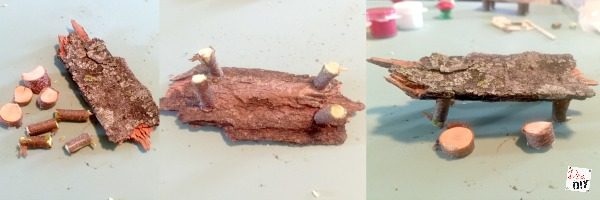
Bark Table: This is so simple! I just cut legs and sitting stool from a birch branch and glued together.
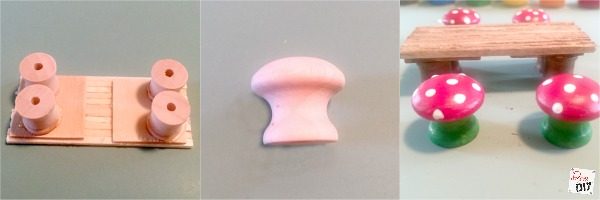
Woodsie Shape Table: I glued together a table with woodsie sticks, added 2 rectangles on the back for stability and spools for the legs.
Toadstool Stools: I Just painted the woodsie shape to look like a toadstool and added them as seating to the table.
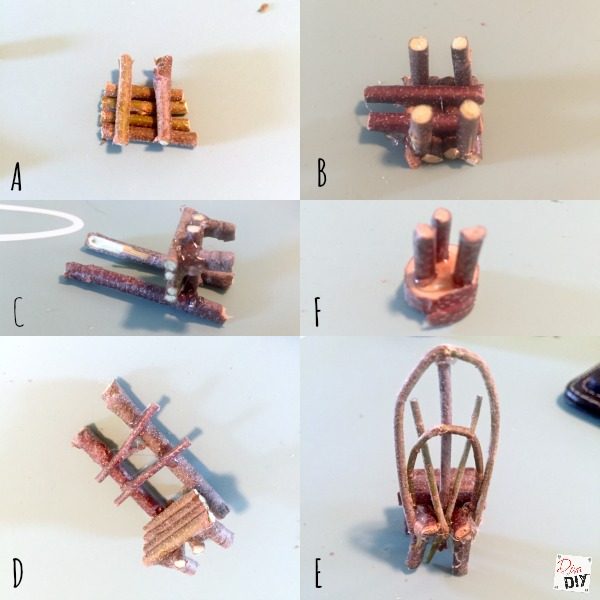 Stick Furniture: I cut a thin birch branch to make some chairs and a stool.
- A,C,D: progression of a high back chair. I just glued the pieces together with e6000
- F: an easy stool by gluing stick legs onto a larger round piece of the stick.
- B,F: glue the seat of the chair togethers shown in photo B, then glue the back on the long pieces. I used a fresh branch so it would mold to the curve.

Check out how it all turned out! I love the rock path and the succulent “trees”. I jazzed up my house by putting white paint and upholstery tacks on the roof.
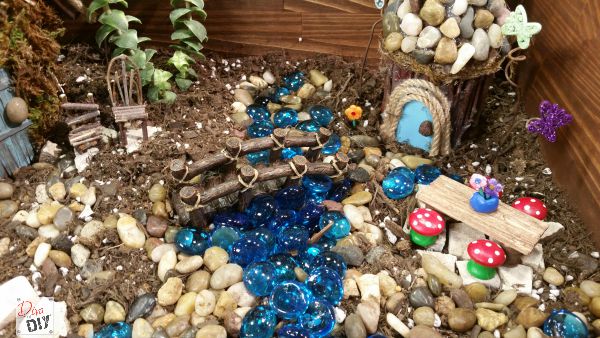
All fairy villages should have a small creek running through it! I did buy the bridge but you could make one with sticks. The flowers on the table were made with Crayola’s air dry model magic in white and then painted.
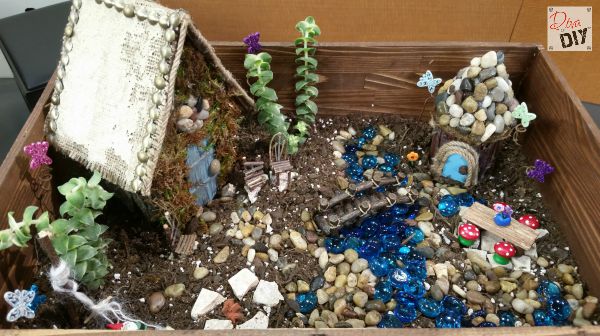
Do you see the fire pit? I just used landscape rocks for the seats and brick chunks for the fire.
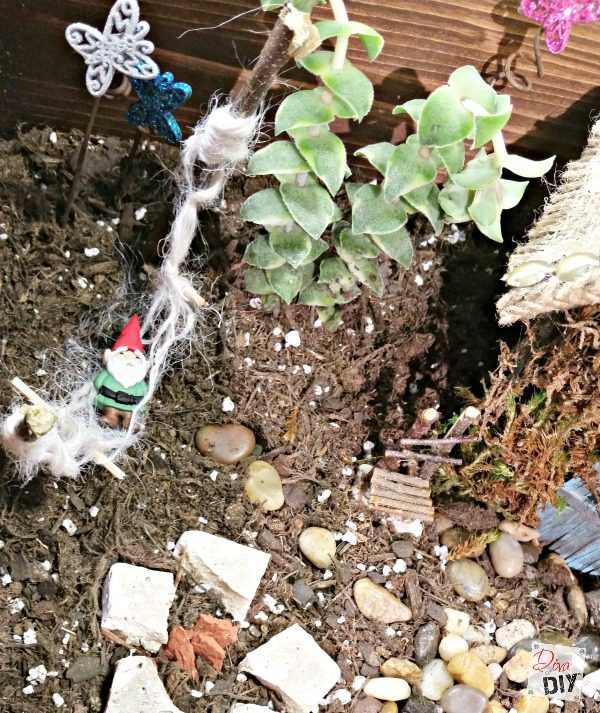
When Mr. Elf comes to visit he loves relaxing under the “tree” in his stick and twine hammock just watching the butterflies.
There is really no right or wrong way when it comes to creating your very own Fairy Garden. The more original it is, the better it will turn out. I hope that I have awaken that inner child inside you who is full of imagination and wonder, and you too will make a fairy garden!
Inside the box, or outside of it…
Each and everyone of you inspire me and I LOVE to see the work that you’ve created. Feel free to share with me on Instagram, Twitter or Facebook. And as always, be sure to follow Diva Of DIY on Pinterest and sign up for our FREE Newsletter to receive the latest projects delivered straight to your inbox!
If you like this project, check out these:
