One great way to bring the indoors outside is with a DIY solar chandelier! As the weather turns warm and we start to move our entertaining outdoors, it’s time to take a look at your space and create an outdoor space that’s just as warm and inviting as your indoor space. Yes, an outdoor chandelier! You can find outdated chandeliers at garage sales, thrift stores or maybe in your own home.
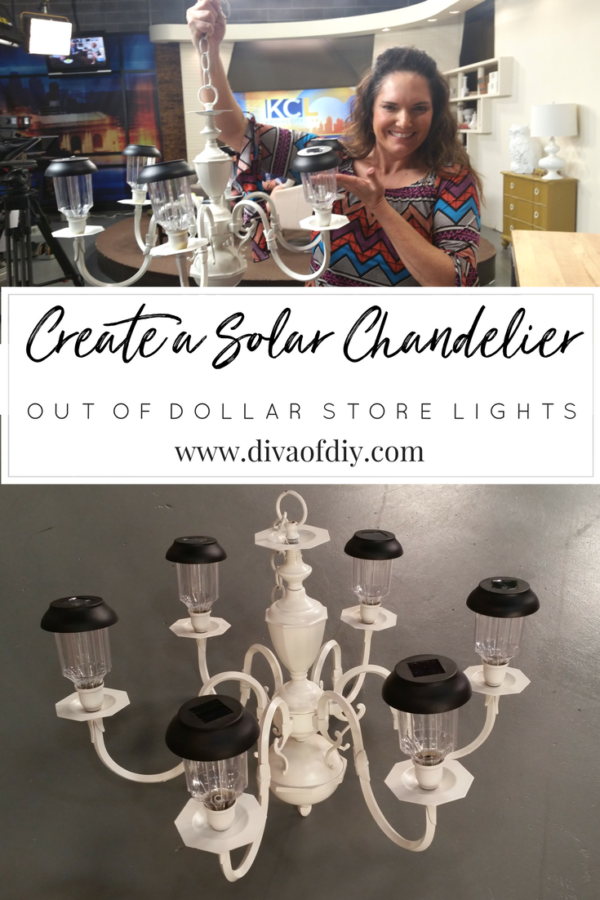
DIY Solar Chandelier:
Don’t set that old brass chandelier at the curb…re-purpose it by making this solar-powered chandelier! If you happen to have two chandeliers lying around, make a bird feeder out of the second one!
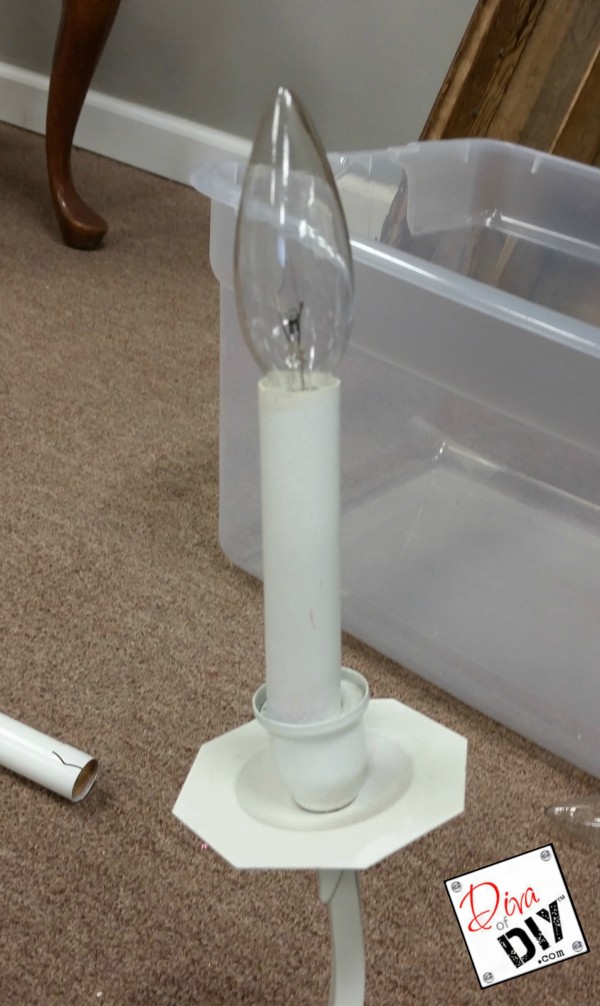
I want to apologize for my photos. This started out as a bird feeder but then I got a wild hair to make it a solar light…LOL. This is as real as it gets. My mind is like a computer with 20 browser windows open ALL OF THE TIME!
This post contains affiliate links. See my full disclosure here.
DIY Solar Chandelier Supplies:
- Chandelier
- Wire Cutters
- Solar Landscape Light
(The ones I used were similar to these)
- Heavy Duty Adhesive
(this is what I used)
- Spray Paint (optional)
DIY Solar Chandelier Instructions:
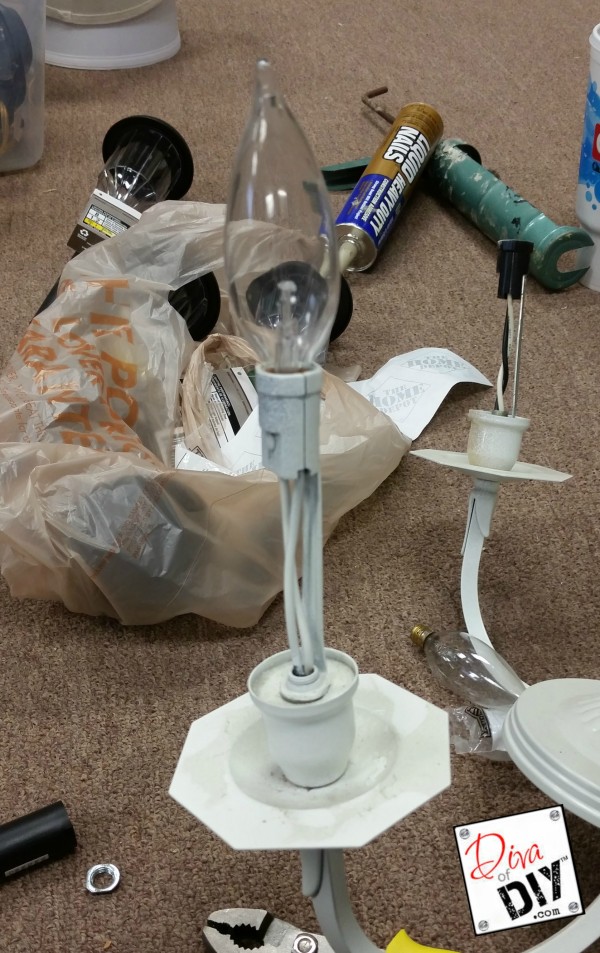
Step 1) Unscrew Light and remove white plastic tube. -yes, I know the bulb is still on in this shot. LOL
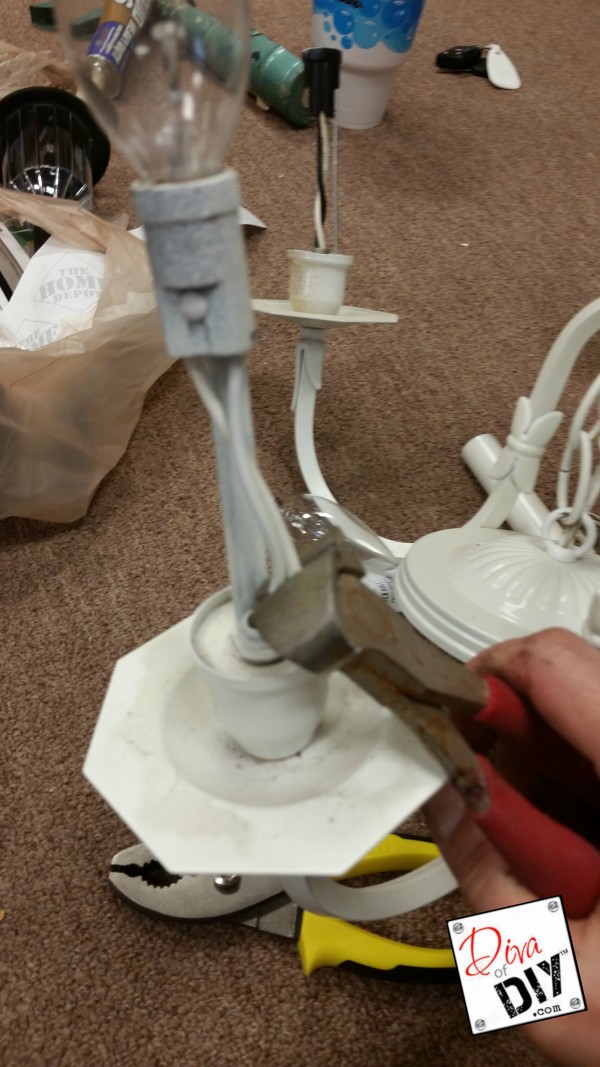 Step 2) Snip and remove lighting wires with wire cutters.
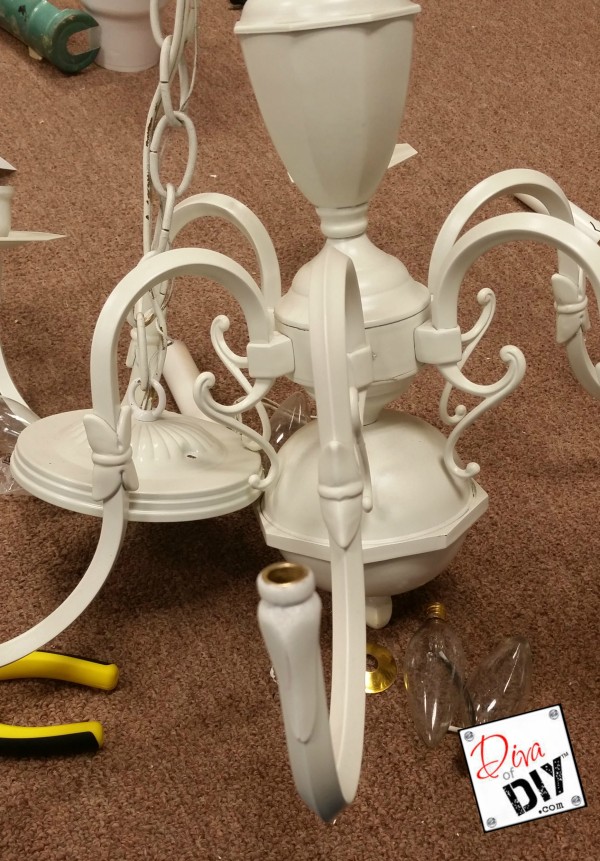
Step 3) Unscrew the light mechanism and remove any base, looking for the nut underneath. Each chandelier may be a little different but what you are doing here is making room to glue in your solar light by removing things in the way.
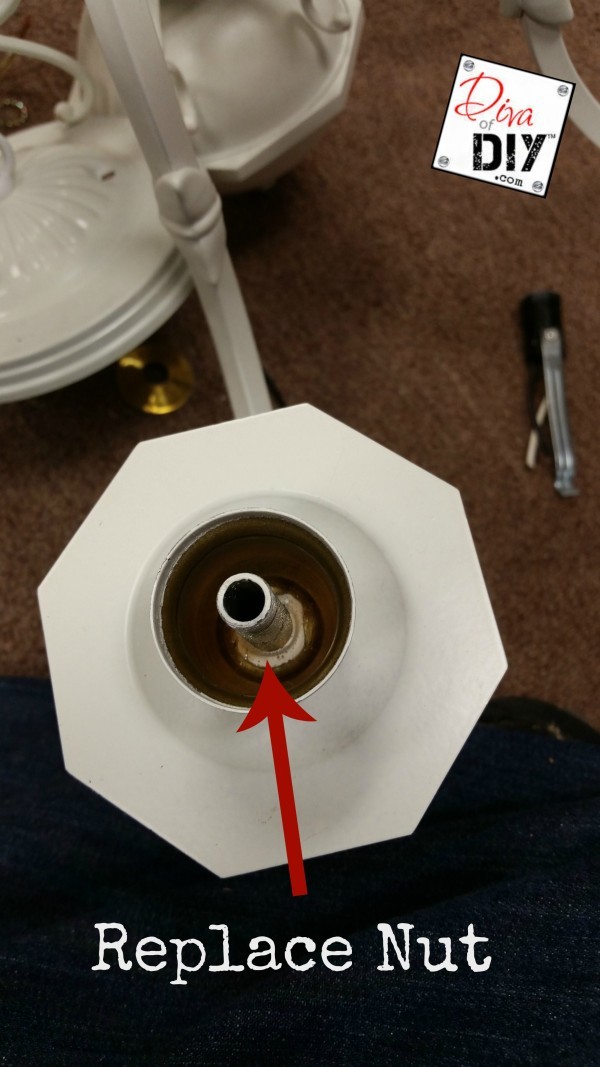
Step 4) Replace the plate and cup and reattach it with the nut.
Step 5) Spray paint chandelier. – My chandelier was white and the finish in good shape so I chose to leave it white. I did spray paint my bird feeder chandelier at this point in that project.
Step 6) Grab your solar light and remove the stick. – Save it! You can repurpose it as a garden marker or yard sign!
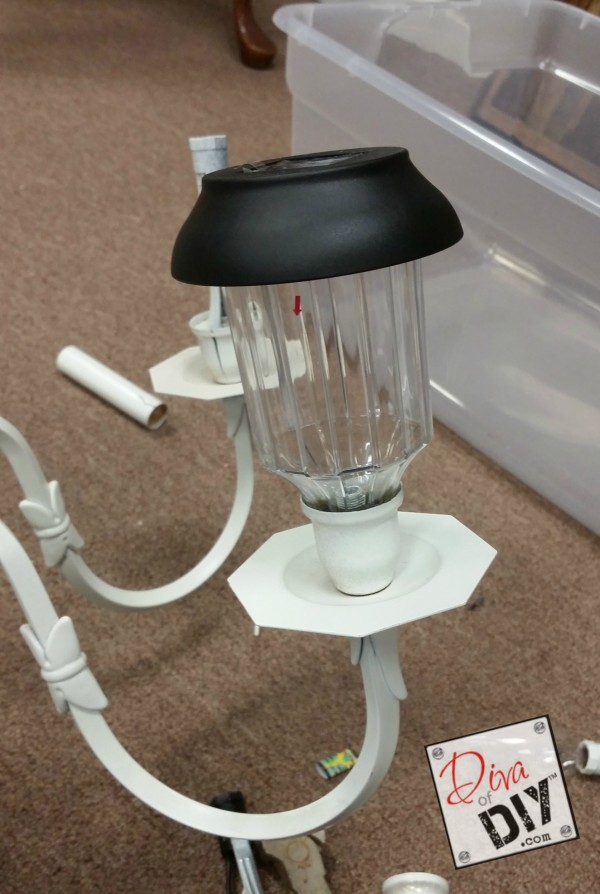
Step 7) Apply Liquid Nails around the solar light where it will touch the base of the chandelier to glue it in.
Step 8) Allow liquid nail to dry overnight and you are finished!
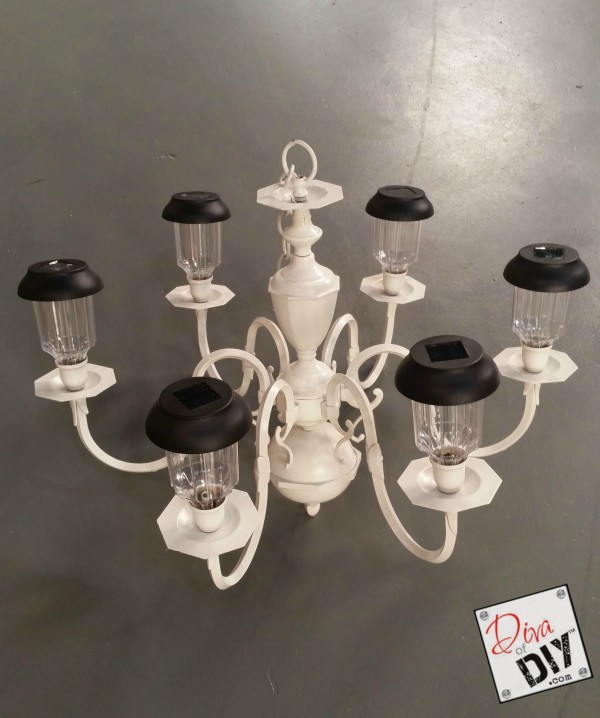
When hanging your chandelier for your garden lighting make sure the top of the solar lights are not covered so they can charge during the day and be enjoyed at night. Wouldn’t these be cute as outdoor lighting for an evening wedding?
For more outdoor lighting be sure to check out my Solar Lamp Project.
Each and everyone of you inspire me and I LOVE to see the work that you’ve created. Feel free to share with me on Instagram, Twitter or Facebook. And as always, be sure to follow Diva Of DIY on Pinterest and sign up for our FREE Newsletter to receive the latest projects delivered straight to your inbox!

