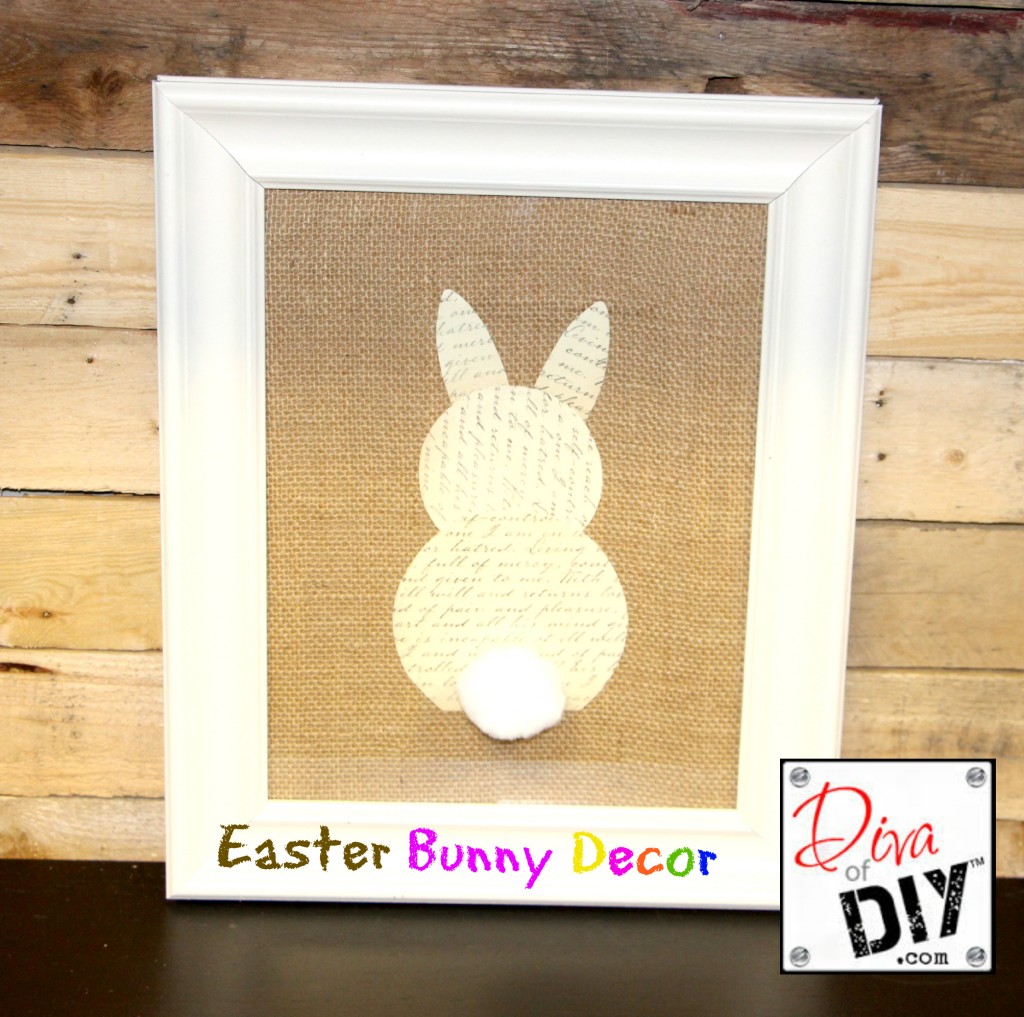
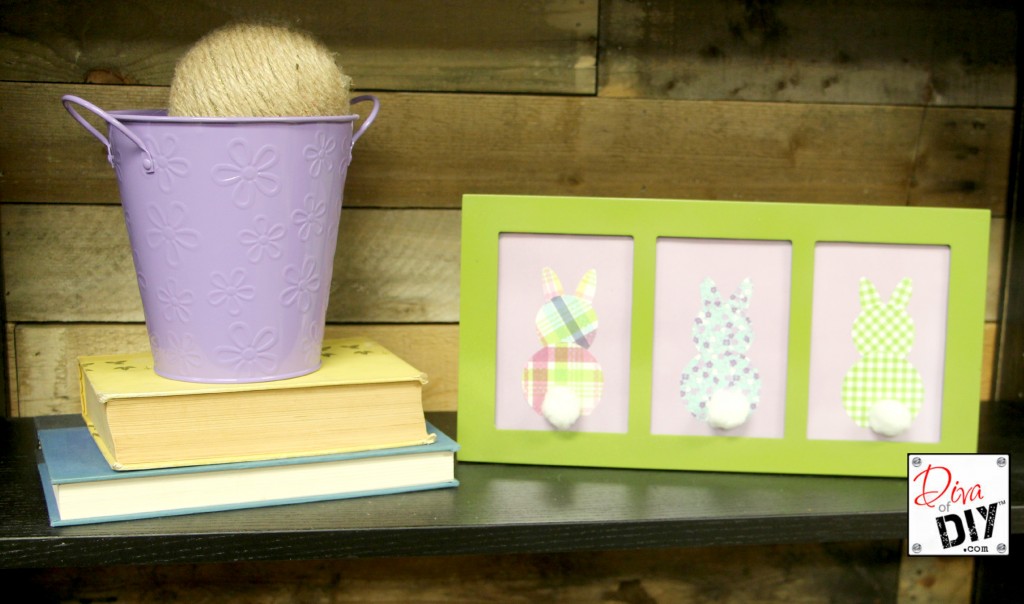
Are you looking for a super simple and inexpensive way to decorate for Easter? This Easter Bunny art is perfect and I’m willing to bet that you have everything on hand to make your very own Easter Decor!
I love to create simple pieces to use as holiday decor. The holidays come and go and I like to be as festive as possible for each holiday without being to dramatic about it. Well, except for Christmas, I like to be dramatic for Christmas! {Feel free to Tour My Home During Christmas!}.
Picture frames are a handy versatile way to decorate. You can change them out for the holidays or seasons. You can display on your entry table, in a bathroom, on your front porch, on the wall in the living room, just about anywhere. Not to mention it is super inexpensive!
When using picture frames for this type of art, I love adding some type of texture or dimension. Whether it’s to the picture frame itself or with the focal point. By adding texture you add a sense of style or completeness to the piece that it may not otherwise have. So for this project I added the burlap. If you don’t have burlap you can add a textured fabric as the background.

I have provided affiliate links for your shopping convenience. If you buy something from clicking one of my links, I will get a commission from the sale. It will not cost you a penny more and allows me to keep sharing my ideas with you for free. You can see my full disclosure here. Thank you for supporting my blog!
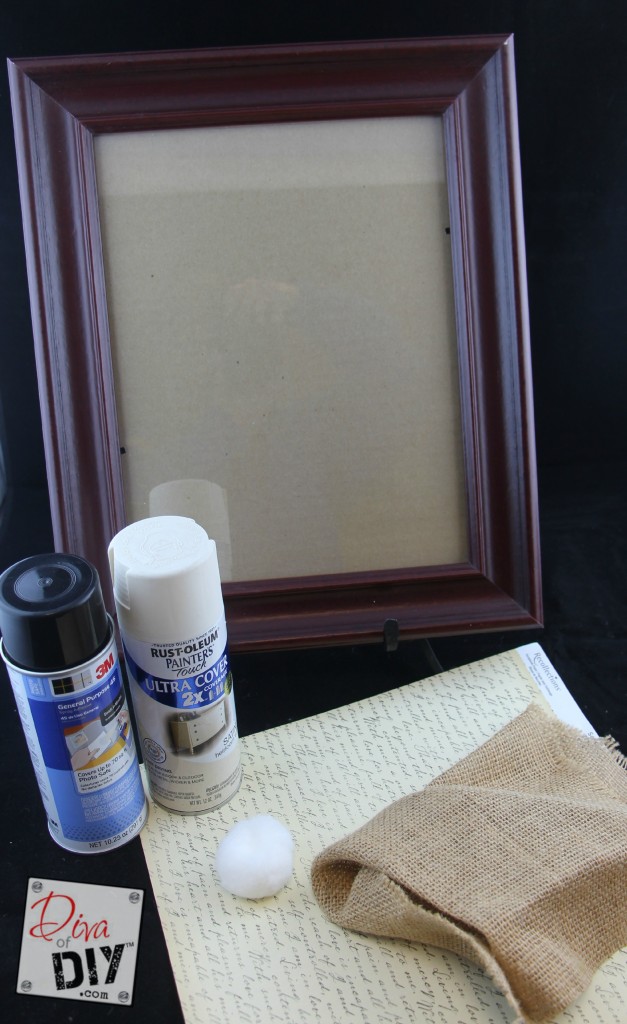
Easter Bunny Art Supplies:
- Picture Frame
- Cotton Ball
- Burlap
- Scrapbook paper
- Spray Adhesive
- Paint (for frame if it needs a update)


Easter Bunny Art Instructions:
Step 1) Paint your frame if it needs a little attention or you want to change the color. This can be done with spray paint or craft paint.
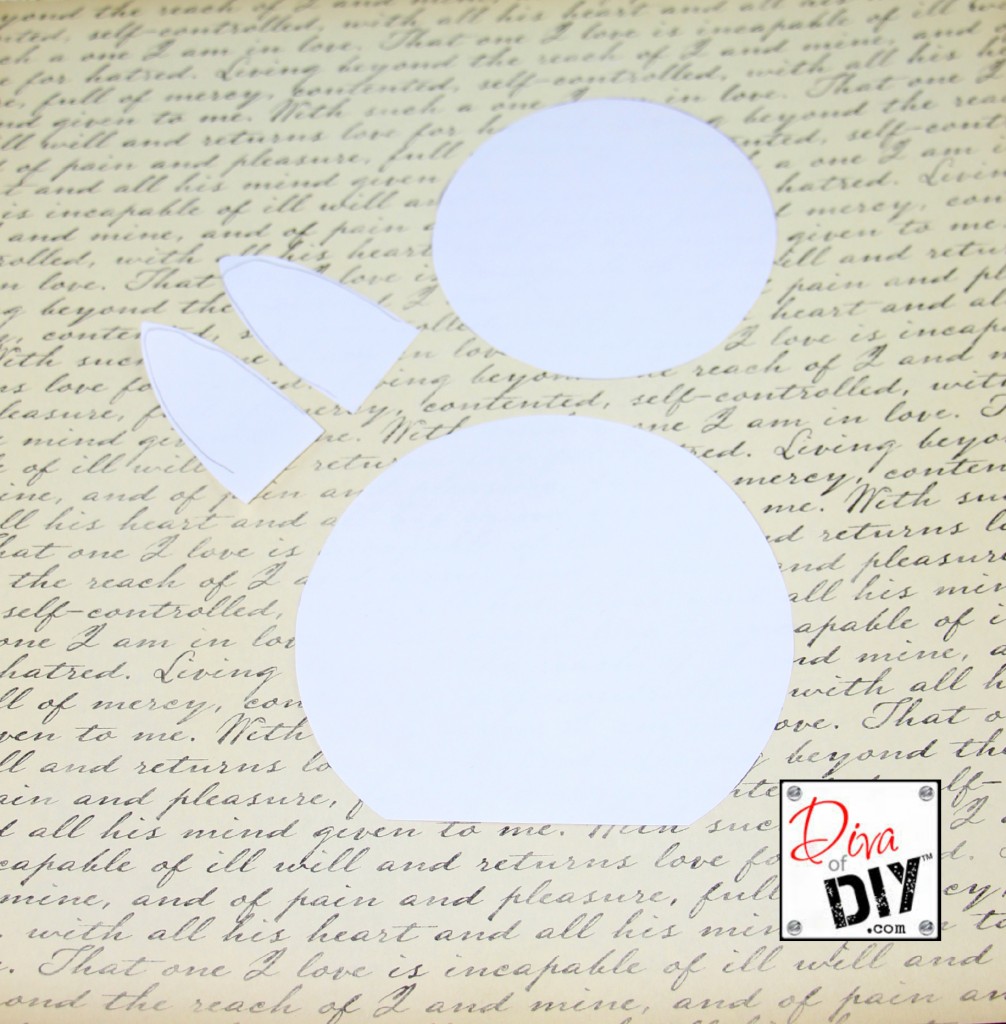
Step 2) Cut out your paper bunny. For me it was easier to create a template so that I could reuse it! Lay your template pieces over the top of your scrapbook paper and trace it. Cut out your bunny pieces.
Step 3) Glue your bunny pieces down to your texture. What texture medium are you going to use?
Step 4) Place your burlap with your bunny into the picture frame and replace the back. Add your cotton ball to the outside of the glass as the bunnies tail {another piece of texture, see where I am going with this?!?}.
You are all set to display your Easter Bunny Decor proudly in your home.
Remember, I am guiding you to create easy, inexpensive projects. Make use of items that are around your home or that you find inexpensively at garage sales and by shopping at your local ReStores.

Each and every one of you inspire me and I LOVE to see the work that you’ve created. Feel free to share with me on Instagram, Twitter or Facebook. And as always, be sure to follow Diva Of DIY on Pinterest and sign up for our FREE Newsletter to receive the latest projects delivered straight to your inbox!
If you enjoyed this project, check out these: