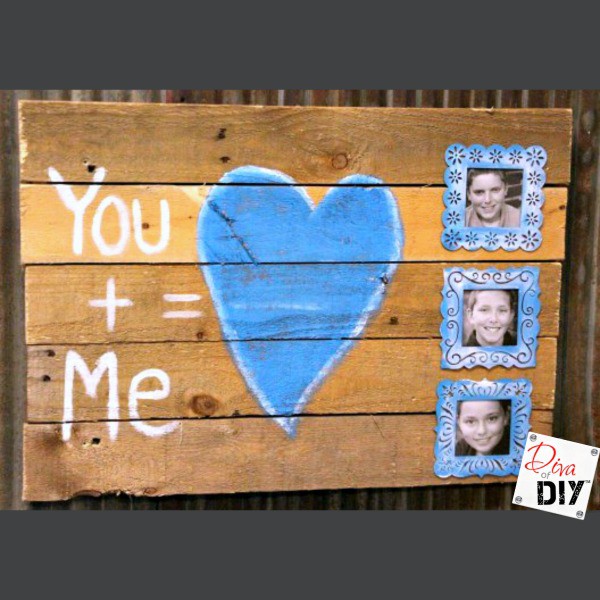
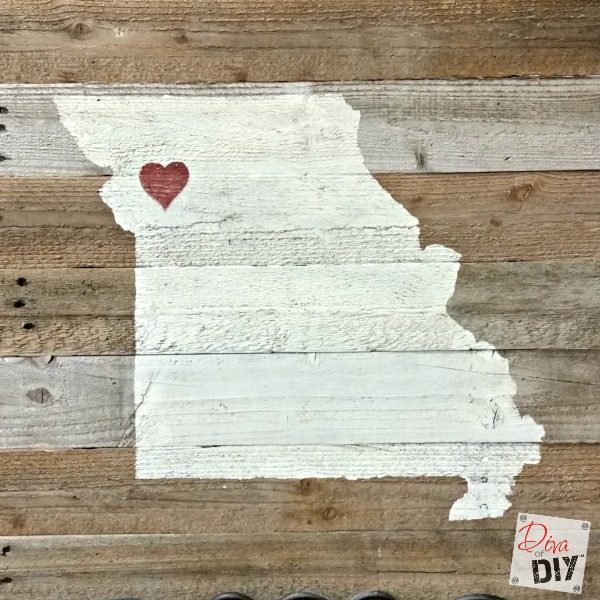
I am so excited to share this project with you because it pairs two things I love, well actually three! My love for rustic decor and farmhouse looking reclaimed pallet wood signs and the two states that tug at my heart! I live in the state of Missouri but the State of Kansas is a rocks throw away and where I went to college.
This post contains affiliate links. If you buy something from clicking one of my links, I will get a commission from the sale. It will not cost you a penny more and allows me to keep sharing my ideas with you for free. You can see my full disclosure here. Thank you for supporting my blog!
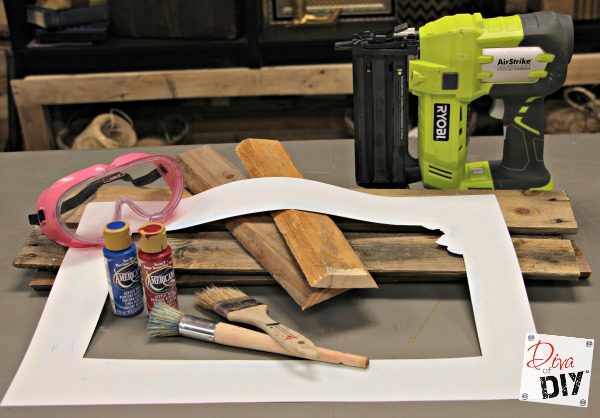
State Sign Supplies:
- Pallet
- State Template – Find your state HERE!
- Paint or Stain
- Stencil brush
- Measuring Tape
- Nail gun
- Saw
- Cute Pink Safety Glasses
State Sign Instructions:
Step 1) Break down the pallet
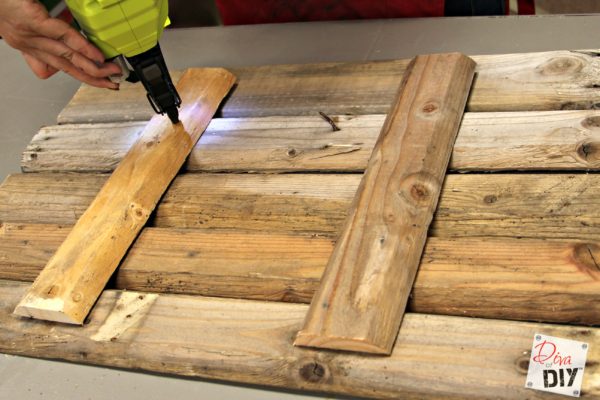
Step 2) Cut boards for your sign. You will need boards for the face of the sign and 2 boards to go on the back to attach the boards together.
The dimensions will depend on your state. For the Missouri sign I used 7 boards cut 24″ Long and 2 boards cut 21″. For the Kansas sign I used 5 boards cut 20″ long and 2 boards 14″.
Step 3) Lay your sign boards face down.
Step 4) Using your nail gun, attach the 2 shorter boards to each of the face boards (see pic)
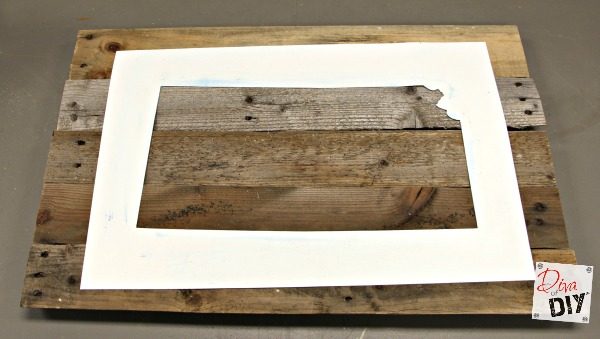
Step 5) Lay the state template on the front of the sign.
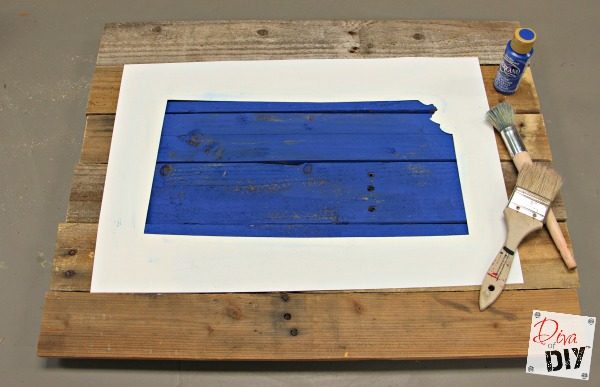
Step 5) Hold the stencil in place while you fill in the center of the state. To keep from the paint bleeding under the template start on the outside and paint towards the middle. Let dry.
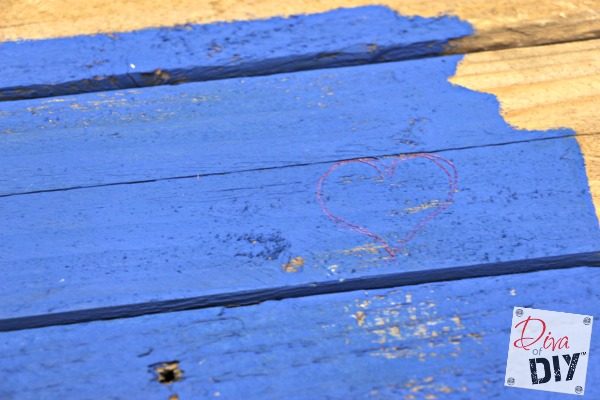
Step 6) Draw a heart on the city where you live. Or where your heart lives 🙂
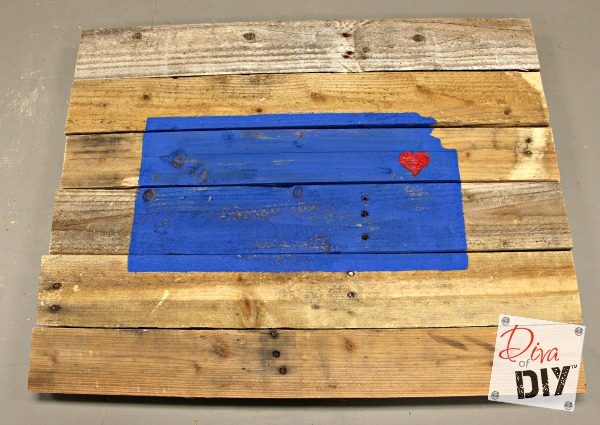
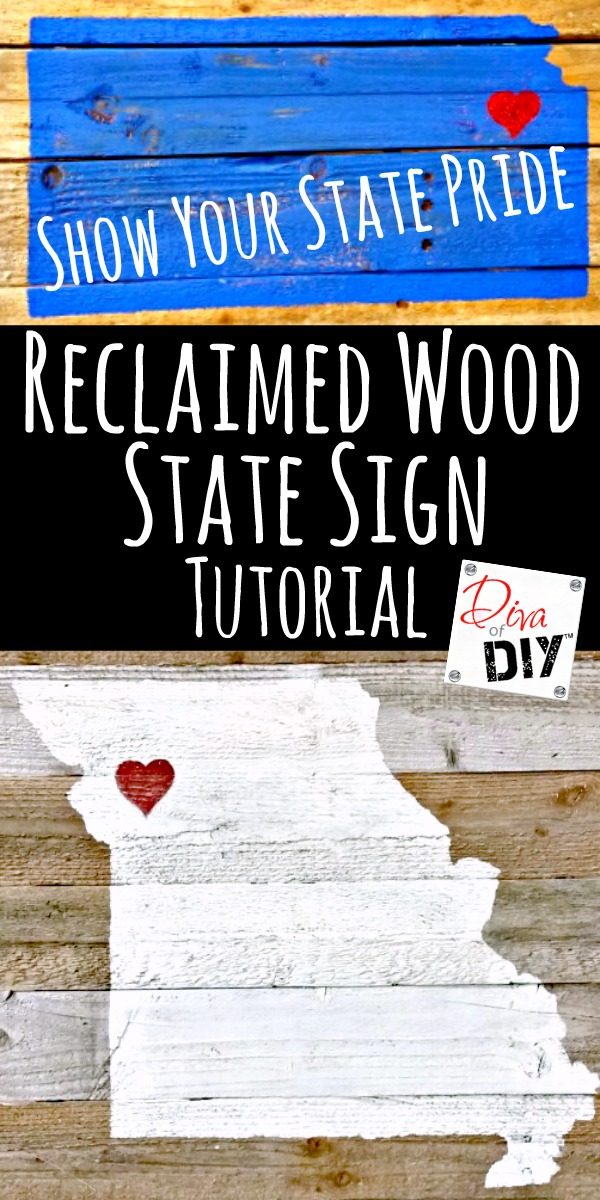
Your sign is now finished! I painted my Kansas sign blue and red because those are the colors of the University of Kansas, where I went to school. Rock Chalk Jayhawk!
Tutorial Change: I had originally used 7 boards for all states. After I made the Kansas sign I decided to take off the bottom and top board so now the instructions call for 5 boards.
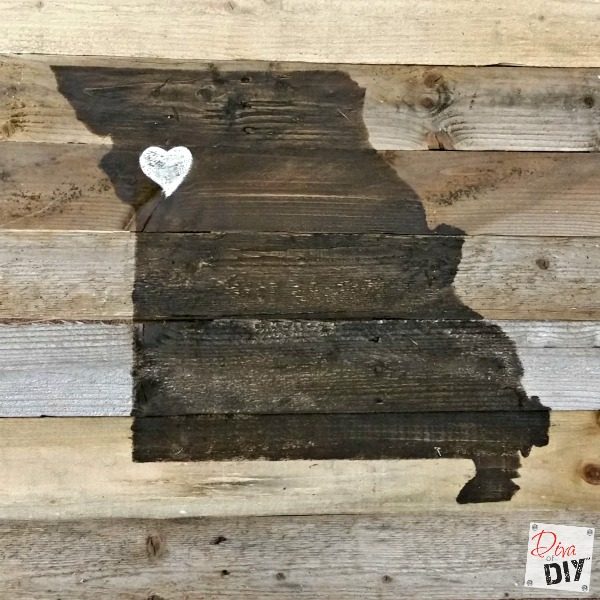
I also made a Missouri sign with stain and painted the heart. I love this version just as much! Like I always say, it’s a DIY so make it your own!
Each and everyone of you inspire me and I LOVE to see the work that you’ve created. Feel free to share with me on Instagram, Twitter or Facebook. And as always, be sure to follow Diva Of DIY on Pinterest and sign up for our FREE Newsletter to receive the latest projects delivered straight to your inbox!

