
Want to know how to make bows each and every time? Stick with me and I’ll show you the way my friend!

When I am giving a gift I feel like it’s expected of me to be over the top on the gift wrap. In my profession I am a perfectionist and I feel like if I’m not constantly showing my talents I’m lame. Sure as much as I would just like to hand over a gift card in a envelope it’s the thought of the gift and the wrapping that stop me from the ease.
I’m often asked when I give gifts how in the world I have this perfect bow. Well….there’s a secret to my successes and I’m sharing it with you today 😉
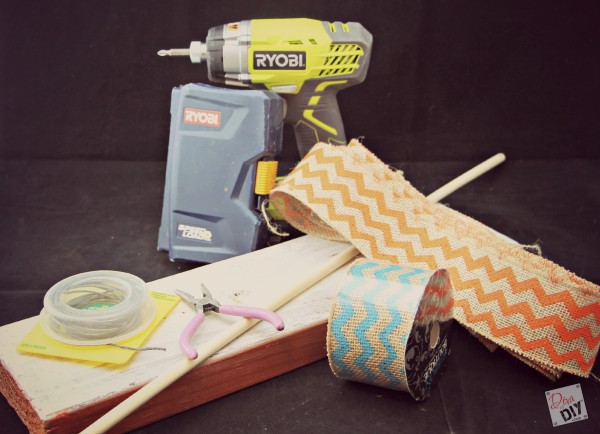
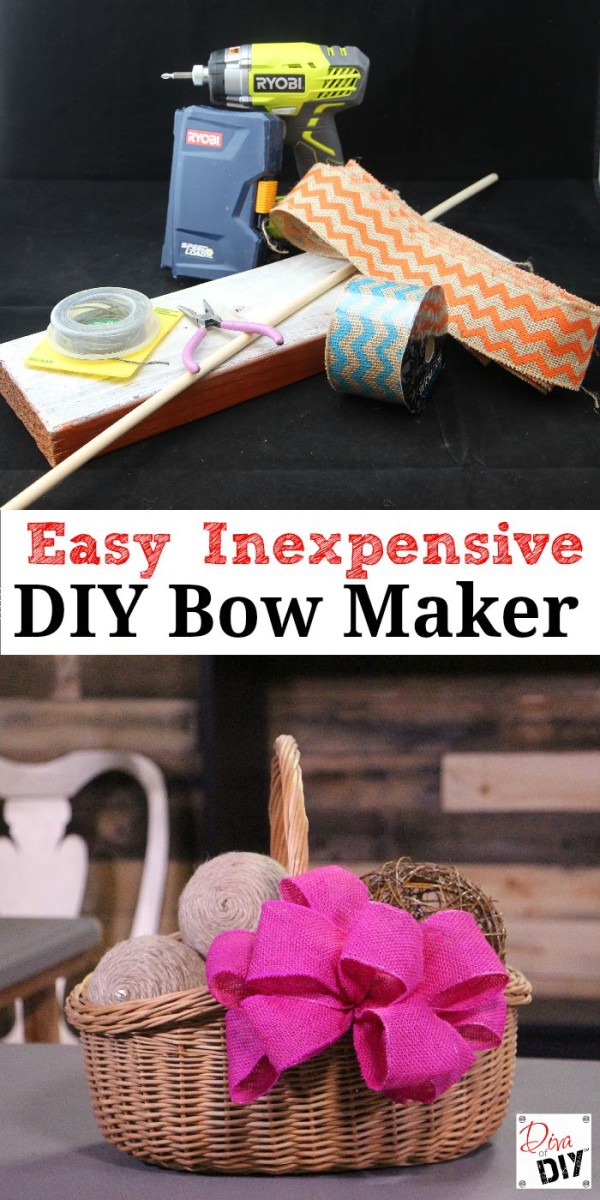
Supplies
- Drill
- 3/8″ drill bit
- Mitre Saw or hand saw
- 2″ x 6″ x 16-18″ long scrap board
- 24″ or longer dowel rod 3/8″ round
- Double-sided wire ribbon
- Pipe cleaners (preferred method) or floral wire
- Wire Cutters
- Pliers
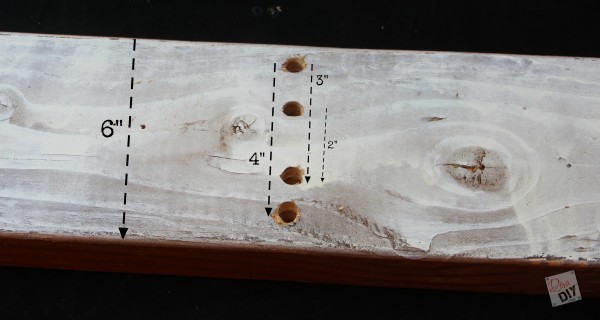
Using your drill and drill bit, drill 4 holes as shown above. This will allow you to use 1′, 2″, 3″ or 4″ wide ribbon for your bows.
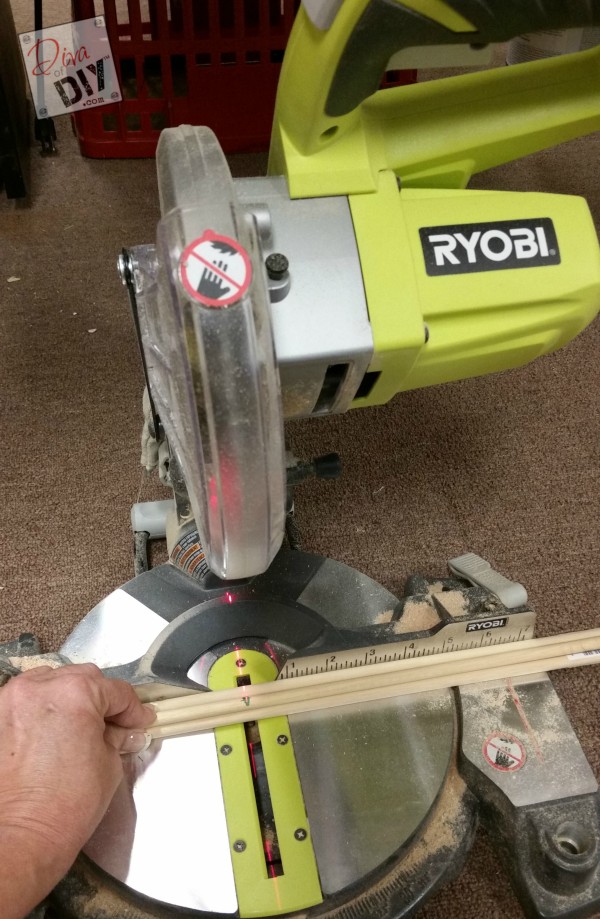
Using your mitre saw, cut your dowel rods to 12″ each.
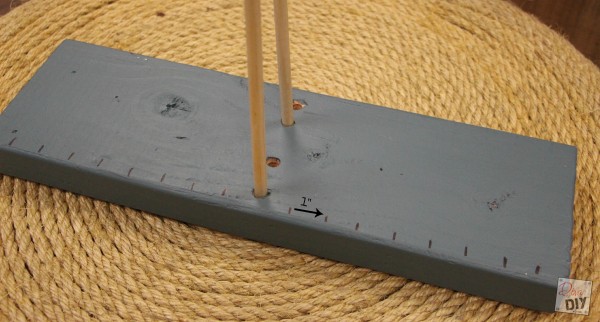
I spray painted my 2″ x 6″ board a slate blue because, well quite frankly it was a scrap that had been painted a couple of different colors and was ugly. LOL Me changing the color will not make my bows look any better but…it makes me feel better!
I also measured 1″ increments starting in the center and working my way out. This will help with making a bow that is the same size on both sides.

Decide how large you want your bow to be. The further the tack marks from the center, the bigger your bow will be.
You will start with the longest loops first, staying inside the dowel rods and working your way in as you go. Make sure to match the length with the corresponding tack mark on the other side. You will end your bow with the smallest loop on the top.
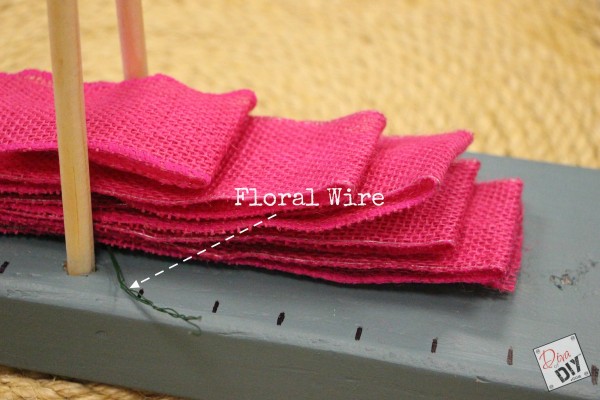
Once you have finished weaving the ribbon back and forth, slide a pipe cleaner (preferred) or floral wire under the ribbon.
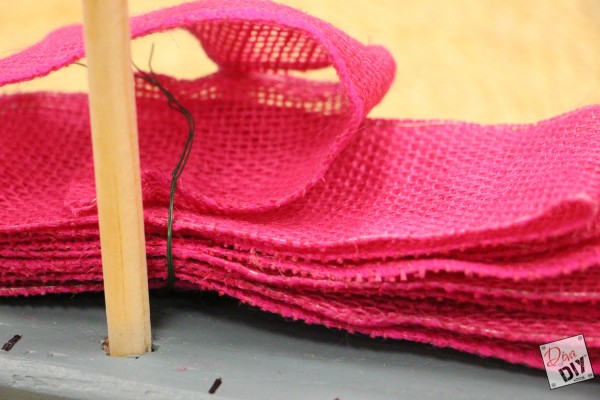
Lift the wire up and around the center of the bow to meet the other side of the wire. Using a pair of pliers, twist tightly to secure.
Now you know how to make bows you are ready to tackle creating your very own! I’m sure they will beautiful and I can’t wait to see your creations!
Each and everyone of you inspire me and I LOVE to see the work that you’ve created. Feel free to share with me on Instagram, Twitter or Facebook. And as always, be sure to follow Diva Of DIY on Pinterest and sign up for our FREE Newsletter to receive the latest projects delivered straight to your inbox!