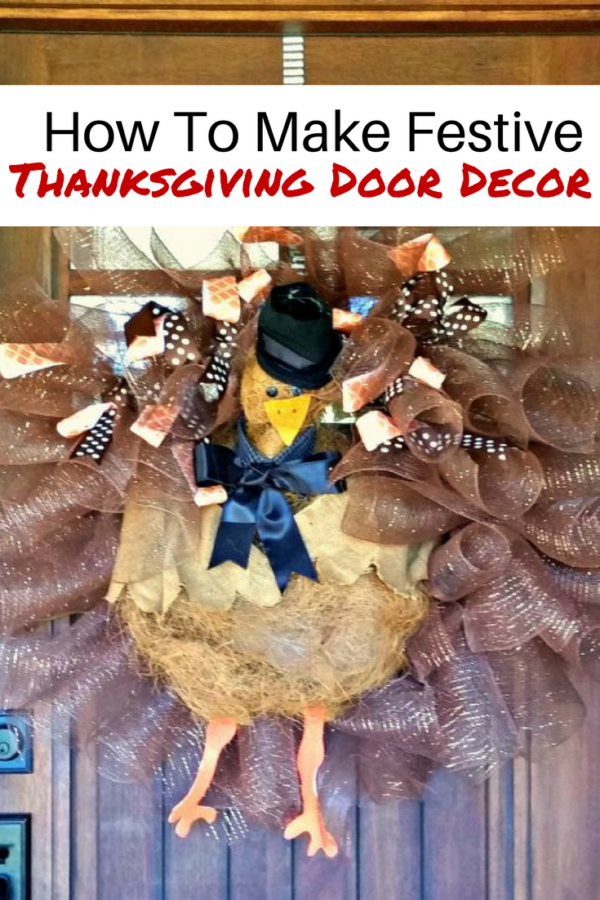
Is your home ready for Thanksgiving? Mine is! I’ve even got a little guy hanging on the door ready to greet guests! His name is Tom…maybe you know him? Okay, so I’m being a little bit corny. But seriously, how cute is this Thanksgiving wreath? I had so much fun making this unique and adorable festive Thanksgiving door decor.
I have provided affiliate links for your shopping convenience. If you buy something from clicking one of my links, I will get a commission from the sale. It will not cost you a penny more and allows me to keep sharing my ideas with you for free. You can see my full disclosure here. Thank you for supporting my blog!
First, gather your supplies:
Supplies:
- Metal Wreath Form
- Coco Fiber Basket Liner
- Wide Burlap Ribbon
- Burlap Fabric
- Ribbon
- Craft Wire
- Wire Cutters
- Glue Gun and Glue Sticks
- Felt
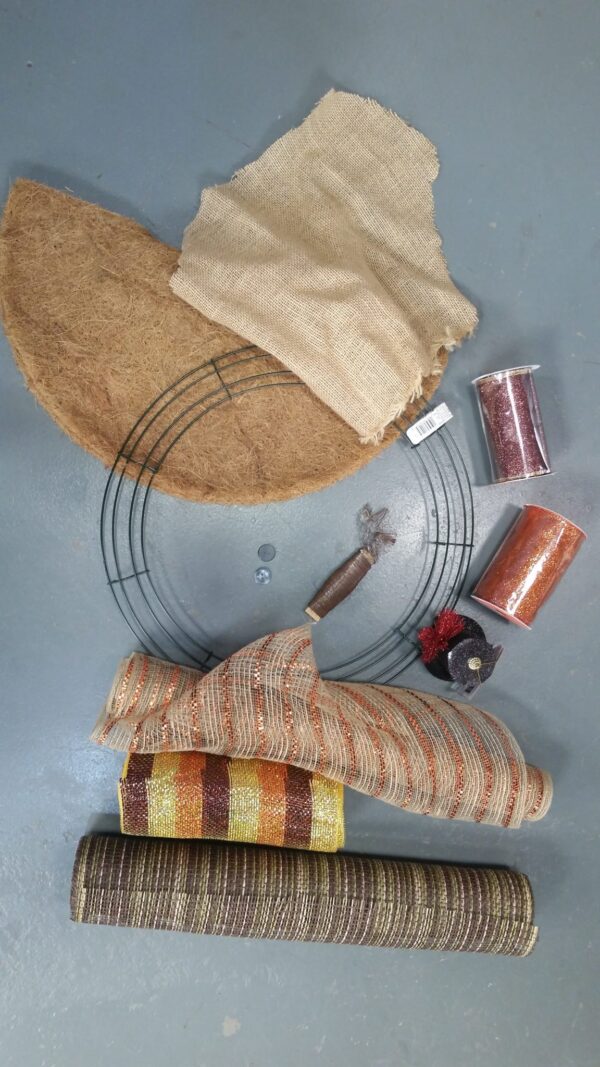
Burlap gives this wreath the perfect texture, but I wanted Tom to have a little bit of rustic glam. This burlap ribbon with metallic accents worked perfectly! I also incorporated a little sparkle within the bow. There are so many ways to embellish this Thanksgiving door decor that there really isn’t a wrong way to do it.
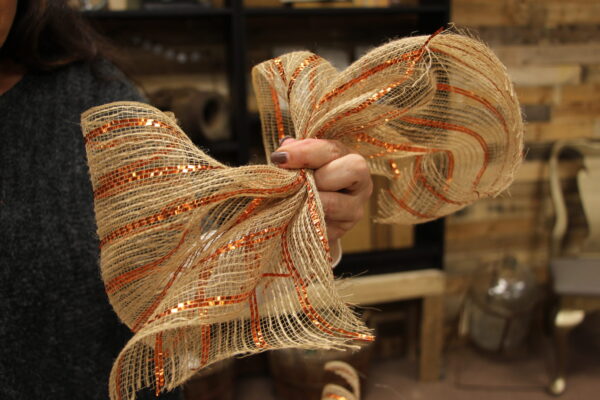
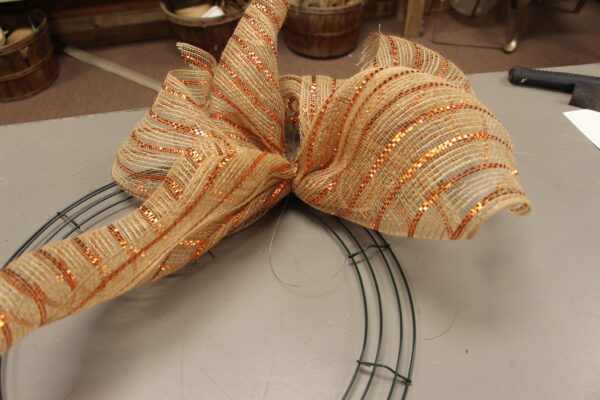
Begin by overlapping the wide burlap ribbon like you’re going to make a bow, but don’t tie it. Then attach it to the outer ring of the wreath form with the craft wire.
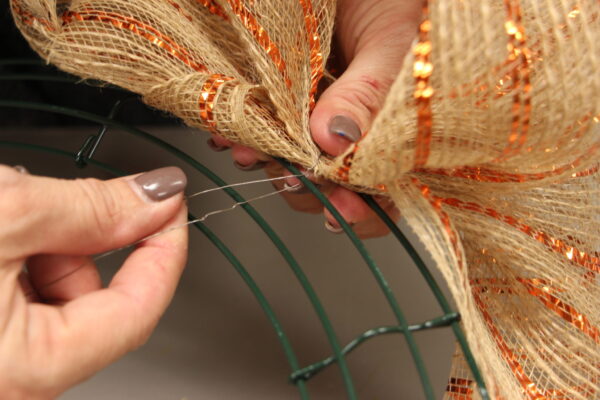
Continue all the way around the outer edge, making it nice and full. Leave space for a pretty bow if you’d like.
Next, attach burlap fabric to the center ring, leaving plenty of extra fabric to shape your turkey’s body. Attach the coco fiber basket liner on top of that.
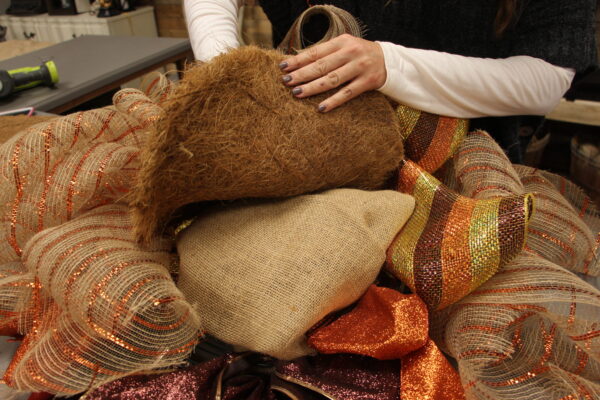
Tuck the coco fiber into the wreath in the shape of a turkey body – you’ll want a head, two wings, and a round bottom.
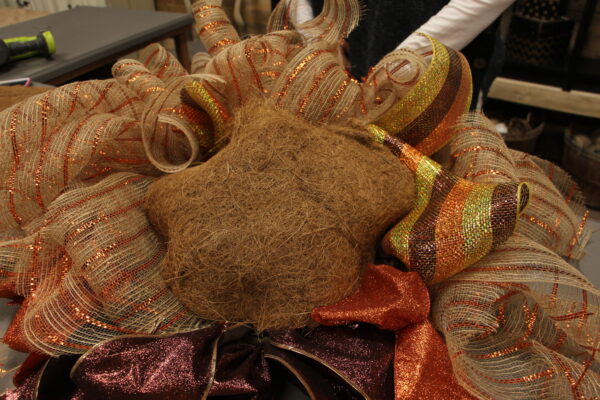
Use hot glue and craft wire to help secure and shape your creation. If you’re a sewer, you could throw a few stitches in here and there to help, too!
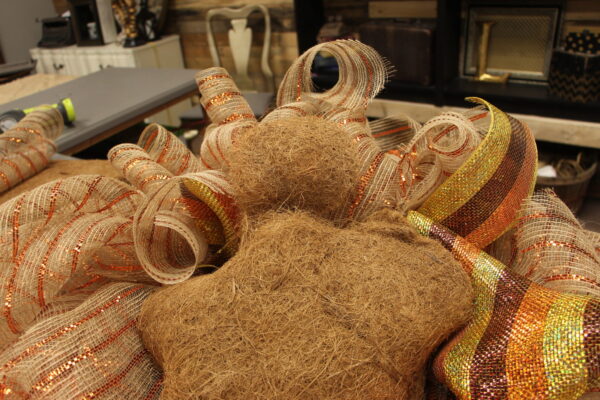
Last, cut out a felt beak, legs, and bow tie. Glue them on to the turkey’s head. I also added a top hat for a little extra flair.
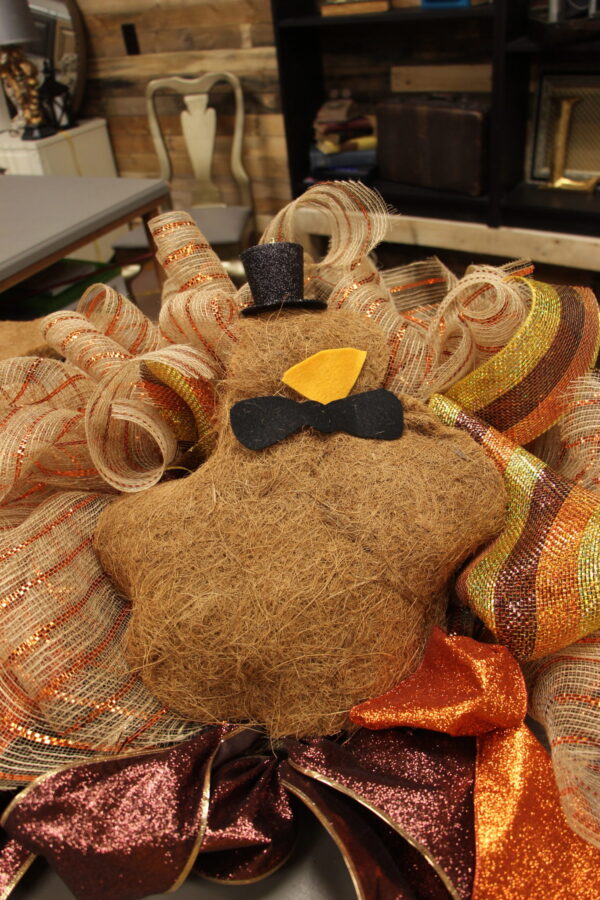
Here, I attached a few more pieces of burlap fabric for wings.
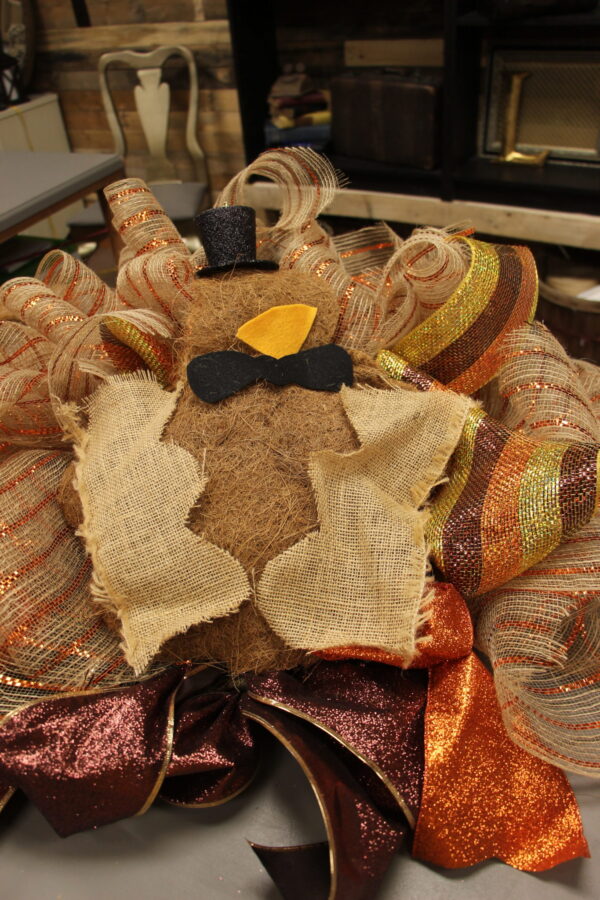
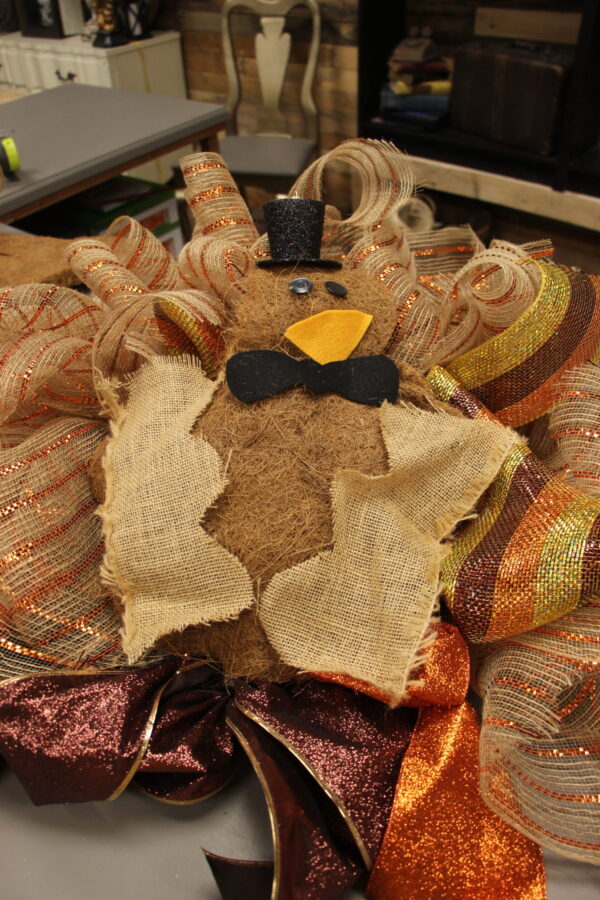
Don’t forget the eyes! I used buttons, but you could even use wiggly eyes for this project.
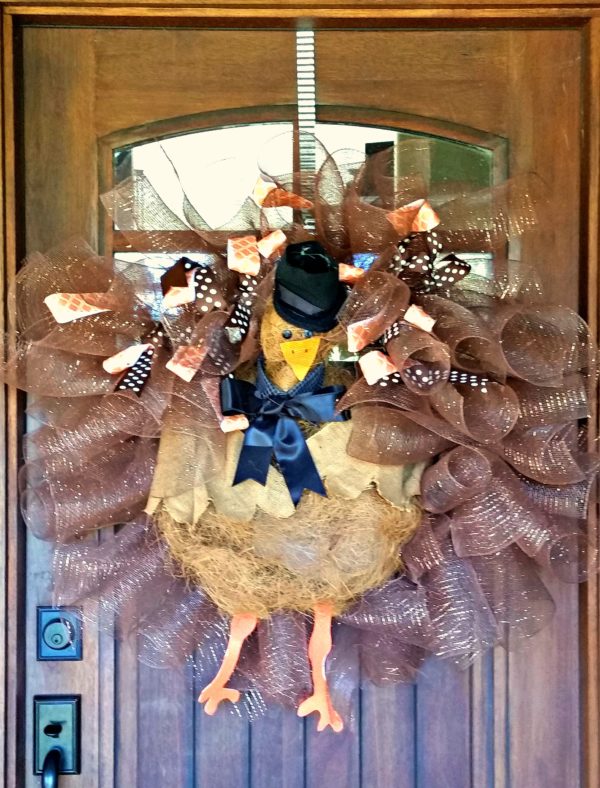
That’s all there is to it! I like this wreath a lot because you can embellish a little more or a little less, depending on what you have available. As you can see, I also made another version with a pretty blue ribbon bow tie and different ribbons for the “feathers”. I think this little guy makes the absolute perfect greeter for my Thanksgiving doorstep, don’t you?
Happy Thanksgiving!
Each and every one of you inspire me and I LOVE to see the work that you’ve created. Feel free to share with me on Instagram, Twitter or Facebook. And as always, be sure to follow Diva Of DIY on Pinterest and sign up for our FREE Newsletter to receive the latest projects delivered straight to your inbox!
