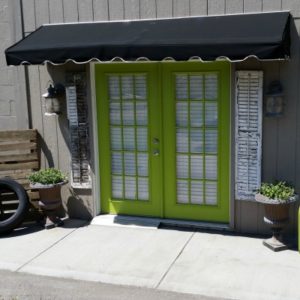
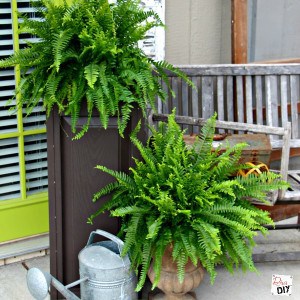
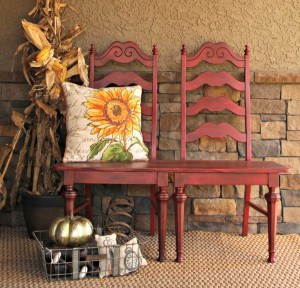
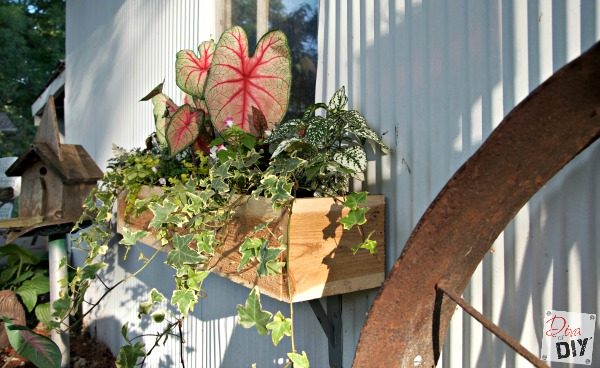
Curb appeal is so important. Did you know that most people judge what your house looks like on the inside by how it looks on the outside? And seriously, who wants to drive up to an unappealing house or look out your windows at an ugly yard? So up your curb appeal or back yard character with these quick and easy cedar window boxes!

This post contains affiliate links. If you buy something from clicking one of my links, I will get a commission from the sale. You can see my full disclosure here. Thank you for supporting my blog!
Window Boxes Supplies:
- 1×6 Cedar Boards
- Screen
- Finish Nails
- Sealer
(Make sure your sealer has some pigment like this one to keep your wood from turning gray).
- Hanging supplies – I used 2 shelf brackets similar to these
- Soil and Plants
- Tools- Saw
, Nail gun
, drill
and bit.
Window Boxes Instructions:
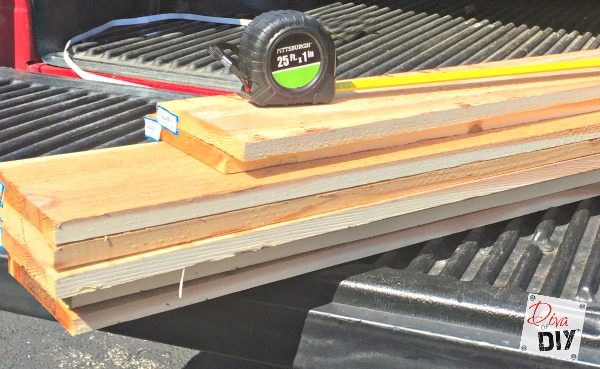
Step 1) Measure the length of your window. Most window boxes are the same length as the window but you can make them shorter or longer depending on the look you like.
Step 2) Cut 3 boards for the bottom and two sides the length you want your box to be minus 1 1/2 inches (the width of your two end boards).
Step 3) Cut 2 boards 5 1/2 x 6 1/4 these are your end pieces. Your end pieces dimensions won’t change unless you decide to make your window boxes deeper.
*Diva Tip: 1×6 boards are actually 5 1/2 x 3/4. Yes I know, it’s crazy but true!
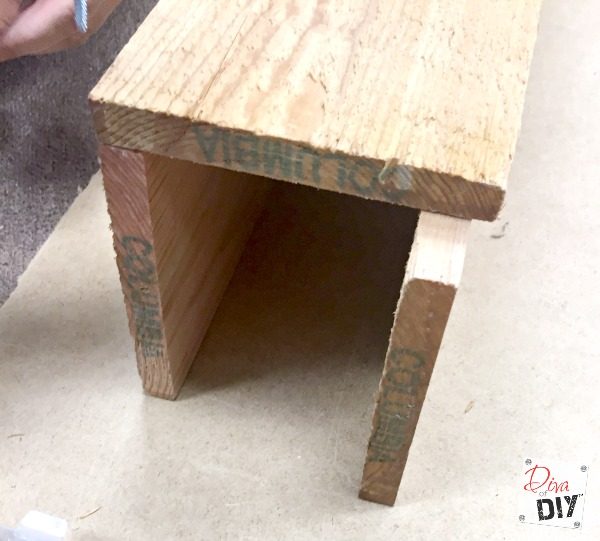
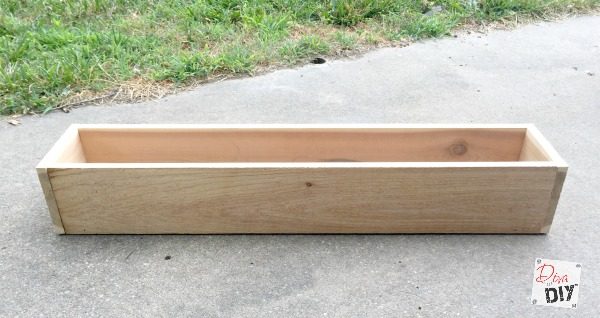
Step 4) Attach the bottom board to the two side boards as shown above. I used my finish nailer to easily attach the boards together.
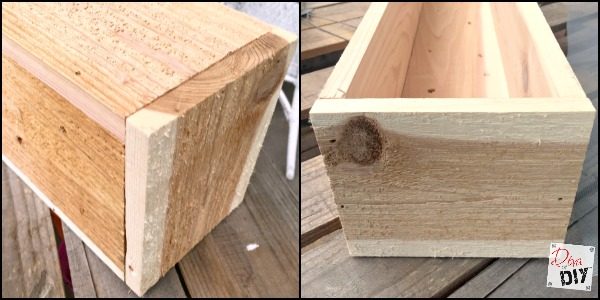
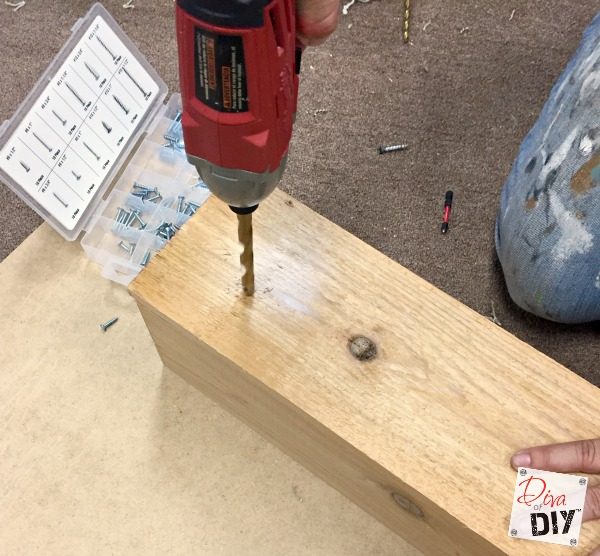
Step 5) Attach the two small end boards to each end. Now you have your box!
Step 6) Turn your box over and drill several holes in the bottom of the box for drainage.
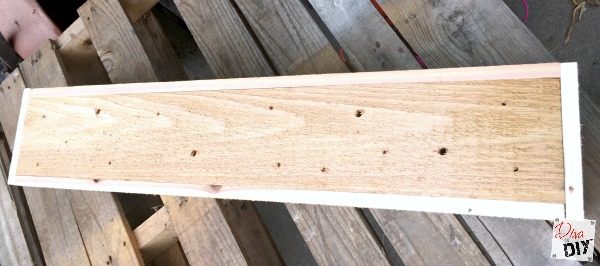
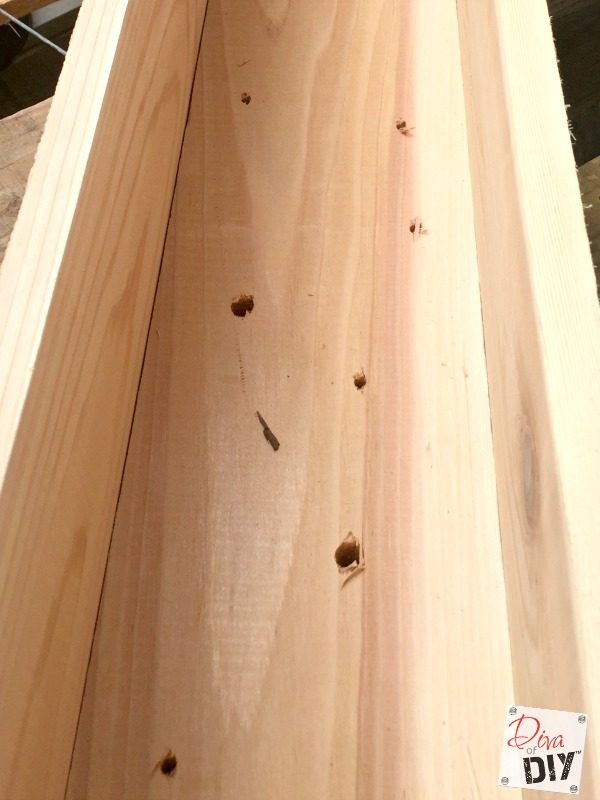
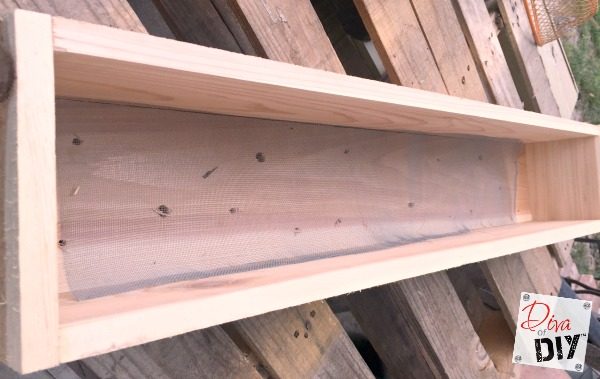
Step 6) Cut screen to fit and lay it inside the box over the holes. This will keep the soil in, while allowing the water to dry.
*Diva Tip: The screen helps to keep your window boxes as light as possible. Using gravel only adds unnecessary weight.
Protecting Your Window Boxes:
Cedar is perfect for a project like this because it holds up well outdoors. The bad thing about cedar is that it turns color as it ages. Using products made for coloring and preserving decks is the easiest way to keep your window boxes looking good!
Mounting Your Window Boxes:
There are several ways to mount your boxes. It depends on what you are mounting your box too. Just keep in mind the weight of your boxes. I mounted mine on a tin shed so I chose to use heavy duty shelf brackets screwed in with galvanized screws. Here are the steps I took since I was mounting to tin.
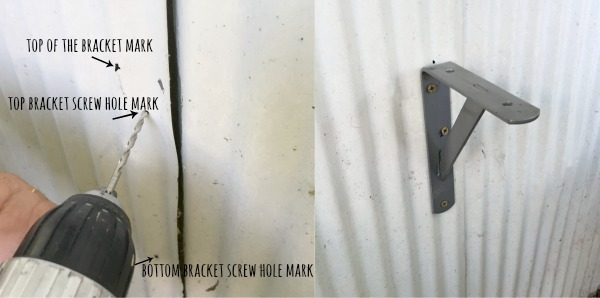
Step 1) Mark the top of where you want you bracket. Measure the height of your box and use that measurement to measure down from the bottom of your window.
Step 2) Holding your bracket at the top mark, place your pen in the screw holes to mark where the screws will be.
Step 3) Drill through the tin with a small drill bit at the marks.
Step 4) Put your bracket back up and drill your screws in to secure the bracket.
Step 5) Repeat the process for the other bracket making sure to use a level to keep the brackets level for your box.
Step 6) Screw you box onto the brackets using the top bracket holes. I wanted to plant my box and be able to take it off so I screwed mine in from underneath. Just keep that in mind if you decide to screw your box on from the top (I would not recommend this method).
Planting Your Window Boxes:
Head to your local outdoor nursery and purchase plants for the sun level your box will be in.
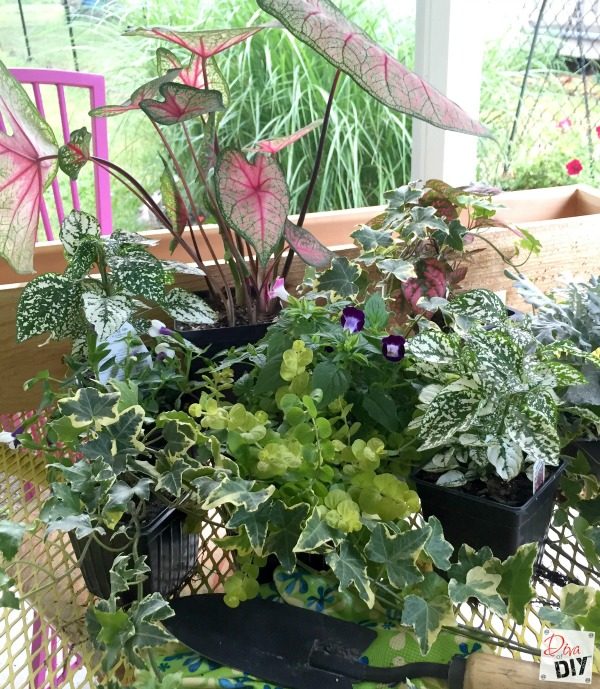
Pick out large focal tall plants, then trailing plants, then your fill in plants…
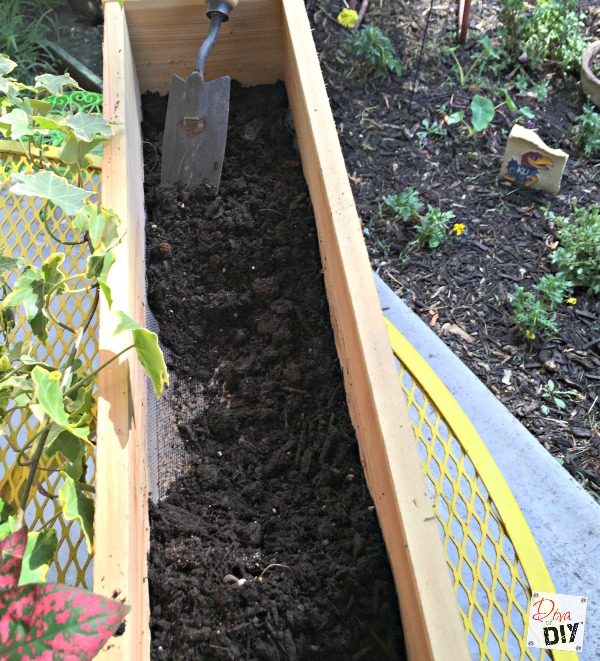
Add a layer of soil to the bottom of your box. Use a good quality flower planter soil because you will need to water your boxes often and this soil will help keep your plants moist while providing slow release fertilizer.
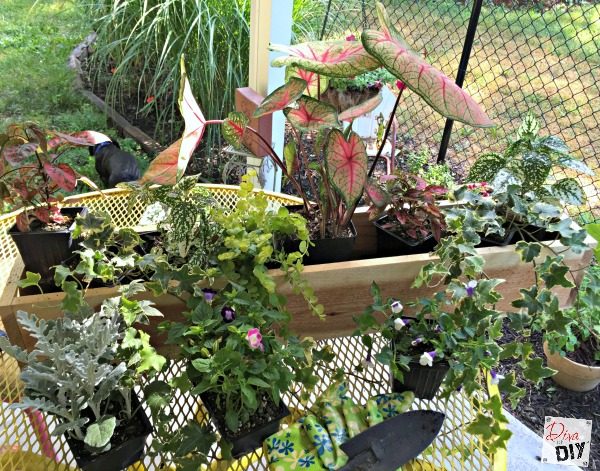
Set your large and trailing plants in and then add the filler flowers. Take your time and play around with them until you find the perfect combination! When you are happy with your layout start with the plants in the middle, adding soil and flowers as you go out to the corners of your box.
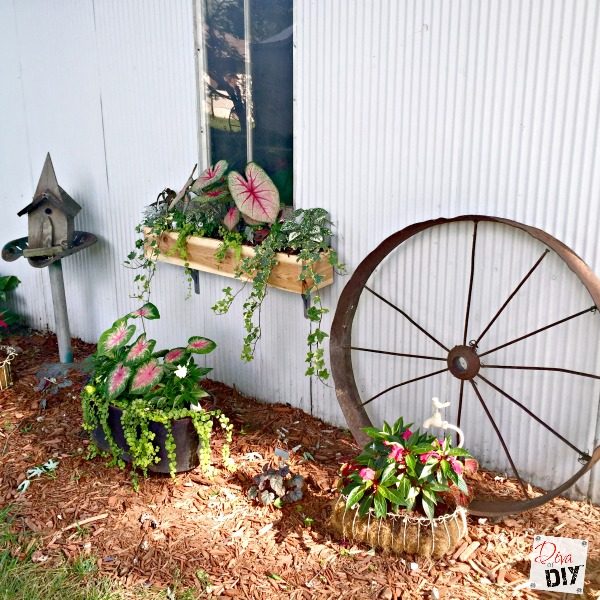
Place your box on your brackets and attach it! Now stand back and marvel at your work and enjoy! I am thinking I may add a fairy garden next!
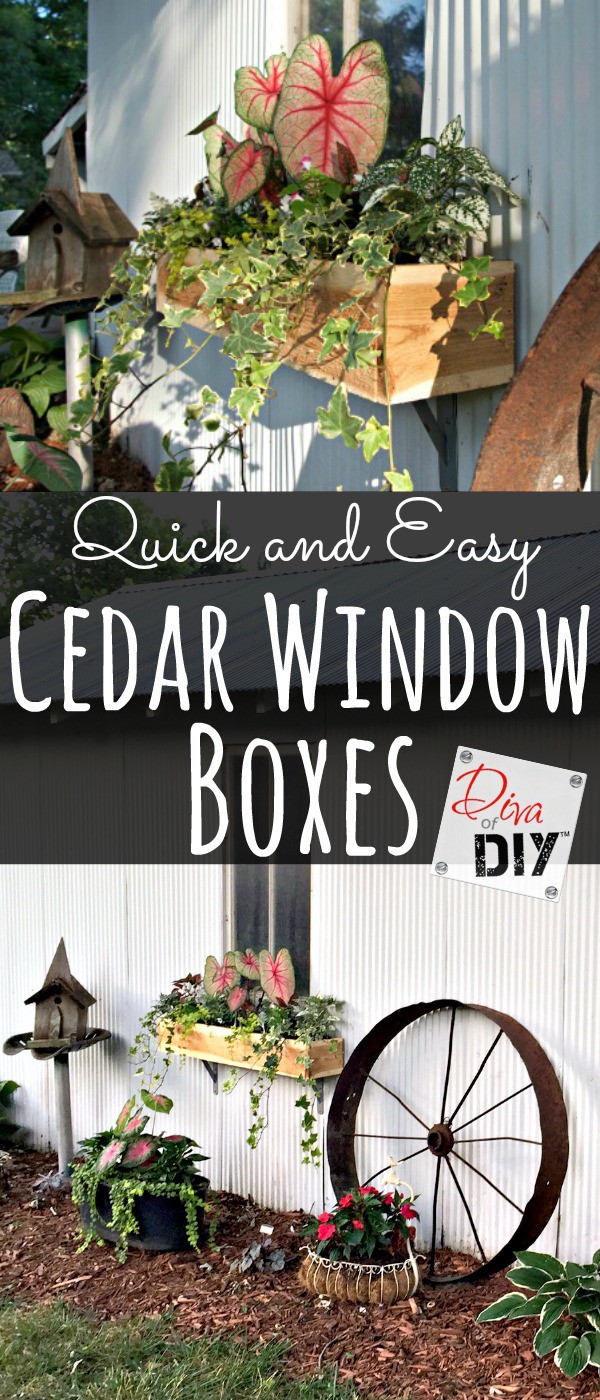
The evolution of the little tin potting shed… I’ll let you decide the level of change the window box made!

Looking for other curb appeal ideas? Why not add cedar board and batten shutters or one of these 10 outdoor projects!
Each and everyone of you inspire me and I LOVE to see the work that you’ve created. Feel free to share with me on Instagram, Twitter or Facebook. And as always, be sure to follow Diva Of DIY on Pinterest and sign up for our FREE Newsletter to receive the latest projects delivered straight to your inbox!
If you like this project, check out these:
