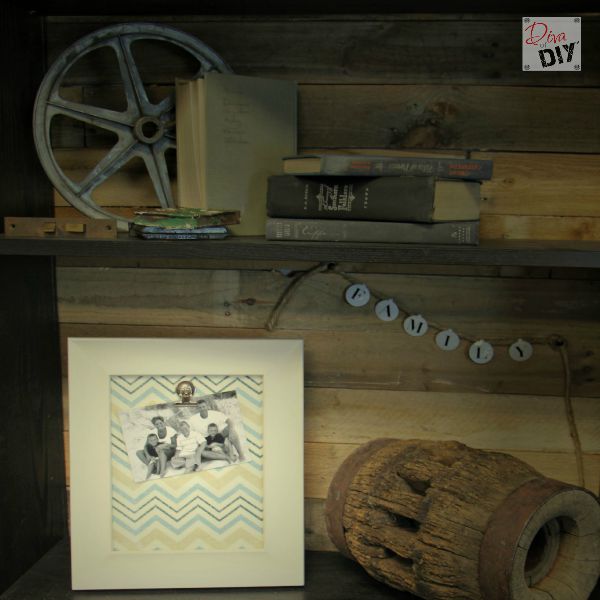
This easy handmade photo DIY gifts are perfect for everyone on your gift list. What I love most about these are their versatility. You can use them to hold recipes, Christmas Cards and of course…photos. The make great DIY gifts for all occasions and for anyone on your list!
This post contains affiliate links. If you buy something from clicking one of my links, I will get a commission from the sale. You can see my full disclosure here. Thank you for supporting my blog!
DIY Gifts: Photo Blocks Supplies:
- 2′ x 4′ x 8’ or 2′ x 6′ x 8′ boards
- Mitre saw
or have store cut them in 12” sections
- Paint or stain in color of choice
- Ornament Hooks
(I used some like this)
- Hot glue or E6000
(You all know this is my favorite adhesive)
- Pliers
- Drill
and small drill bit
- Card Stock or burlap
- Printer, stencil
or stamps (This is the stencil I used)
- Medium Grit Sanding Blocks
- Votive Candle or Vaseline


DIY Gifts: Photo Blocks Instructions:
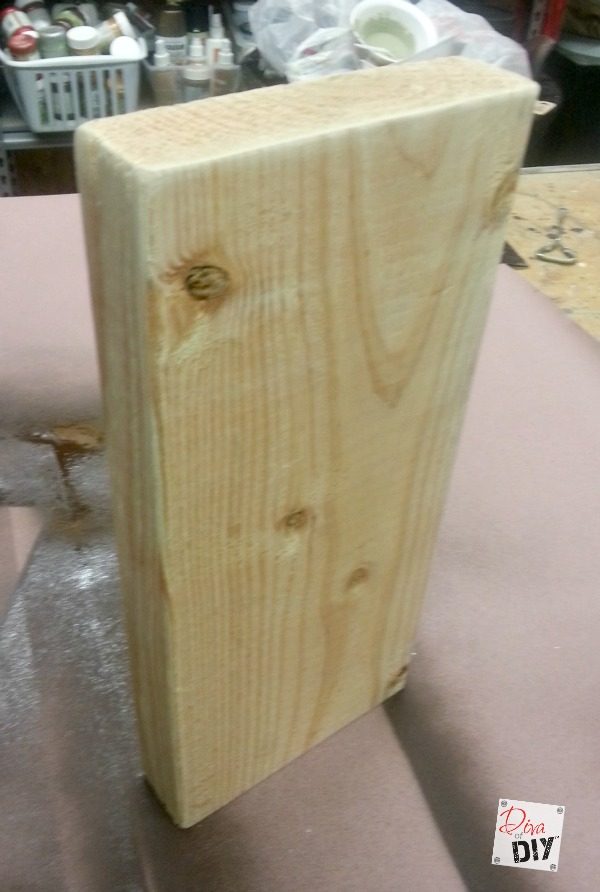
Step 1) Cut wood to the size you want your blocks.
Step 2) Once block has been cut, sand edges with your sanding block slightly to soften the corners.
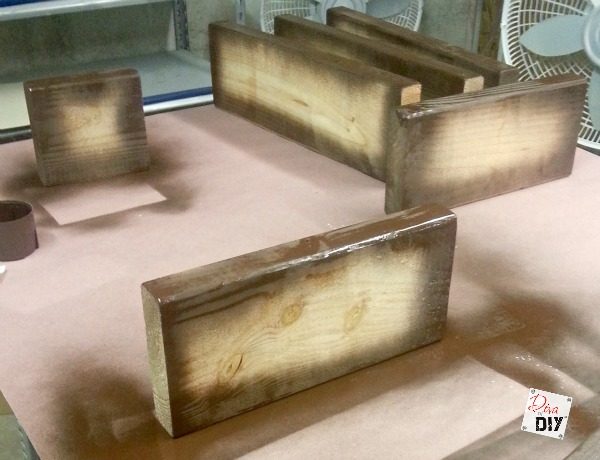
Step 3) Paint or stain edges of the blocks with your color of choice. This will be the color showing through when its sanded. Let Dry.
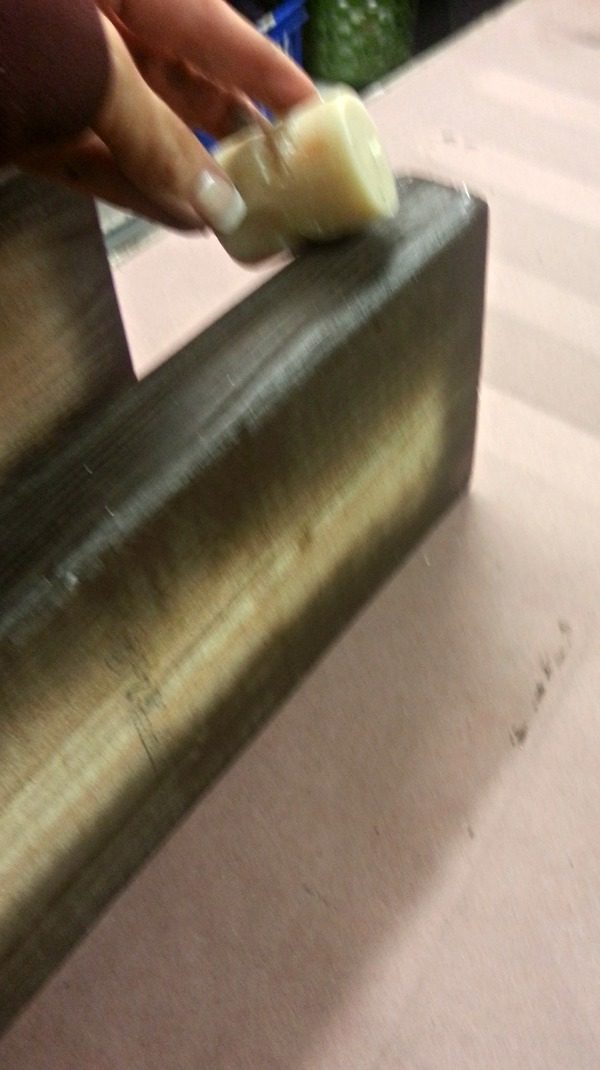
Step 4) Using a candle, rub edges with the wax. This will keep the next layer of paint from sticking.
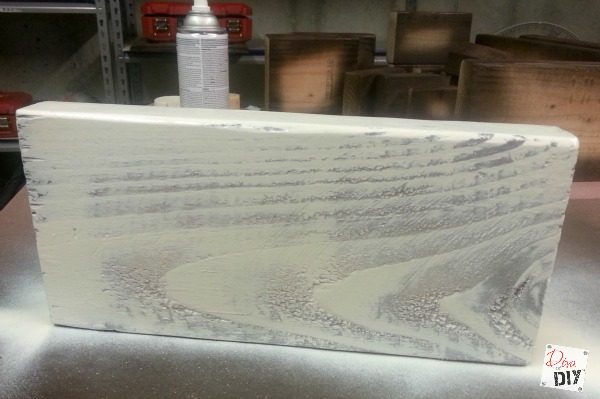
Step 5) Spray paint the next color over the top of the entire block. Let dry. This may require 2 coats depending on your color.
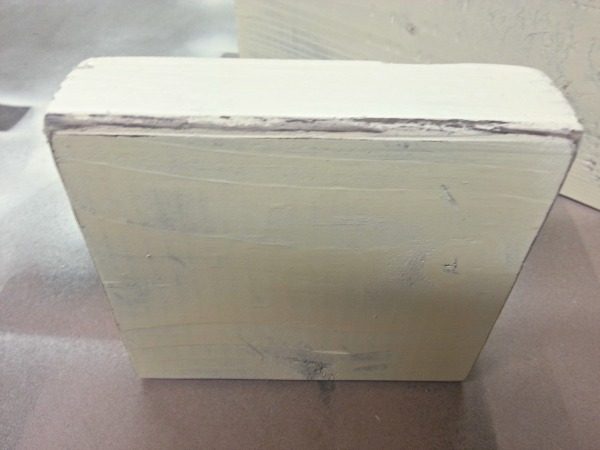
Step 6) Using a sanding block, sand off edges exposing first color.
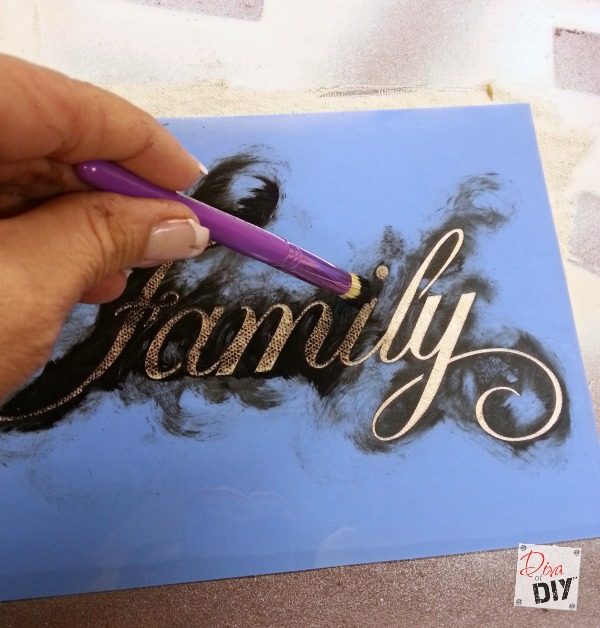
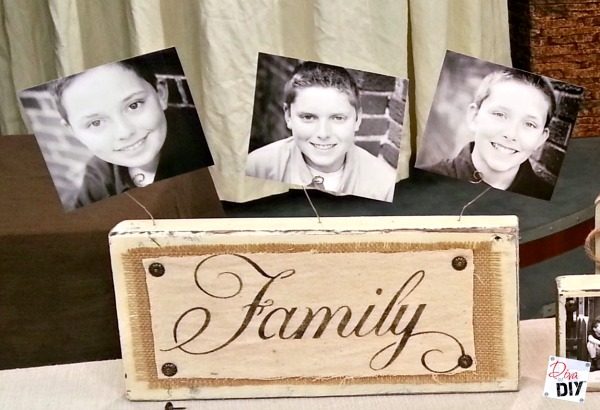
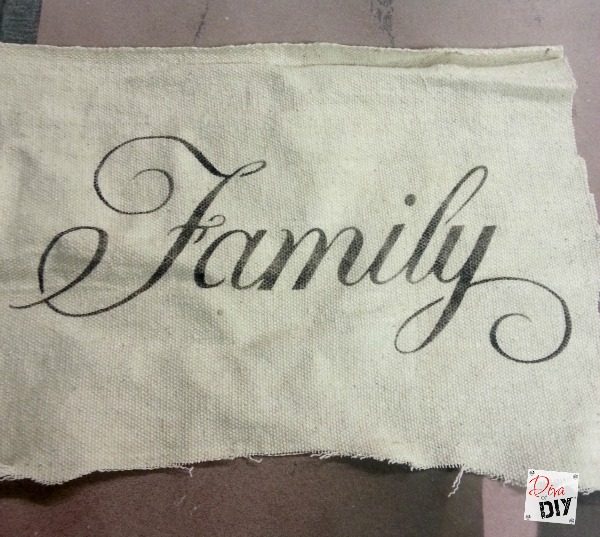
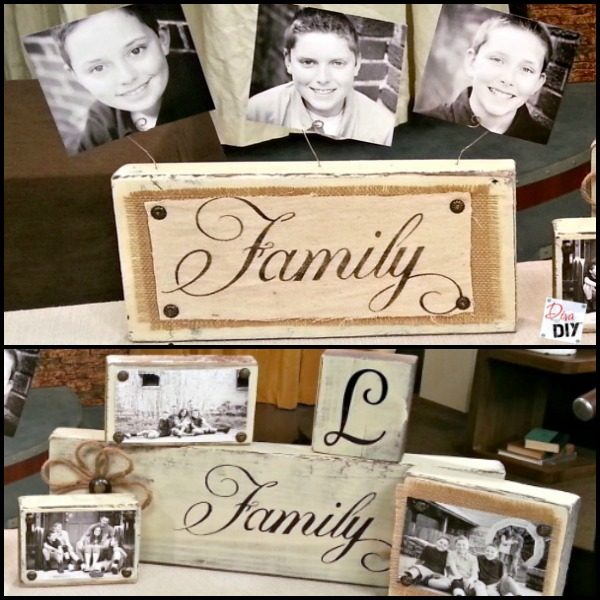
Step 7) Cut a piece of your cloth, burlap or card stock to fit your 2 x 6 x 12” block and stamp or stencil cloth with “family” or words of choice
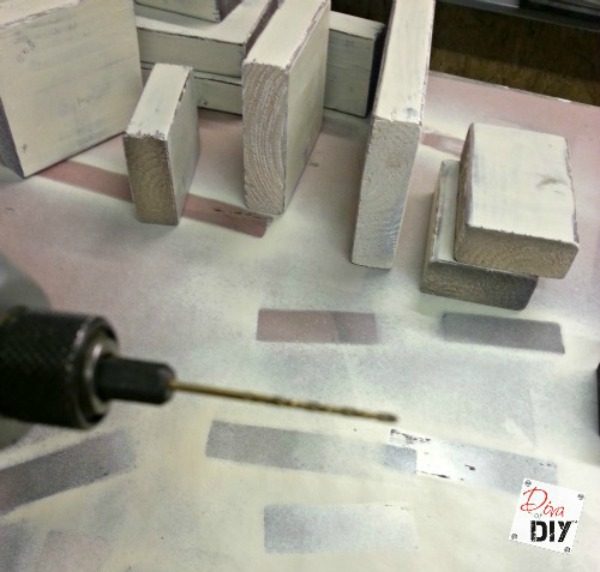
Step 8) Using drill and drill bit, drill some small holes in the top of the block to hold ornament hangers.
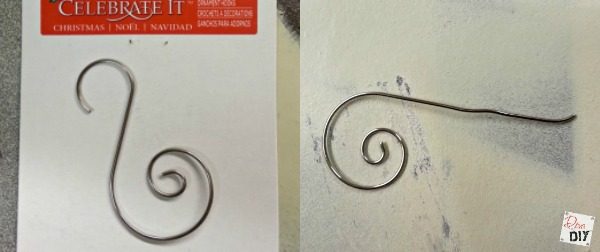
Step 9) Using pliers, stretch out ornament hanger to desired length and design. If you can not find ornament hangers like these you can always make them out of wire.
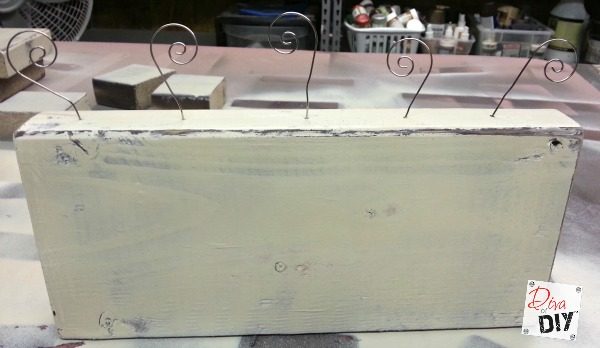
Step 10) Spread hot glue or E6000 on end of ornament hanger and place in hole. Let dry
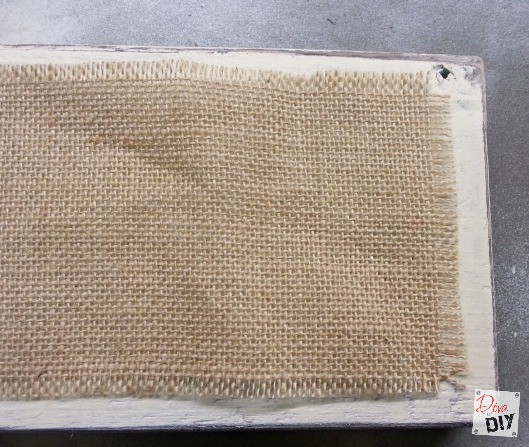
Step 11) Cut your burlap, or back ground fabric, slightly smaller then your block.
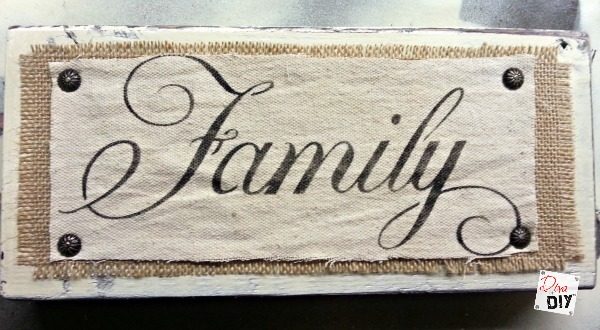
Step 12) Cut the cloth you stenciled “Family” on slightly smaller then the back ground fabric. This is not a project for a ruler! Just eyeball the way you like it.
Step 13) Using hammer, attach cloth and/or burlap with upholstery tacks to the board.
Step 14) Add photos to the top sliding them into the wire ornament holders.
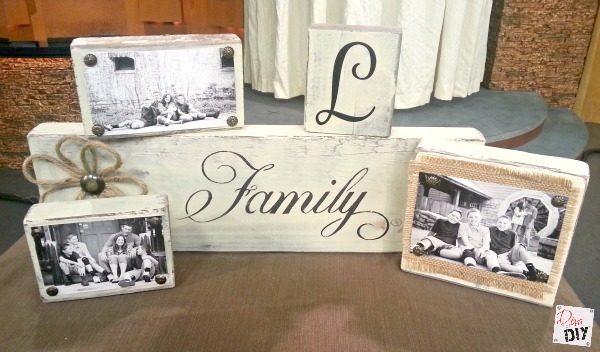
Step 15) Options. You can do blocks in several other sizes, stencil directly on the wood or use tacks to put pics directly on the boards. As you can see the possibilities are endless!

Each and everyone of you inspire me and I LOVE to see the work that you’ve created. Feel free to share with me on Instagram, Twitter or Facebook. And as always, be sure to follow Diva Of DIY on Pinterest and sign up for our FREE Newsletter to receive the latest projects delivered straight to your inbox!
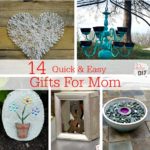
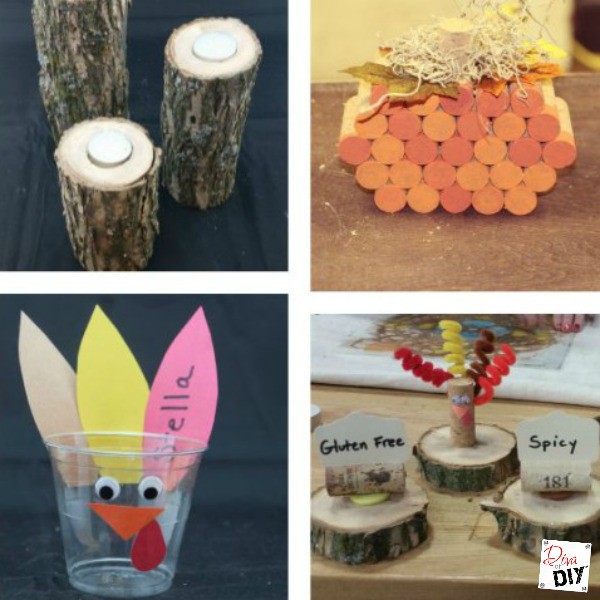
If you like this project, check out these other great gift ideas: