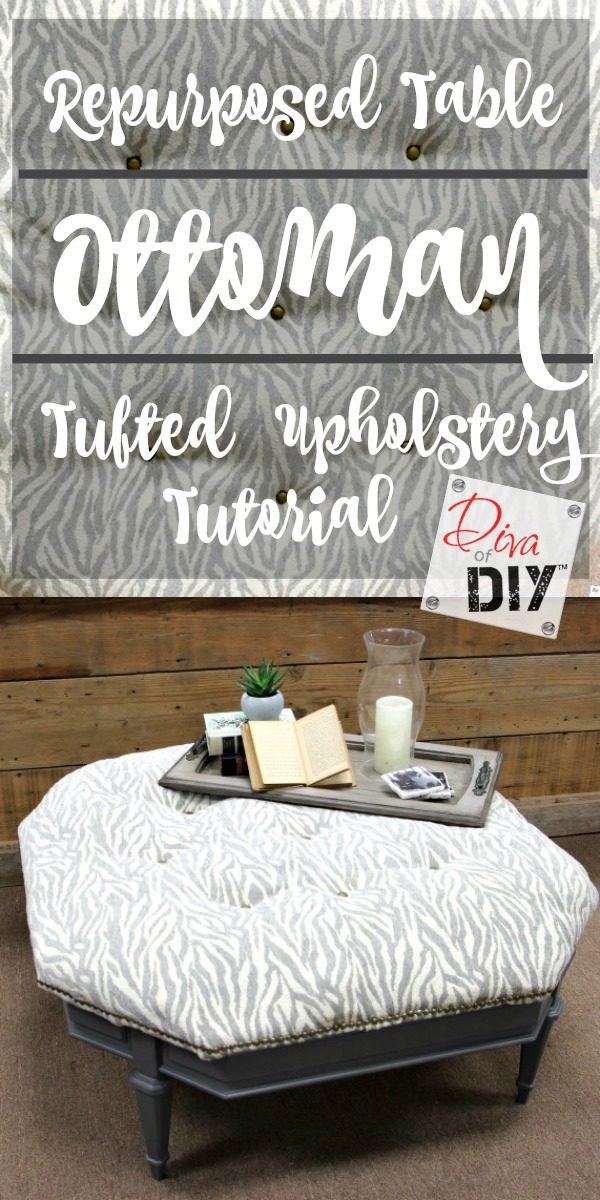
I am excited to show you this Ottoman I made from an old table for the Lake House Fixer Upper! My favorite DIY projects are taking something old and bringing new life back into them. You can turn any sturdy table that has a removable top into an upholstered ottoman. Let’s get started because I can’t wait to show you and tell you of a money saving tip I discovered while getting the supplies for my ottoman.
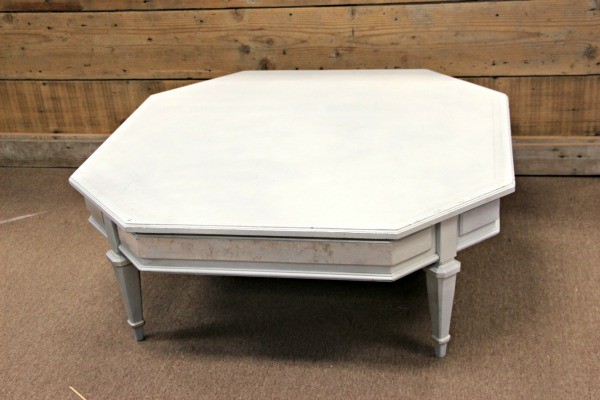
Check out the coffee table “before” pic. I bought this beauty off of Craigslist for $30.00!
This post contains affiliate links. See my full disclosure here
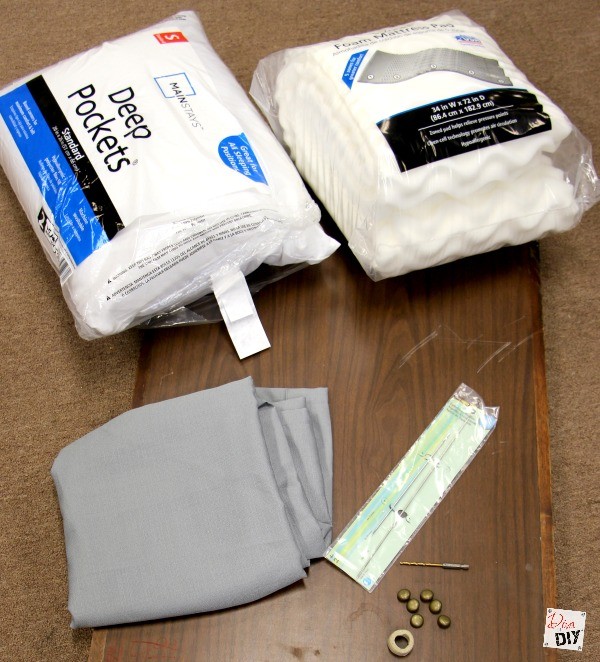
Ottoman Supplies:
- Table with removable top
- Stuffing
- Fabric
- Upholstery Foam
- Upholstery Needle (This one is my favorite)
- Waxed Tufting Thread
- Buttons (These are the exact ones I purchased)
- Drill
- Drill Bits
- Screwdriver Bit
- Staple Gun
- Decorative Nailhead Trim (This is what I used)
Diva Tip#1: You can buy cheap standard bed pillows and use the filling out of them for less than a bag of poly-fil. You can buy “Mainstays Deep Pockets Pillow” for $2.37 each. Here is another idea…use your old pillows to stuff your ottoman and get fresh new ones for your bed!
Diva Tip#2: Upholstery Foam is very expensive. Use a foam mattress pad instead. It is much cheaper than buying foam at the fabric store!
This is good stuff people…keep reading!
After I made my table ottoman, I helped a friend do one that was a different shape and smaller. I found her coffee table at the Goodwill for $5.00 but what I tell you next will change your life.
Diva Tip#3: Repurpose a set of drapes to use as upholstery fabric. I have purchased many sets at the Goodwill for $3.00-$5.00 a set.
Ottoman Instructions:
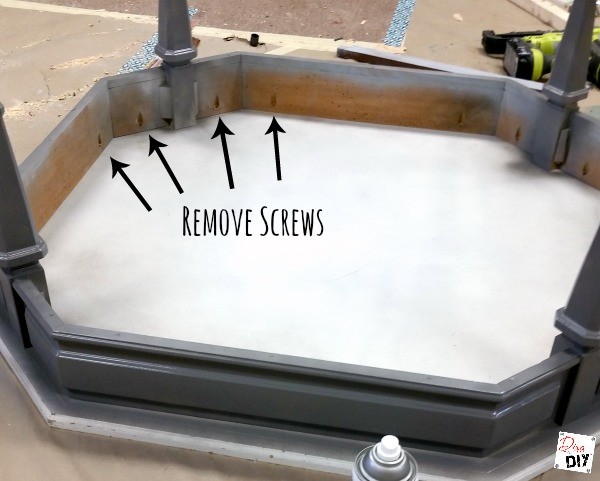
Step 1) Remove the top of the table from the base by removing the screws all the way around the table top.
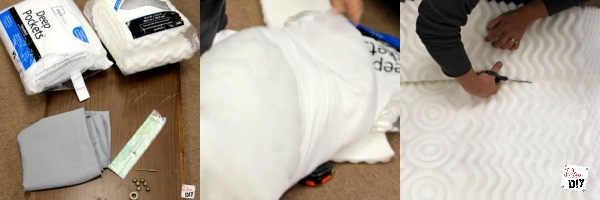
Step 2) Get your stuffing and cut the foam to the size of your top.
Step 3) Lay your fabric over the stuffing and cut to size making sure to leave plenty of material to pull over to the back of top.
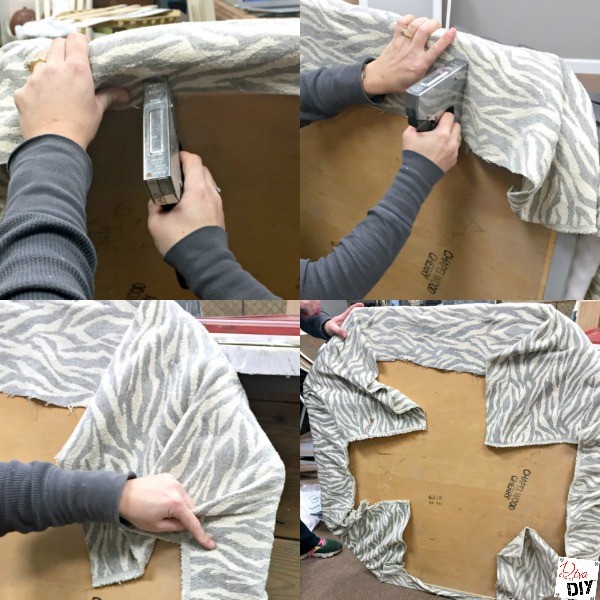
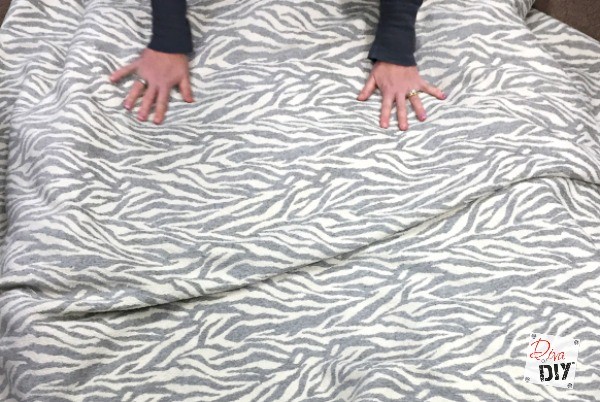
Step 4) Pull the material to the back of the table top and staple material to the top with a staple gun.
Step 5) As you go around the top make sure you pull the material so that it is smooth but not so tight it pushes down the stuffing.
Step 6) Lay the table top flat and make sure the fabric is the tightness you want. Then, lay out your buttons to decide on the pattern you want for your tufting.
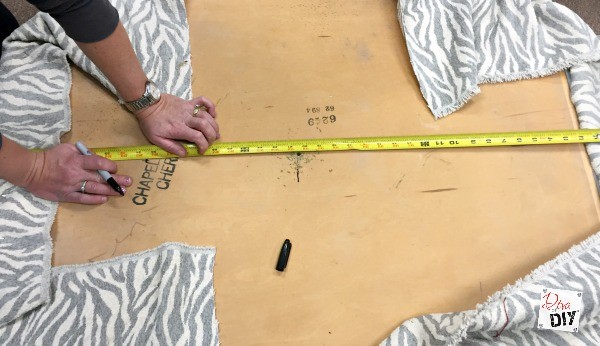
Step 6) When you have decided on your pattern turn the board over and using a measuring tape and pen mark where they will be putting them equal distance apart.
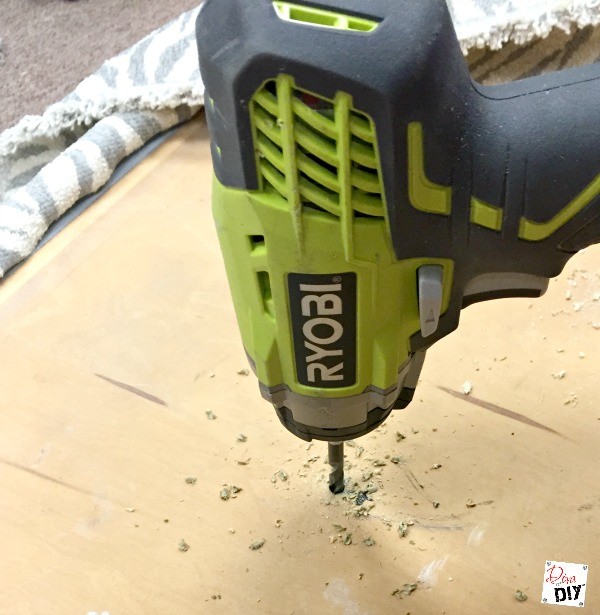
Step 7) Drill a whole where your markings are carefully going through the wood only.
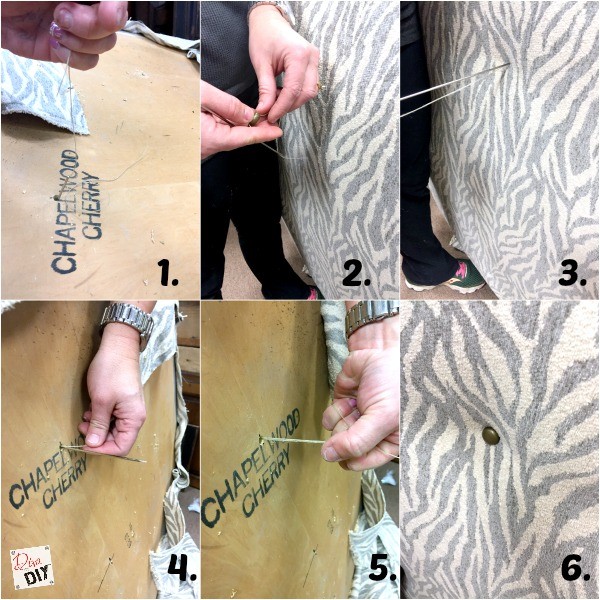
Step 8) Tuft the ottoman by using a long upholstery needle and waxed button thread.
- 1. Thread needle and pull the thread threw the hole to the other side, holding one end.
- 2. Thread the button on.
- 3. Push the needle back through the drilled hole.
- 4. Hold one end as you pull through the other end and remove needle.
- 5. Pull both ends tight to create the tuft.
- 6. Visually check the top side and make sure button is to the tightness you want.
- 7. Staple the thread several times to the back keeping the thread tight.
Step 9) Repeat the process for all the buttons.

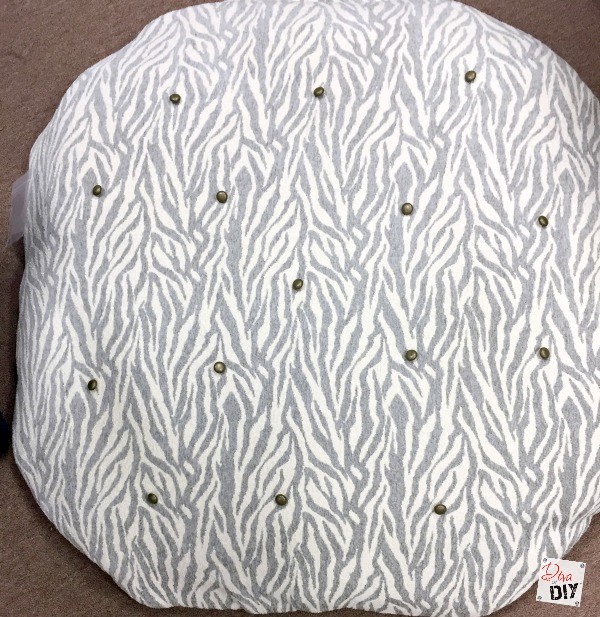
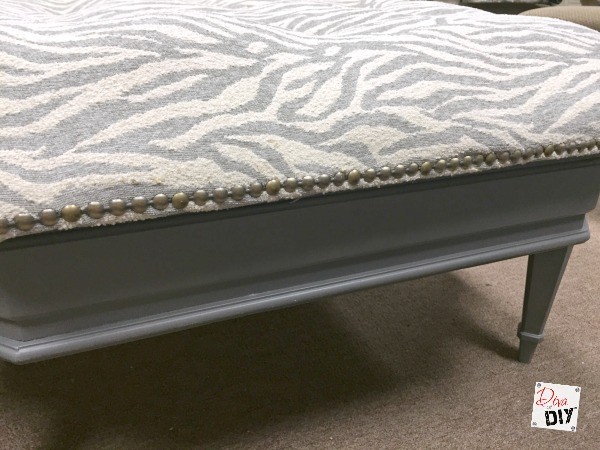
Step 10) Using decorative nailhead trim, attach all the way around the table top.
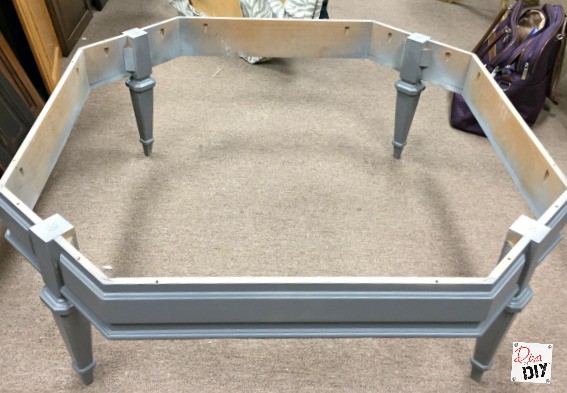
Step 11) Paint the base of the table if desired. I spray painted the base in a coordinating gray color. Let dry.
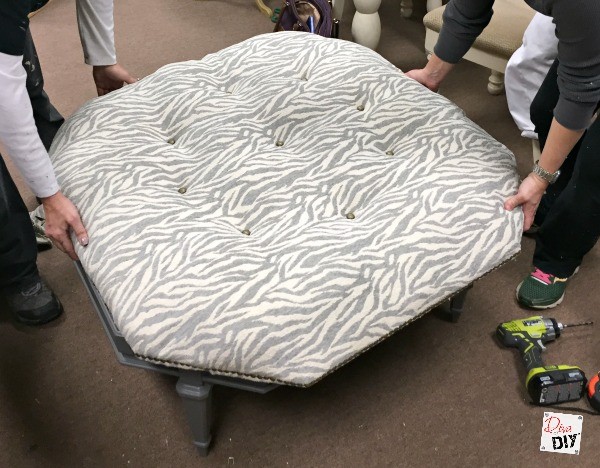
Step 12) Lay the new upholstered top on the table and put upside down.
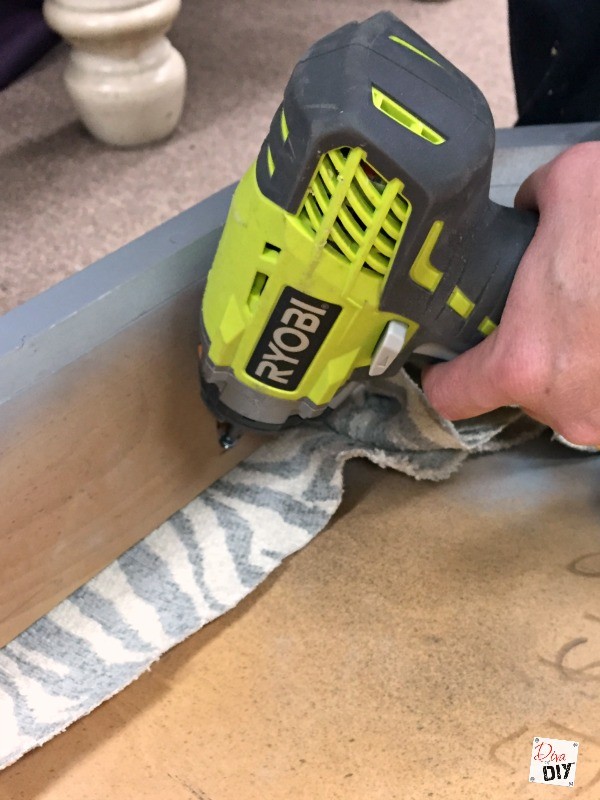
Step 13) Attach the table top back to the base with the screws.
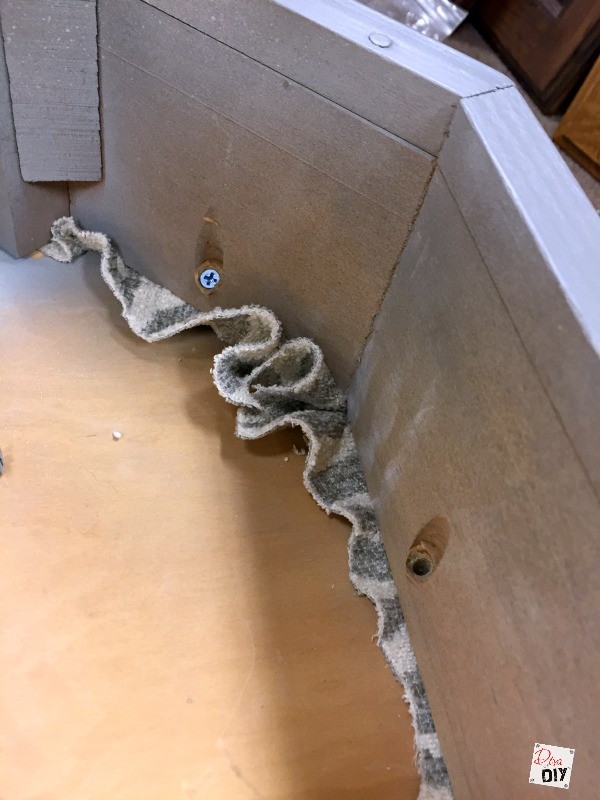
Step 14) Trim any unwanted fabric.
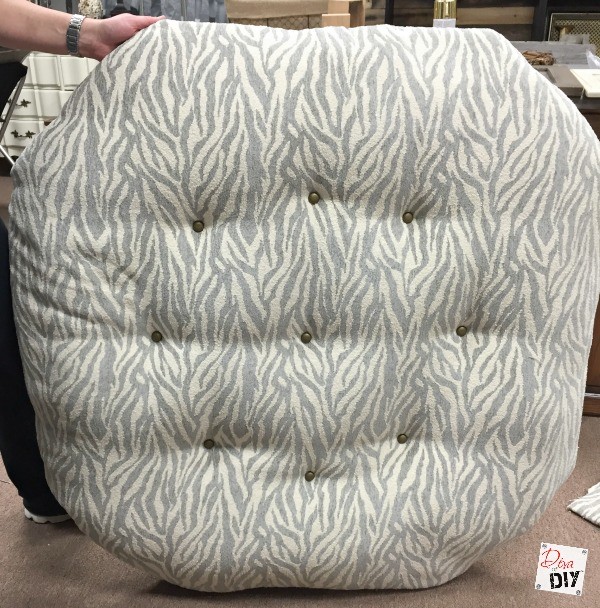
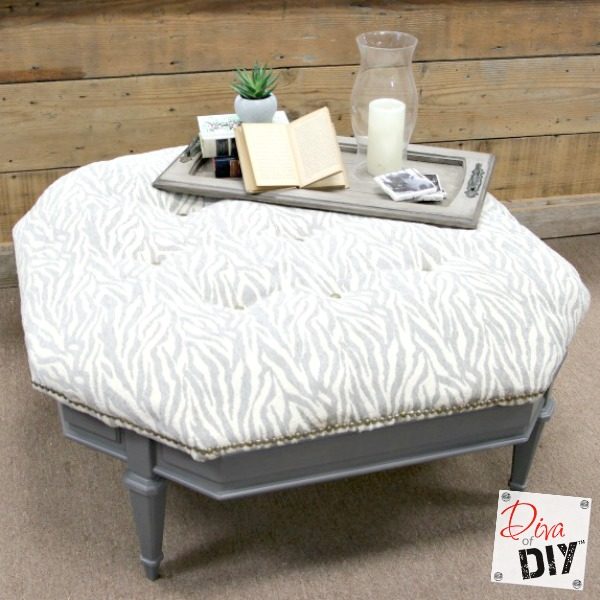
You are finished! Look at how polished it looks. I am not a big animal print person but this fabric just spoke to me and I couldn’t be happier with the way my ottoman turned out. I can not wait until I get to use it in our new lake house.
Each and everyone of you inspire me and I LOVE to see the work that you’ve created. Feel free to share with me on Instagram, Twitter or Facebook. And as always, be sure to follow Diva Of DIY on Pinterest and sign up for our FREE Newsletter to receive the latest projects delivered straight to your inbox!
If you enjoyed this project, check out these: