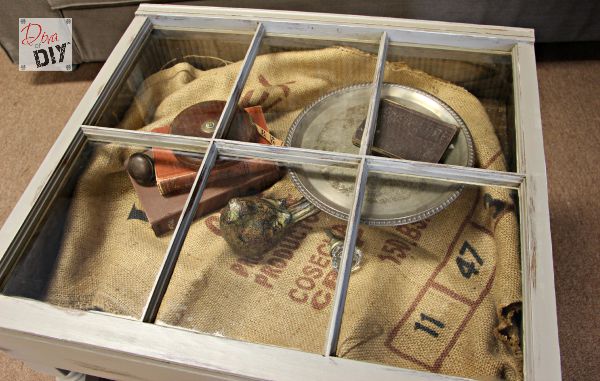
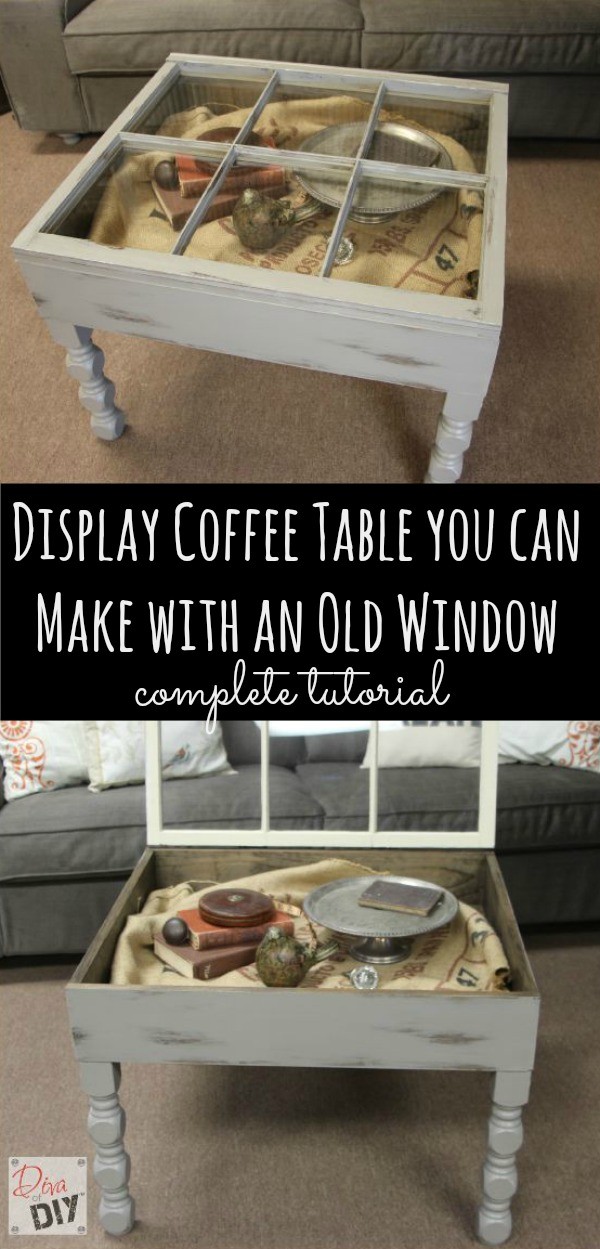
This coffee table made from an old window has so much character and personality. I love that it not only has a function but also allows for endless decorating possibilities. This window table ranks as one of my all time favorite DIY projects.

Why this window table is one of my favorites?
I know I know, I say that every time but this project seriously contains all of my passions:
- Re-purposing (The old window and the stair spindles)
- Design (I designed the way I wanted my table to look)
- Building (I built the display box for the window to sit on)
- Painting (My business for almost 16 years and I still love it!)
- Power tools!
- And…I created a place to display some of my favorite treasures.
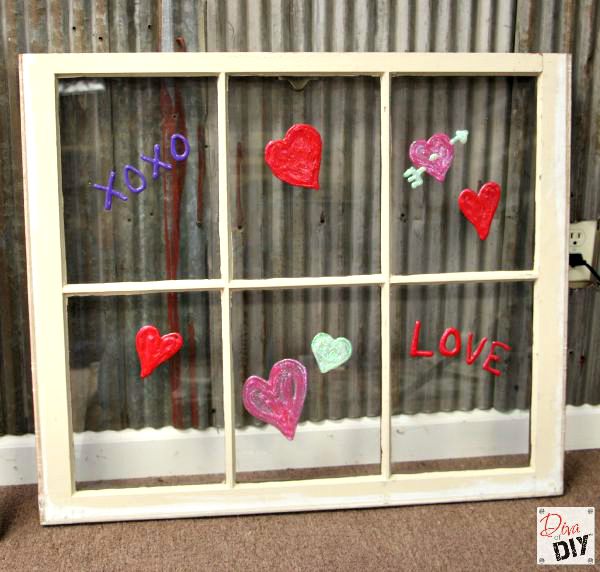
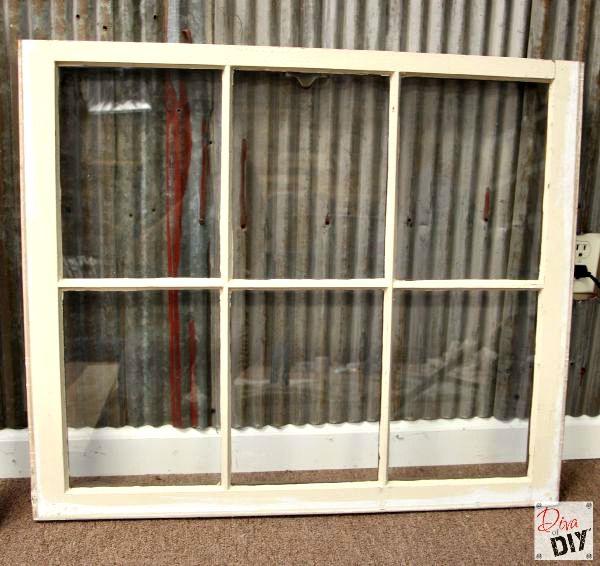
You may recognize this window from my “Homemade Window Clings” post. I had stored it in my back room for its next big project and this was it.
This post contains affiliate links. If you buy something from clicking one of my links, I will get a commission from the sale. It will not cost you a penny more and allows me to keep sharing my ideas with you for free. You can see my full disclosure here. Thank you for supporting my blog!
Window Coffee Table Supplies:
- Re-purposed Window
- 3/4″ PureBond Plywood in Birch or Maple
- 1″ x 6″ Trim boards in Birch or Maple
- Furniture legs and Furniture leg brackets or
- Re-purposed Stair Spindles (shown)
- Minwax stain in Dark Walnut or Espresso
- Stain Pad
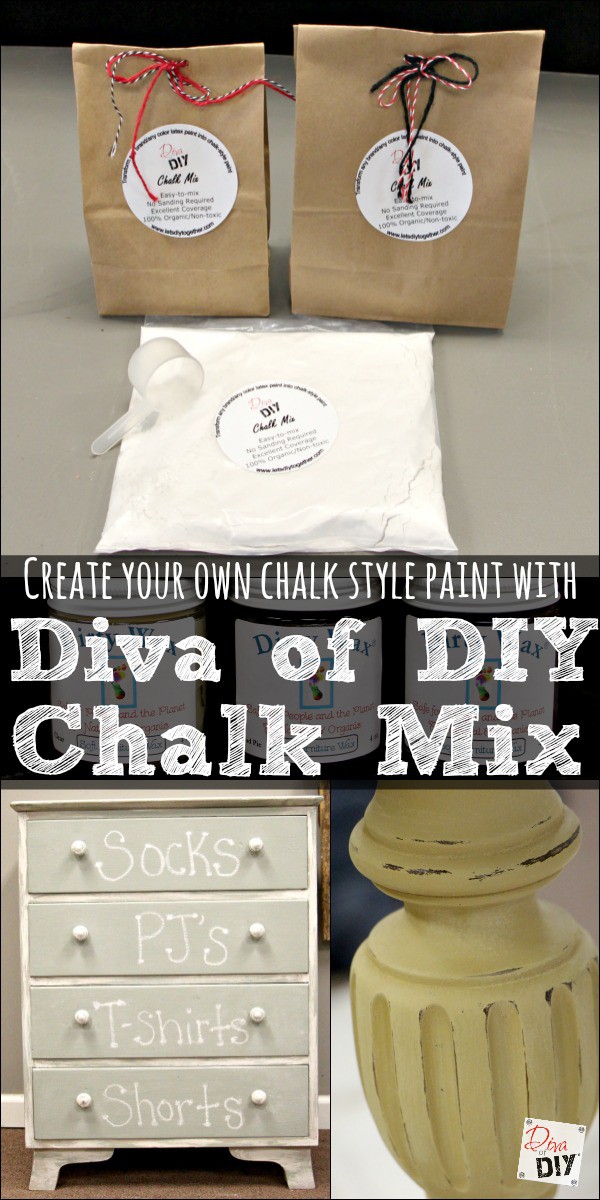
- Chalk Mix Paint in SW Dovetail
- Furniture door hinges
- Good quality paintbrush (Btw…I love this brush…it fits my hand well because the handle is small)
- 2″ wood screws
- Frog Tape
- Modern Masters Masterclear Supreme Topcoat
Coffee Table Tools:
- Ryobi Table Saw
- Ryobi Air Strike 18-gauge air nailer
- Ryobi Circular Saw
- Ryobi Cordless drill
- Ryobi Mitre Saw
Window Coffee Table Instructions:
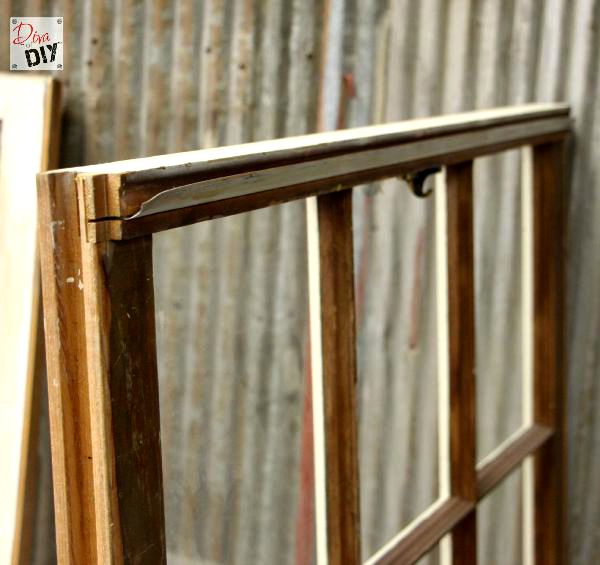
This particular window style has a groove on either side. I am assuming this groove is what allowed the window to slide up and down.
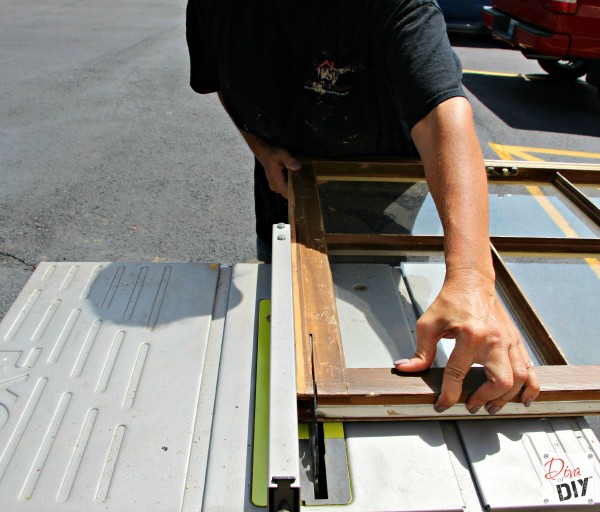
Step 1) Using my ryobi table saw, I cut the grooved section off from both sides. (You could leave the groove in tact if you want but I chose to remove it)
Step 2) Once you have cut the grooves off, measure the outside dimensions of the window. This is how big your box will be.
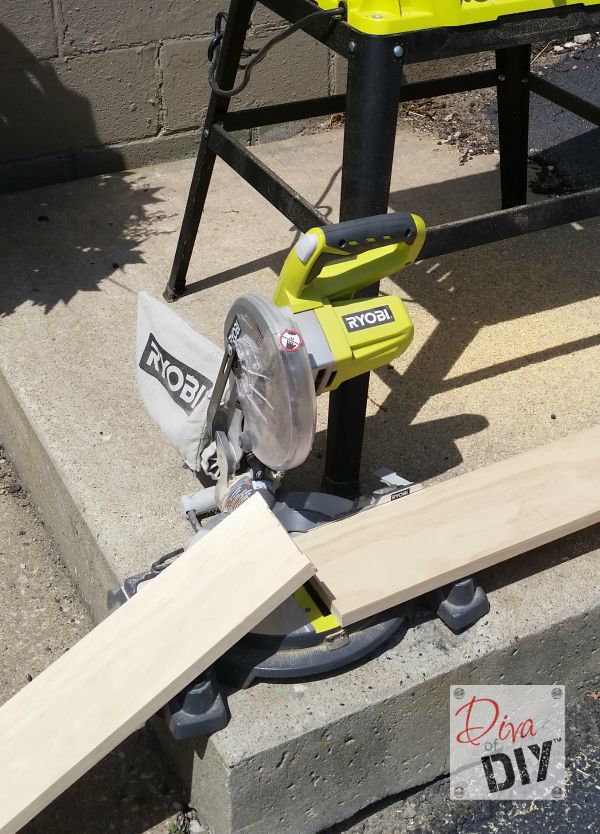
Step 3) Using your mitre saw, cut your 1″ x 6″ trim boards needed to create your window box. Make sure the finished dimensions of your box are the same dimensions of your window. DO NOT ASSEMBLE THEM YET!
Step 4a) Using your table saw, rip your 4′ x 8′ piece of plywood down to the inside dimensions of your box. This piece will be the bottom of your table.
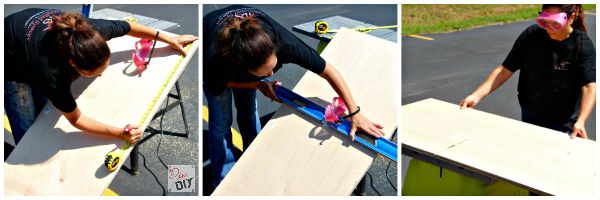
Because I was making 2 tables and not everyone owns a table saw, I thought I would show you an alternate way to cut your plywood. *Diva Note: Yes, that is a 55 Chevy in the background of the middle photo. It is my husbands pride and joy!
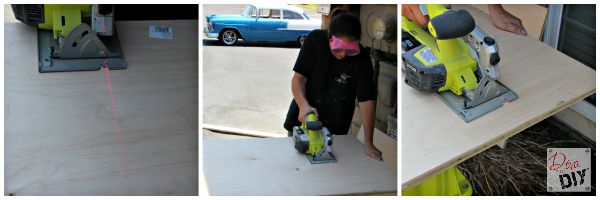
Step 4b) Mark the size your board needs to be with a framing square. Once you have your line drawn, use your circular saw and cut straight through your line.
A third option is to have the hardware store cut the plywood bottom for you but make sure your measurements are correct…they will not be responsible for mis-measuring.
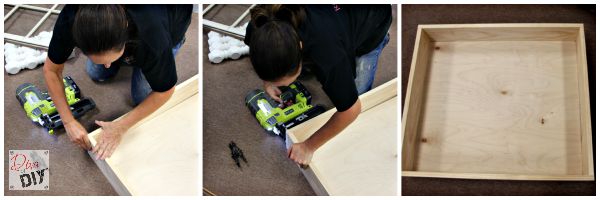
Step 5) Assemble the box around the plywood bottom. Start by attaching 2 of the side pieces together at the corner with the nail gun.
Step 6) Next, slide the piece of plywood into the corner and attach with another couple of nails.
Step 7) Nail on the other sides using the air nailer.
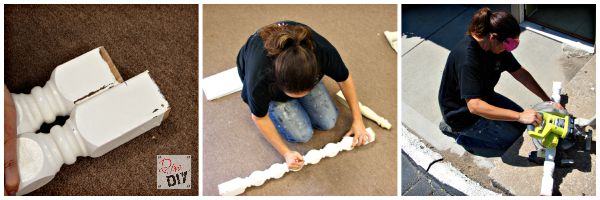
Step 8) Using the mitre saw, cut the stair spindles to the appropriate length for the height of the table.

Step 9) Screw in (3) 2″ wood screws through the bottom of the table into each of the table legs (aka stair spindles)
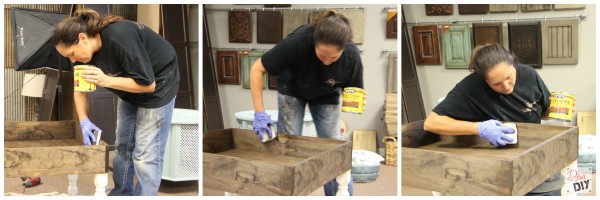
Step 10) Using a stain pad, stain the stain-grade plywood and trim boards and let dry.
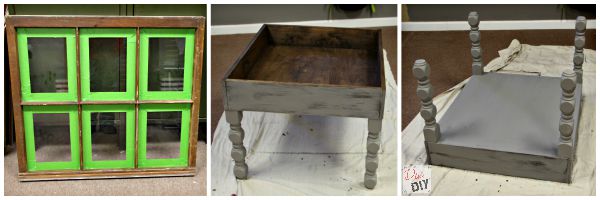
Step 11) Tape off window panes using frog tape. *Diva Tip: Burnish with a credit card or paint stick to keep paint from bleeding.
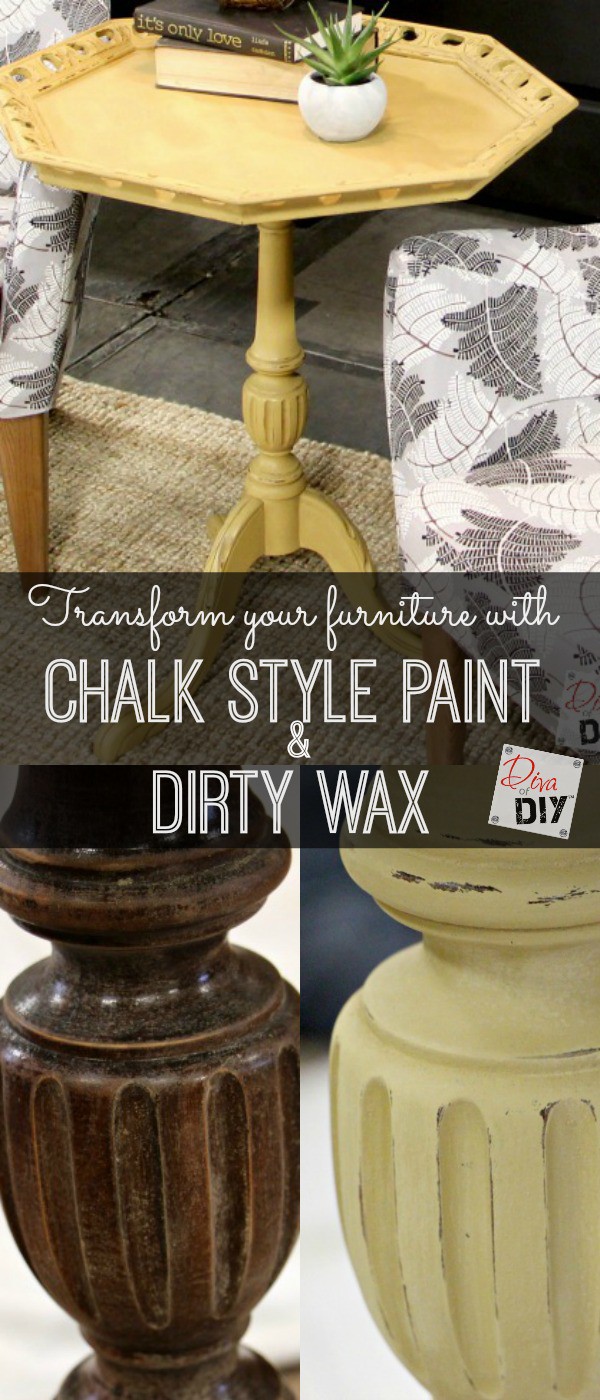
Step 12) Paint the window pane and the table base with the chalk mix paint. Click Here for directions and product for chalk mix paint. I left the inside stained and painted the outside leaving some of the stained areas peeking through for a more rustic look. Let dry.
13) Apply 2 coats of satin topcoat. Let dry.
14) Attach window using the furniture door hinges.
Each and everyone of you inspire me and I LOVE to see the work that you’ve created. Feel free to share with me on Instagram, Twitter or Facebook. And as always, be sure to follow Diva Of DIY on Pinterest and sign up for our FREE Newsletter to receive the latest projects delivered straight to your inbox!