I am just going to get this out in the open now… I am organization-challenged! I desperately needed this organization station!
Anyone who knows me knows that I am always juggling a million things at once. I constantly over-commit, seldom say no, and try to be all things to all people. I think I must thrive in stress and chaos… Not!
Between a busy decorative painting business, My Diva of DIY blog, Kansas City Live, a self-employed husband and 3 very busy teenage boys, it can be extremely difficult to keep it all straight and quite honestly, I fail often.
In a last ditch attempt to have some type of organization in place before school and sports schedules started piling in, I decided to find some type of command center. I looked at several calendars and scoured every organization section of every big box store but i couldn’t find anything that made sense for my family. I needed more than a memo board, I needed an organization station!
So what is a Diva of DIY to do??? You guessed it, I am making my own.
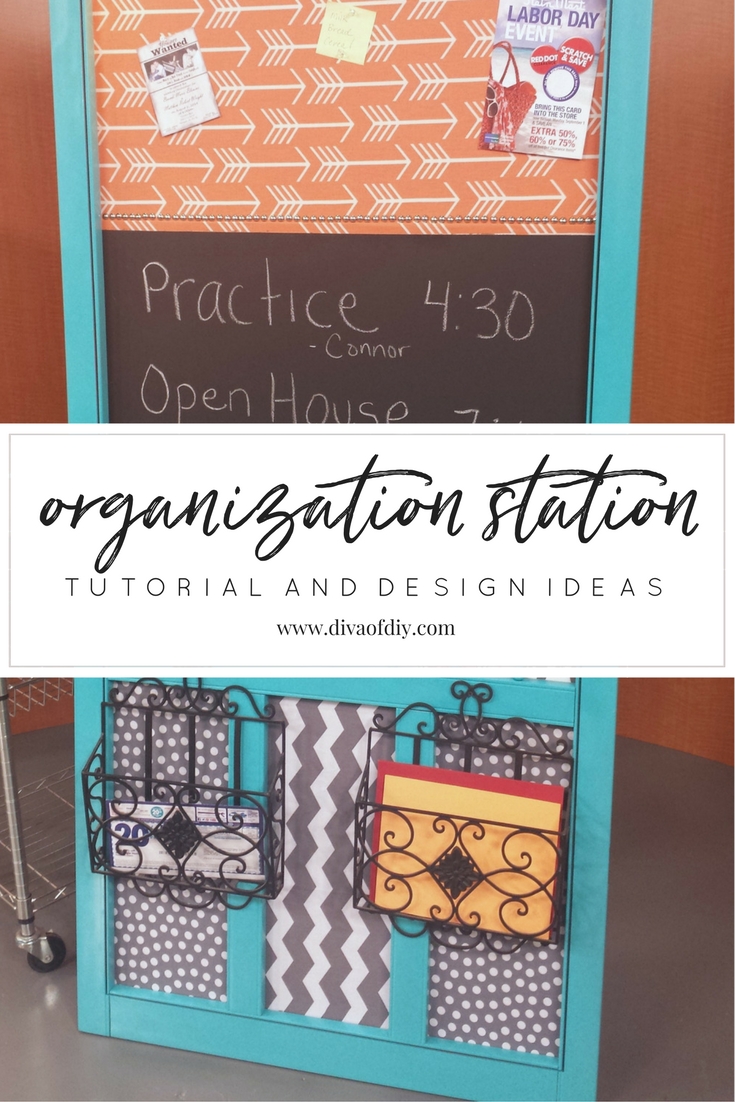
I started by figuring out my family requirements:
- Needs to be big enough for a family of 5
- Needs a bulletin board
- Needs a chalkboard / Chalk
- Needs a place for papers-to-be-signed
- Needs a place for bills-needing-to-be-paid
- Needs a place for keys
- Needs a place for sunglasses
- Needs to be stylish and fit in my decor
Based on our family needs I knew I needed something fairly large with different sections. I also knew I wanted to use something repurposed so I did what I always do before starting a project…I looked in my treasure-stash. Low and behold I found the perfect solution… A Broken Screen Door.
This post contains affiliate links. If you buy something from clicking one of my links, I will get a commission from the sale. It will not cost you a penny more and allows me to keep sharing my ideas with you for free. You can see my full disclosure here. Thank you for supporting my blog!
Organization Station Supply List:
- Screen Door
- Spray Paint
- Fabric
- Staple Gun
- Cup Pull
- Towel Bar
- Masonite or plywood
- Chalkboard paint
- Spray Adhesive
- Push Pins
- Chalk
- Wall Folders
- Screws
- Drill
- Jute Rope & Clothes Pins
- Sandpaper & Tack Cloth (if door has been previously painted
Organization Station Instructions:
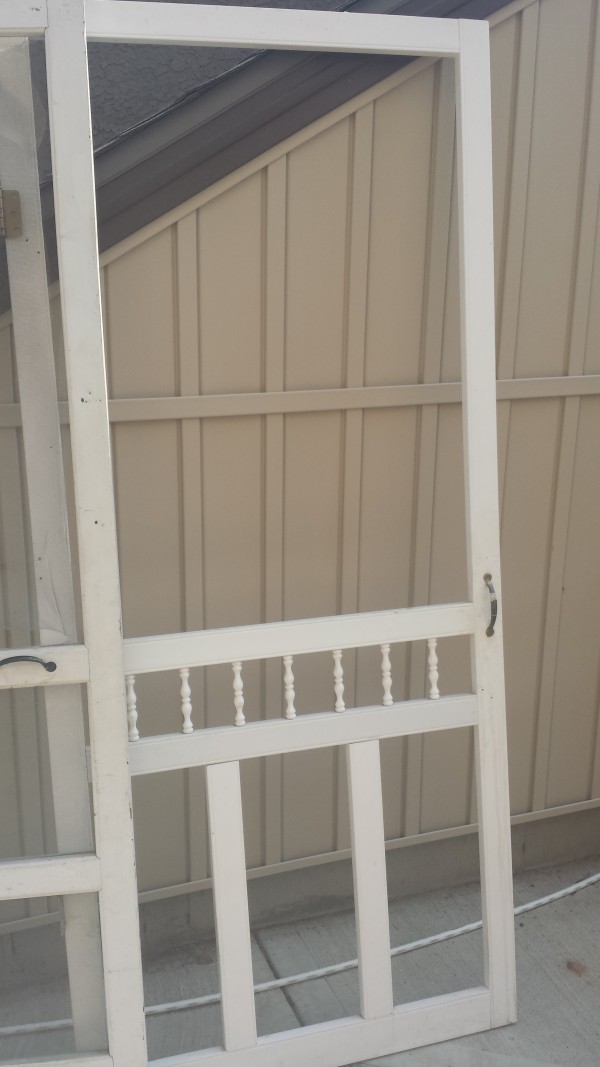
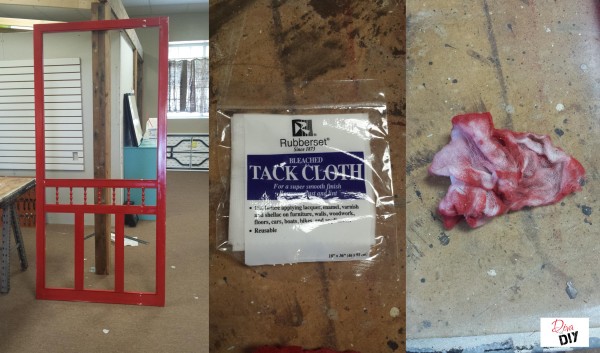
This screen door started out white. I picked it up at The ReStore a couple of years ago for almost nothing because the screen was all torn up. That didn’t bother me…I just took the rest of the screen out, painted it red and put a chalkboard behind it. I had been using it on my set for several months but during our move, the door frame got pretty banged up.
I glued and clamped the frame where it had separated, sanded the chipping red paint, and wiped it down with tack cloth.
Diva Tip: Always use tack cloth when sanding spray paint…look at all of the fine dust I managed to wipe off
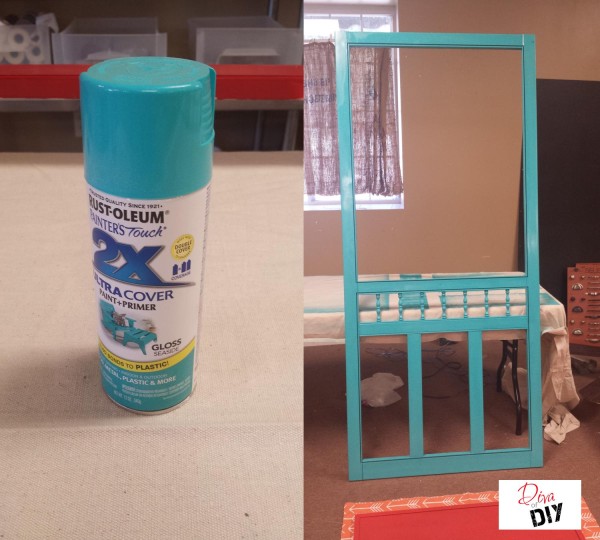
Since it needed a fresh coat of paint, I switched up the color. Now its Rustoleum Seaside Blue (one of my favorite colors).
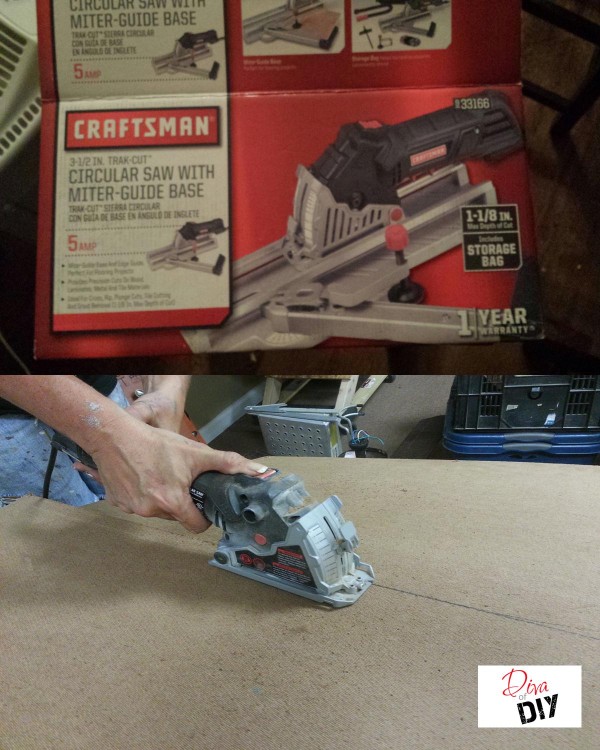
The door already had a full sheet of masonite that had been painted with chalkboard paint. I wanted to change the function of the door so, using my Craftsman saw, (I LOVE THIS CUTE LITTLE SAW) I cut off a section of the masonite board to make room for the bulletin board.
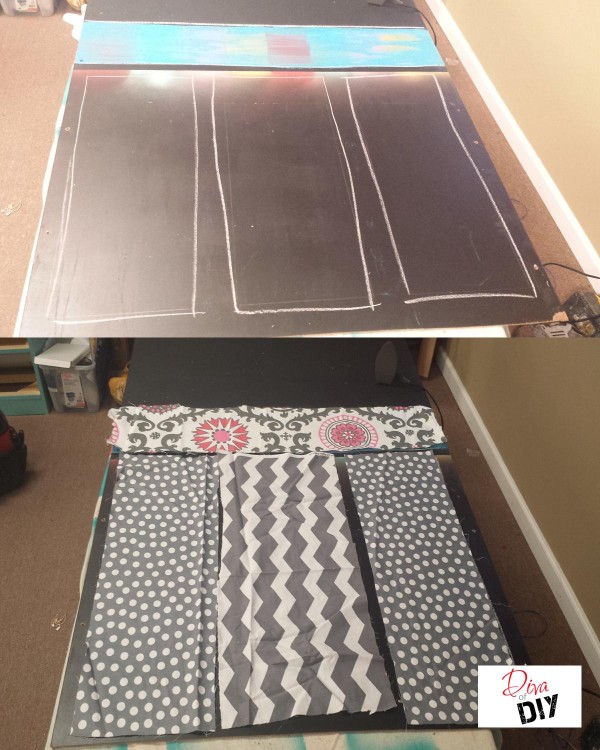
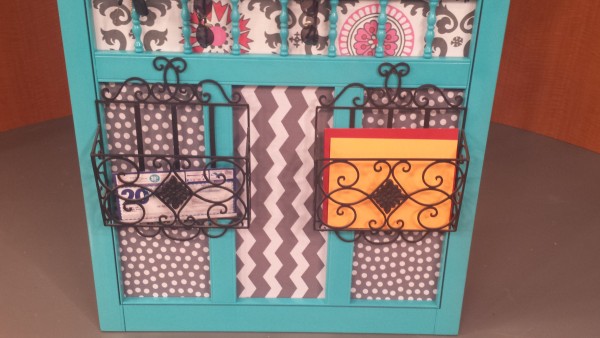
I also wanted to brighten up this command center with fun fabrics so instead of leaving the chalkboard paint on the lower half, i chose to insert fabric in each of the openings. To do this, I layed the door over the board and traced the inside of the openings with chalk so i would know how big to cut the fabric.
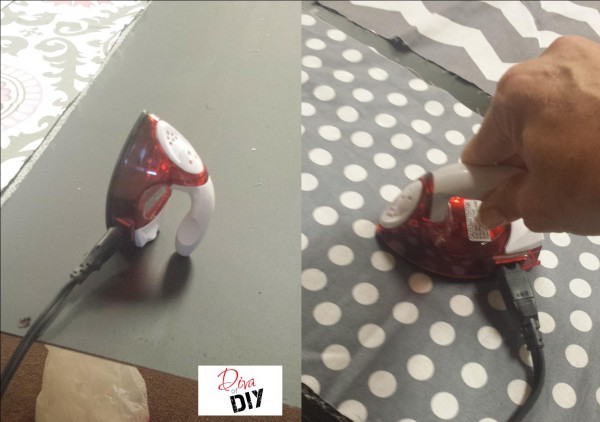
Once the fabric was cut, I had to iron it and what better gadget to bring out then my sweet little craft iron. Is that not the cutest thing ever? I love it because it heats up quick and doesn’t require an ironing board.
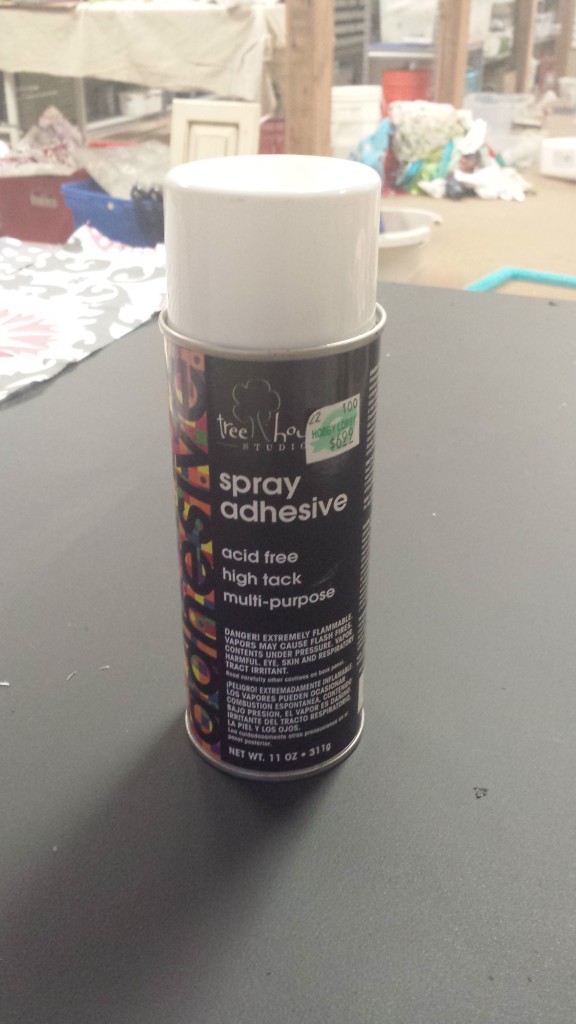
Once the fabric was ironed, I attached each of the pieces of fabric with permanent spray adhesive. To use the spray adhesive, I sprayed the board and the inside of the fabric and let it tack up for one minute.
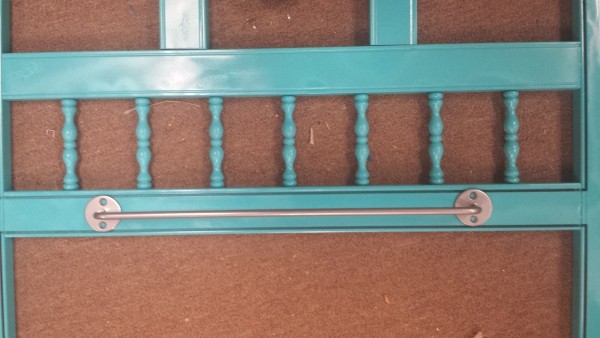
I attached an IKEA towel bar to the front of the door. Start by drilling pilot holes to ensure your door doesn’t split. This is perfect to hold sunglasses.
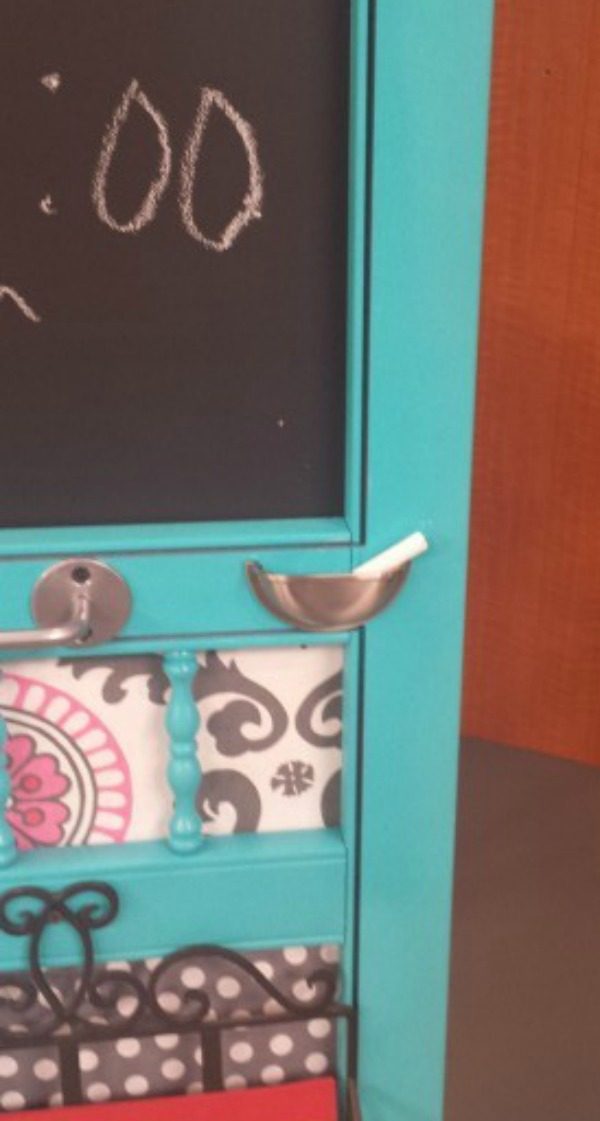
I turned a cabinet cup pull upside down to hold my chalk. On the opposite side of the cup pull are 2 screws to hold our car keys.
I attached two metal wall folders to hold homework and bills that need to be mailed.
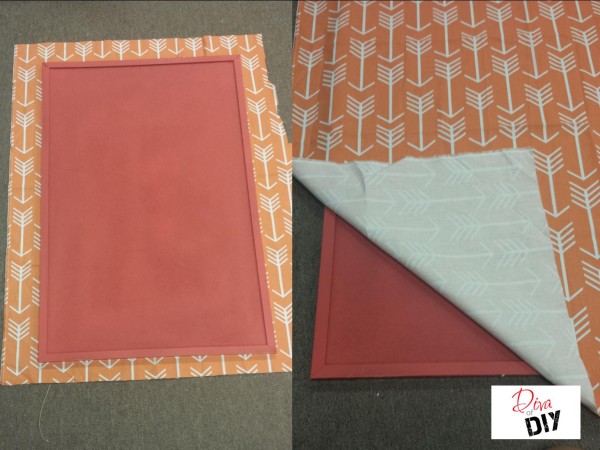
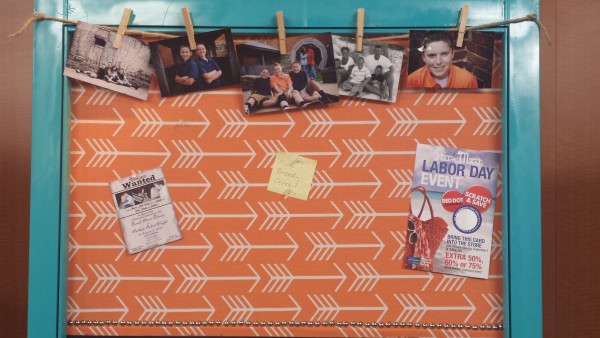
I stapled fabric to an old cork board and attached it to the top of my door right above the chalkboard.
And last but certainly not least…I took 2 screws and drilled them into the top corners of the door, ran some jute rope from screw to screw and hung pictures of the people I love most.

I truly love this project. It is functional, stylish and environmentally friendly. I can’t promise that this organization station will cure all of my organization pitfalls but I feel one step closer to sanity!
Each and everyone of you inspire me and I LOVE to see the work that you’ve created. Feel free to share with me on Instagram, Twitter or Facebook. And as always, be sure to follow Diva Of DIY on Pinterest and sign up for our FREE Newsletter to receive the latest projects delivered straight to your inbox!
If you enjoyed this project, check out these:
