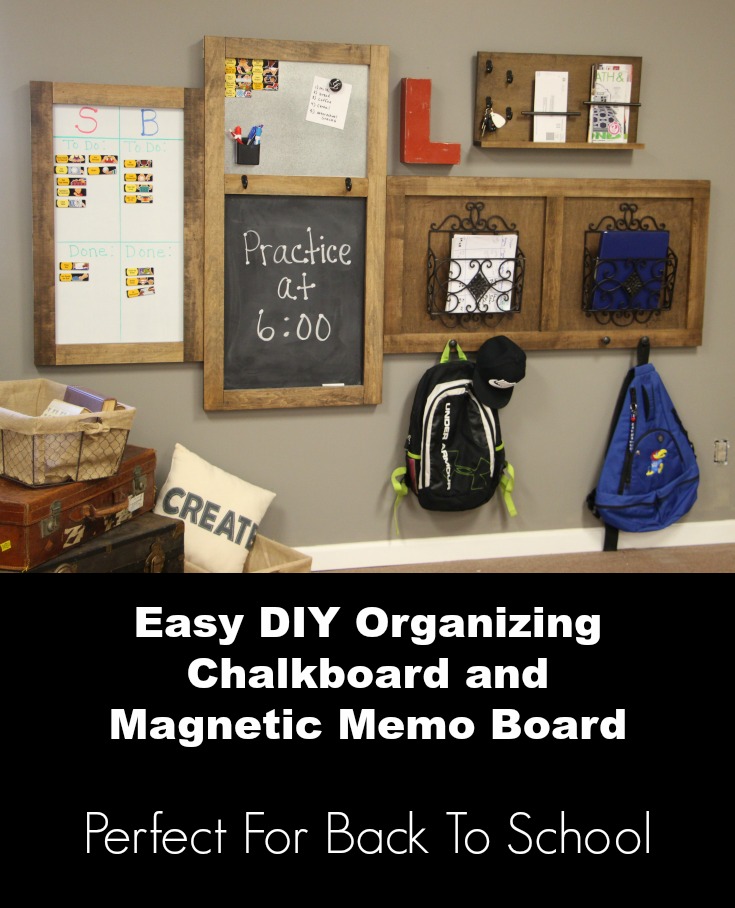
Each family’s command center will look different based on their number of children, their ages and their activities. For my family, an easy organizing chalkboard is just what I needed.
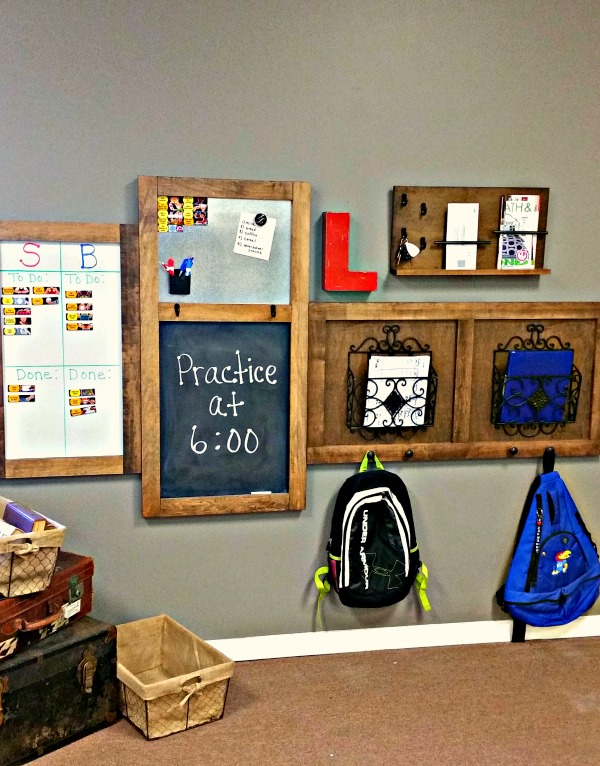
This organizing chalkboard has a large chalkboard at the bottom and a magnetic board at the top. Now we can write reminders on the bottom and attach notes, papers, etc…to the top. I also attached 2 hooks so we would always have a place to hang our keys.
This post contains affiliate links
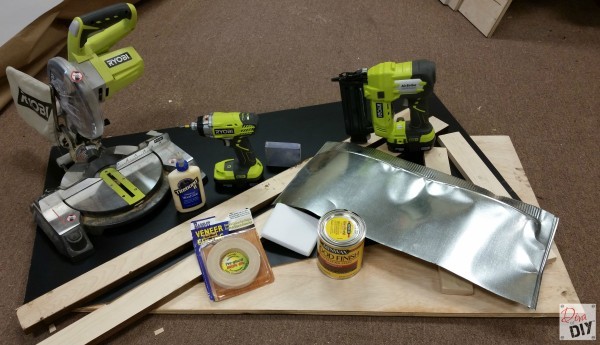
Organizing Chalkboard Supplies:
- 2’ x 4’ ¾” Purebond Stain-grade Maple Plywood
- 1” x 3” Maple Trim boards cut to the following sizes: 2 boards at 48″ inches 3 boards at 19″
- Iron-on Veneer edging
- Iron
- Sheet Metal, cut to fit
- 2′ x 4′ chalkboard panel
- Minwax Espresso Stain (or color of your choice)
- Fast-drying Satin Polyurethane
- 1/2″ screws
- Readyscrew D Link Hangar
- Cordless Drill with phillips drill bit
- Nail Gun – Best Tool Ever!!!
Organizing Chalkboard Instructions:
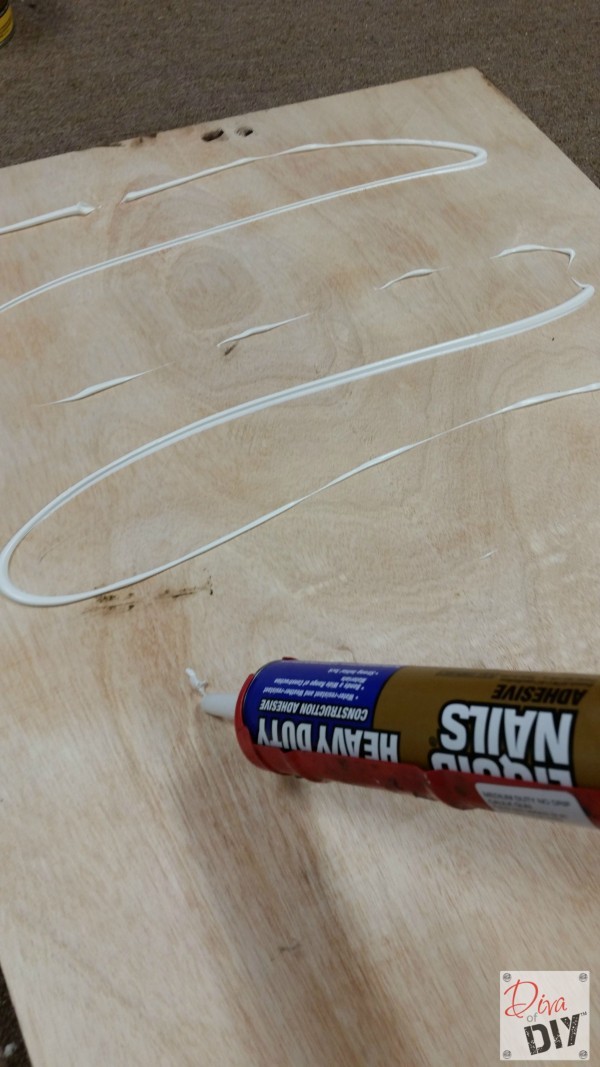
1) Spread liquid nail over the plywood to hold bond the chalkboard panel.
2) Lay the 2′ x 4′ chalkboard panel on top of the liquid nail.
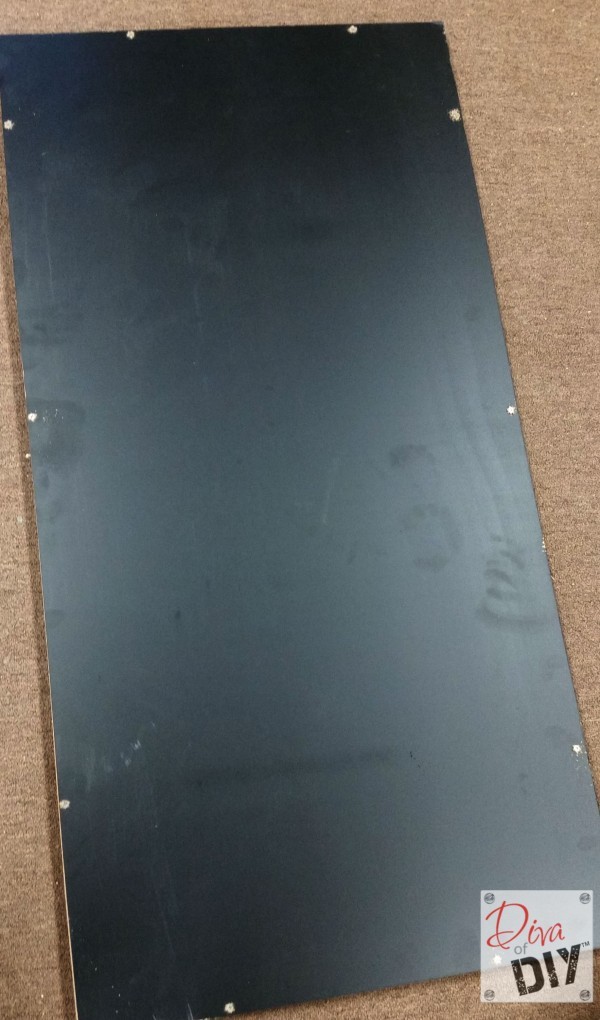
3) Screw the chalkboard panel to the plywood panel at the edges
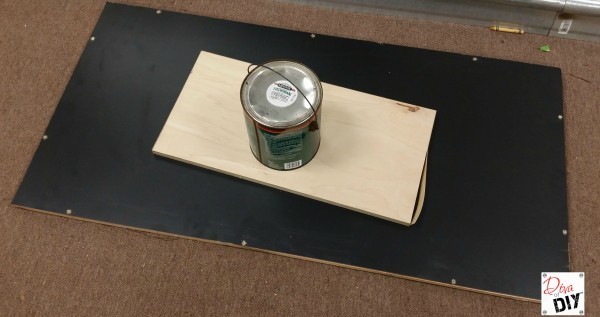
4) Set something heavy in the center of the chalkboard panel while the liquid nail dries.
5) Decide where you want your magnetic board (a.k.a. sheet metal) and spread liquid nail over chalkboard panel in that area.
6) Lay the sheet metal over the liquid nail.
5) Using your nail gun, attach the two 4′ trim boards to the long sides.
6) Next, attach a 19″ trim board to the top and one to the bottom.
7) Lastly, attach the other 19″ trim board to cover the seam of the chalkboard panel and the sheet metal
As I was making this I had a great idea…what about using each of the 4′ trim boards for a growth chart? Simply hang the organizing chalkboard 3′ from the floor and mark their growth starting with the first day of school! If you like this back-to-school organizing project, you will love my Easy DIY Backpack Station…check it out.
If you liked this project, check out these: