In my quest for organization {you do remember my New Years Resolution to get organized, right?!?}, I have come to the conclusion that the mounds of jewelry in my drawer have to go. Oh…don’t get me wrong…I am not getting rid of it…please! I am simply creating a DIY Jewelry Organizer so I can keep it tangle free and actually see what I have.
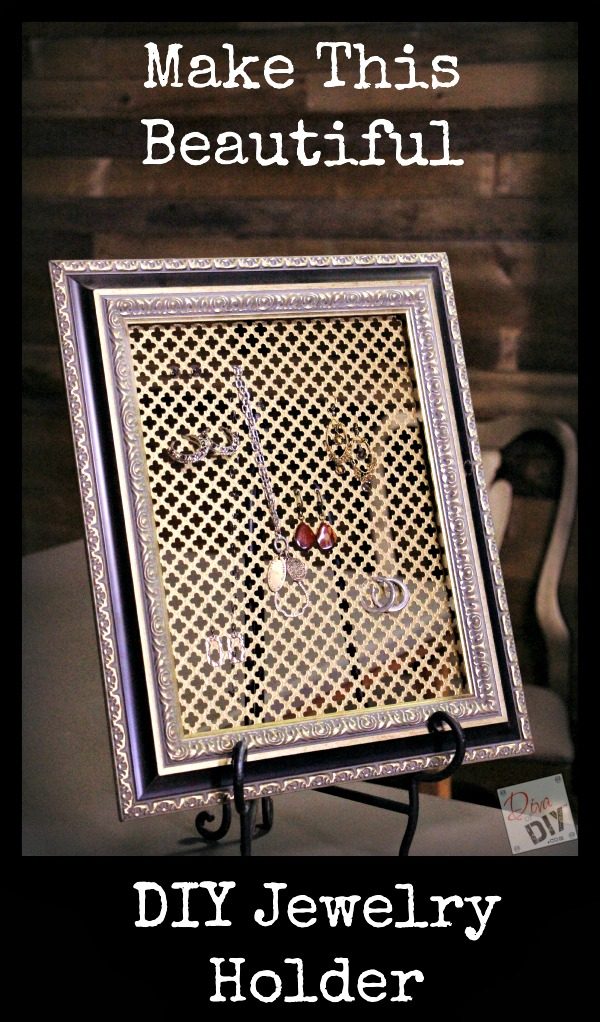
I love the fact that with this DIY Jewelry Organizer I can either put it on an easel or hang it on the wall. I’m embarrassed to say that after I made this particular one I found more pieces and have since made three of these frames to separate the jewelry. One is housing earrings, one is housing necklaces and the other is housing bracelets and rings that are on a chain.
Alright let’s get you started on this super simple DIY project.
This post contains affiliate links. If you buy something from clicking one of my links, I will get a commission from the sale. It will not cost you a penny more and allows me to keep sharing my ideas with you for free. You can see my full disclosure here. Thank you for supporting my blog!
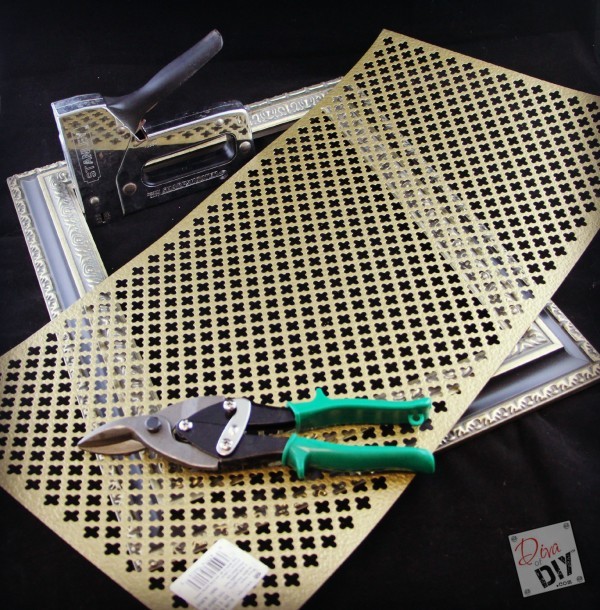
Jewelry Organizer Supplies:
- Decorative Sheet Metal
- Tin Snips
- Open-Back Frame
or Easel-Back Frame with the glass and back removed
- Staple Gun
& Staples
Jewelry Organizer Instructions:
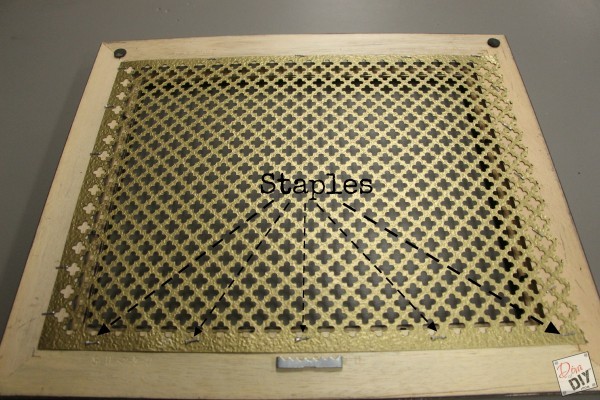
Step 1) Measure the opening of the frame and add 1/2″-1″ to each side.
Step 2) Cut the sheet metal with tin snips to size.
Step 3) Using a staple gun, staple the metal to the back of the wood frame.
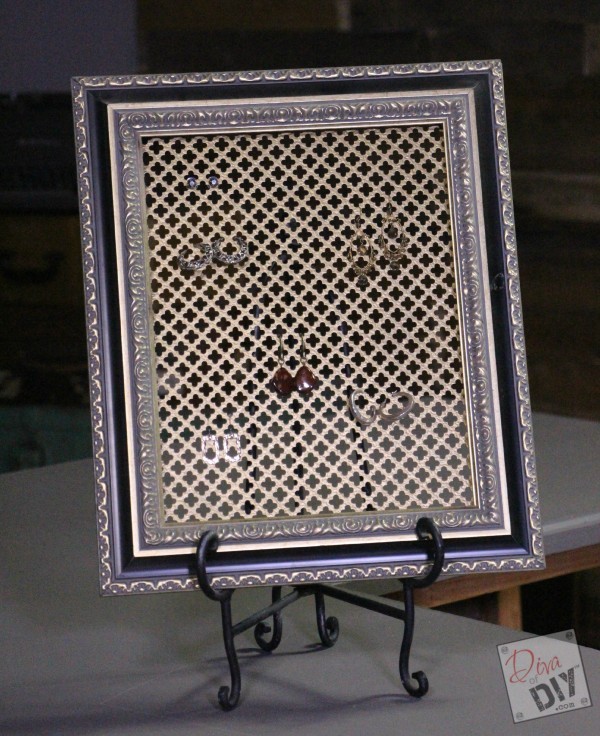
And voila…I now have no excuse for missing earrings or tangled necklaces! Now I’m just hoping the boys don’t try and “gift” my stuff to these girls they are meeting…that’s a whole other website that I don’t have time to get started on!
Each and everyone of you inspire me and I LOVE to see the work that you’ve created. Feel free to share with me on Instagram, Twitter or Facebook. And as always, be sure to follow Diva Of DIY on Pinterest and sign up for our FREE Newsletter to receive the latest projects delivered straight to your inbox!
If you like this project, check out these:
