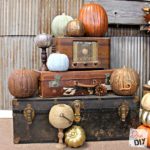
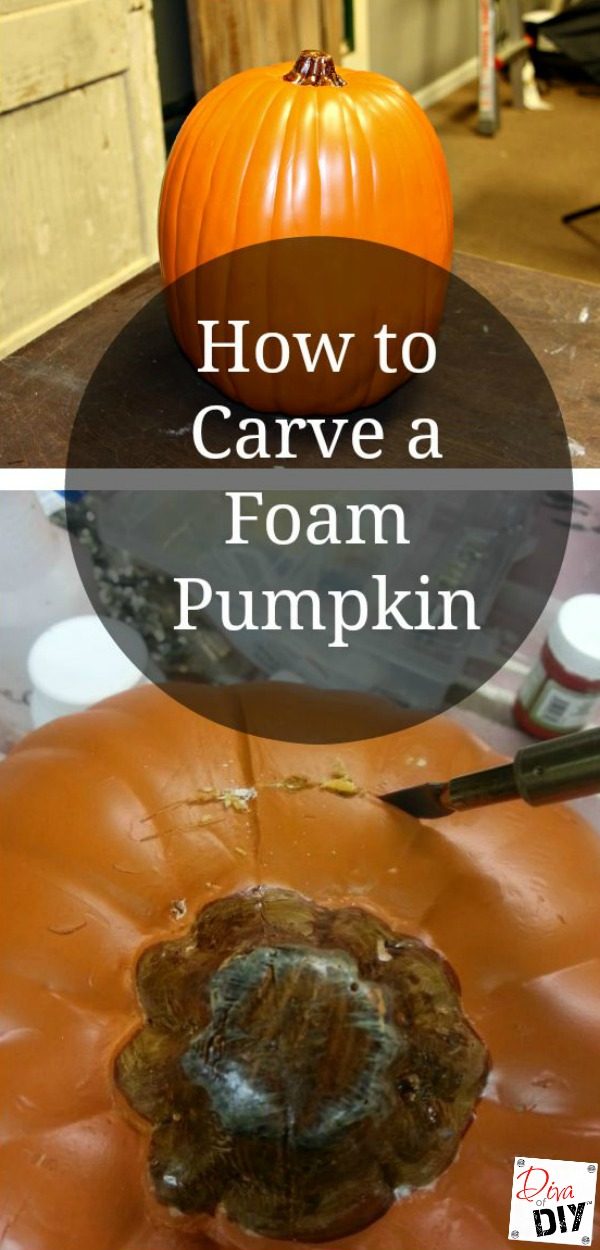
My secret to amazing fall decorations that last from mid September through Thanksgiving is using foam pumpkins because they are the pumpkin that never rot! I carve them, paint them, drill them, rust them and so much more.
I have made some beautifully-carved foam pumpkins and it is super easy thanks to a woodburning tool.
Simply trace your pattern or plan out your design like you would for real pumpkins. Instead of using a carving knife, use the wood burning hot knife. The best part is that you can save your hard work and display it year after year!
This post contains affiliate links. If you buy something from clicking one of my links, I will get a commission from the sale. It will not cost you a penny more and allows me to keep sharing my ideas with you for free. You can see my full disclosure here. Thank you for supporting my blog!
Carving Faux Pumpkin Supplies:
- Woodburning tool with attachments
- Foam pumpkin
- Design templates if desired


Carving Faux Pumpkin Instructions:
Using the wood burning tool 

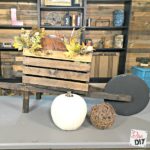
Want to make the pumpkin planter above? See the full Boo Planter tutorial here!
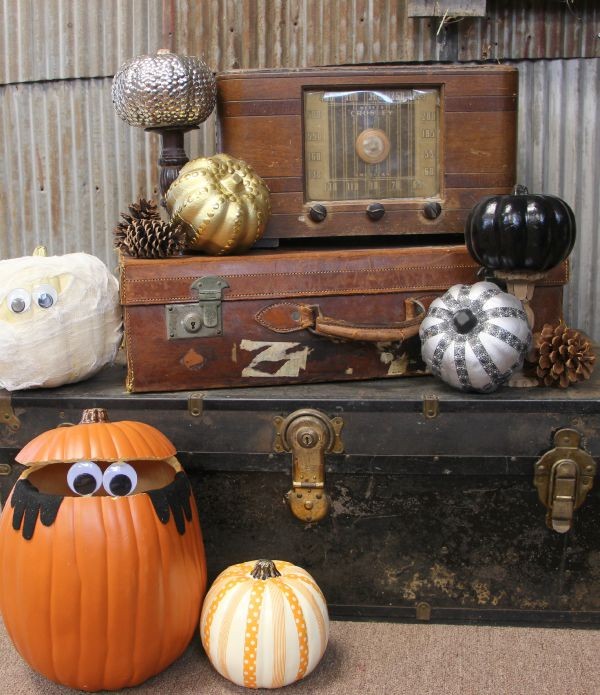
Who can resist this cute peek-a-boo pumpkin? Another fun project using the heated knife tool. You can cut the pumpkin and the kids can decorate it! See the full Peek-A-Boo Pumpkin Tutorial Here!
Each and everyone of you inspire me and I LOVE to see the work that you’ve created. Feel free to share with me on Instagram, Twitter or Facebook. And as always, be sure to follow Diva Of DIY on Pinterest and sign up for our FREE Newsletter to receive the latest projects delivered straight to your inbox!
If you like this project, check out these: