
Planters are a great way to decorate for any season and this wheelbarrow planter is the perfect project to add to your decor this year! Don’t let the amazing look scare you into thinking it is an advance DIY! This project is perfect for the beginning DIYer. I began seeing wooden decorative wheelbarrows showing up on…
Similar Posts
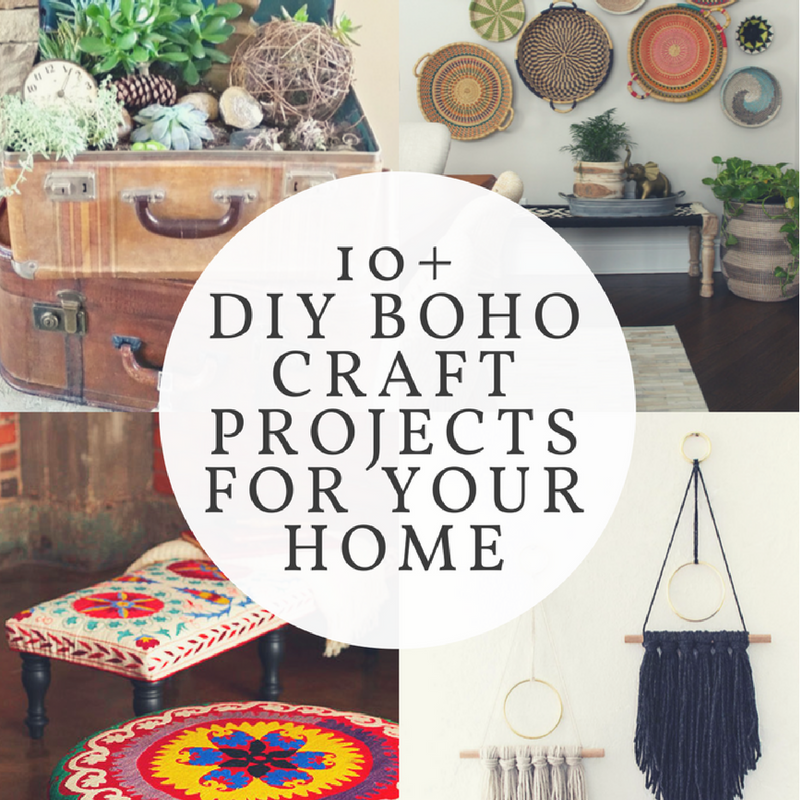
Boho Decor on a Budget: 10+ Ideas for your Home
A fabulous collection of Boho decor for your home. Add a pop of color and texture to every room in your home with this amazing collection of Bohemian home decor. Easy Boho Decor for your home: I don’t know about you but I’m loving all the Boho Decor Ideas I’m seeing around. I love the…
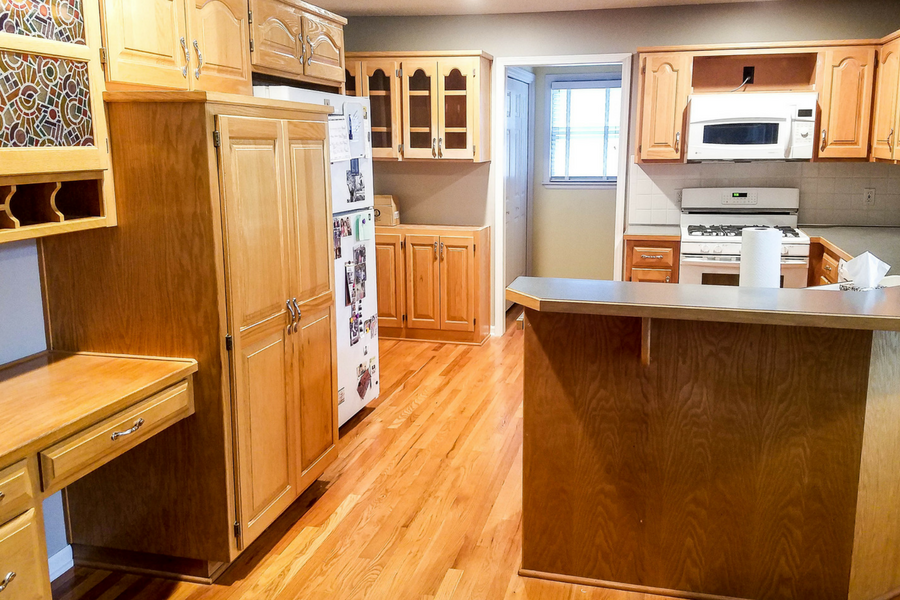
Oak cabinet makeover: How to paint like a professional
Do you have golden oak cabinets? If you love them, awesome! Should you hate them, you have options! Assuming they’re in good shape, why in the world would you rip them out and send them to the landfill? Check out this oak cabinet makeover we just completed for a customer and then keep reading…
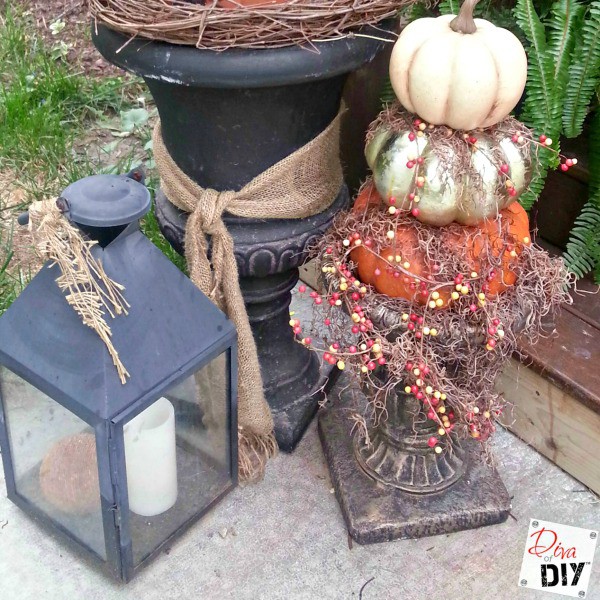
How to Make a Unique Pumpkin Topiary
There are not many things more beautiful than a fall pumpkin topiary. I love incorporating the fall colors with a variety of pumpkins, dried flowers and garlands. Faux foam pumpkins come in all shapes, sizes and colors and if you don’t see the one you like, you can always personalize them! This post contains affiliate…...
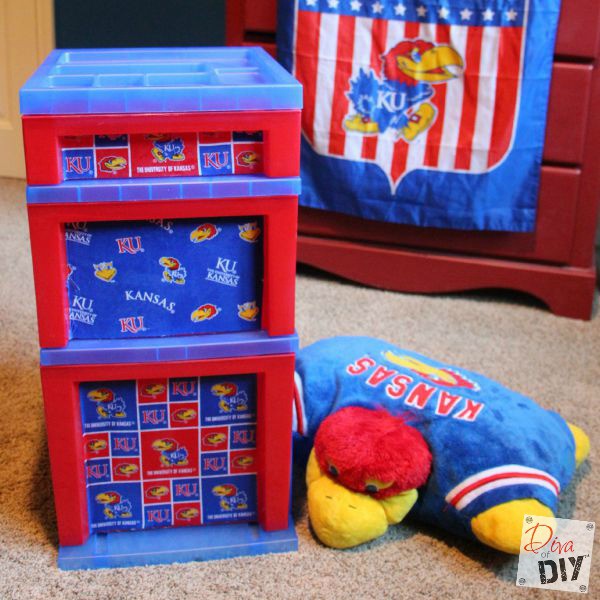
Quick and Easy Plastic Storage Container Makeover
Plastic storage containers are perfect for inexpensive organization. They come in all shapes and sizes so finding the perfect storage container shouldn’t be a problem. The problem lies in the fact that I don’t like being able to see the chaos that lives inside the clear bins. I have a solution that will create “one-of-a-kind”,…
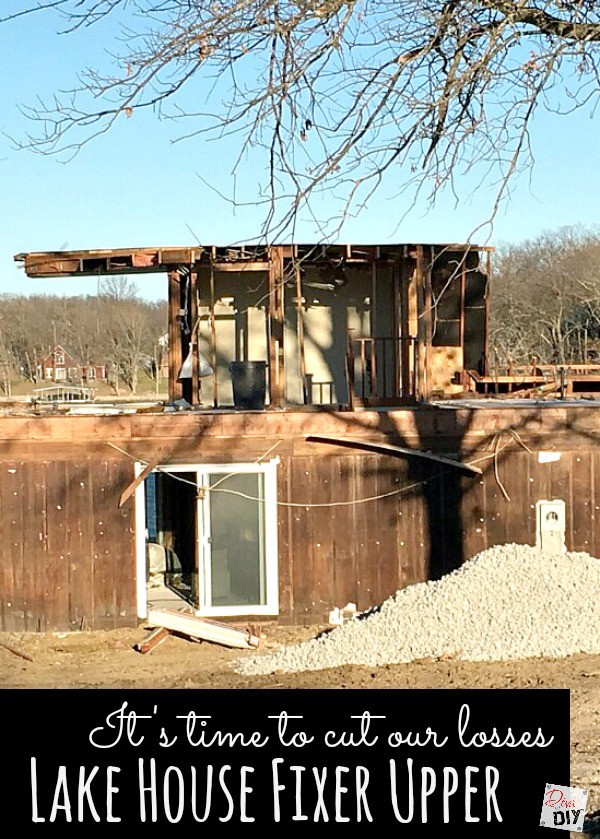
Lake House Fixer Upper: It’s Time To Cut Our Losses
I am so glad you are back for the next update on our Lake House Fixer Upper. So far I have given you a tour of the original house and discussed my vision, shown you the inside demo work that was being done and taken you on my first experience using a Bobcat to tear…
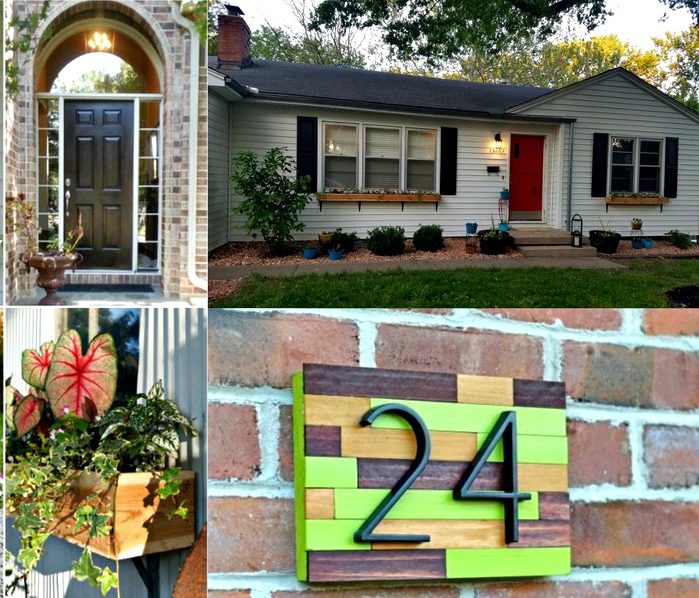
Easy Ways to Increase Curb Appeal
Anyone who knows anything about real estate will tell you that curb appeal is crucial to your home’s value. The way your home looks from the outside gives prospective buyers a first impression – good or bad, and can make a huge difference in sale price. Even if you’re not selling your home, coming home…