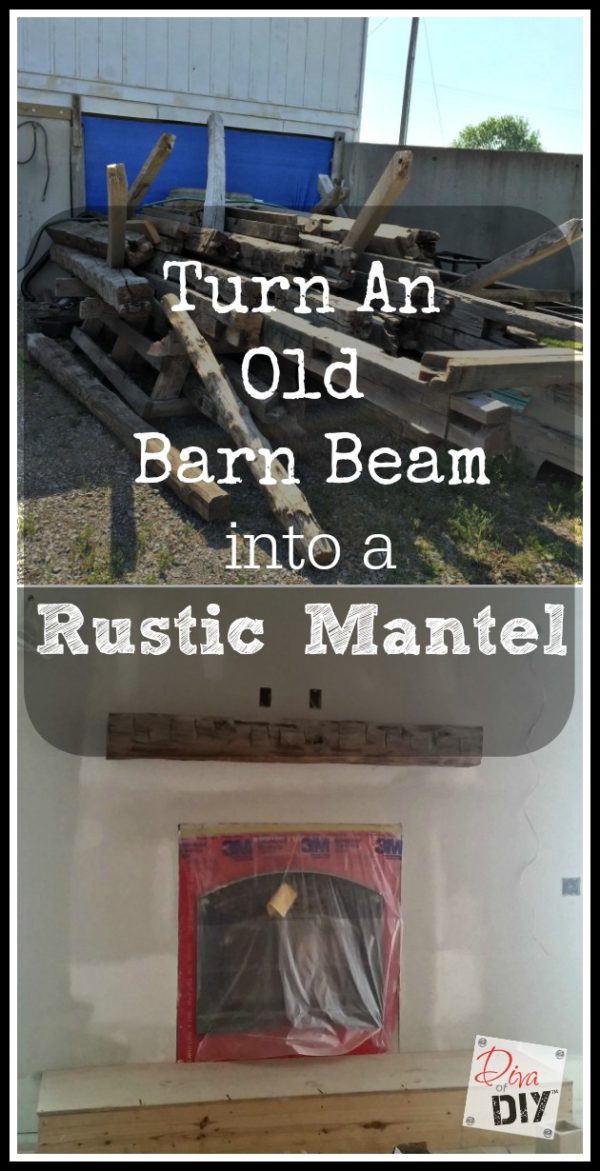
You know I love all things rescued and re-used right? Well how about mantel made from a 100 year old barn beam? Oh if only these beauties could talk…imagine the stories they would tell. I took one look and immediately fell in love with their raw beauty. Follow along to see how I turned one of these beams into a beautiful rustic mantel.
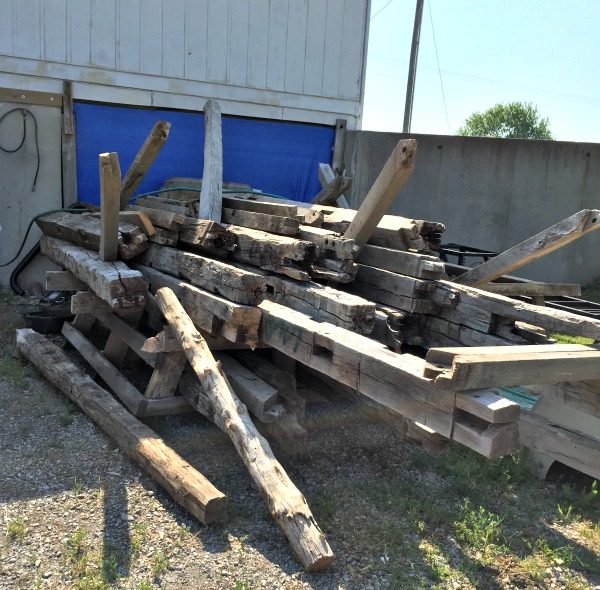
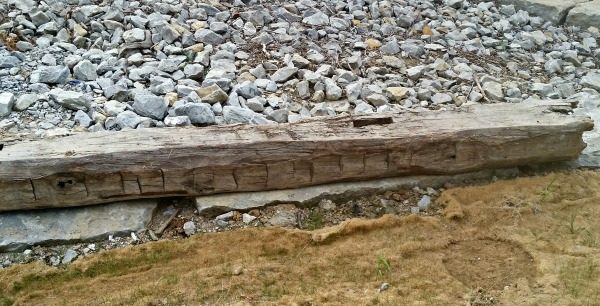
Let me just tell you right now that I wanted to take every single one of these babies home. If anyone is looking for solid own hand-hewn beams, this guy’s got them.
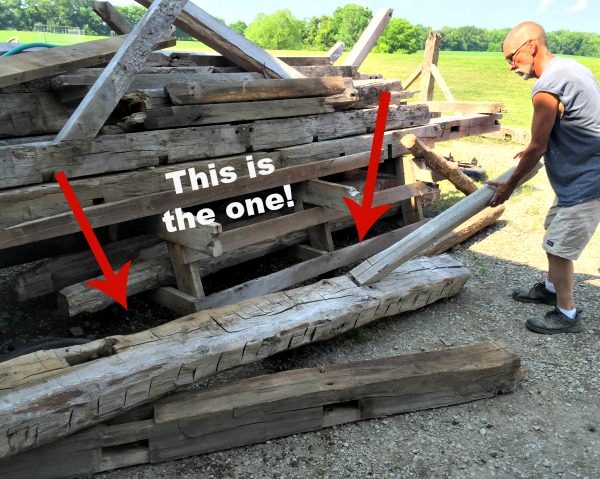
Meet Jack! He is the cool dude with all of these beams. He is the one who tore the barn down and saved all of these and for that…I say “thank you Jack!” This was the one I chose…don’t ask me how I decided. It spoke to me. I know it sounds corny but I knew it was the one.
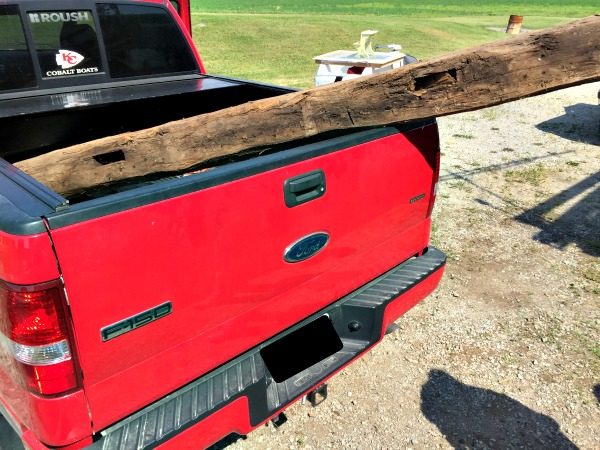
Jack and I loaded my new beam in my truck and I headed home to get to work.
This post contains affiliate links. If you buy something from clicking one of my links, I will get a commission from the sale. You can see my full disclosure here. Thank you for supporting my blog!
Supplies needed to build a barn beam mantel:
- Power washer
- Circular Saw
- Chain Saw
(if needed to shorten)
- Crow bar
- Hammer
- Level
- Drill
- Sharpie
- 2 x 4 x 8
- 4″ Lag Bolts (these are the ones I used)
- 6″ Lag Bolts (these are the ones I used)


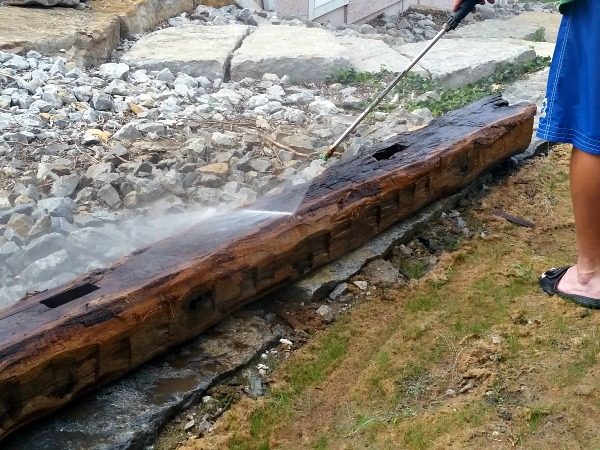
Step 1) Power wash the beam and let it sit in the sun to dry out.
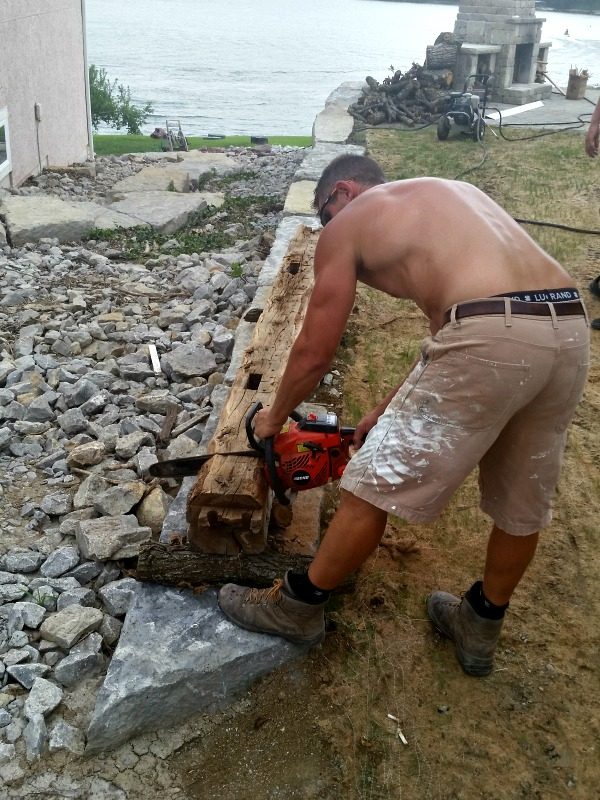
Step 2) Using a chainsaw
Step 3) Place the 2″ x 4″ on the backside of the beam and mark it with a sharpie
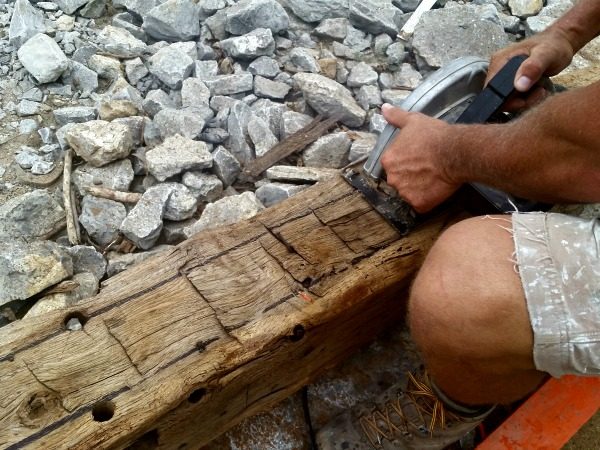
Step 4) Using a circular saw
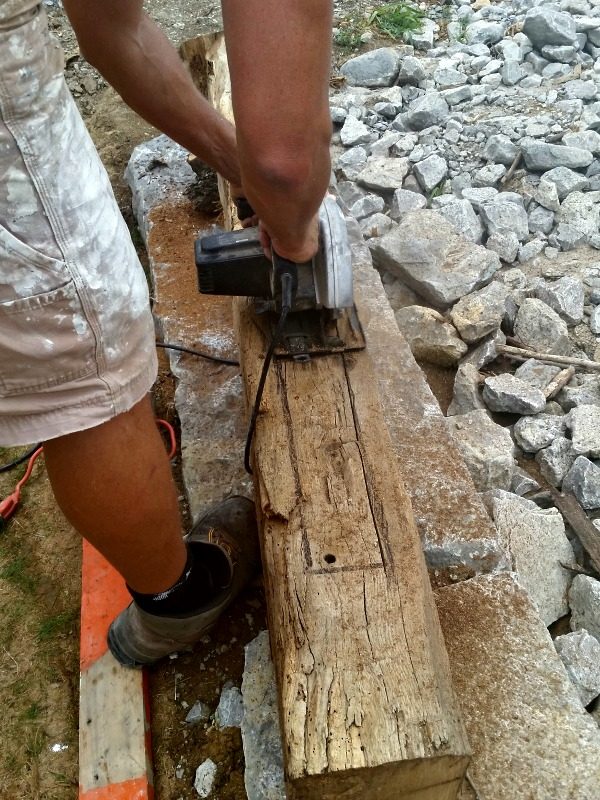
Here is another angle showing the outline of the 2″ x 4″ and the circular saw used to score the wood.
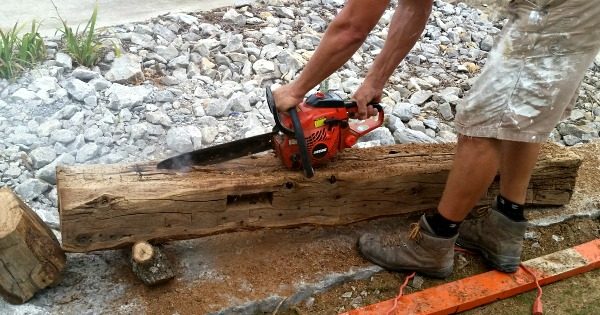
Step 5) Once you have the outline scored, use the chainsaw to “chop the center” up a bit. You are really just breaking up the wood by scoring it vertically and diagonally.
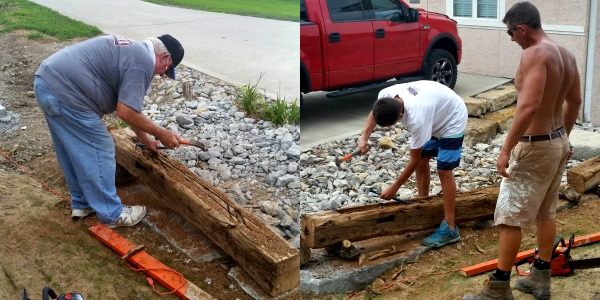
Step 6) Use a hammer and a crowbar to chisel out the center. This will create the void which will fit over the 2″ x 4″. (I love that we are making memories that our family will remember)
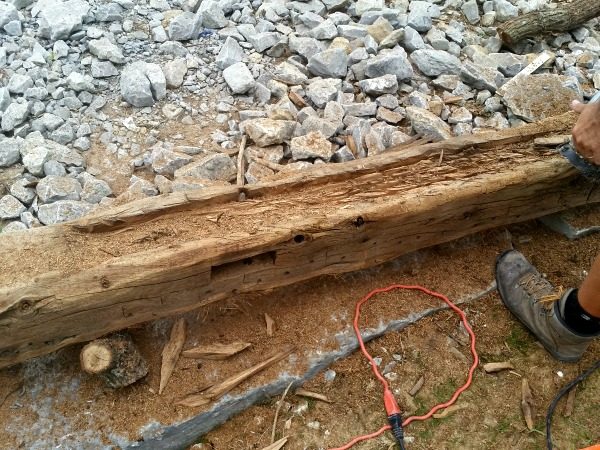
This is what it will look like just before the beam is set as a mantel.
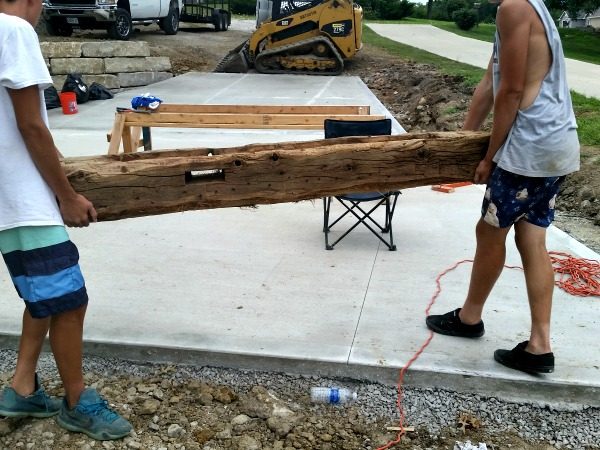
Step 7) Recruit 2 strong teenagers to carry the heavy beam inside.
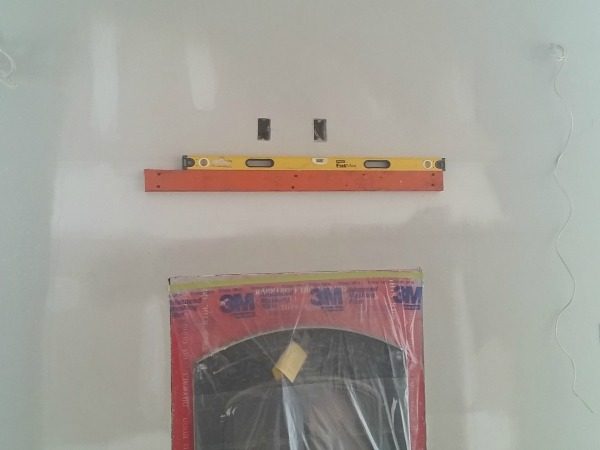
Step 8) Using a level, a drill and some 4″ lag bolts, attach the 2″ x 4″ to the studs in the wall above the fireplace.
Here is a quick video of the boys hanging it up on the 2″ x 4″ and bolting it in.
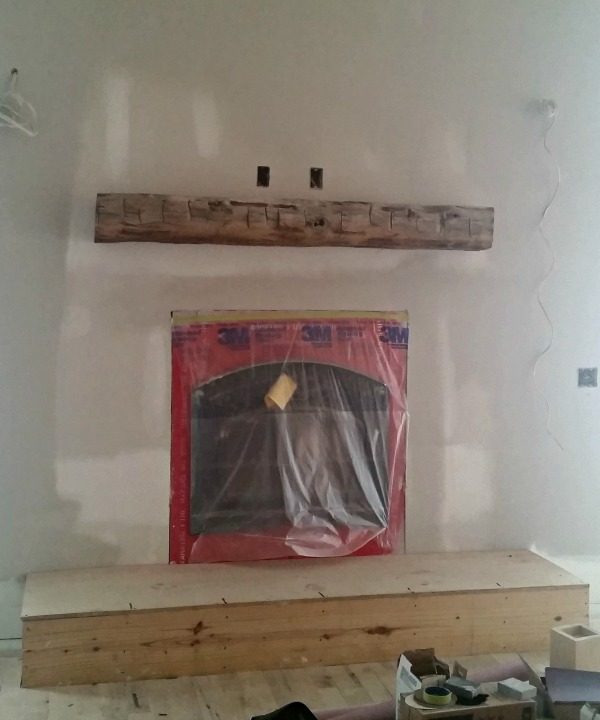
Step 9) Slide the mantel over the 2″ x 4″ and secure with 6″ lag bolts from the top. Make sure the bolts enter the 2″ x 4″.
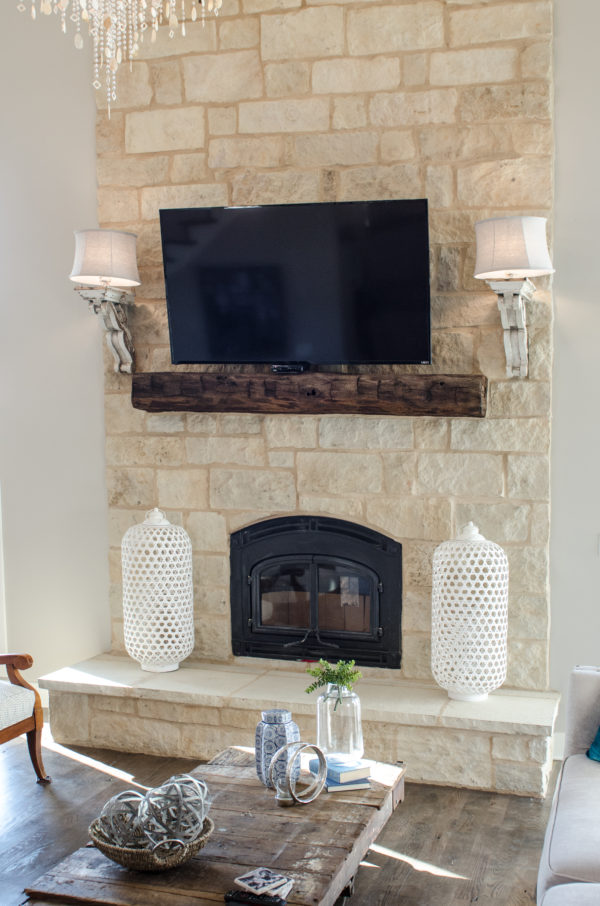
And now for the final reveal….
Each and every one of you inspire me and I LOVE to see the work that you’ve created. Feel free to share with me on Instagram, Twitter or Facebook. And as always, be sure to follow Diva Of DIY on Pinterest and sign up for our FREE Newsletter to receive the latest projects delivered straight to your inbox!
If you enjoyed this post, check these out: