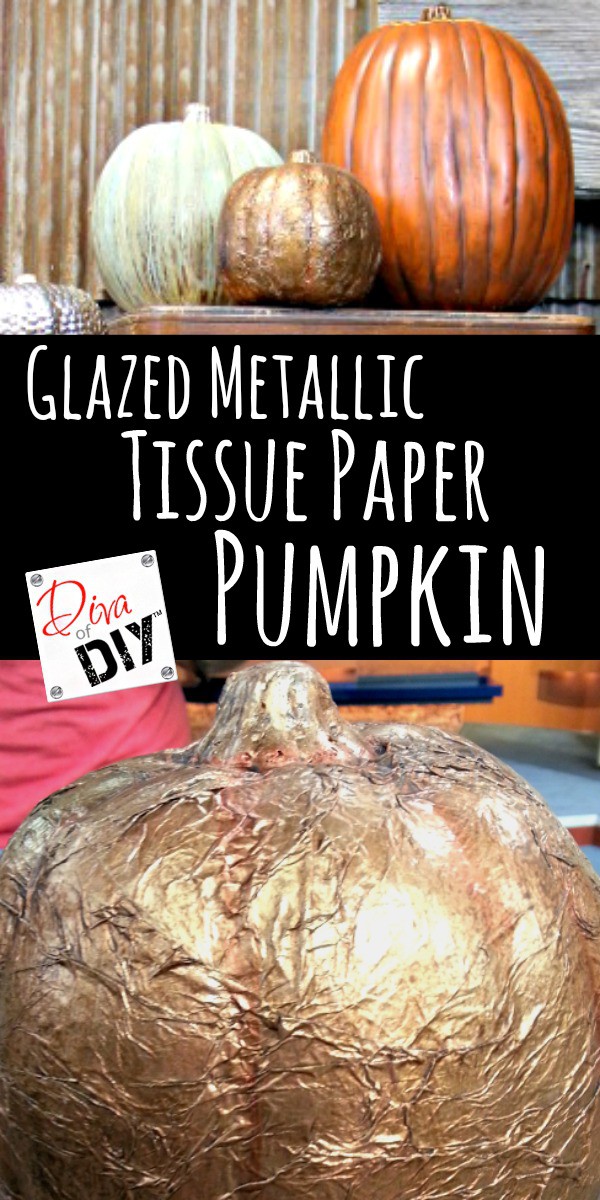
I love using Tissue Paper in my faux finishing business to add texture to walls and furniture so why not use it on a pumpkin? I have incorporated several of my wall tricks from my Rekindled Spaces Business into my pumpkins. This pumpkin craft can be upscale decor or kid friendly fun!
This post contains affiliate links. If you buy something from clicking one of my links, I will get a commission from the sale. It will not cost you a penny more and allows me to keep sharing my ideas with you for free. You can see my full disclosure here. Thank you for supporting my blog!
Pumpkin Craft Supplies:
- Foam Pumpkin
- White Tissue Paper
(torn in pieces and crumpled)
- Mod Podge
- Paint color of choice (I used Modern Masters Metallic Paint in Statuary Bronze
)
- Aging Glaze (see recipe below)
- Paint brush
- cheesecloth
or soft rag


Aging Glaze Recipe:
- 1 part Burnt Umber Acrylic Paint
- 2 parts water
- mix well

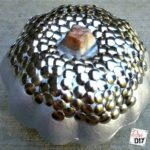
Pumpkin Craft Instructions:

Step 1) Using a foam brush

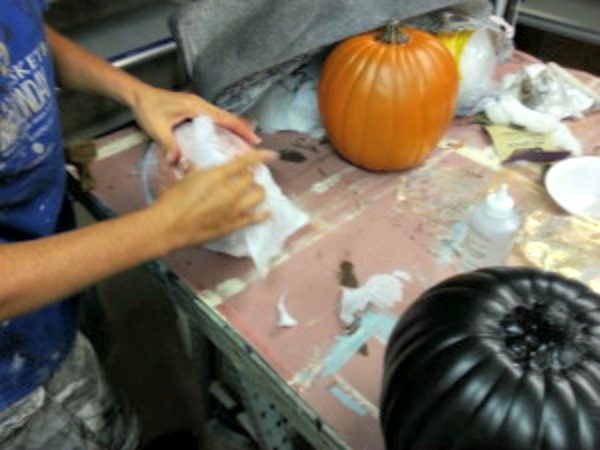
Step 2) While the Mod Podge is wet, start placing tissue paper
Step 3) Repeat this process until the entire pumpkin is covered in tissue paper
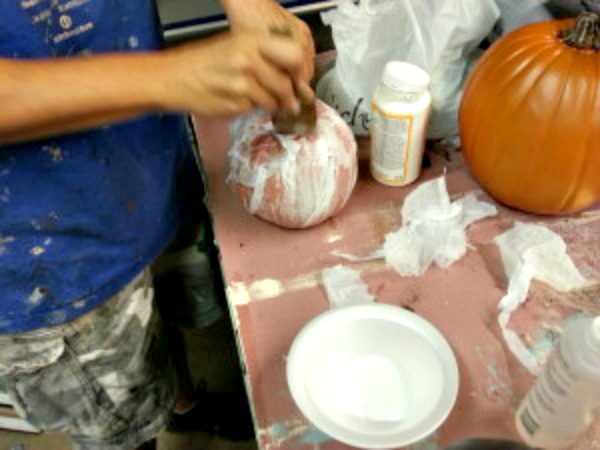
Step 4) To seal tissue, brush one more coat of Mod Podge
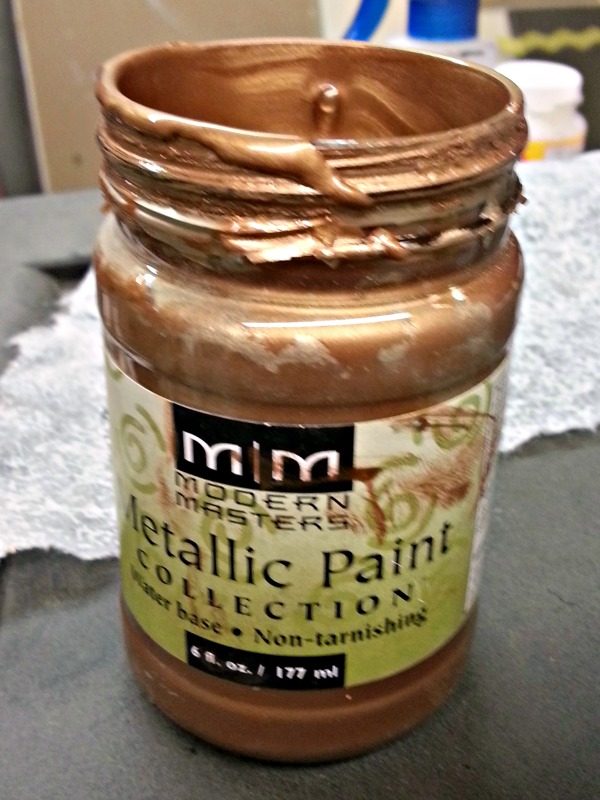
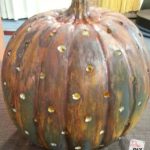
Step 5) Paint pumpkin with your paint color. You can use acrylic paint, left over latex paint, just about any paint will work. I love metallic so I am painting my pumpkin with Modern Masters Metallic Paint in Statuary Bronze
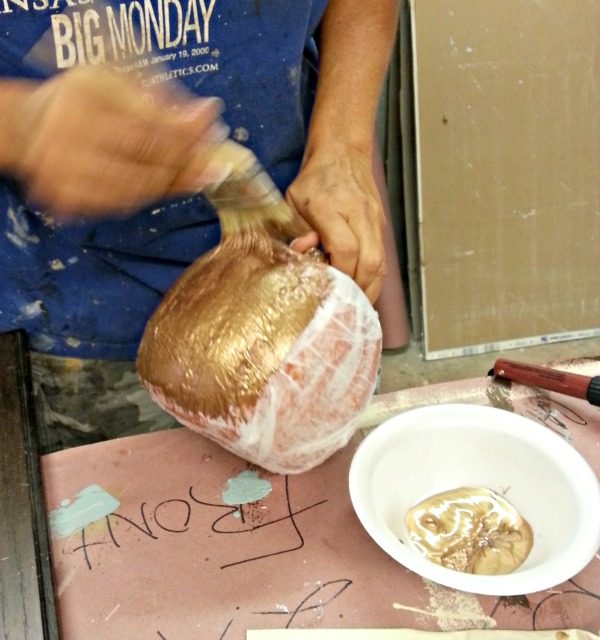
Step 6) Paint the entire pumpkin including the stem. I painted my stem the same color but you can paint it a different color if going for a realistic pumpkin stem look. Paint your stem last so you have something to hold onto while painting pumpkin.
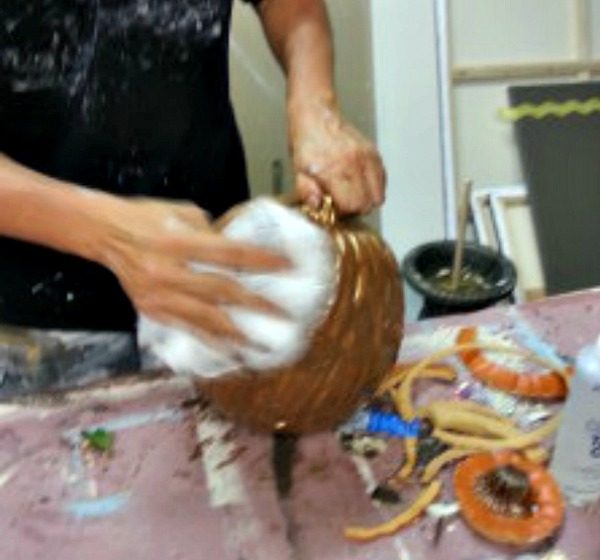
Step 7) Brush on the Aging Glaze and soften with cheesecloth
Diva tip: For the complete steps on using the aging glaze including a video tutorial click HERE.
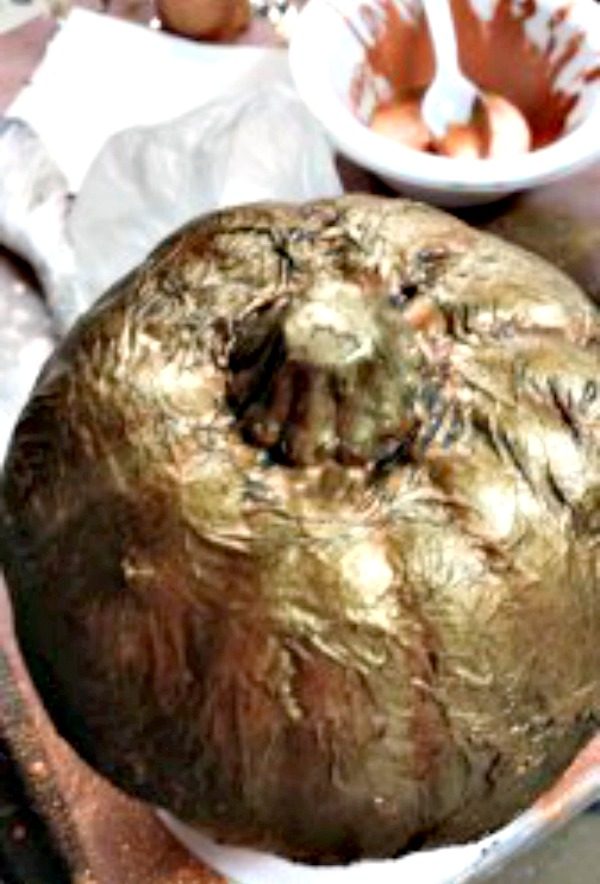
I left more aging glaze in the creases and along the stem for a “sooty” look. I am not even sure if “sooty” is a word (LOL) but I use it a lot to describe something as old and dirty.
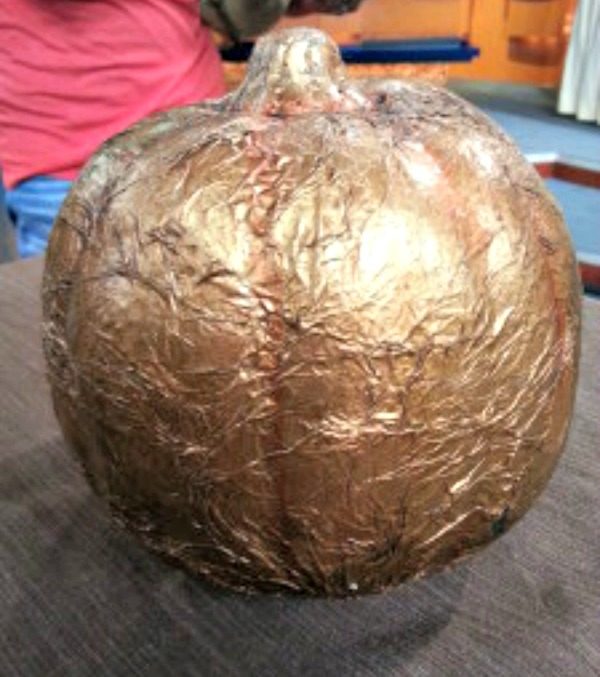
Voila! Here is a faux finished pumpkin in the ever-so-popular tissue paper finish!
Each and everyone of you inspire me and I LOVE to see the work that you’ve created. Feel free to share with me on Instagram, Twitter or Facebook. And as always, be sure to follow Diva Of DIY on Pinterest and sign up for our FREE Newsletter to receive the latest projects delivered straight to your inbox!
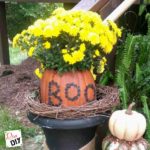
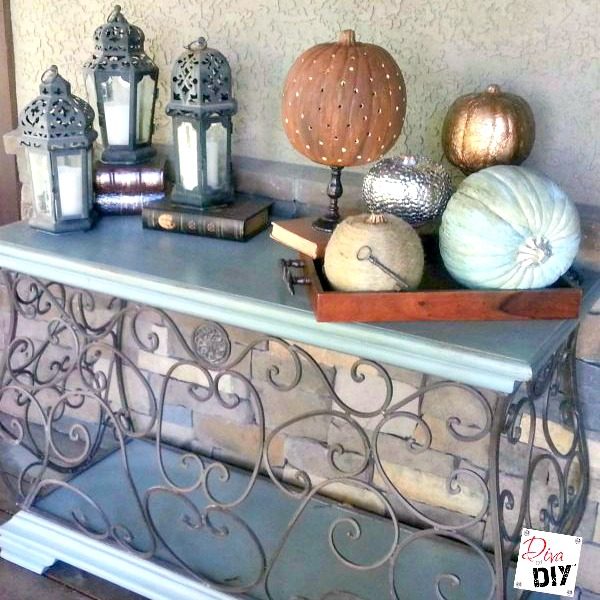
More Fun Fall Foam Pumpkin Projects You Might Enjoy: