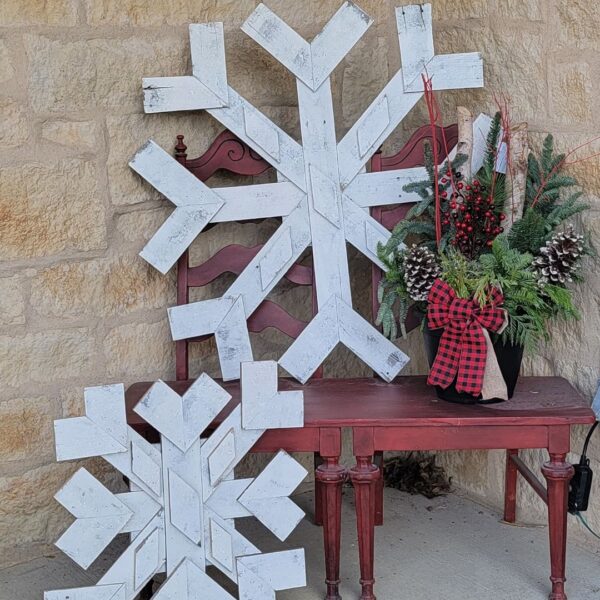
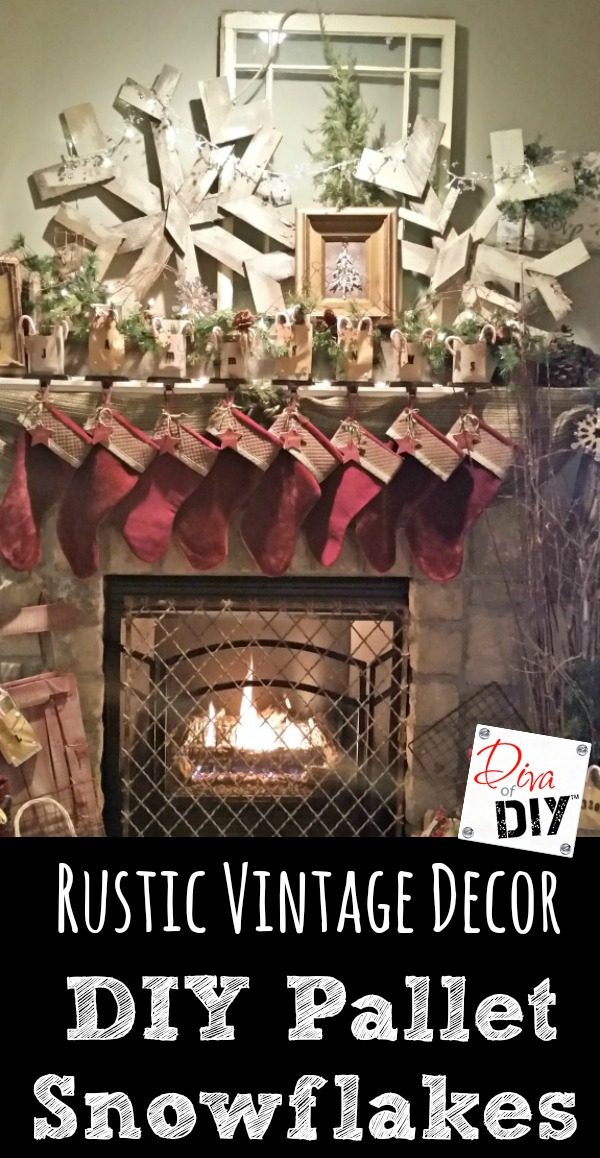
These pallet snowflakes are the perfect winter decoration for your front porch, hearth, or mantle . These snowflakes have become a winter favorite because they can stay out long after your Christmas decorations have been put away.
I have sold hundreds of these pallet snowflakes at holiday craft shows and Facebook Marketplace and now you can use these plans to make some extra money for you and your family.
These pallet snowflakes are a fun, beginner project that requires just a couple of basic power tools. Get the plans:
This post contains affiliate links. If you buy something from clicking one of my links, I will get a commission from the sale. It will not cost you a penny more and allows me to keep sharing my ideas with you for free. You can see my full disclosure here. Thank you for supporting my blog!
Pallet Snowflake Supplies:
- Pallet Wood
- Nail Gun
- 1″ brad nails
or 1.25″ brad nails
- Mitre Saw
(This one is perfect for small projects like this)
- White Paint
(optional)
- Glitter (optional)

Pallet Snowflake Instructions:
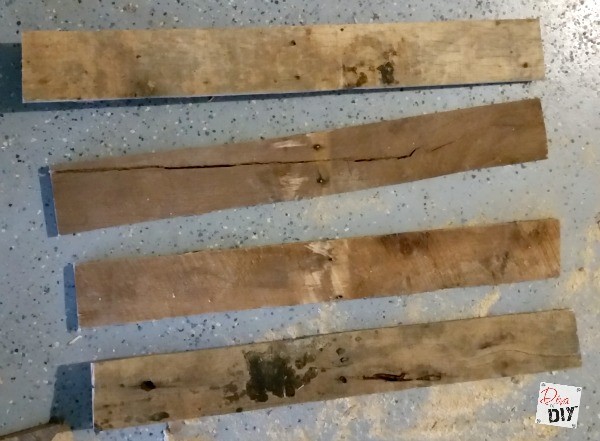
Step 1) Start with 8 pallet boards cut the same length. The length you choose for these 8 boards will be the approximate diameter of your snowflake. These boards will have straight edges. Set 2 of the boards aside (we will call these 2 boards “A”).
For this snowflake, I cut the boards 28″ long.
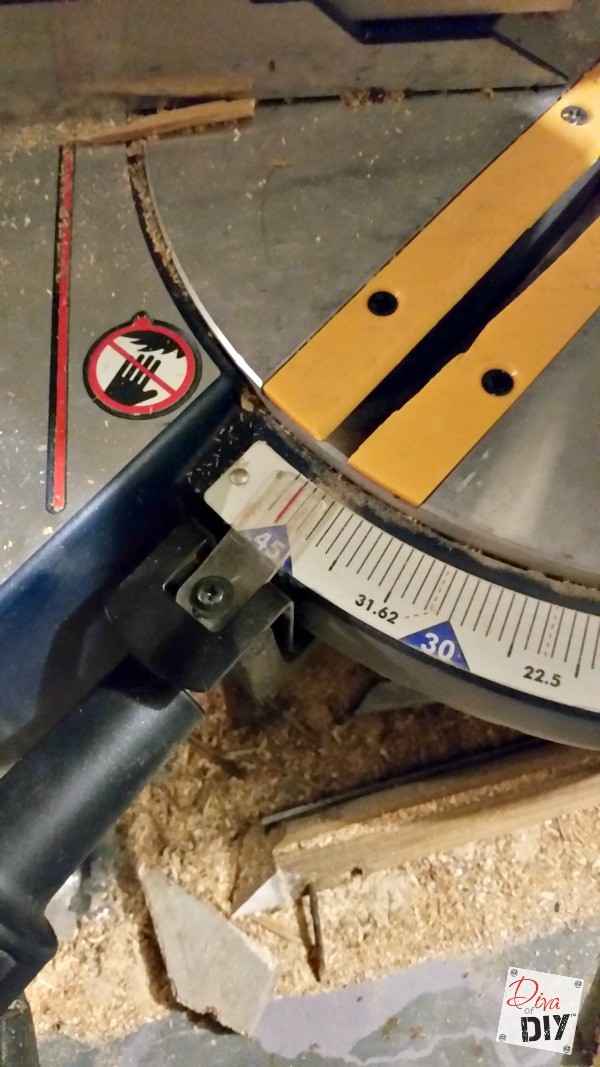
Step 2) Position your mitre saw to cut at a 45 degree angle.
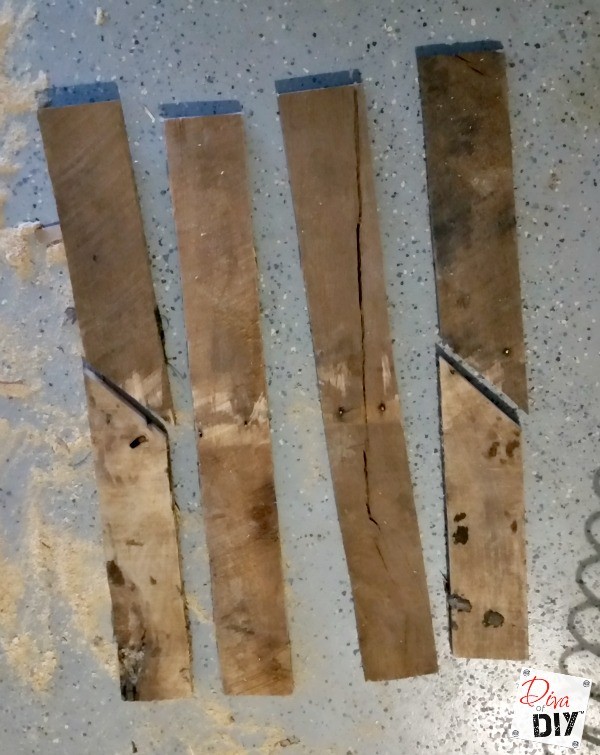
Step 3) Take 2 of the boards you cut in step 1 and cut them in half with a 45 degree angle.
These 4 boards are 14″ long from the straight edge to the point of the 45 degree angle. (We will call these boards “B”.)

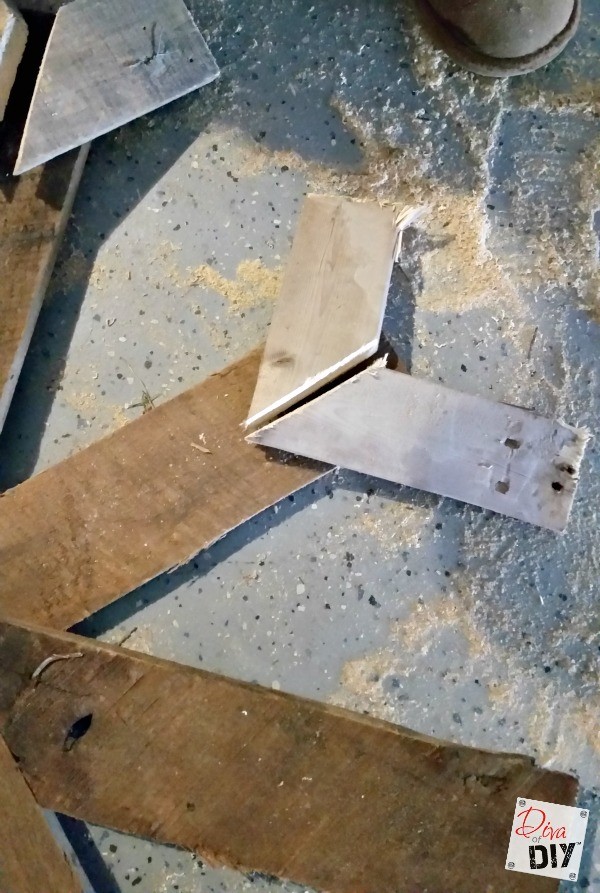
Step 4) Take the other 4 boards from step 1 and cut them in half with a straight edge and then cut them in half again with a 45 degree angle.
Cut these 4 boards in half making them 14″ long with 2 straight edges. Then cut them in half again making them 7″ long from straight edge to point of the 45 degree angle. (We will call these boards “C”.)
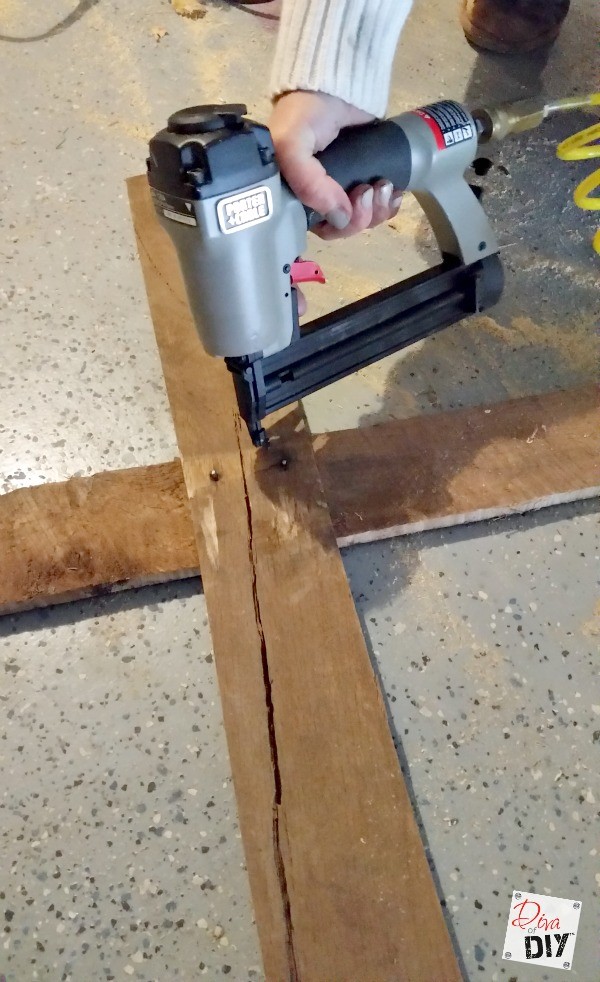
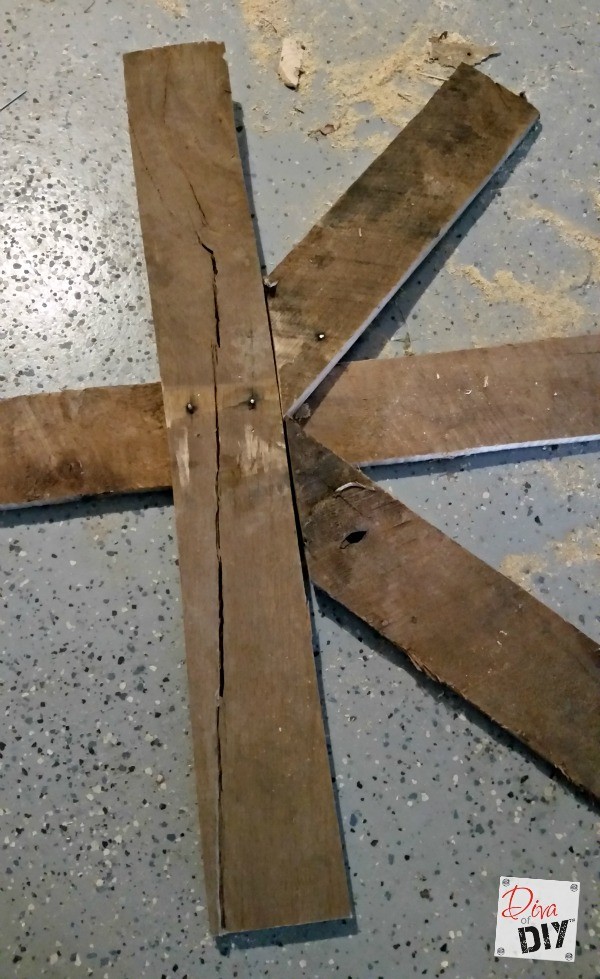
Step 5) Grab the 2 long boards “A” that you had set aside in step 1. Lay one on top of the other and attach in the center with your nail gun
Step 8) Grab your “B” boards and position on your “A” boards like the picture above. Secure with brad nails.
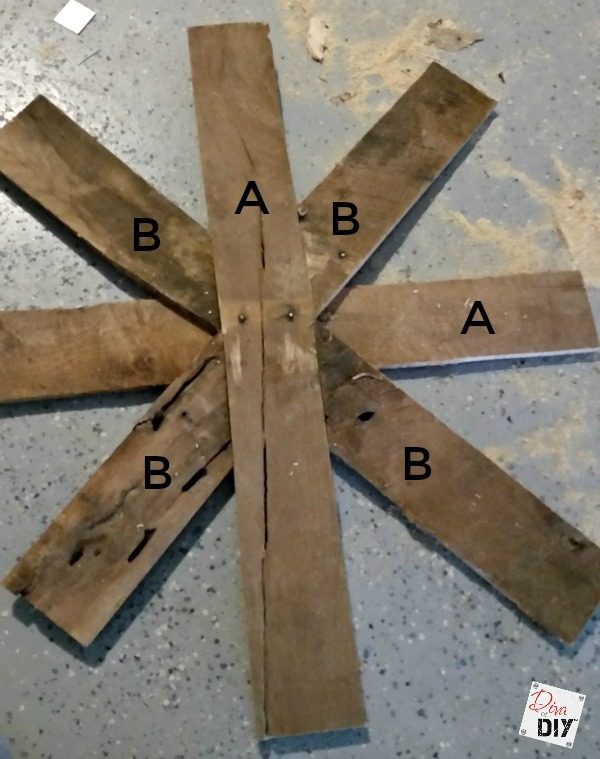
Step 9) Repeat with all 4 “B” Boards.
Step 10) Take your “C” boards and attach to the ends of your “A” boards and “B” boards.
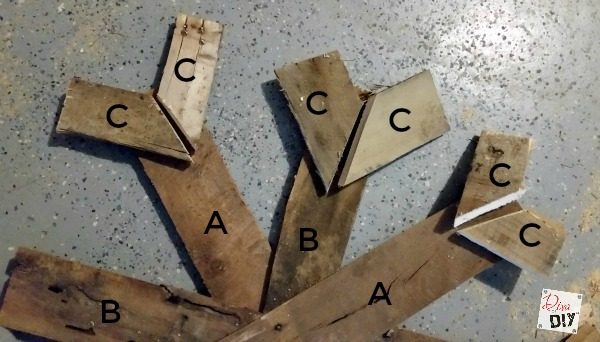
Step 11) Repeat step 10 until all ends are covered. Secure with brad nails.
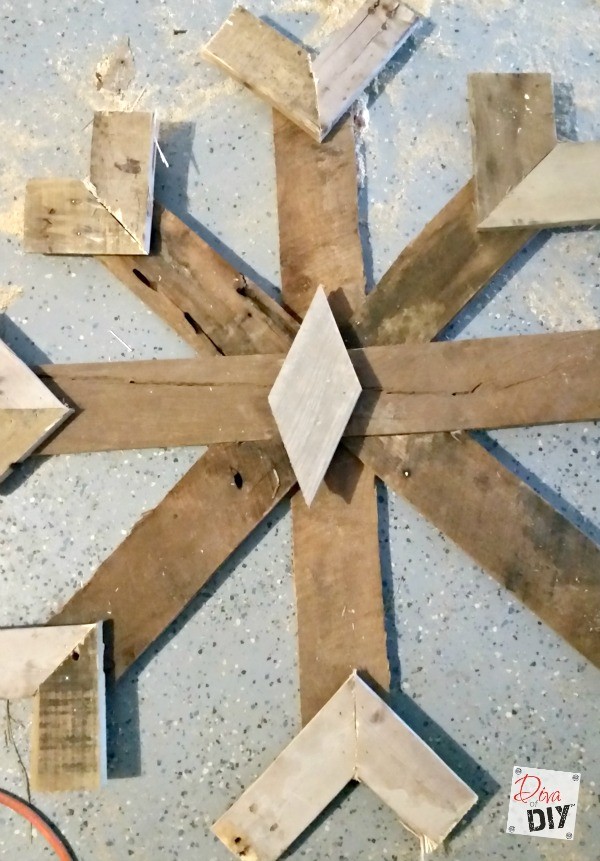
Step 12) Add a decorative piece to the center. I made mine by taking a leftover piece and cutting both ends at 45 degrees. I secured it with a couple of brad nails.

Step 13) Leave the snowflakes raw or paint them, dry brush them, even glitter them!
Each and everyone of you inspire me and I LOVE to see the work that you’ve created. Feel free to share with me on Instagram, Twitter or Facebook. And as always, be sure to follow Diva Of DIY on Pinterest and sign up for our FREE Newsletter to receive the latest projects delivered straight to your inbox!
If you like this project, check out these: