
Do you want to learn how to glaze cabinets? I have been doing just that for over 15 years in my contracting business, Rekindled Spaces. Let me show you how to get the look of glazed cabinets in your own home!
The benefits of glazed cabinets:
I love the look of glazed cabinets. It adds much-needed character to standard cabinets.
Whether you have an existing home that needs updating or a brand new home that needs some personality, glazing your cabinets may be the answer.
I would say about 75% of my business is cabinet and furniture finishes. I will also say that no one has ever disappointed with the outcome.
How to glaze cabinets: part 1
Before Glaze:
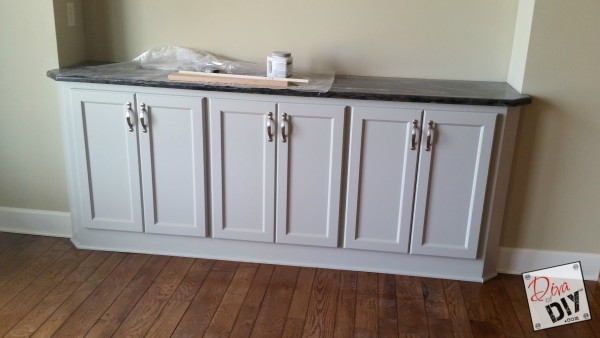
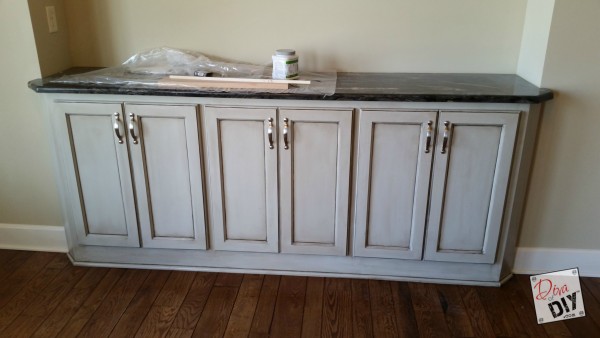
This particular home is brand new. The cabinet doors have a shaker style so they have very little character…that’s where I come in!
The image above is what the cabinet looked like when painters were finished with it. It was base-coated in Sherwin Williams Dorian Gray. It’s a good paint job but the color did nothing for the granite…it needed to be warmed up with cabinet glaze.
This post contains affiliate links. If you buy something from clicking one of my links, I will get a commission from the sale. You can see my full disclosure here. Thank you for supporting my blog!
Supplies Needed For Glazed Cabinets:
- Modern Masters Furniture and Cabinetry Glazing Creme
- Van Dyke Glazing Creme (in the color of your choice)
- Lambswool Pad
- Cheesecloth or cotton wiping rags
- 1″ chip brush
- Paint tray (optional)
- Spray bottle with water
- Artist brush for detailing
- Modern Masters Masterclear Supreme Satin Topcoat
In a large container with a lid, mix 1 part of the Van Dyke Glazing Creme Color into 4 parts of the Modern Masters Furniture Glazing Creme. Make sure you mix up more than enough to do the entire project. You don’t want to make another batch because mixing the same color probably won’t happen!
I like to pour mine into a paint tray because it’s easier to dip the lambswool pad into it.
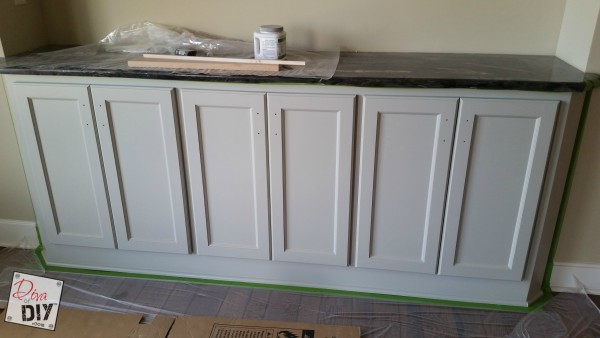
Prep the cabinet by removing the hardware and taping off the areas you want to keep clean. I always tape and plastic off the floor and the wall adjacent to the cabinet.
I usually remove the cabinet doors to glaze but… would you believe the painters painted the cabinet with the doors on? They painted the hinges and all so they were fused on meaning…they weren’t coming off without a fight!
How to glaze cabinets: part 2
Glazed cabinets before & after:
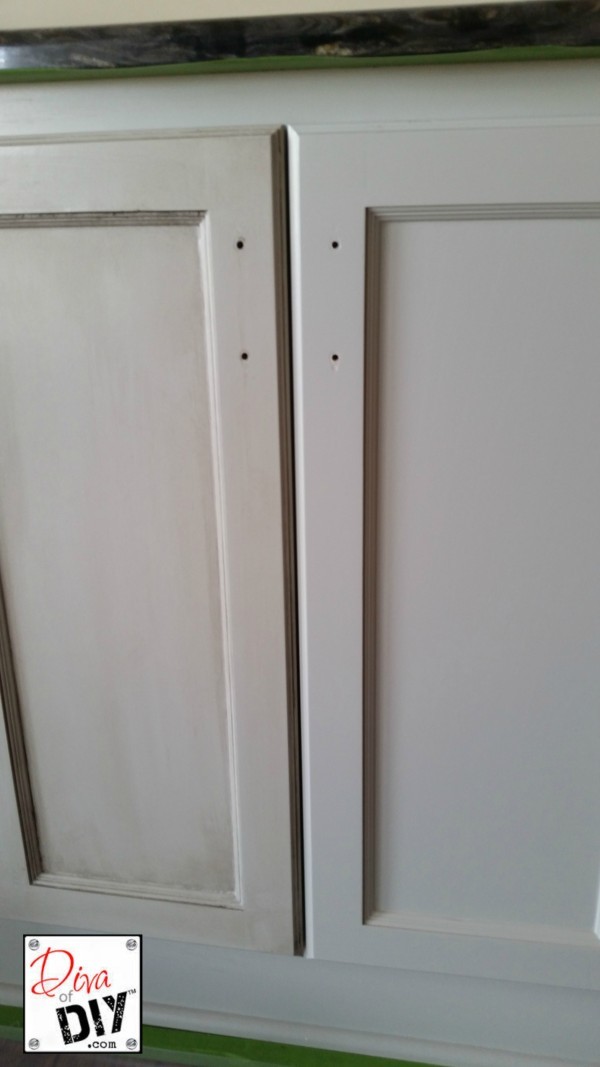
Here is a section where I glazed the door on the left but not the one on the right so you could see the difference. Now keep in mind, it hasn’t been detailed in the creases yet but it warms up the cool gray tone.
For the detail: Mix a small batch of concentrated glaze. I usually mix 1 part glazing creme color into 2 parts Furniture & Cabinetry Glazing Cream.
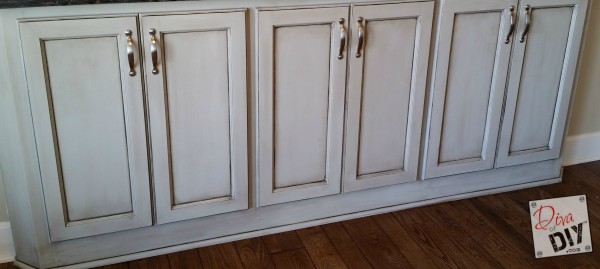
Now the cabinet has been detailed in the creases with a concentrated mixture of Van Dyke glaze.
And here is the finished glazed cabinet. Now it looks like a furniture piece instead of a builder grade cabinet.
Each and everyone of you inspire me and I LOVE to see the work that you’ve created. Feel free to share with me on Instagram, Twitter or Facebook. And as always, be sure to follow Diva Of DIY on Pinterest and sign up for our FREE Newsletter to receive the latest projects delivered straight to your inbox!