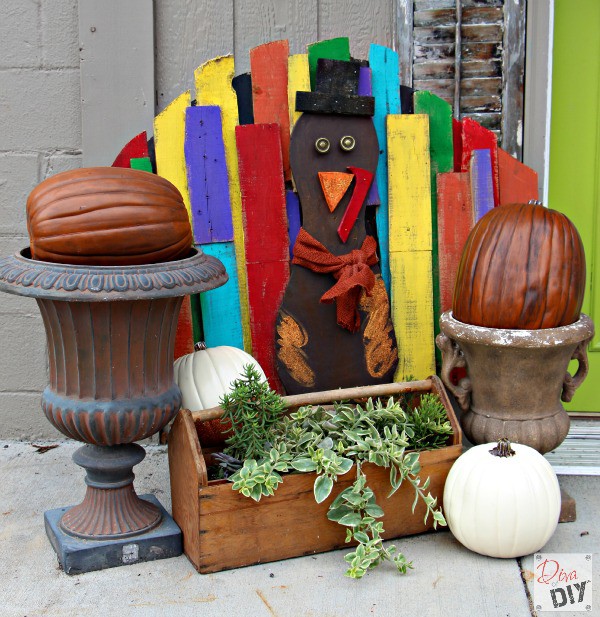
If you have been following my blog for any length of time, you know how much I love a good pallet project. This outdoor pallet turkey is another example of reclaimed wood put to good use. Why pallets? I am so glad you asked …let me count the ways!
10 Reasons why I love Pallet Wood:
- It is FREE!
- It is plentiful
- It is FREE!
- It comes in a variety of sizes
- It is FREE!
- It can be easily stained or painted
- It is FREE!
- It is a hard wood perfect for small projects like signs or large projects like furniture
- It is FREE!
- It is environmentally-friendly
Okay…maybe that is only 6 different reasons but you get the point.
This post contains affiliate links. If you buy something from clicking one of my links, I will get a commission from the sale. It will not cost you a penny more and allows me to keep sharing my ideas with you for free. You can see my full disclosure here. Thank you for supporting my blog!
Pallet Turkey Supplies:
- 2 pallets
- Plywood scrap large enough for a turkey body (mine is 15″ at the widest part x 29″ tall)
- Sawzall
- Metal Sawzall Blades
- Jigsaw
- Air Nailer
- Chalk or spray paint
- Sanding Sponge
- Assorted Acrylic Paints
- Chip brushes


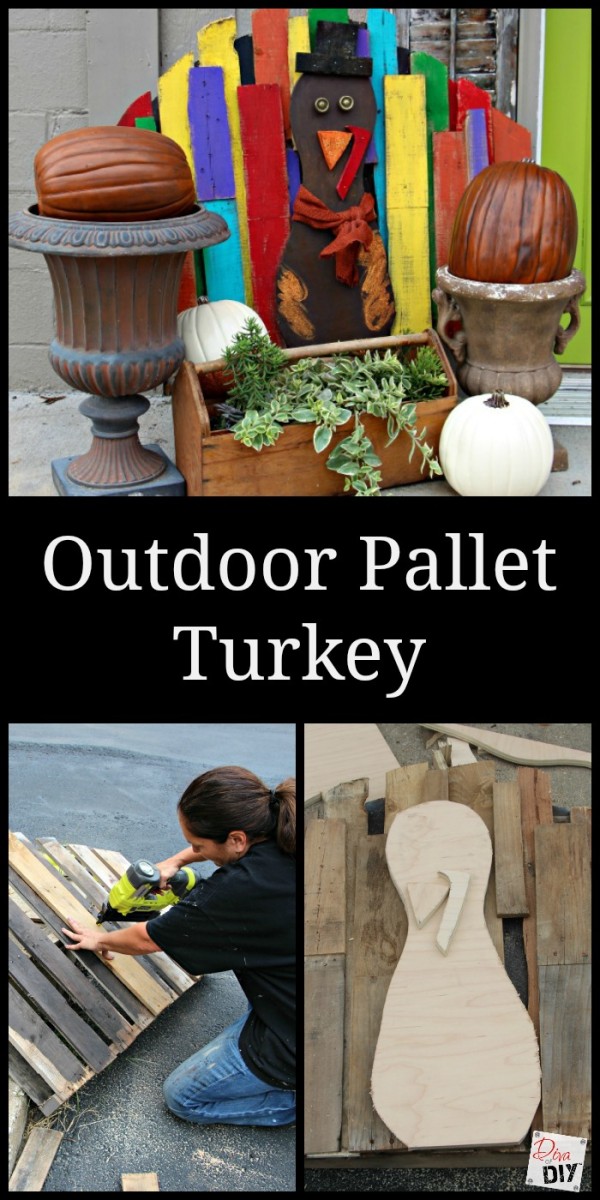
Pallet Turkey Instructions:
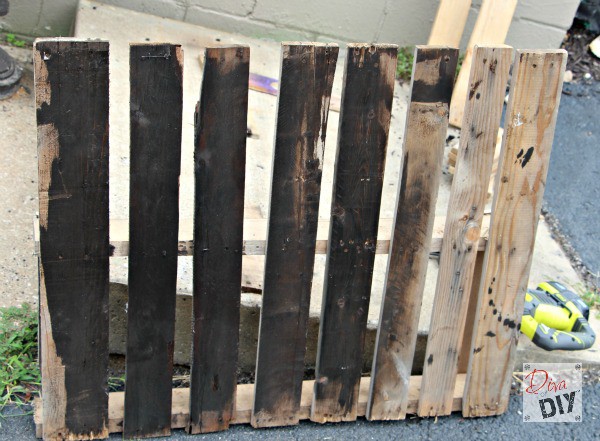
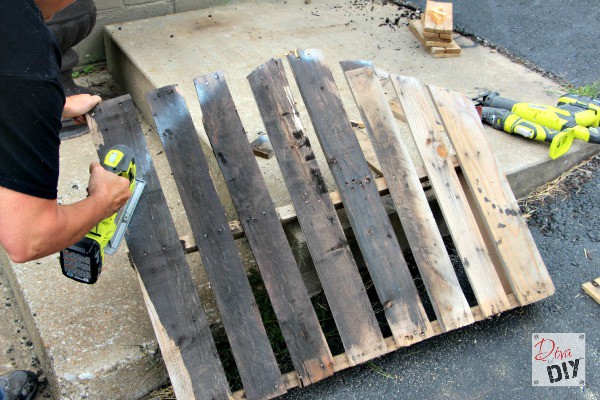
Step 1) Remove the top crossbar from the back side of the pallet. The easiest way to do this is using a sawzall

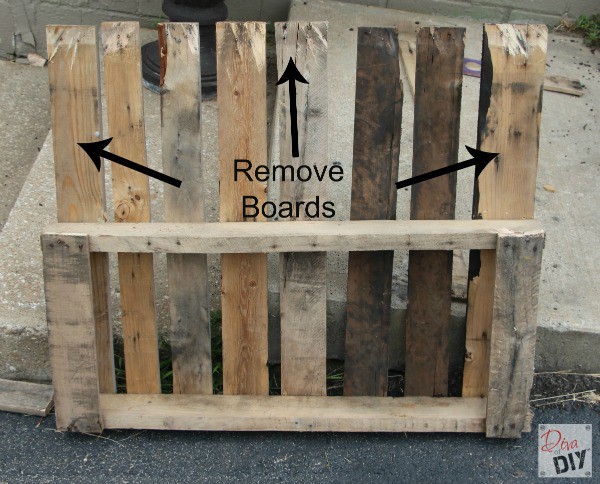
Step 2) Using a jigsaw


Step 3) Make a cutting guide to follow. Using a piece of chalk or spray paint, create a visual guide to follow with your jigsaw.

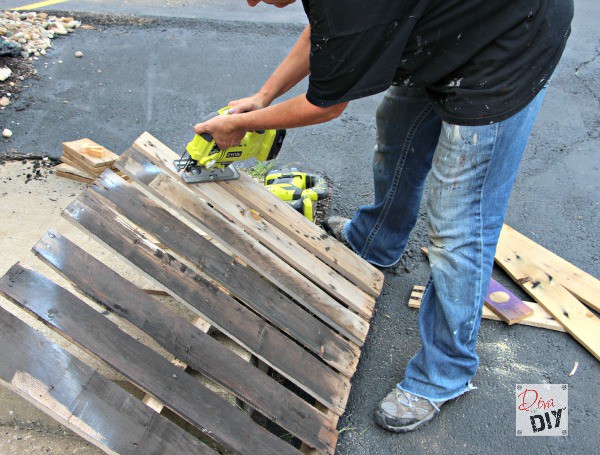
Step 4) Using your jigsaw
Don’t worry about this being perfect…embrace the imperfections!

Step 5) Using your air-nailer
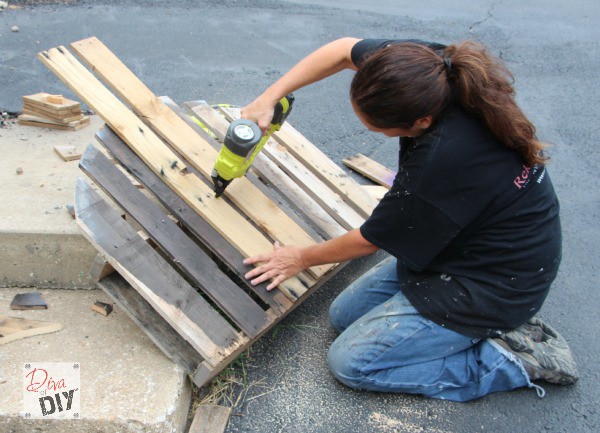
Step 6) Repeat step 5. Don’t worry at this point about the length…you can cut them off later.
Step 7) I added a third layer for even more interest. This is not necessary but I had some extra boards laying around so I added them.
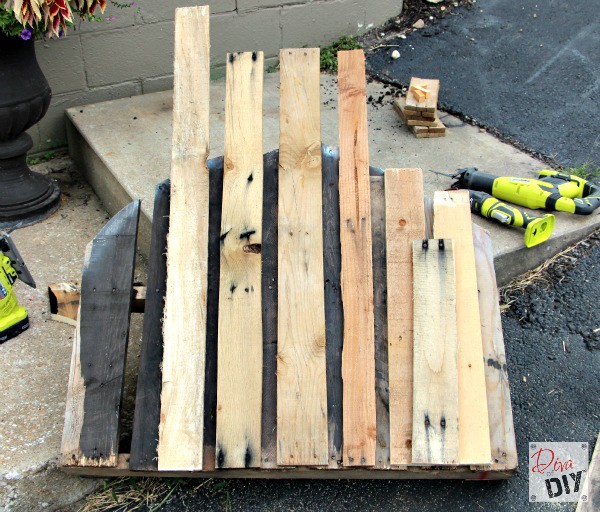
Step 8) Using your jigsaw
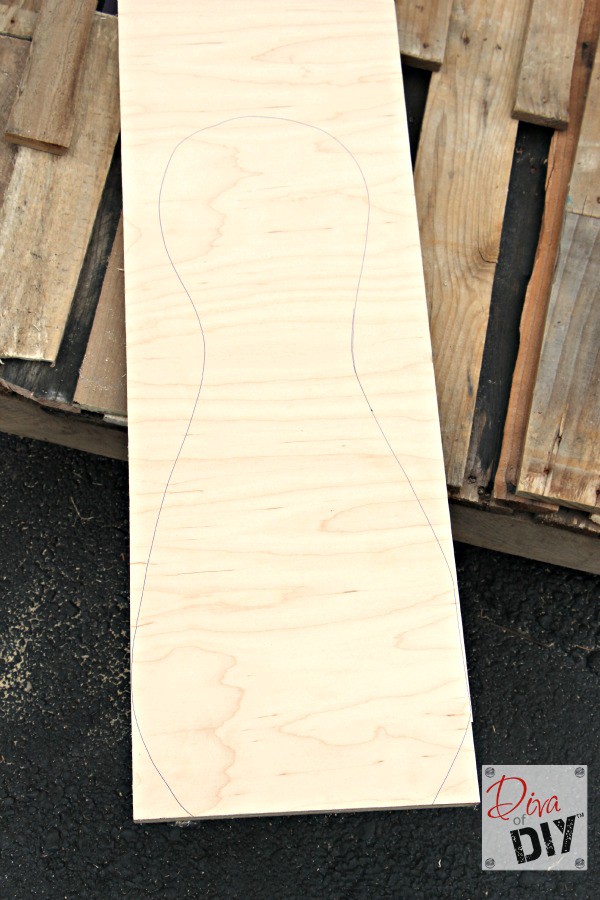
Step 9) Create a turkey body by sketching a “bowling pin” shape on your plywood. With the leftover wood, I drew a triangle for the beak and a railroad spike for his Wattle.
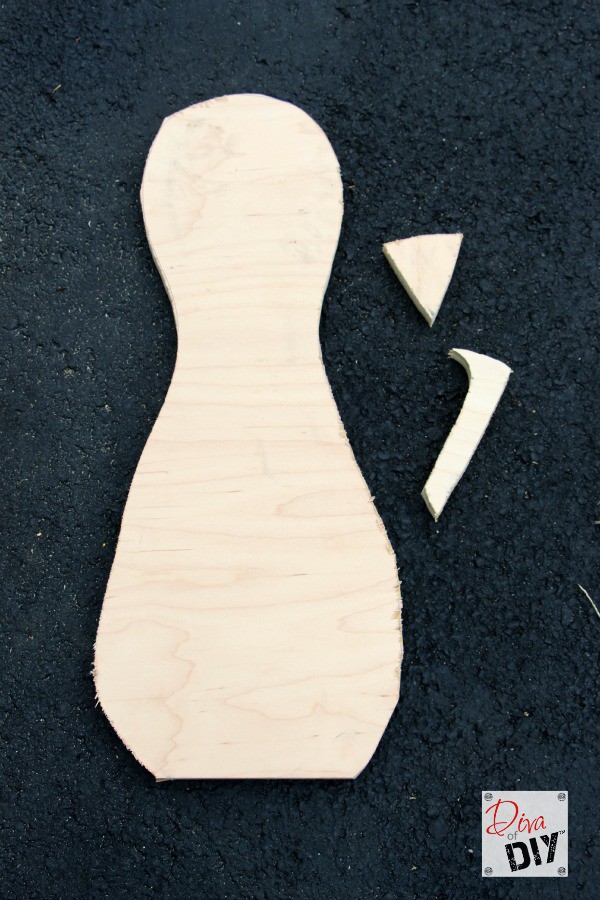
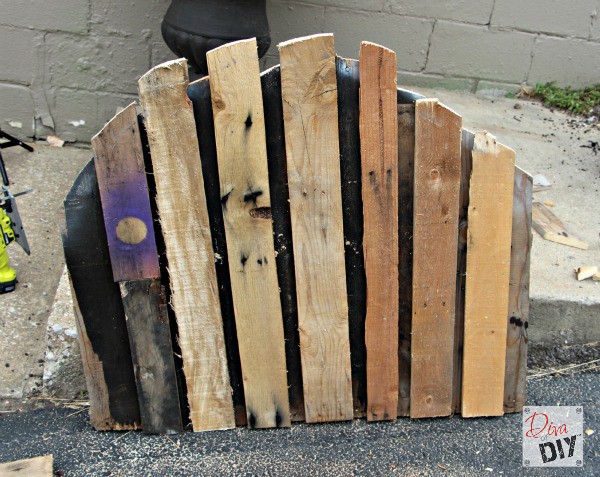
Step 10) Cut out your shapes using your jigsaw

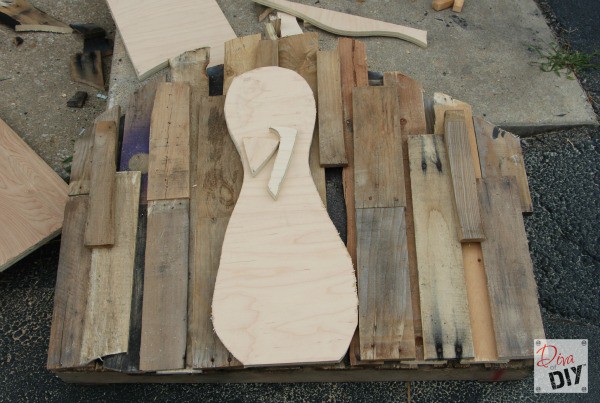
All that was left was a couple of eyes, a hat and some paint.

Step 11) Using your acrylic paints, add color to all of your turkey feathers. Let dry.
Step 12) Paint the body, the beak and the wattle with spray paint. Let dry.
Step 13) Attach the eyes. I decided on recycled cabinet knobs but you could use buttons, corks or even felt.
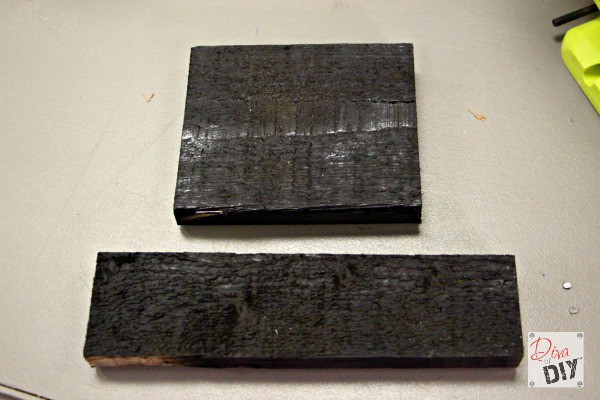
Step 14) Add a hat. For the hat, I used 2 scraps of pallet wood spray-painted black. I used my air-nailer
Step 15) Add the finishing touches. For a little extra pizazz, I added some wings by painting them on with orange acrylic paint. While the paint was wet, I sprinkled orange glitter on them. I repeated that on his beak. Last but not least…I tied a piece of orange burlap around his neck for a scarf…perfect!
A little crooked?…yes. A little off-center?…probably. A little too bright?…maybe. But guess what…I made him with my own 2 hands and it feels great. I love him…and all of his little imperfections that make him unique.
Each and everyone of you inspire me and I LOVE to see the work that you’ve created. Feel free to share with me on Instagram, Twitter or Facebook. And as always, be sure to follow Diva Of DIY on Pinterest and sign up for our FREE Newsletter to receive the latest projects delivered straight to your inbox!
If you love pallet projects as much as I do then check out a couple of these pallet posts: “How to make a pallet coffee table” ; “DIY Pallet Wall” ; and “An easy pallet garden”
#letsdiytogether
XOXO,