Are you limited on garden space? Perhaps living in an apartment? Or how about pesky animals that keep your yard from being…let’s say plant-worthy? Don’t fret another minute…this vertical pallet garden will be the perfect solution for even the tiniest of spaces.
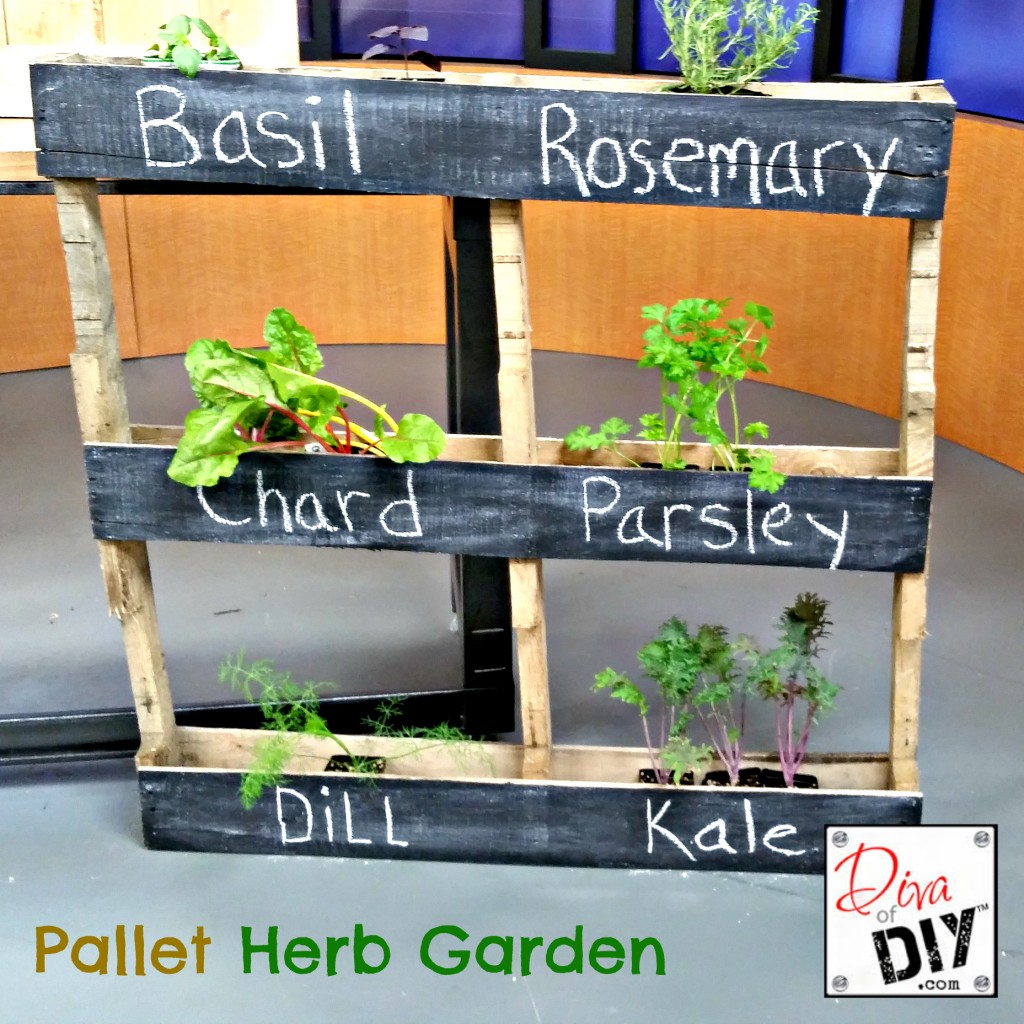
I love the idea of this vertical pallet herb garden because you can plant multiple herbs in record time with no digging…and because you are going vertically, it takes up no space!!! Not an herb lover? No worries…you can plant beautiful cascading flowers in the top one or two rows for a beautiful outdoor focal point.
Diva Tip: Did you know that marigolds, basil and lavender help keep mosquito’s at bay? Yep…sure do so make sure to plant some around the areas you hang out in so you, your friends and your family can enjoy a mosquito-free summer!
This post contains affiliate links. If you buy something from clicking one of my links, I will get a commission from the sale. You can see my full disclosure here. Thank you for supporting my blog!
Pallet Garden Supplies:
- Pallet
- Mitre Saw
- Nail Gun
or Hammer & Nails
- Reciprocating Saw
(to cut pallet boards off if you are saving them)
- Assorted Herbs, Plants or Flowers
- Potting Soil
- Chalkboard Paint
- Chalk
- Extra 1”x 4” pallet boards
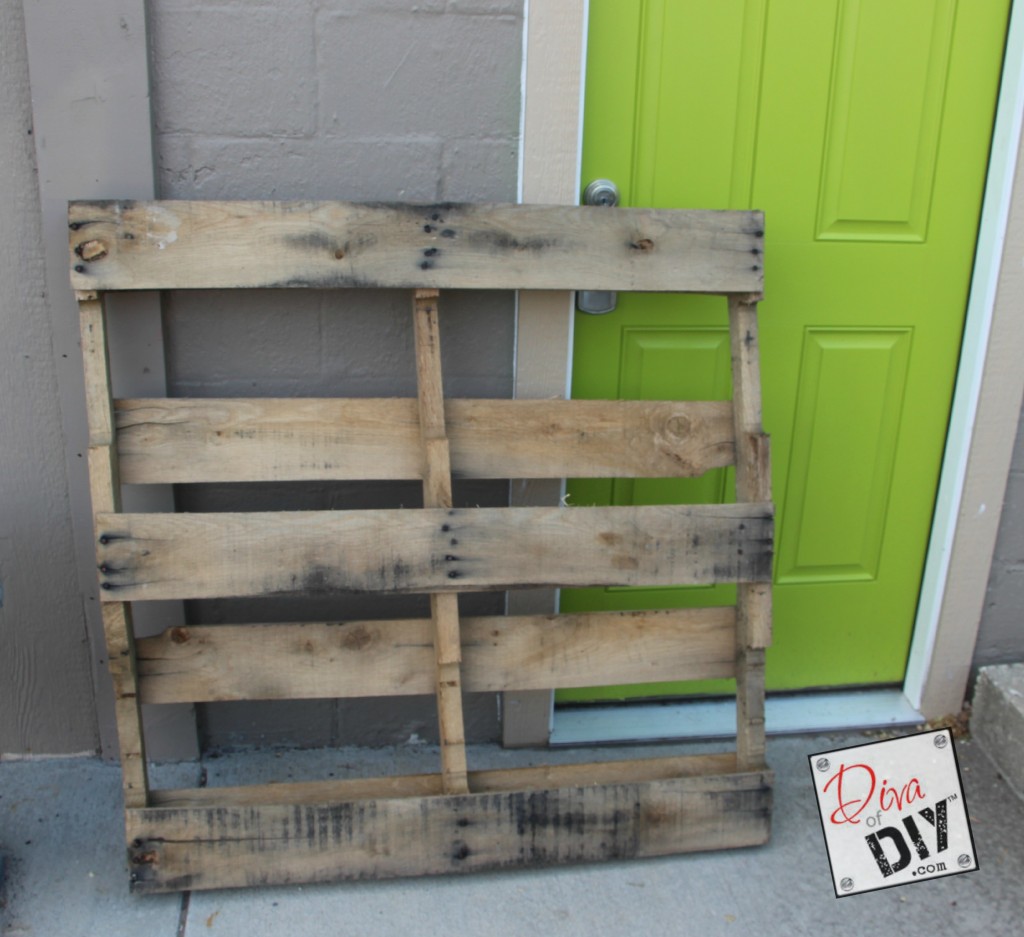
When looking for the perfect pallet for a pallet garden vertical planter, you are looking for wide pallet boards and it’s nice if some of the slats on the front and back of the pallet already match up. This isn’t critical but a definite time saver! I was lucky to find this pallet. It had 2 sets of slats that matched up and 1″ x 5.5″ slats…WOOHOO!
Pallet Garden Instructions:
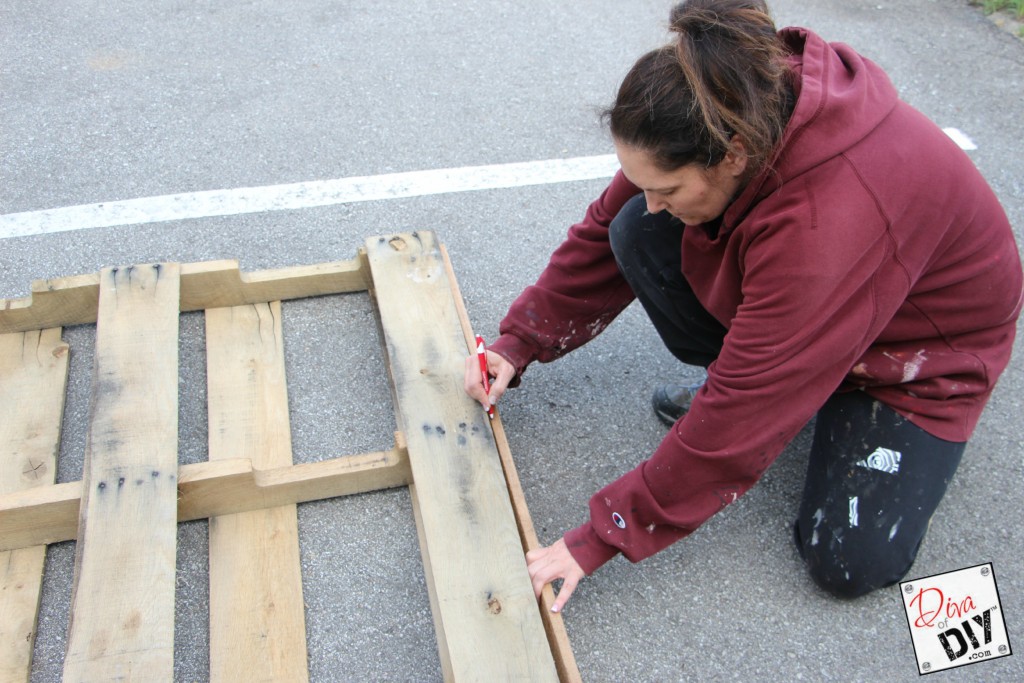
Begin by laying your pallet face down on a hard surface. Measure and mark your first 1″ x 4″ board. You are measuring from the outer 2″ x 4″ board to the middle 2″ x 4″ board. This will be the bottom of your planter.
Diva Hint: The 2″ x 4″ boards will run vertical for this project
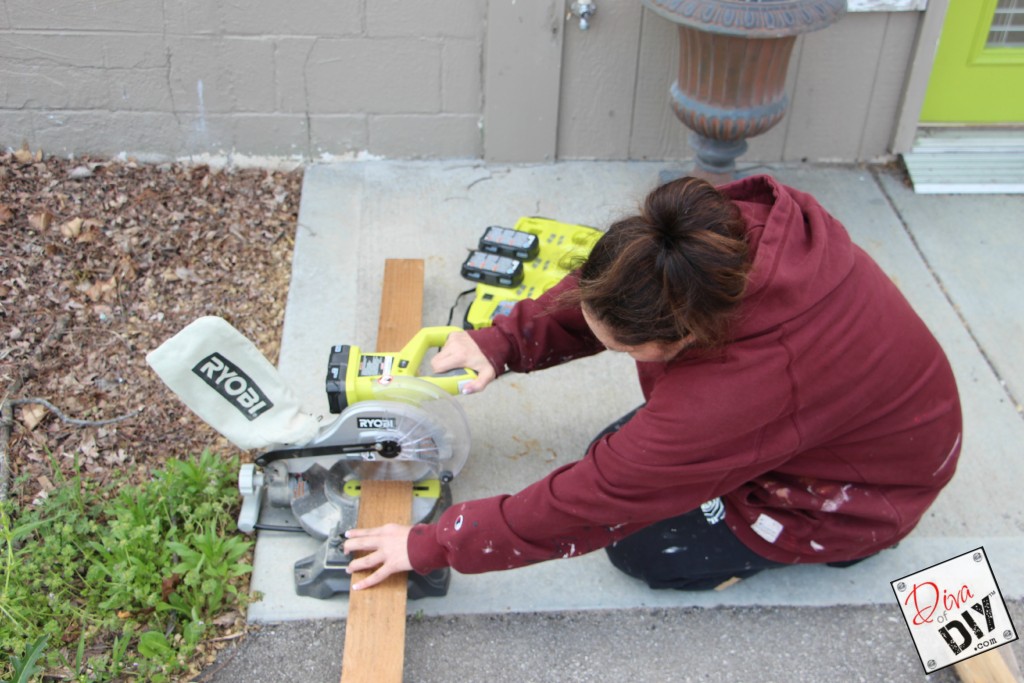
Cut your 1”x4” boards with mitre saw.
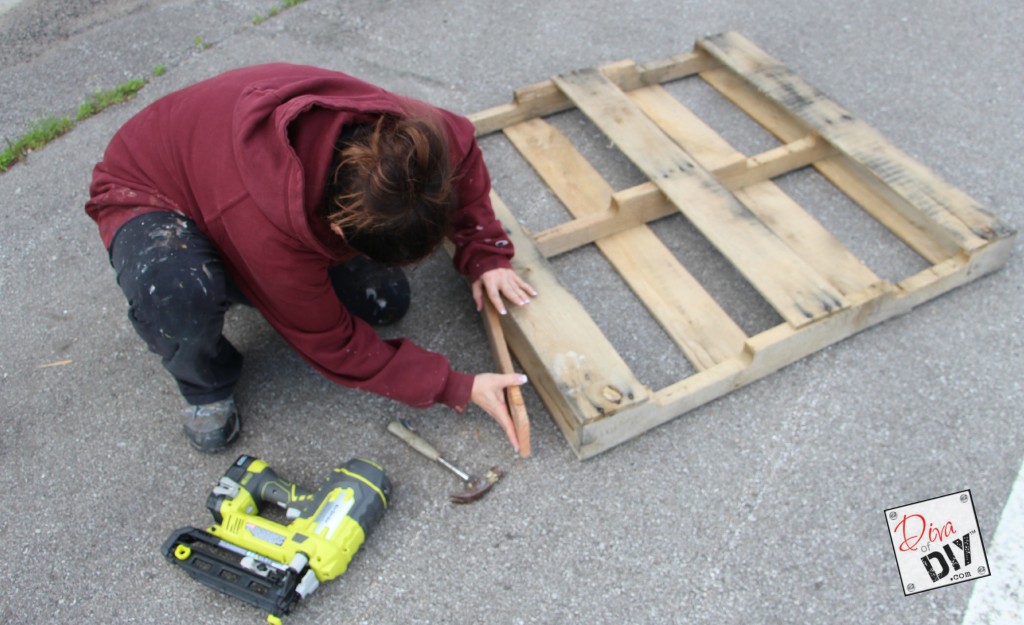
Once you have cut your board, place it between the top and bottom board of the pallet.
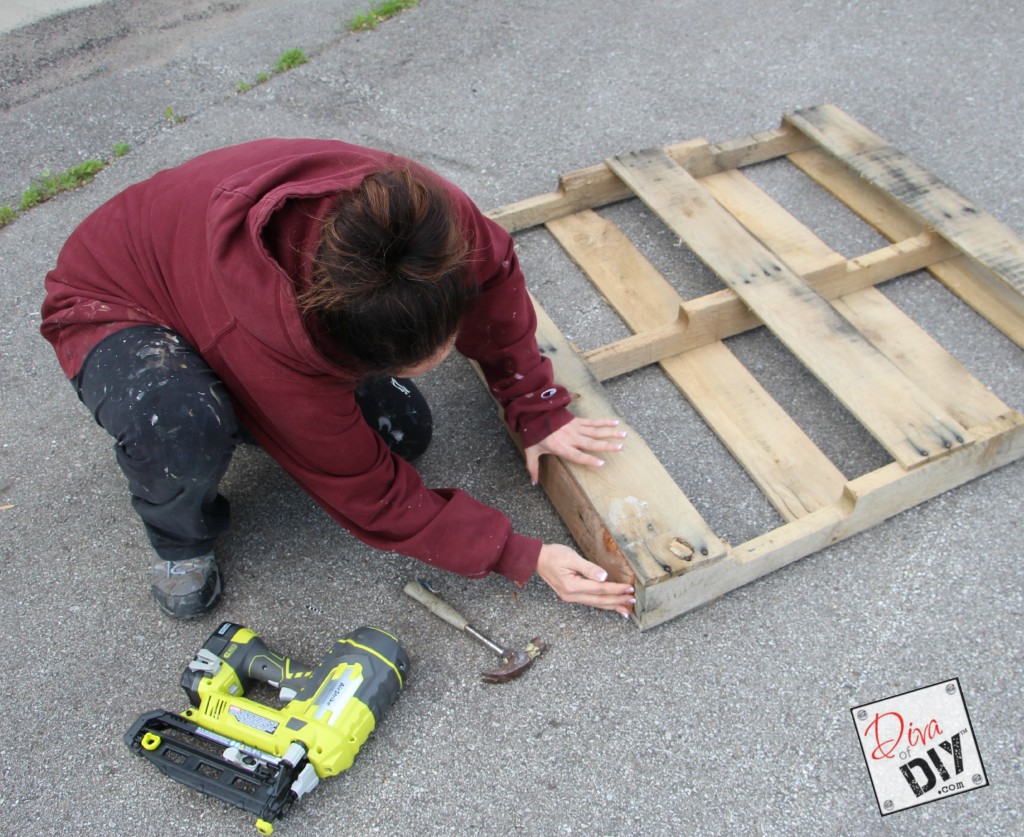
If you have a hard time getting your board to fit, take a hammer and tap it in. It will fit…I promise but sometimes the pallets are warped a bit.
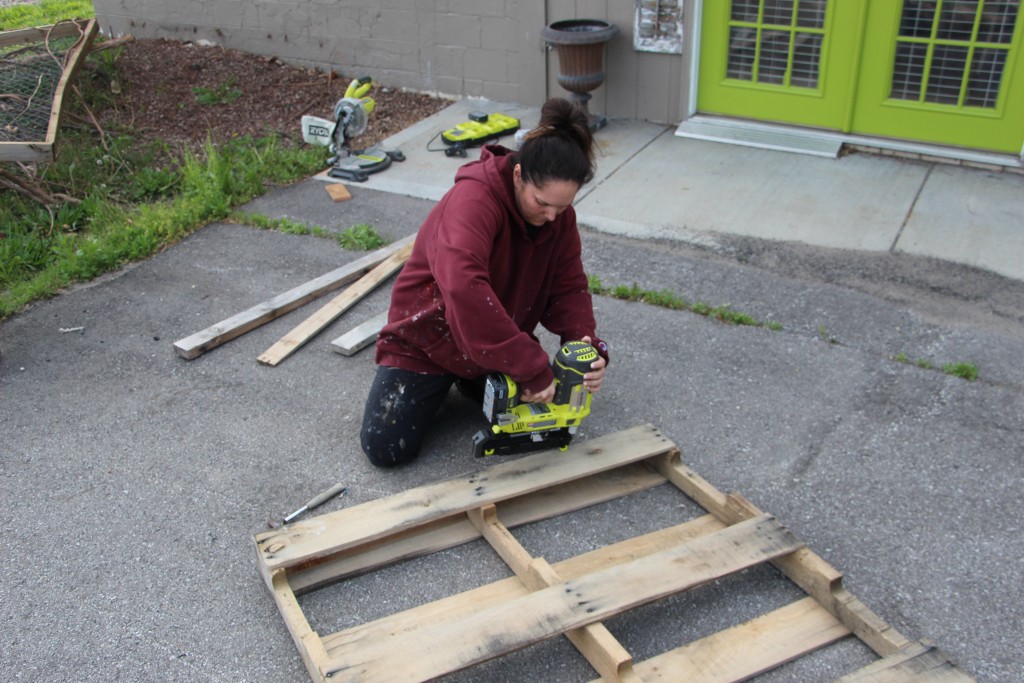
Use your nail gun to fasten the 1” x 4” boards to the top and bottom boards to create the boxes. Repeat the process for all of the sections that have slats that match up on the front and back.
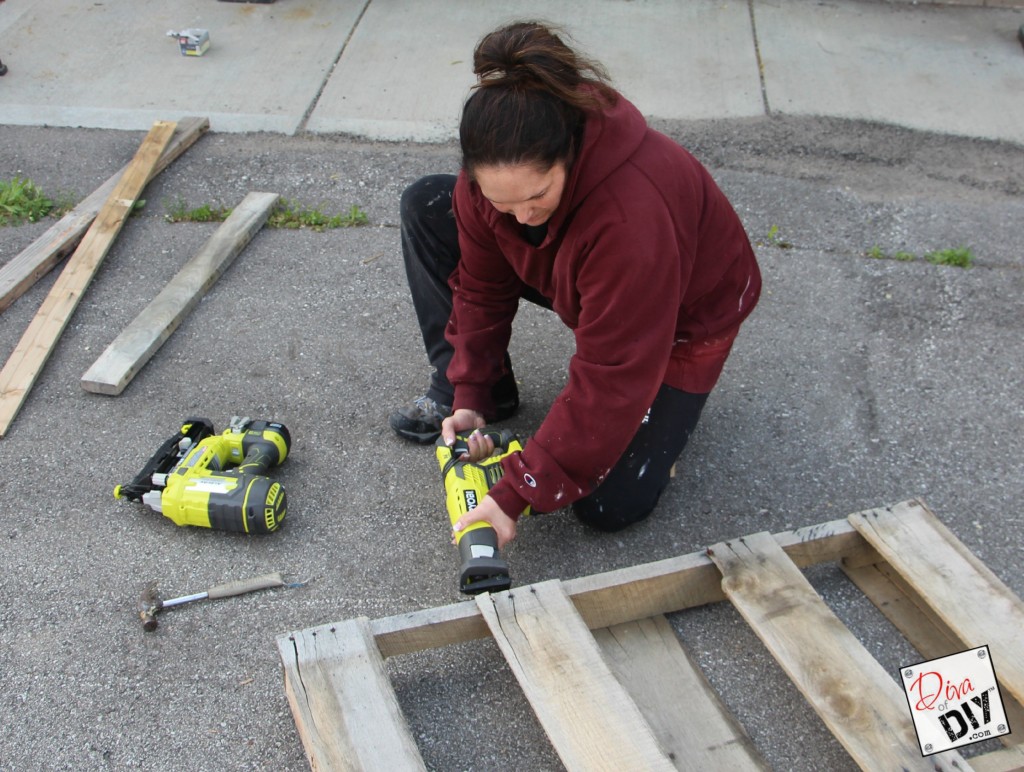
You will probably want to remove the slats that don’t match.
To do this, you have two options:
- Take a reciprocating saw with a metal blade and cut right through the nails in the pallet board or…
- Take a hammer or pry bar and pry the pallet wood off the frame. Note: You will not be able to reuse this board once you pry it off. More than likely it will break in several pieces.
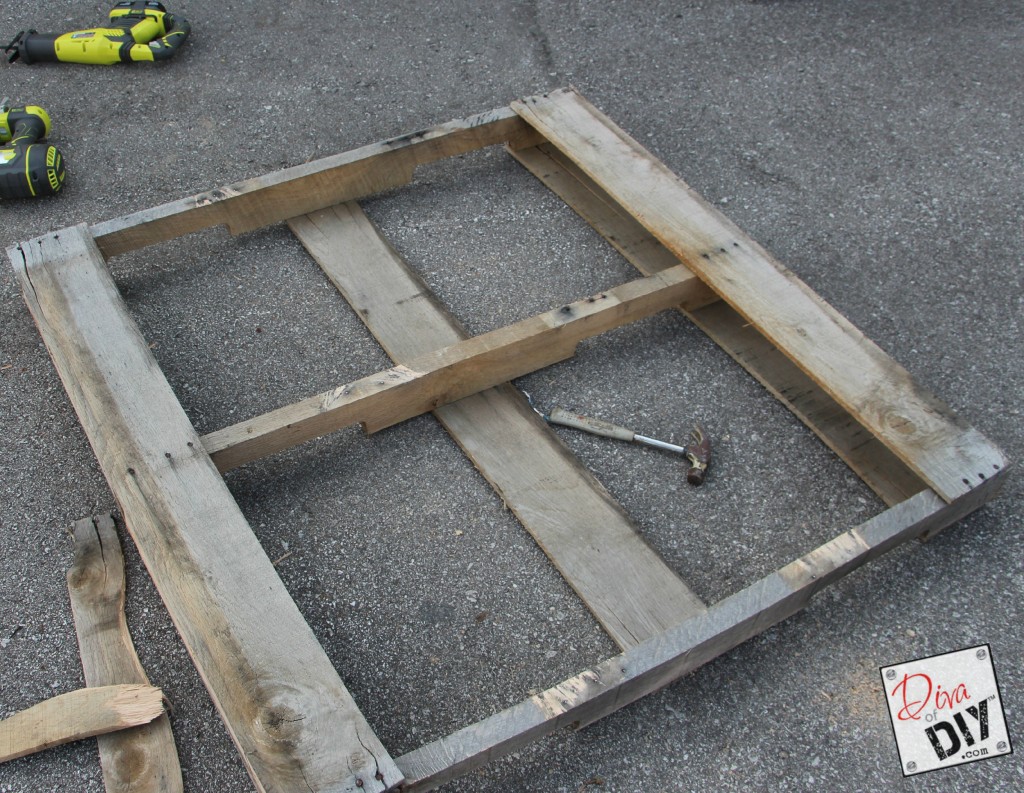
You know which route I am gonna go…I use every pallet board I can find for something. For this particular project, I am simply reattaching one of the boards to give me 3 rows of planters which totals 6 planting boxes.
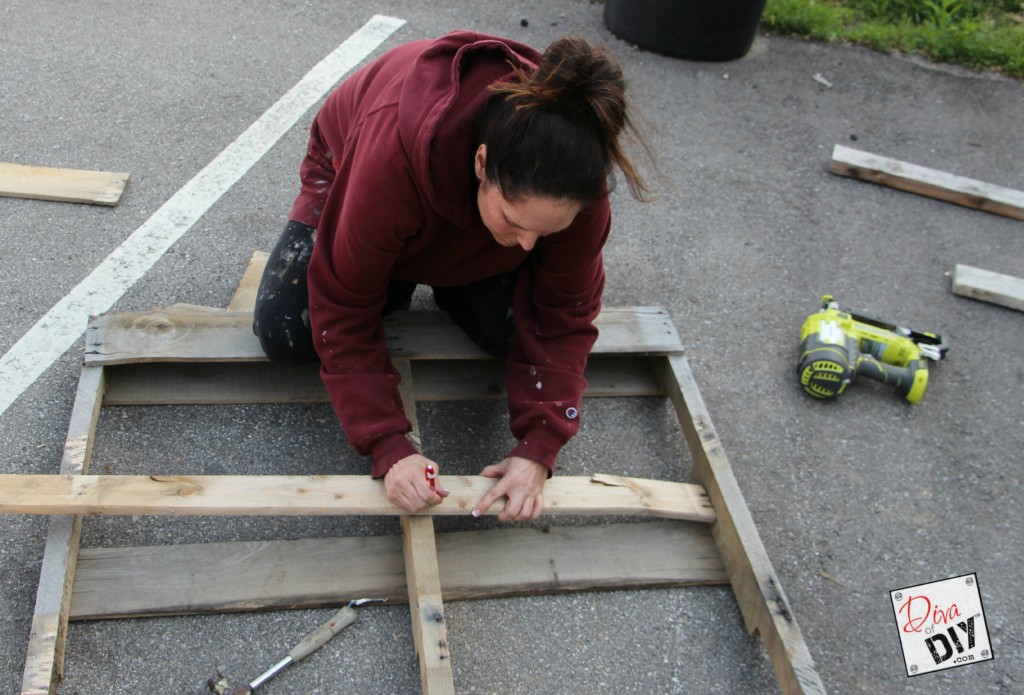 Before I attach the top board, I am going to measure my 1″ x 4″ board for the bottom. That way I can nail the bottom board and side board on at the same time.
Complete this process and ensure to place a board on the bottom that connects your two horizontal boards so that you can add the soil and herbs, flowers, veggies, whatever you decide to put in your planter garden.
The next step is to paint the three outside boards with chalkboard paint. Be sure to use two to three coats because the pallet wood will absorb it. Once the chalkboard paint is dry, you will need to “season” your chalkboard. To do this, take a piece of chalk length wise and color over all the chalk paint. Clean away with a damp towel and you are ready to begin writing out the herbs that you have planted in your planter garden.
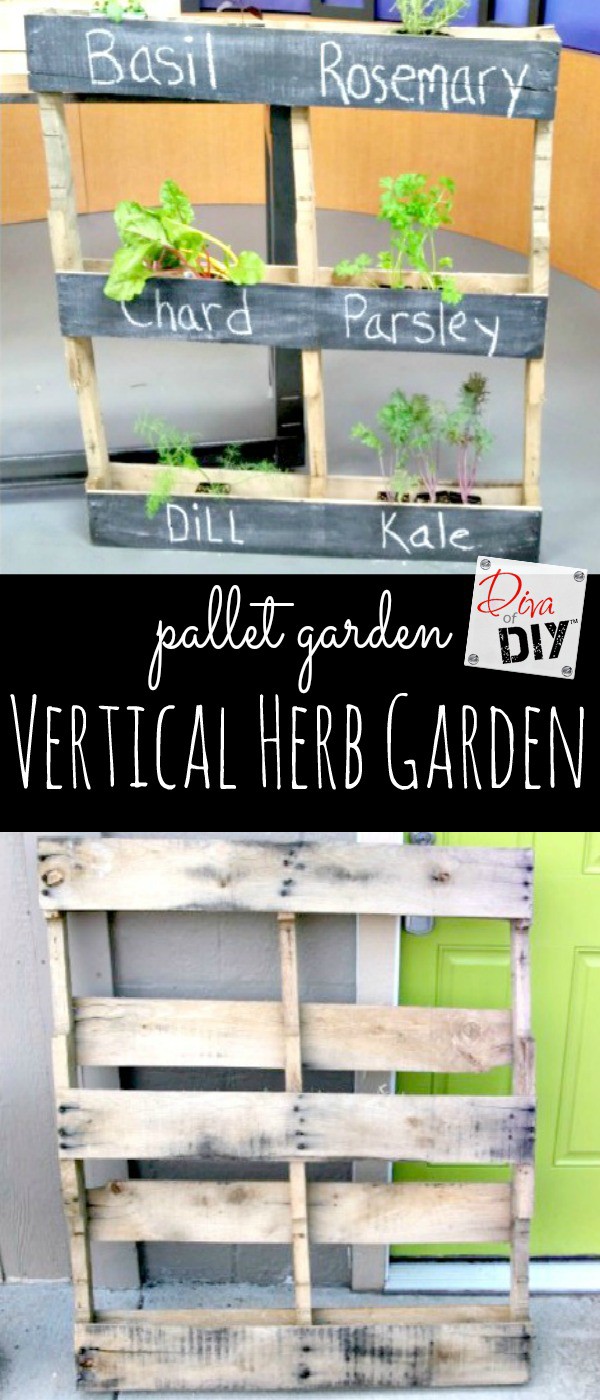
Now all that is left to do is place some soil in each of the boxes on the pallet and plant your herbs. That’s it, you now have your very own vertical pallet garden! If you like to continue to grow your herbs when the weather turns cold, grab a small galvanized bucket with a handle and transplant the soil and herbs directly into the bucket. Then…hang the bucket handles on a curtain rod or free-standing coat rack in front of a window that gets plenty of light and you will have a hearty herb garden all year round!
