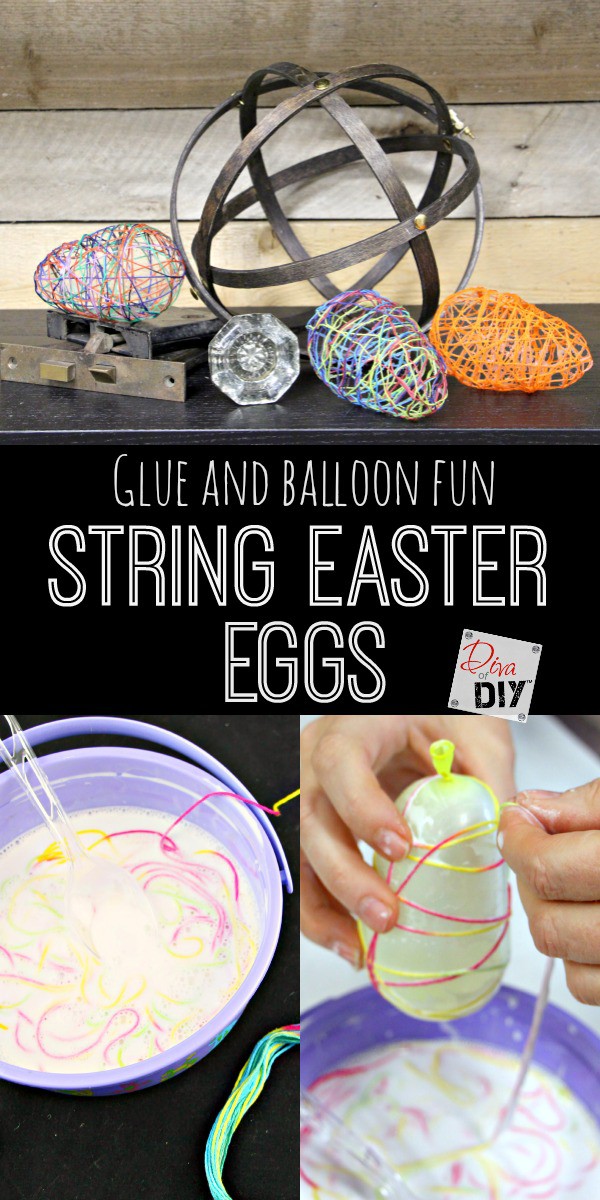
This DIY String Easter Egg Craft is becoming quite popular. I want to take a few minutes and show you how truly easy it is to make these String Easter Eggs. This is a great craft to get the kids involved with!
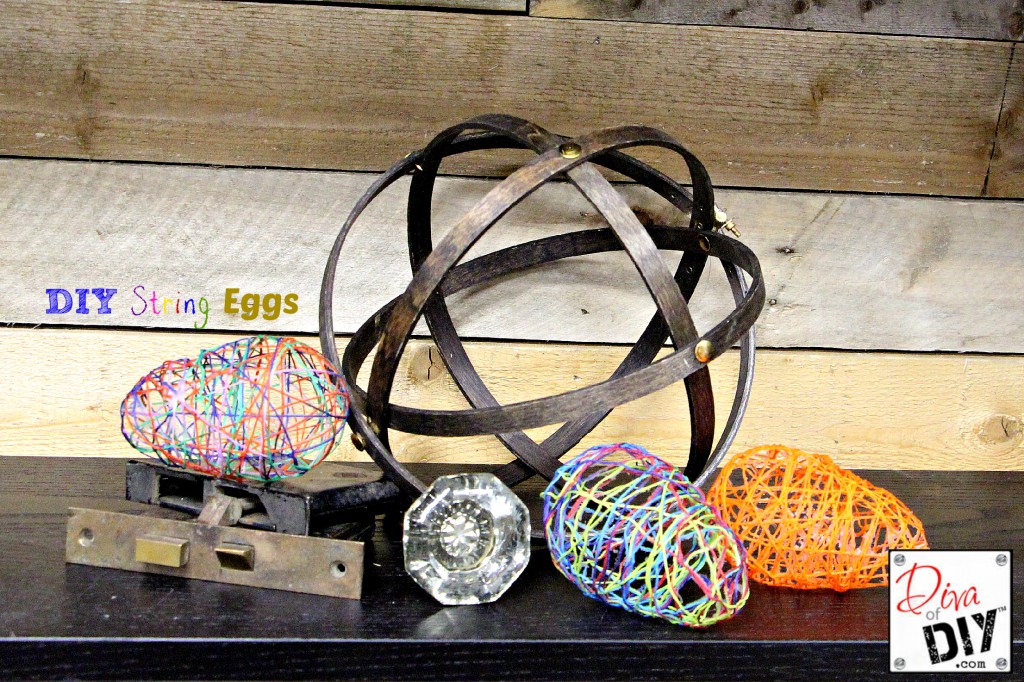
Are you looking at that picture thinking that not only are the DIY String Easter Eggs cool, but, so is the orb? No worries! You can make that Orb for just a few bucks! They are super expensive in those high end home stores.
Alright, back to the eggs people, back to the string eggs!
I love Easter because it allows me to add bright colors without feeling ashamed. In most of my decorating I tend to use neutral colors because it’s easy to play up or down by adding accent colors. Easter is a holiday that gets us geared up for the blooming of life {and allergies!} and adds a little pep in our step, right? I got started with my Spring Wreath project, followed up by a few Easter Crafts!
So with this String Easter Egg craft I kept it simple, but, yet fun for the kids.
I have provided affiliate links for your shopping convenience. If you buy something from clicking one of my links, I will get a commission from the sale. It will not cost you a penny more and allows me to keep sharing my ideas with you for free. You can see my full disclosure here. Thank you for supporting my blog!
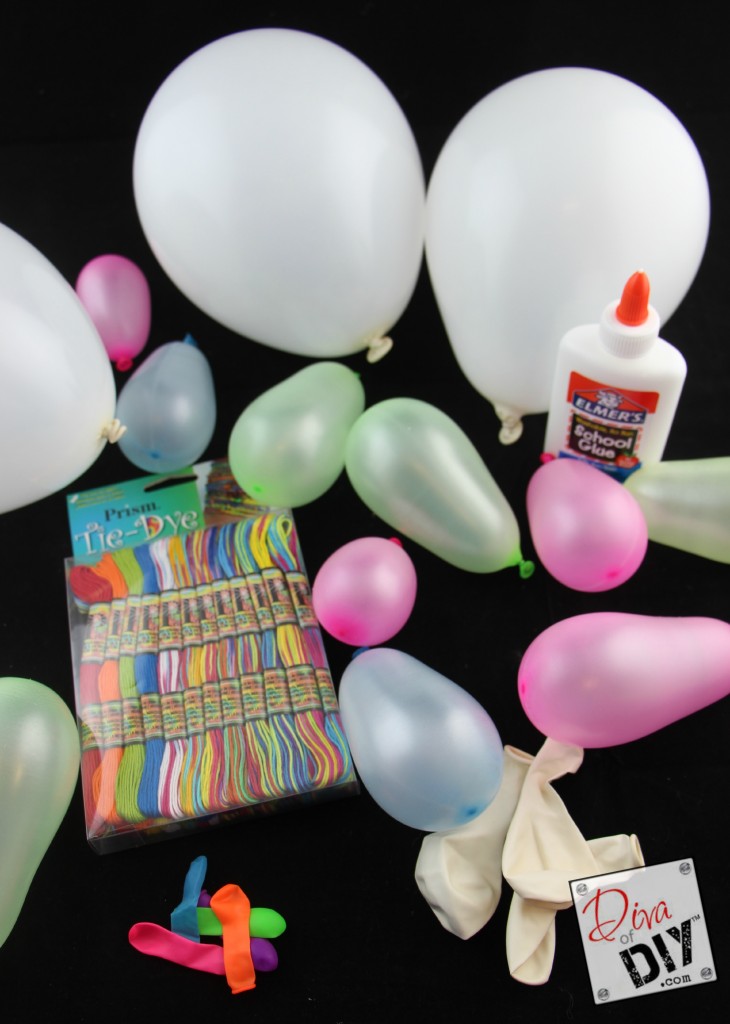
Supplies for String Easter Eggs
- Balloons
– small balloons like these work best for small eggs
- Embroidery Thread
– this is my favorite
- White glue
- Waxed paper
– to protect work area and to dry balloons on
I wanted a super cool look with my eggs and not one color. So I chose to use the Prism Tie-Dye string. It adds a bit of playfulness. However, you can do them in solid colors like I did with the orange one. What about throwing a paper gift card or money inside these for a fun gift! Did you see the Glow in The Dark Egg Hunt what a great thing to do with the kids on Saturday night before Easter with friends.
Instructions for String Easter Eggs
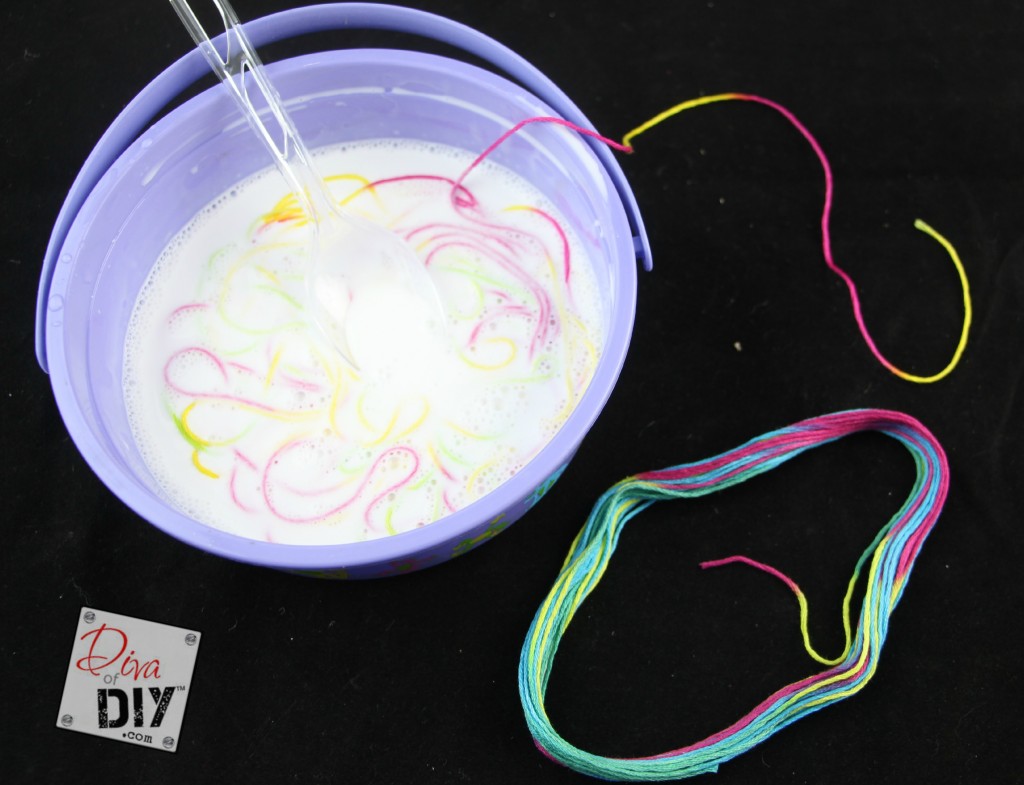
Step 1) In a large bowl, mix the glue with a small amount of water to thin out the glue. If you are going to make quite a few of them dump the entire bottle of glue into the bowl and thin with water. As you add the water to the glue stir until it’s mixed well.
Step 2) Place your string in the glue mixture and stir to completely cover the string in glue.
Step 3) Begin blowing the balloons up. Water balloons are hard to blow up so don’t get discouraged and enlist help. Make sure you blow up as many as you plan to do because your hands will soon be covered in glue.
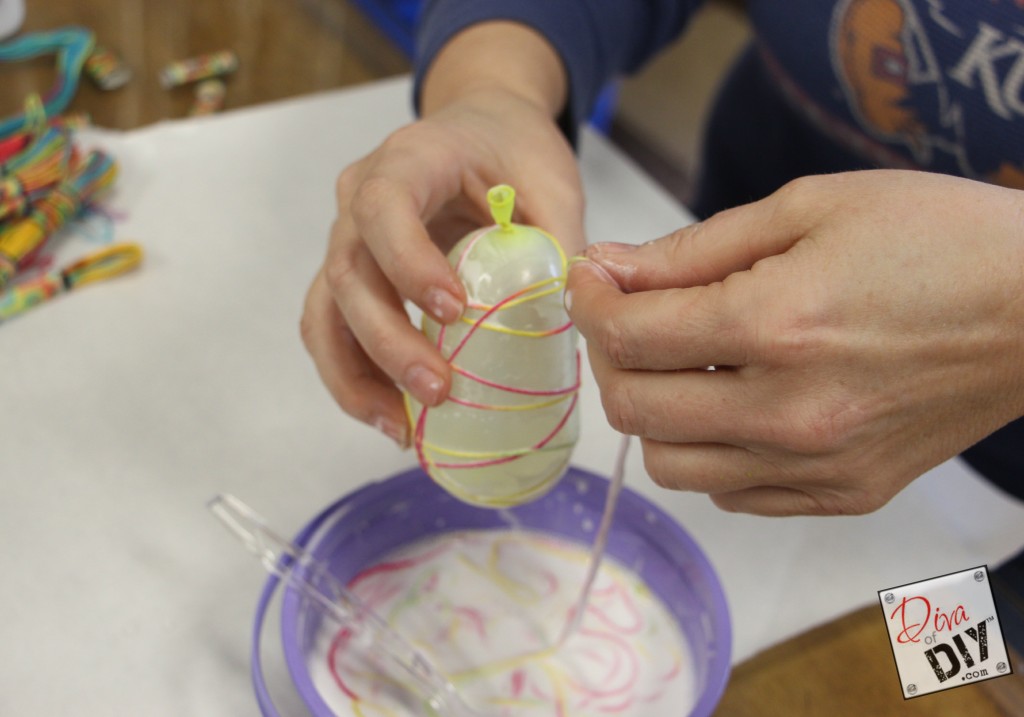
Step 4) Wrap your string around the balloon. There really is no right or wrong way to do this, so just go for it!
Step 5) Let the string/glue dry laying them on the waxed paper. This can take several hours, we let ours set overnight. Once the string is completely dry and harden you can use a sewing needle to pop the balloon.
Step 6) Use a needle to scrape off dried excess glue if needed.
You now have your very own DIY String Easter Eggs!
Each and every one of you inspire me and I LOVE to see the work that you’ve created. Feel free to share with me on Instagram, Twitter or Facebook. And as always, be sure to follow Diva Of DIY on Pinterest and sign up for our FREE Newsletter to receive the latest projects delivered straight to your inbox!
If you enjoy this project, check out these:

