If you have been following my Lake House Fixer Upper Series, you know that we threw in the towel in regards to trying to save the main part of our dream house.
Because we were saving the existing foundation, we still had some perimeters we had to work with but for the most part…we were able to design the house the way we wanted on the inside. Believe it or not I opted to use the original plan we started with. The only difference is that we are starting with all new lumber, wiring, plumbing and HVAC instead of using what was there. I have been so excited to share our new blueprints with you. These plans were built on the original foundation plus the 2 additions: the back addition to expand the family room and the front addition to add the new garage. The red lines indicate the original footprint.
Lake House Fixer Upper Main Level Blueprint:
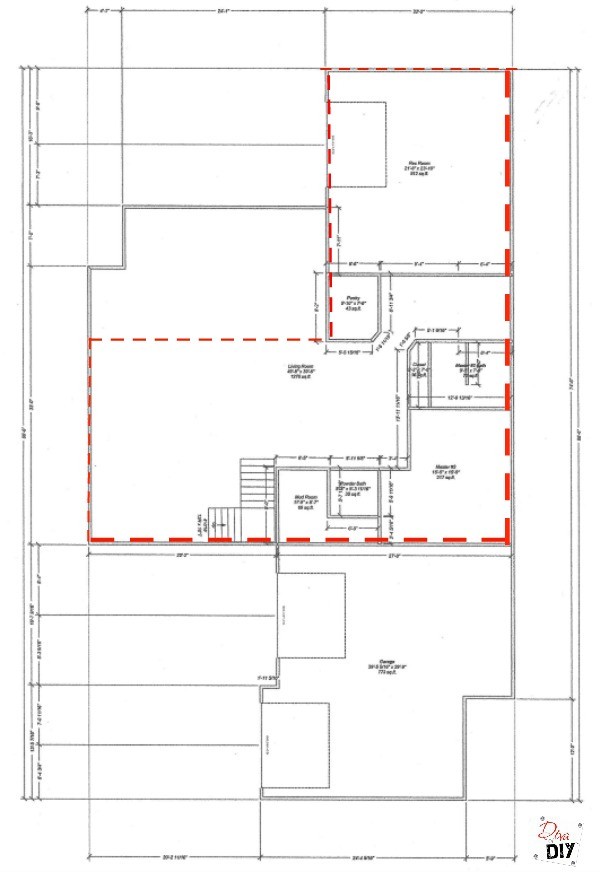
Let me point out a few of the major changes on the main level blueprint: 1) We really opened up the space by installing LVL’s (Laminated Veneer Lumber) which allowed us to remove all of the little chopped up areas without installing columns. 2) We also removed the bedroom above the family room to allow for 20′ ceilings. 3) We added a ton of windows along the back of the house to take advantage of the incredible view. 4) We added a powder bath for guests (originally guests would have to go into the master bathroom) 4) We added a pantry because with 3 teenage boys we need lots and lots of food! and 5) We are turning the old garage into a game room.
Lake House Fixer Upper Second Level Blueprint:
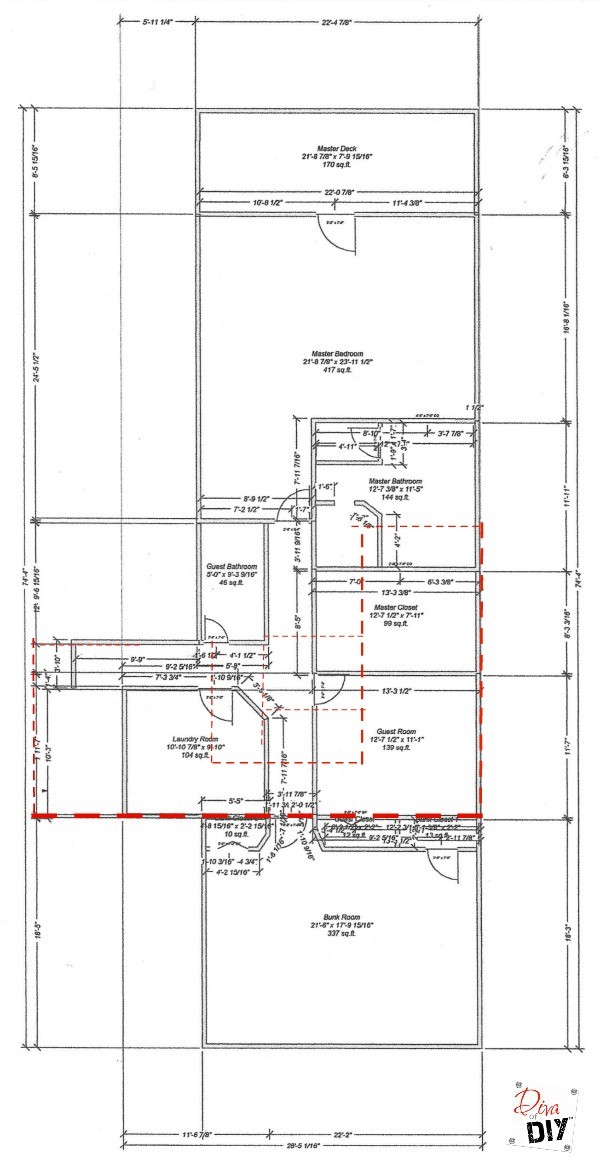 Here are a few of the major changes on the second level: 1) As I mentioned earlier, we removed the bedroom over the family room to raise the ceilings. 2) We kept one bedroom on the main level (remember its on the street side) but moved our master upstairs above the new game room to capitalize on the lake view. 3) We also added a bunk room over the new garage. and 4) We added a large laundry room on the second floor.
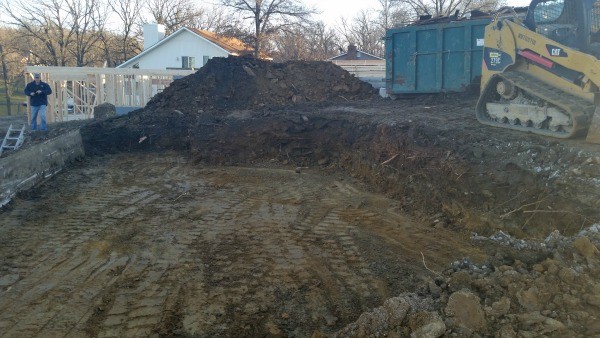
Since the last post the front of the house has been excavated for the new garage.
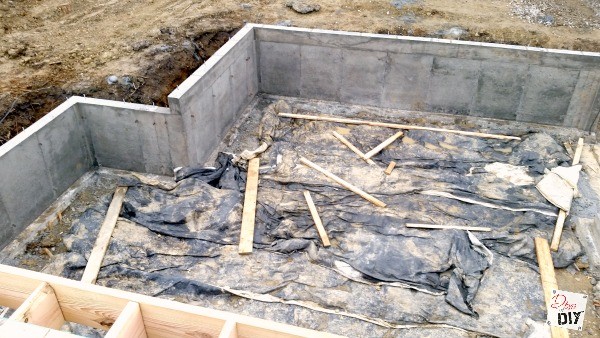
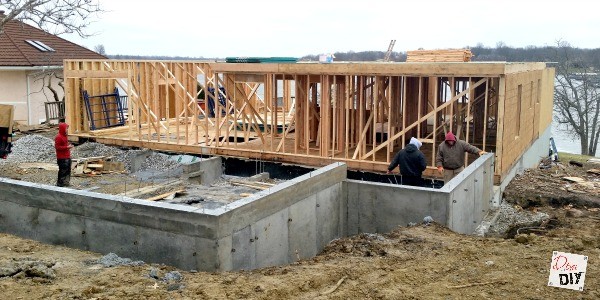
The new garage floor has been framed and the concrete poured. We made the one side deeper to store the boat in the winter.
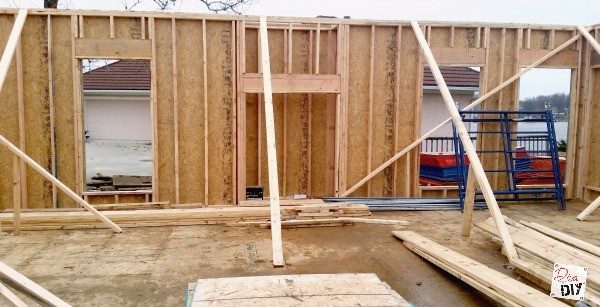
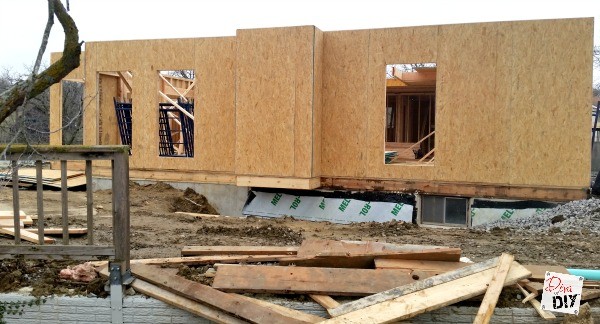
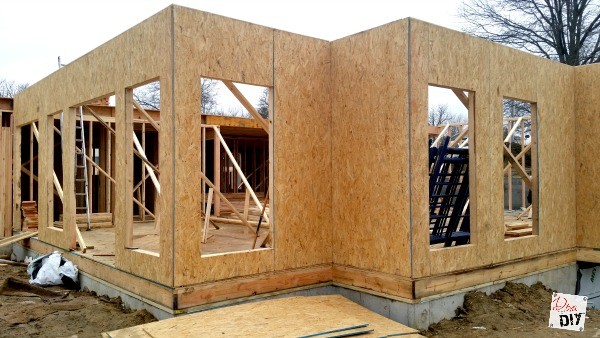
It’s crazy how fast the walls go up. This is the view from the kitchen. That open box will be a wood-burning fireplace.
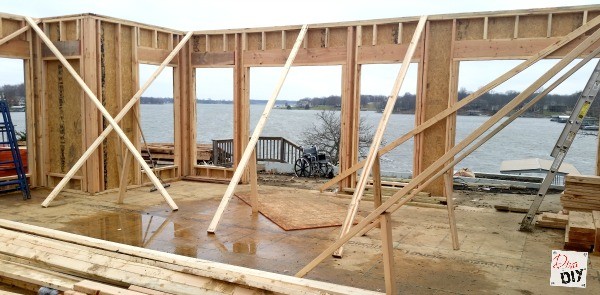
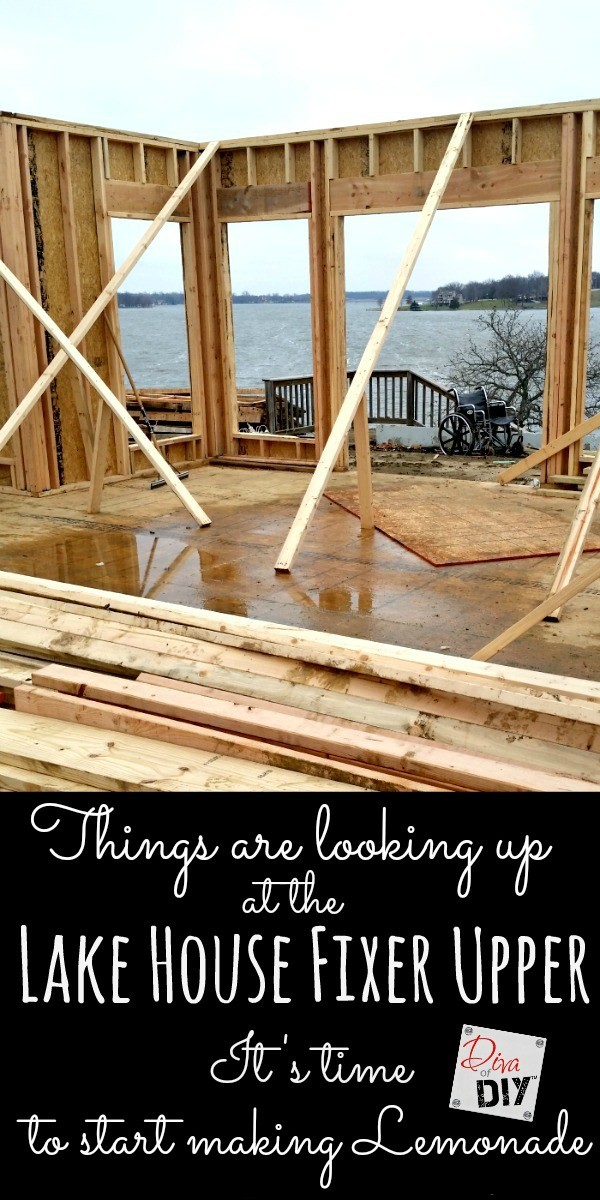
Here is the bank of windows I was telling you about on the back side of the house. We added 2 sliders to make it easy to access the back patio.
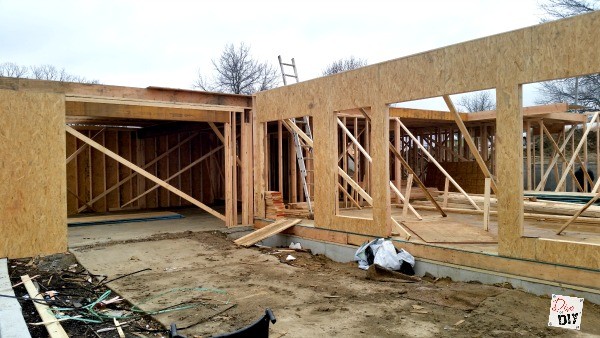
This is the new garage. It sits on the new footers that were poured along the front of the house.
Here is the backside of the fireplace with the OSB on…it’s starting to look like a house.
This is the backside with the new addition.
Keep coming around and this is the old garage that is now the game room. We kept the original garage floor. We are going to add a glass garage door that opens up to the patio. This is one of the design elements I am anxious to see happen!
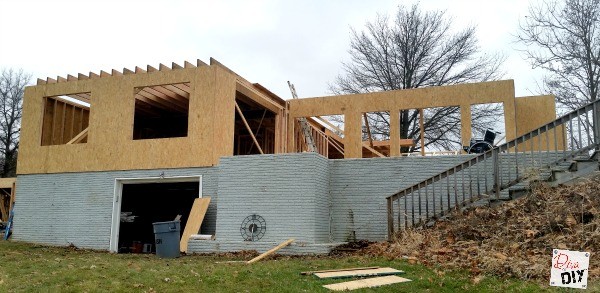
This is a photo from the back of the house. We will still need to address the crumbling brick wall and stairs that are “less than safe”.
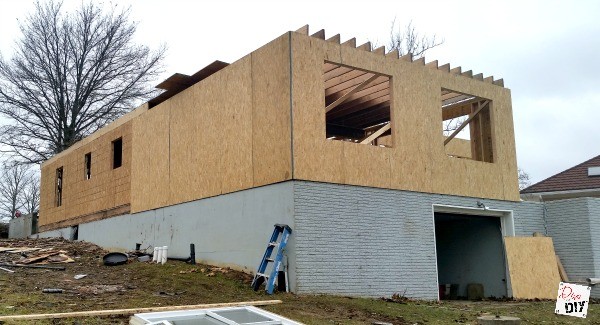
And finally a picture from the other side of the house. Can you believe it??? The whole lover level is framed in! If you missed the beginning of this series check that out, Lake House Fixer Upper: How to Remodel the home of your dreams on a budget. I can’t believe how far we have come!
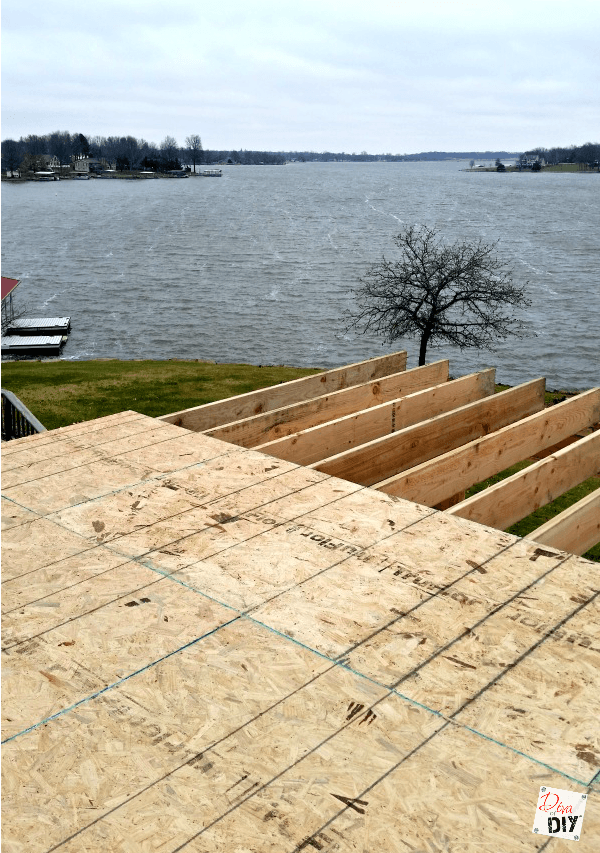
Before I left, they had already started putting the subfloor down for the second level!!! Oh yeah…Happy Dance!
I am finally starting to see some progress…some fruits to our labor. Thank goodness…I am not sure how many more weeks I could have taken full of unwelcomed surprises.
Each and everyone of you inspire me and I LOVE to see the work that you’ve created. Feel free to share with me on Instagram, Twitter or Facebook. And as always, be sure to follow Diva Of DIY on Pinterest and sign up for our FREE Newsletter to receive the latest projects delivered straight to your inbox!
Catch up on our Lake House Fixer Upper Series:
