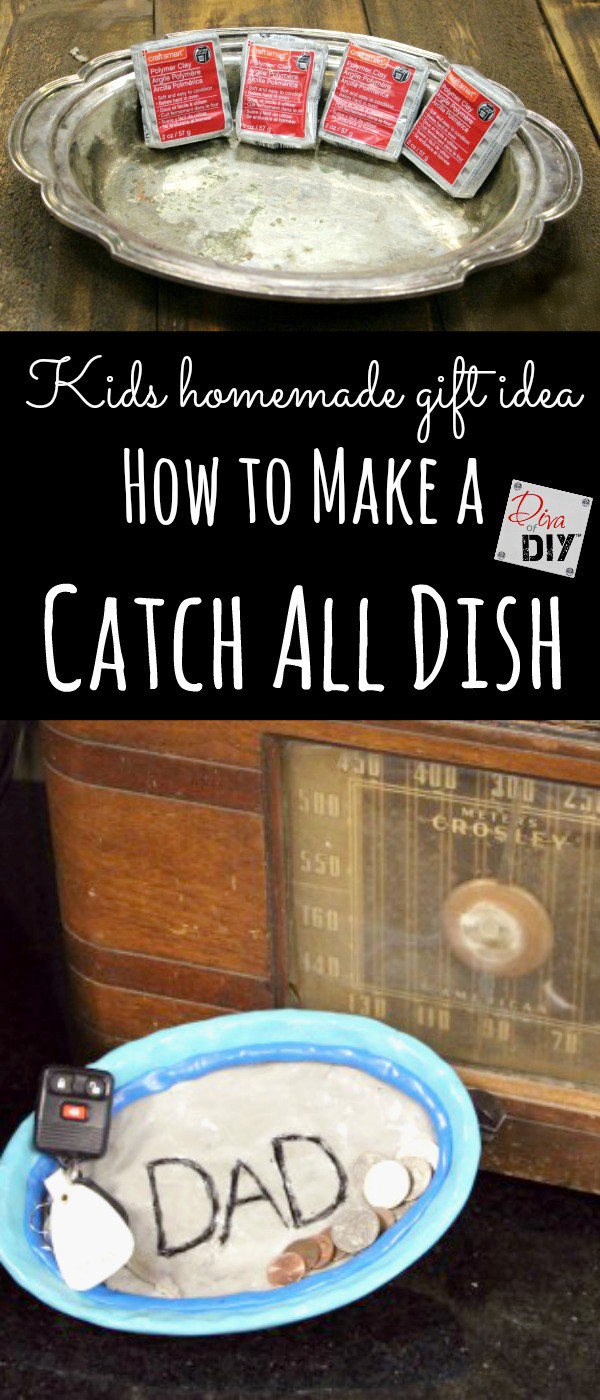
Everyone loves a homemade gift from the kids! Dads, Moms, Grandparents, Siblings, I could go on and on. How can you make that special gift even more special? Make it a gift that serves a purpose all year long, a catch all dish!
One of the things that I try to do when I need to give a gift is to think of things that the recipient can use. One of the hardest people to give gifts to is my Husband, John. He is a guys guy, doesn’t really collect things, doesn’t ever need anything and if he does he just goes and buys it himself. So long ago when my boys were young we started making personal handmade gifts for Father’s Day. Our whole family enjoys getting handmade gifts so around here we call them, gifts from kids. It can be from our boys or some other young one in the family, these are always everyone’s favorite gift!
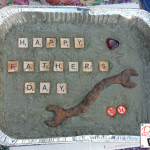
So along comes Father’s Day and I am thinking once again, what do I tell the boys he might like for his special day? Then the light bulb goes off…when John comes home he usually throws his keys on my pretty table in the foyer. It drives me crazy! The top of the table has these random scratches in this particular spot. I decided hey, why not make him a Catch All Dish. Not only can he throw all of his keys in it, but also his loose change that ends up all over the place can be put here too…at least that’s what I’m hoping for folks!

This post contains affiliate links. If you buy something from clicking one of my links, I will get a commission from the sale. You can see my full disclosure here. Thank you for supporting my blog!
“Gift from Kids” Supplies – Catch all dish
- Polymer Clay
(I like this pack because there are so many colors)
- Dish, Aluminum, Tupperware, etc. (as your mold)
- Spray bottle with water or wet cloth
- Outdoor Acrylic Paint
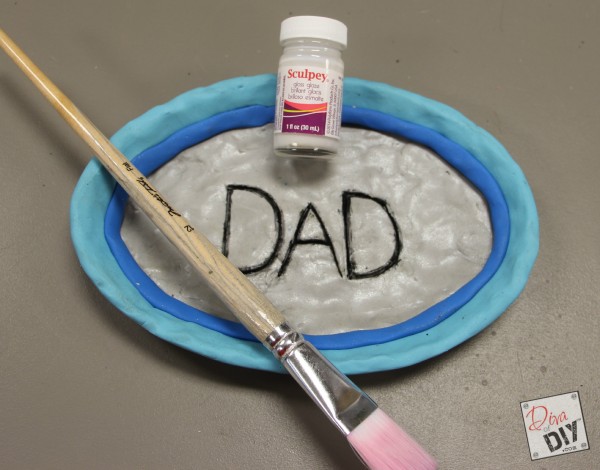
- Gloss Glaze
(I used this brand)
- Sculpting Tools
(optional)


“Gift from Kids” Instructions – Catch all dish
Step 1) Make sure that the mold that you are using is clean and free of any dirt, dust and grime. If it’s not it’s going to end up in your pottery piece.

Step 2) Roll out and work with your clay to make it pliable and easier to work with. The key is to warm up the clay.
*Diva Tip: I put the packets of clay in my pockets for awhile while I am getting my supplies ready. This helps warm it up.
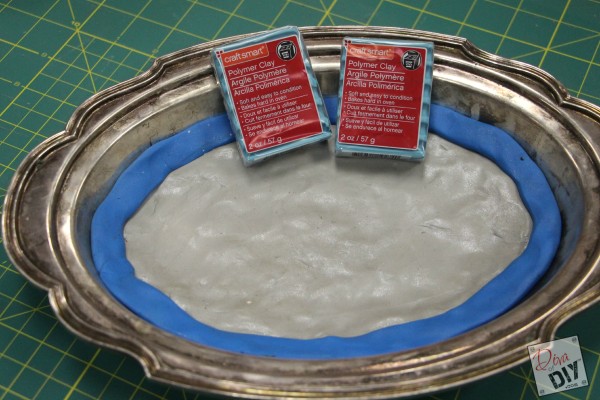
Step 3) Spray you container you are using for a mold lightly with water. This will help the clay from sticking to the mold.
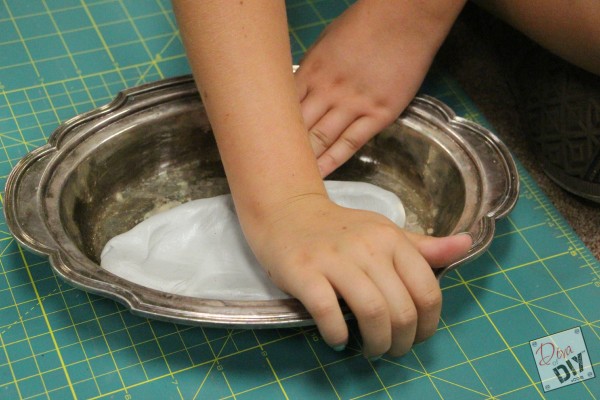
Step 4) Place your clay into your mold. You want to have a nice even layer or your pottery will not be even.
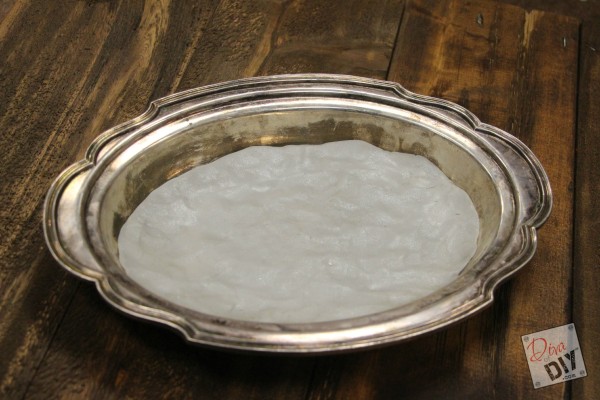
Step 5) Smooth out the bottom layer to your liking. As you can see it’s a little bit lumpy but I’m ok with that.

Step 6) Now it’s time to build up the sides. You can use all white clay and then paint your project after it bakes but I decided to grab a blue polymer clay. It just makes my life a little bit easier!
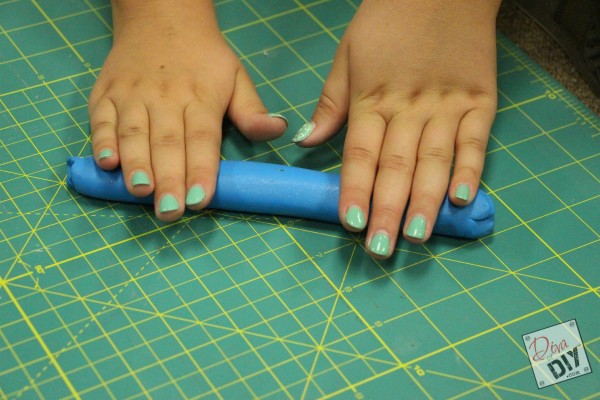
Step 7) Warm up your clay and then roll it into a nice thick snake. Again, it is important to keep the thickness the same all the way around.
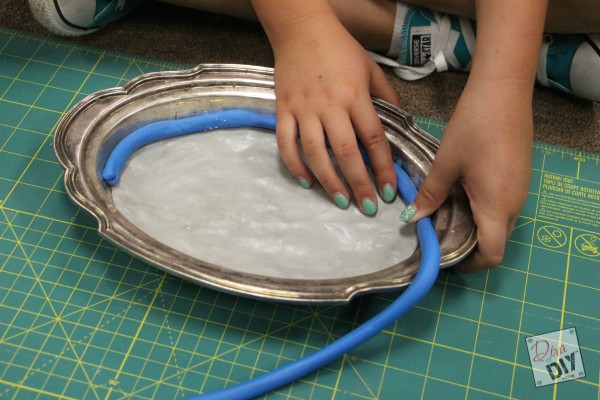
Step 8) Wrap your rolled snake all the way around the mold. If your mold is dry you will want to get it damp again before putting on the clay.
Step 9) Gently smooth this layer into the bottom layer and the sides. You can leave it round if you like that look but you still need to make sure the bottom piece and side piece are making enough contact to stay together.
Step 10) Repeat layers until the dish is as deep as you want it. I used a lighter blue clay and made my snake thicker so the bands were different widths.
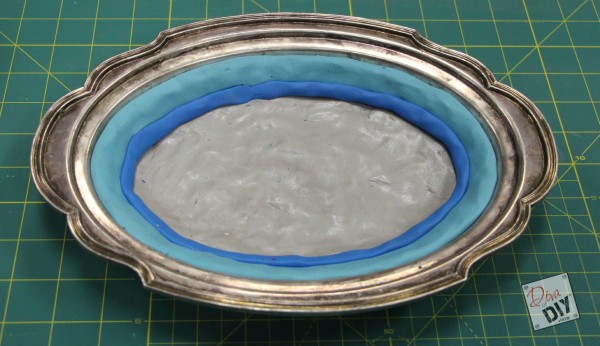
You can leave your dish like this if you like it. We went a step further.
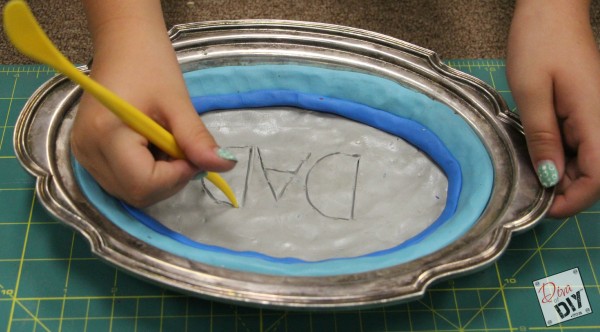
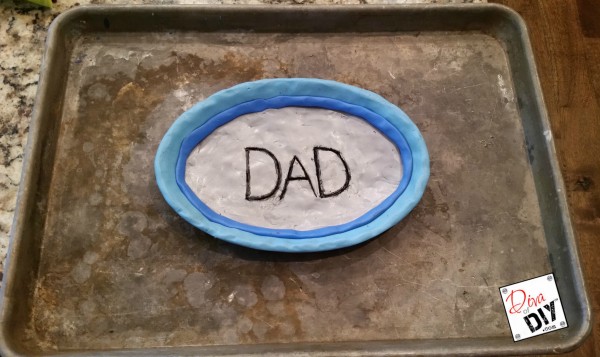
Step 11) With the sculpey tool I wrote DAD into the bottom of the dish. You could do this with any similar item.
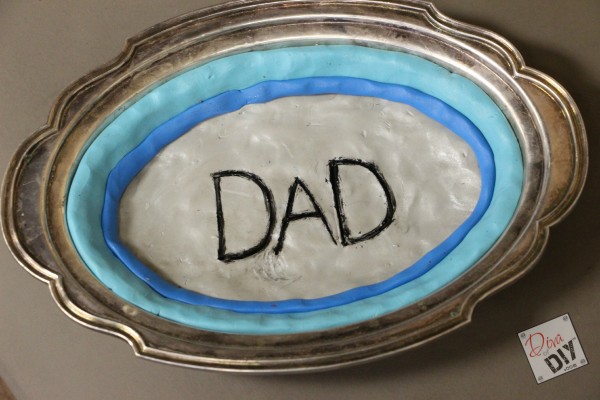
Step 12) I took a small brush and with a tiny bit of outdoor acrylic paint I painted over the DAD letters. Let dry. This allowed the writing to be baked into the clay and show through once the clay was heated and the pottery was completed. I like the pop it gives to the letters.
Step 13) To help get the dish out of the mold I put it in the freezer for a few minutes to stiffen up the clay. Do not freeze it, just get it cold again so it will be rigid enough to hold it’s shape.
Step 14) Carefully remove your dish from the mold. I used the clay tool to help release the clay dish.
Step 15) Bake according to package instructions. We baked ours at 275 degrees for 45 minutes on a cookie sheet.
Step 16) Carefully take the pan out of the oven and allow to completely cool. The clay will be HOT!
Step 17) After the dish was cool I used a soft brush and brushed on the Sculpey clear glaze all over the dish. This gave it a shine and helps to prevent it from cracking. This is the point you would paint your dish if you choose and then apply glaze once the paint is completely dry.
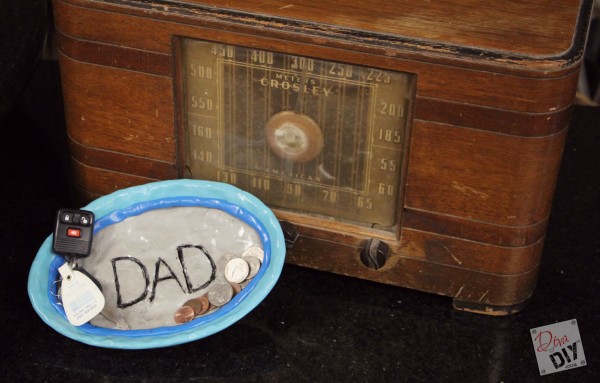
John loved his Father’s Day “gift from kids” present! I hope this has encouraged you to start your own homemade gift from kids tradition in your family. The kids are so proud of their creations, especially when it is something they see the recipient use!
Each and everyone of you inspire me and I LOVE to see the work that you’ve created. Feel free to share with me on Instagram, Twitter or Facebook. And as always, be sure to follow Diva Of DIY on Pinterest and sign up for our FREE Newsletter to receive the latest projects delivered straight to your inbox!
If you enjoyed this project, check out these: