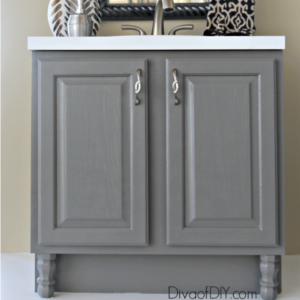
In my contracting business, Rekindled Spaces, I have discovered that most people don’t dislike their home because of the quality, it’s because of the way it looks. There is no need to completely remodel a space that just needs an update! Painting your bathroom vanity is the perfect easy painting project to start. The steps for this easy painting project are to be done only after the surface has been properly prepped for paint.

Easy Painting Project Instructions:
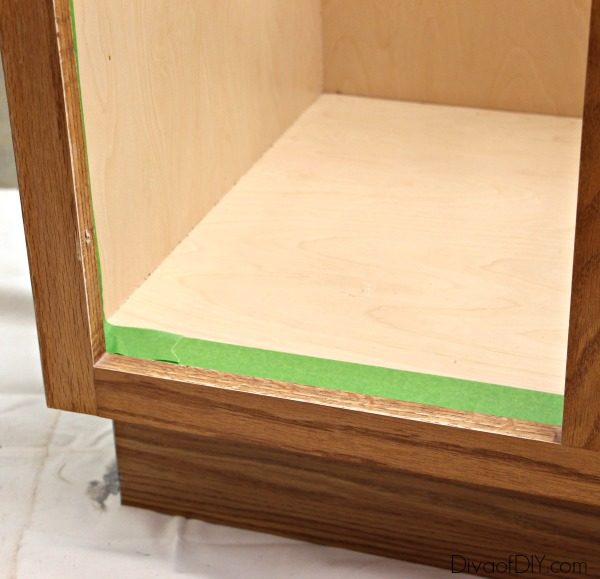
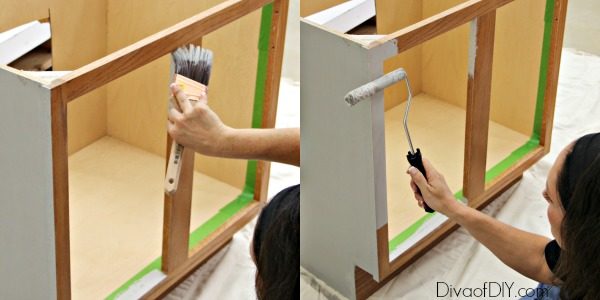
Step 1) Using a quality painter’s tape
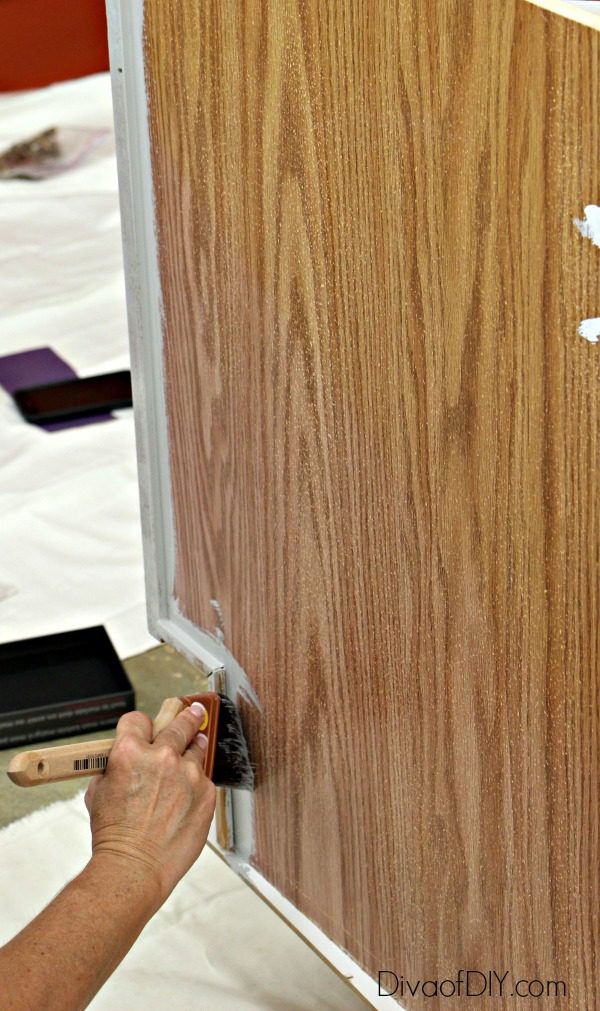
Step 2) Brush an even coat of Zinsser B-I-N Primer

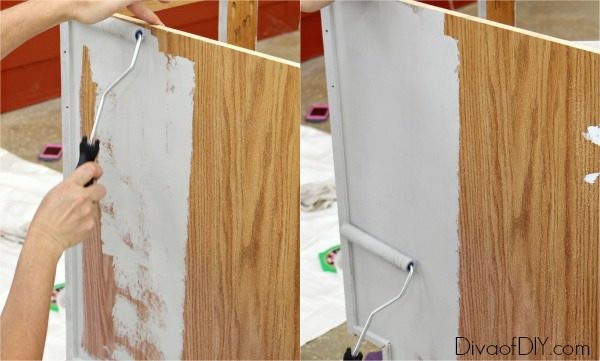
Step 3) Using a mohair roller
Once you have completed one side, move to the next side.
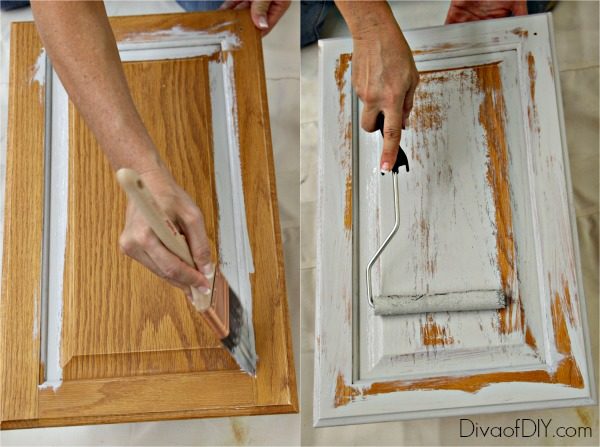
Repeat the same process on the doors. Once the front side is dry, flip the doors over and prime the back side. Let dry.
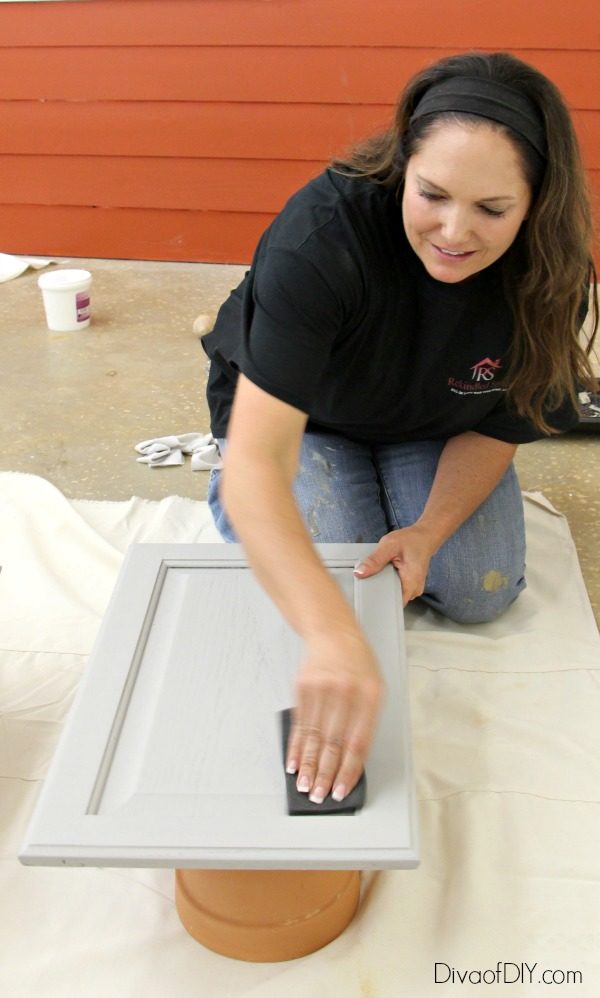
Step 4) Using a buffing pad
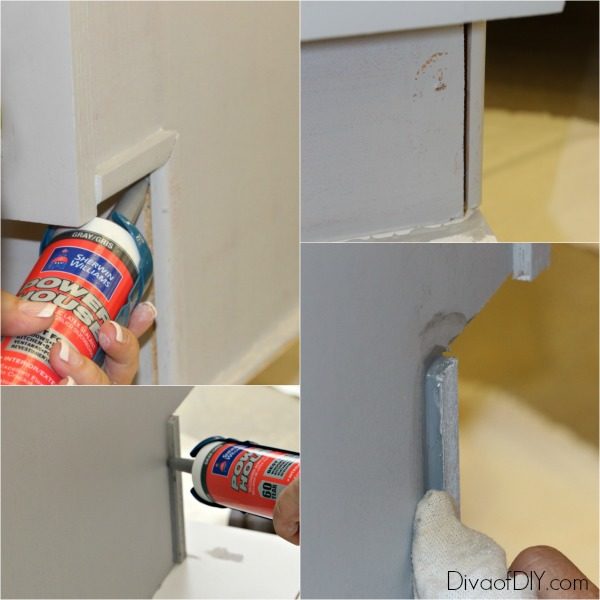
Once the surface is primed, you will be able to see the areas that need caulked.
Step 5) Using paintable caulk, fill in all cracks and seams. Let dry.
Step 6) Fill any unwanted holes with Bondo
Lightly buff again if needed. Spot prime the areas where caulk and primer were used.
Diva Tip: You can definitely caulk and Bondo prior to step one but it is really difficult to see all of the gaps in a stained finish. Usually I caulk and Bondo as much as I can see but inevitably I end up fixing a couple I missed once its been primed.
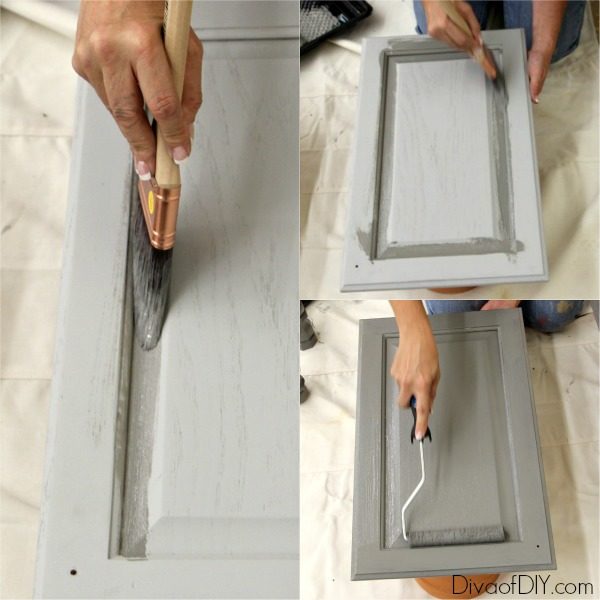
Step 7) Using the same process as you did for the primer, apply one coat of your enamel. Let dry. Flip doors and repeat.
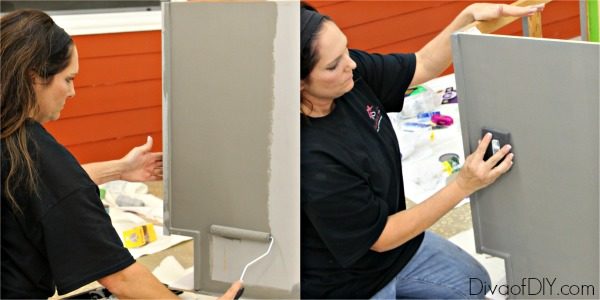
Repeat step 7 with the body of the cabinet. Let dry.
Repeat step 4 on the doors and the body of the cabinet.
Repeat step 7 again on doors and body (if needed). I always apply 2 coats of enamel to my cabinets and furniture.
Each and everyone of you inspire me and I LOVE to see the work that you’ve created. Feel free to share with me on Instagram, Twitter or Facebook. And as always, be sure to follow Diva Of DIY on Pinterest and sign up for our FREE Newsletter to receive the latest projects delivered straight to your inbox!
If you liked this project, check out these: