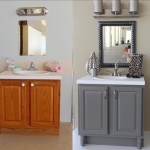
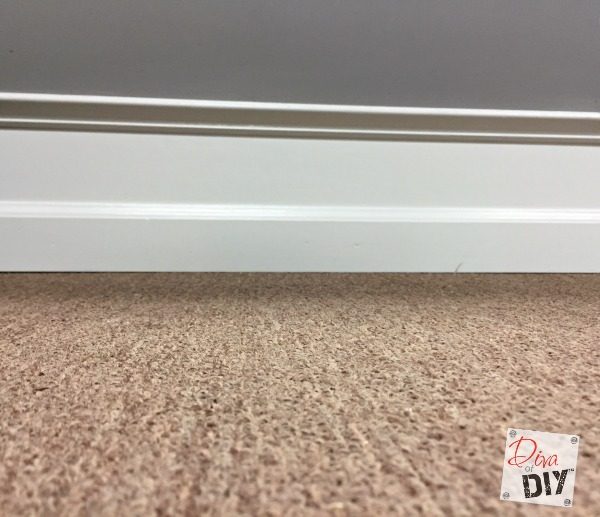
The building market is in full swing and one of my favorite things to do is walk through the new models to see the new trends in home building. One detail I always notice is the big, oversized trim. This is a cheap and easy home improvement project that can be done in your home if you know these tricks of the trade.
This post contains affiliate links. If you buy something from clicking one of my links, I will get a commission from the sale. You can see my full disclosure here. Thank you for supporting my blog!
Updated Trim Home Improvement Supplies:
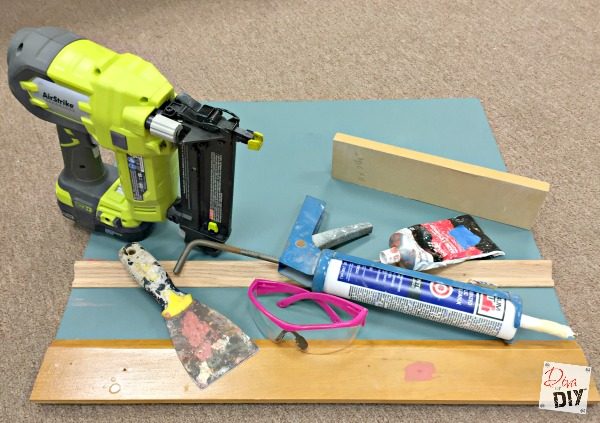
- Trim
- Finish Nailer
- Level or you can use this trick*
- Caulk (Make sure it is paintable)
- Bondo
- Putty Knife (This is a good size for filling holes)
- Sanding Block (I like these)
- Enamel Paint (I used Benjamin Moore Advance Enamel in OC-17 White Dove)
- Air Compressor
Updated Trim Home Improvement Instructions:
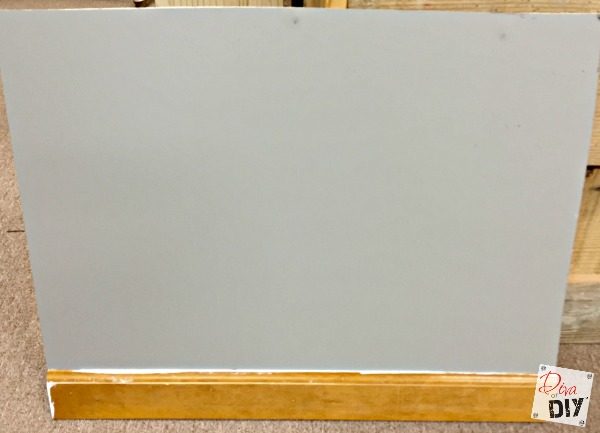
Note: These steps were done on sample pieces of drywall. The process is the same for existing walls.
I am going to write this post assuming you are upgrading your existing “builder-grade” trim. If you were starting with a newly constructed wall with no trim, you would install your bottom baseboard first. Then follow the rest of the tutorial.
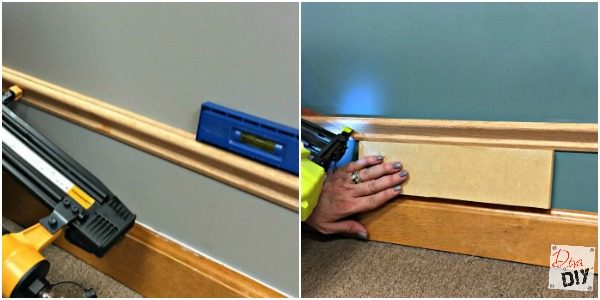
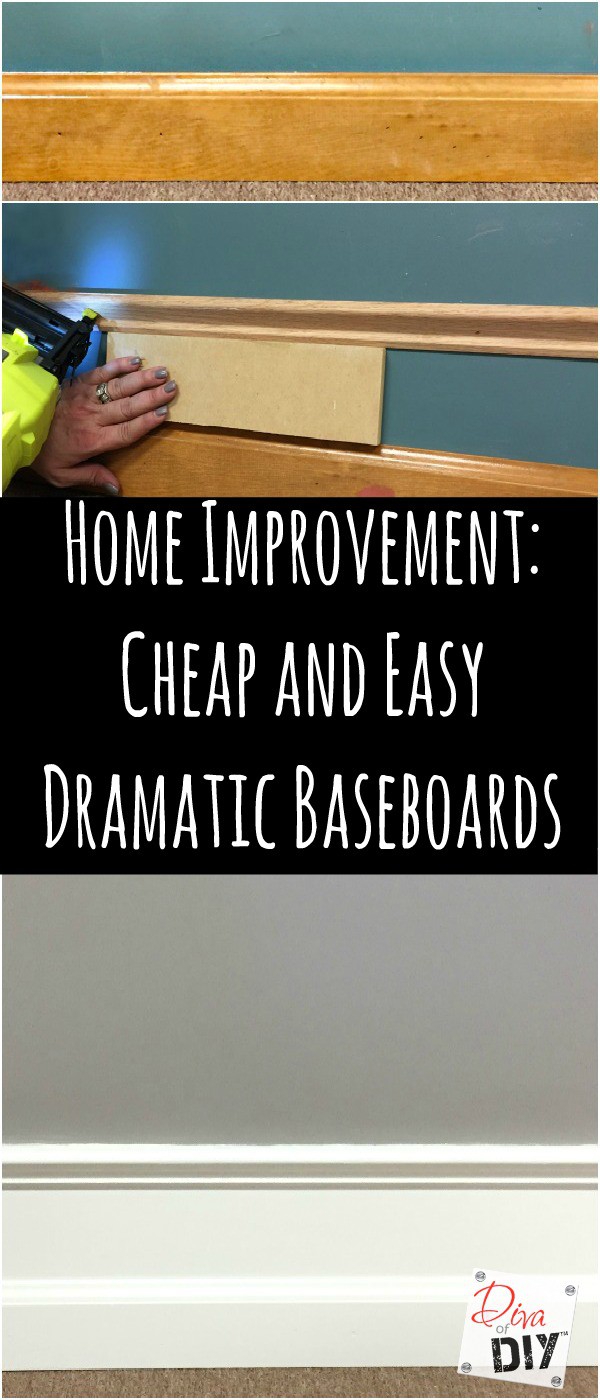
Step 1) Add trim piece. This step can be done 2 ways, the first way is measuring where you want you trim board piece and then use a level to make sure you are nailing the trim board straight. *The second way (and my personal preference) is to use a board the width you want your faux trim area to be and use that for your guide to keep your trim board straight. This is much easier then measuring sections.
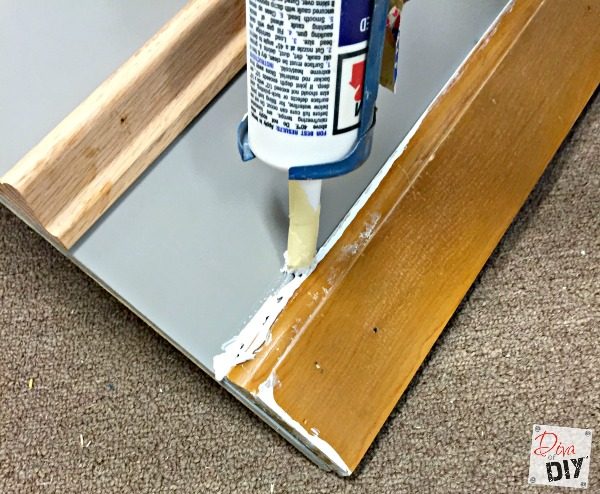
Step 2) Caulk in the baseboard and trim. Let dry.
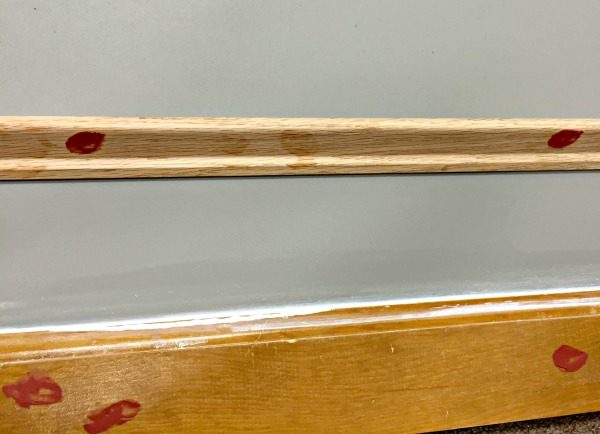
Step 3) Using bondo fill in the nail holes. Let dry.
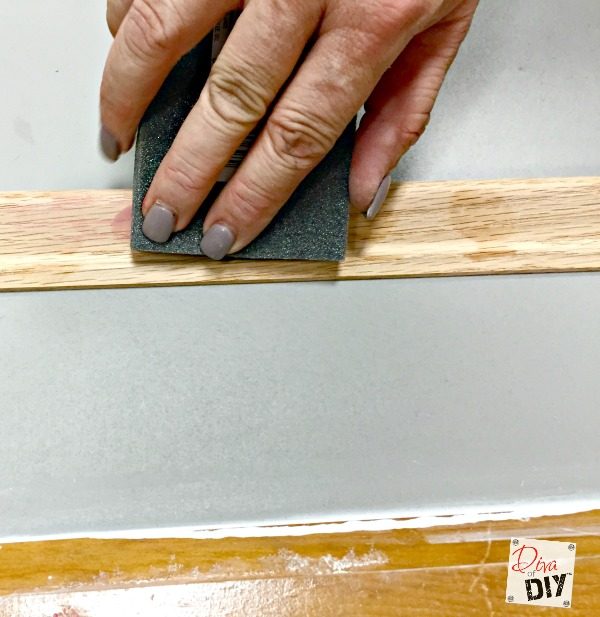
Step 4) Sand bondo with 220 grit sandpaper. I like to use sanding sponges for this, they easily form to the wood if you have curves. Repeat step 3 and 4 if needed until nail holes are smooth with the wood.
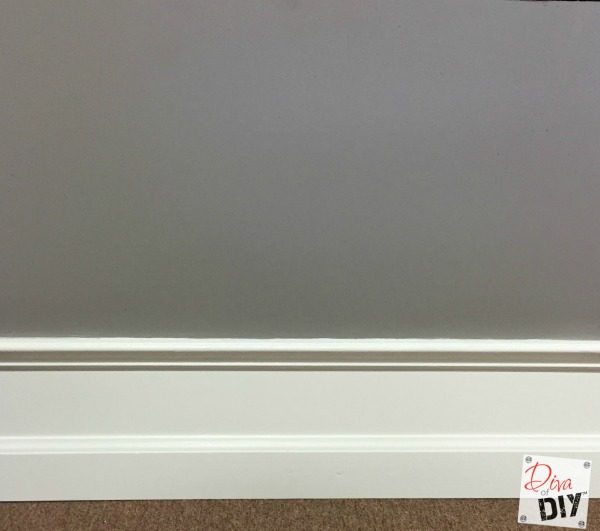
Step 5) Paint the top trim board, middle wall area and bottom baseboard with enamel paint. Now you have a thick dramatic baseboard using the baseboard you already have and only adding a small trim piece at the top. Think of the money you will save by just painting the wall in between instead of building up the area with wood!
Each and everyone of you inspire me and I LOVE to see the work that you’ve created. Feel free to share with me on Instagram, Twitter or Facebook. And as always, be sure to follow Diva Of DIY on Pinterest and sign up for our FREE Newsletter to receive the latest projects delivered straight to your inbox!
If you like this home improvement projects, check out these:
