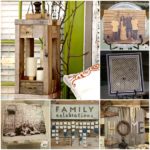
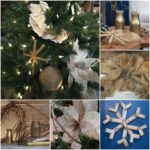
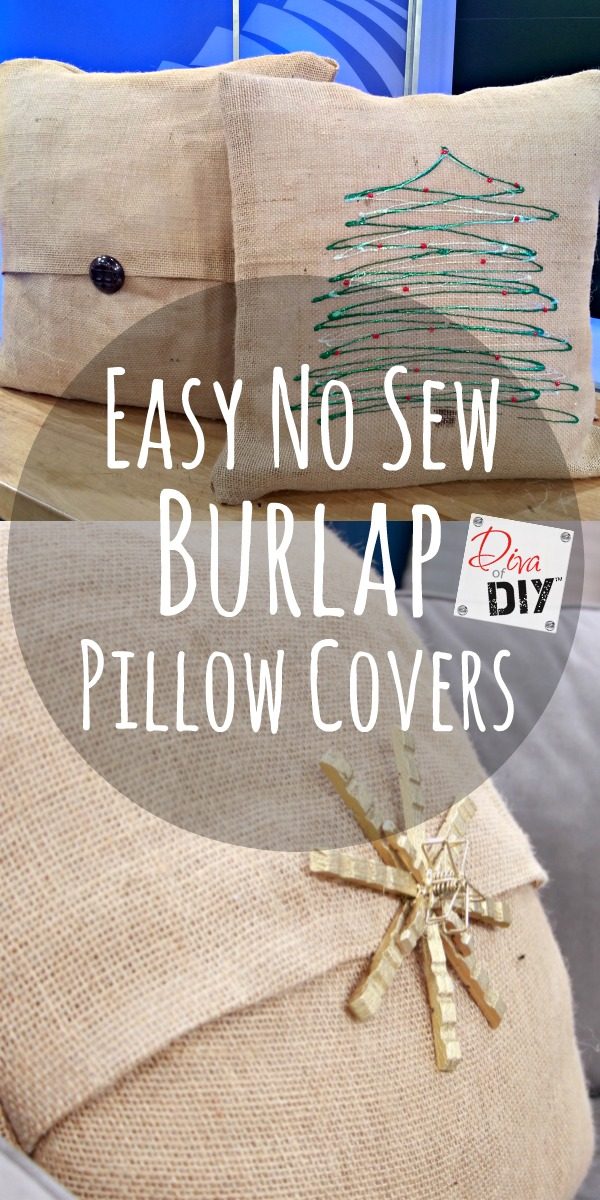
This year I was asked to decorate the TV set for Kansas City Live, a lifestyle show and I was honored to do it! You see I have been a part of the KCL family for 3 1/2 years. Each week I share my repurposed and upcycled projects on their show so it seemed natural to infuse a little of my style into their set for the holidays. My theme was Handmade and Heartfelt. I decorated the tree and set with handmade decorations. These no-sew burlap pillow covers were a big hit!
Burlap Pillow Covers Supplies:
- Burlap Fabric (Make sure it is tight-weaved like this)
- Pillow Form
- Heat n Bond
(Make sure you get the red package like this…it’s ultra hold)
- Iron
- Hot glue gun
- Scissors
- Embellishments
Burlap Pillow Covers Supplies:
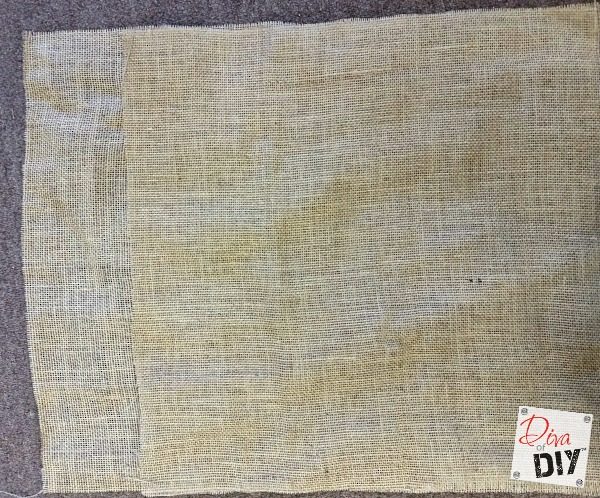
You will cut 2 pieces of burlap. The size will depend on the size of your pillow form. I used a 10″ pillow form.
Step 1) Cut first piece 2″ longer and 2″ wider than pillow form. I cut mine 12″ x 12″
Step 2) Cut second piece 7″ longer and 2 ” wider than the pillow form. I cut mine 12″ x 17″
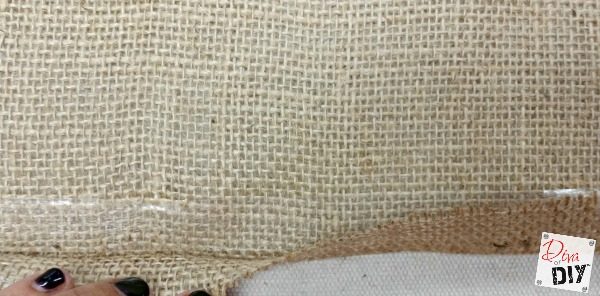
Step 4) Grab the larger of the 2 pieces of burlap. Create a faux hem of the 12″ sides by folding over 1″ of the fabric. Add a Head n Bond strip.
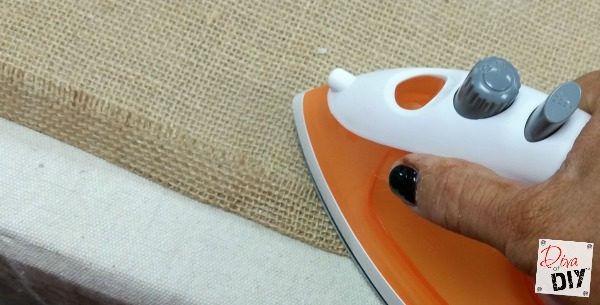
Step 5) Iron the faux hem per Heat N Bond instructions. This will secure the fabric in place.
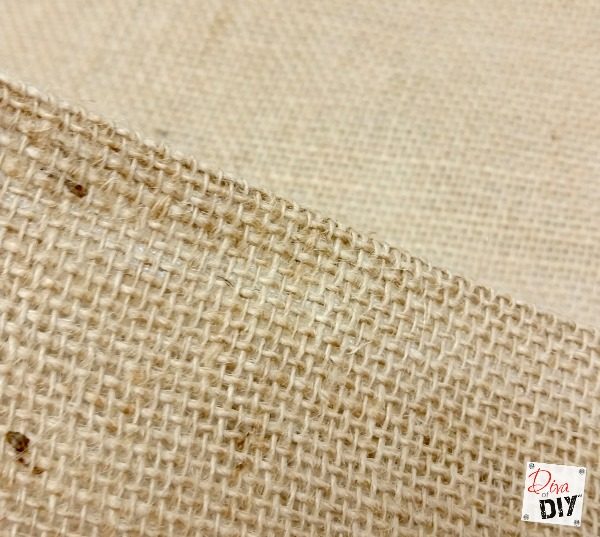
The hem will look like this.
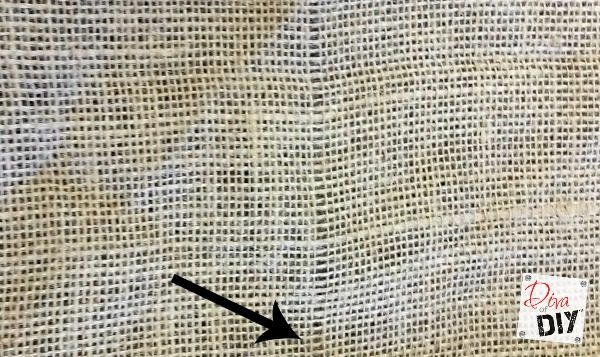
Step 6) Still working with the larger piece of burlap, find the center of the long side. For my pillow, it is at 8.5″. Pull a burlap string at 8.5″ or the center of your fabric to give you a straight cutting line.
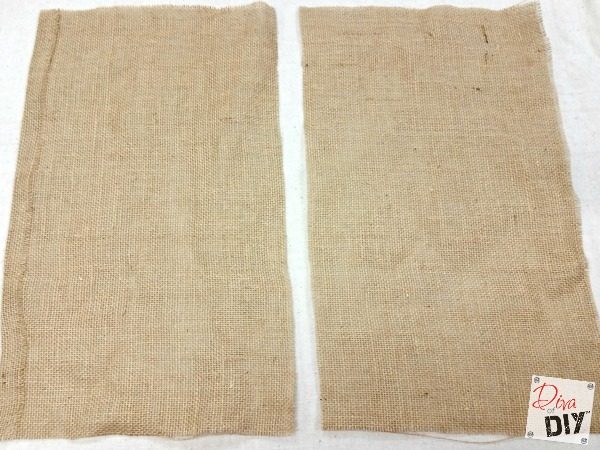
Step 7) Cut the burlap in half at that straight line.
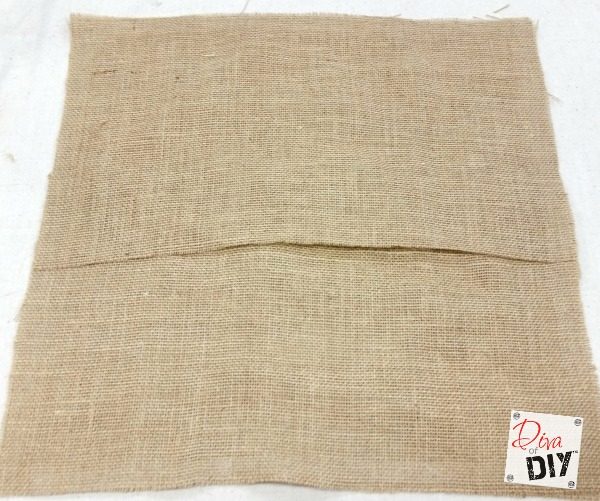
Step 8) Overlap the two pieces of cut burlap to make a 12″ x 12″ square. Lay it on top of the smaller piece which is also 12″ x 12″. In my example, there is a 5″ overlap. Make sure you put the good sides to the inside. The clean hem piece should be facing down.
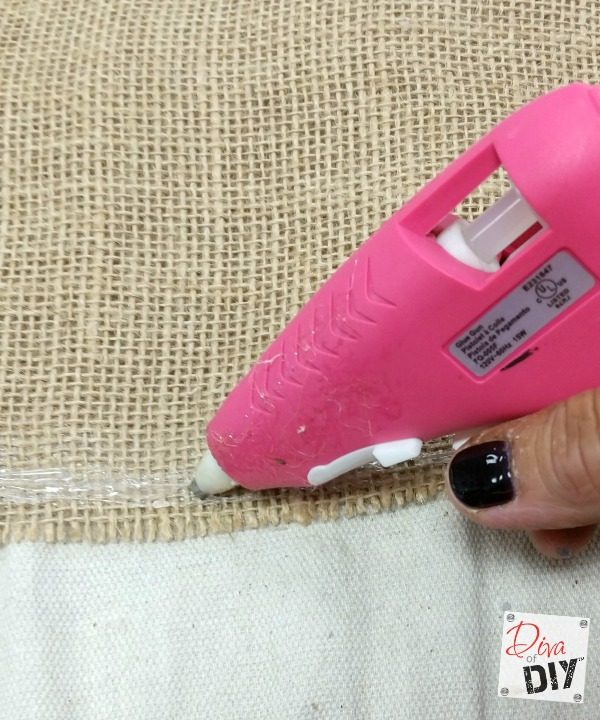
Step 9) Hot glue the outsides of the pillow together. The will be the seam of the pillow.
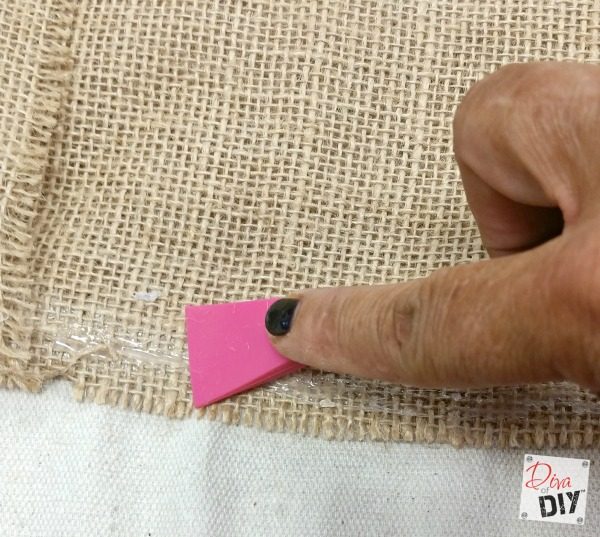
Step 10) Go around the outsides on both sides of the pillow with hot glue again to reinforce the seam. This handy tool is a silicone Mod Podge tool. It’s perfect for saving your fingers from hot glue burns! These are another great option!
Step 11) Turn the pillow cover right side out and slide your pillow through the opening in the middle.
Pillow Covers Decorating Ideas:
You can use your pillow covers just as they are for a completely natural look or embellish as you like. Here are a couple of ideas!
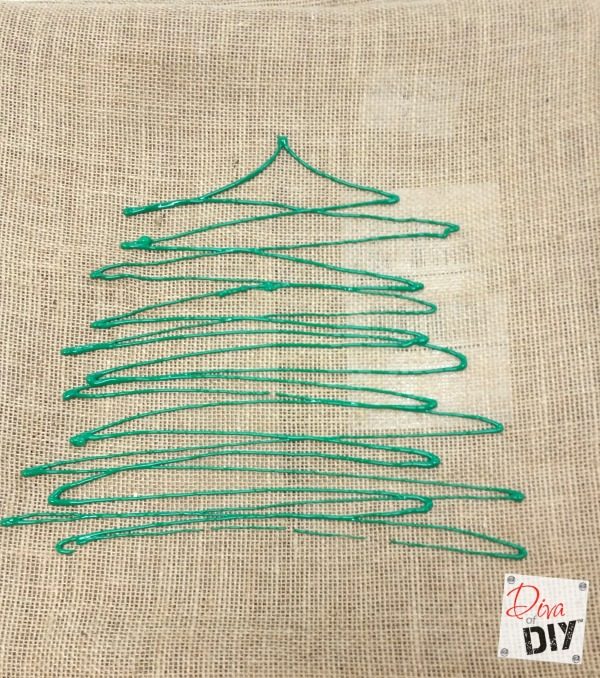
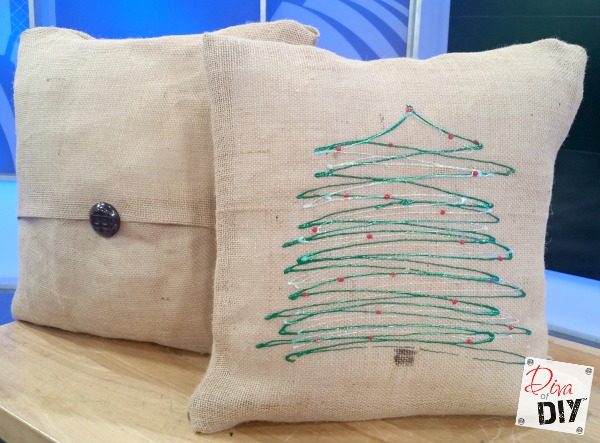
Use dimensional fabric paint to draw a seasonal scene! Just put waxed paper under the burlap and decorate and let dry before you put your pillow together. This tree is done on the small piece (12×12).
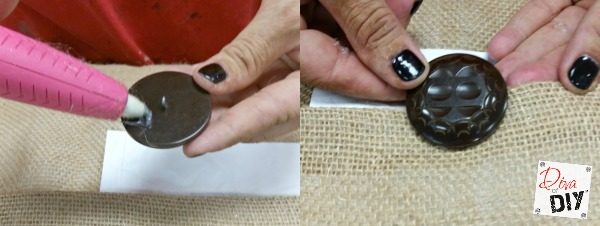
To make my pillow covers more versatile I glued a button to the other side at the seam.

Now I can use the same pillow for Fall and Christmas! I use it button side out for Fall and tree side out for the Holidays!
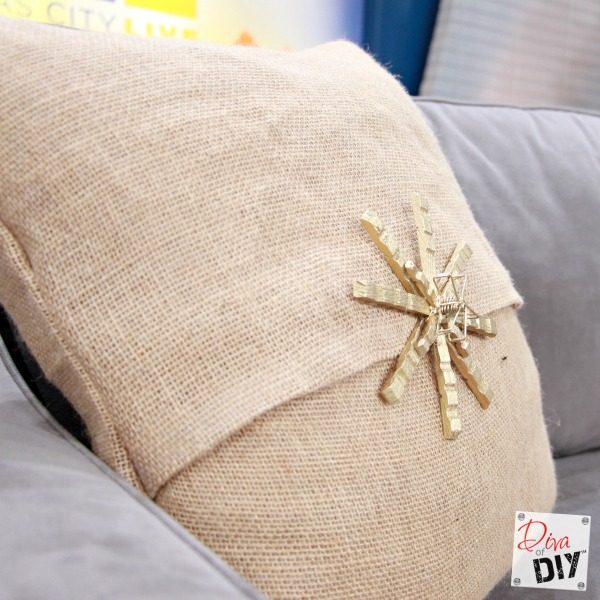
For the TV set, I incorporated a clothespin snowflake on the folded side! It helped to pull all the Homemade and Heartfelt DIY decorations I made for the set!
Each and everyone of you inspire me and I LOVE to see the work that you’ve created. Feel free to share with me on Instagram, Twitter or Facebook. And as always, be sure to follow Diva Of DIY on Pinterest and sign up for our FREE Newsletter to receive the latest projects delivered straight to your inbox!
