
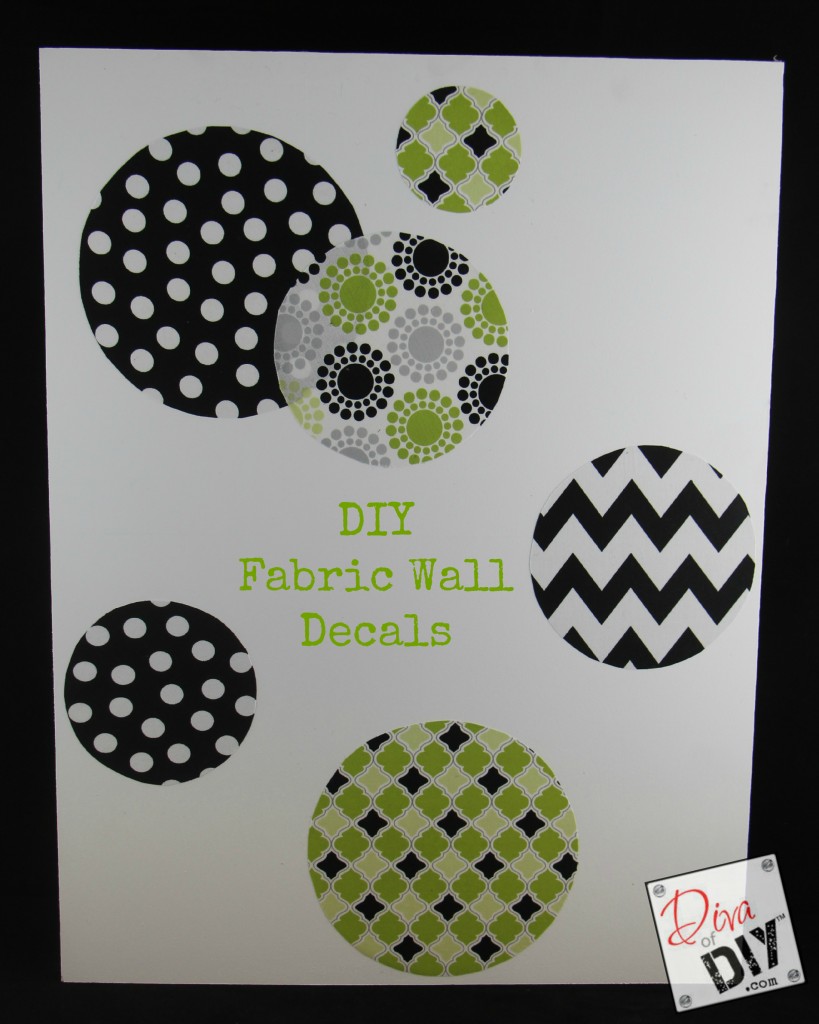
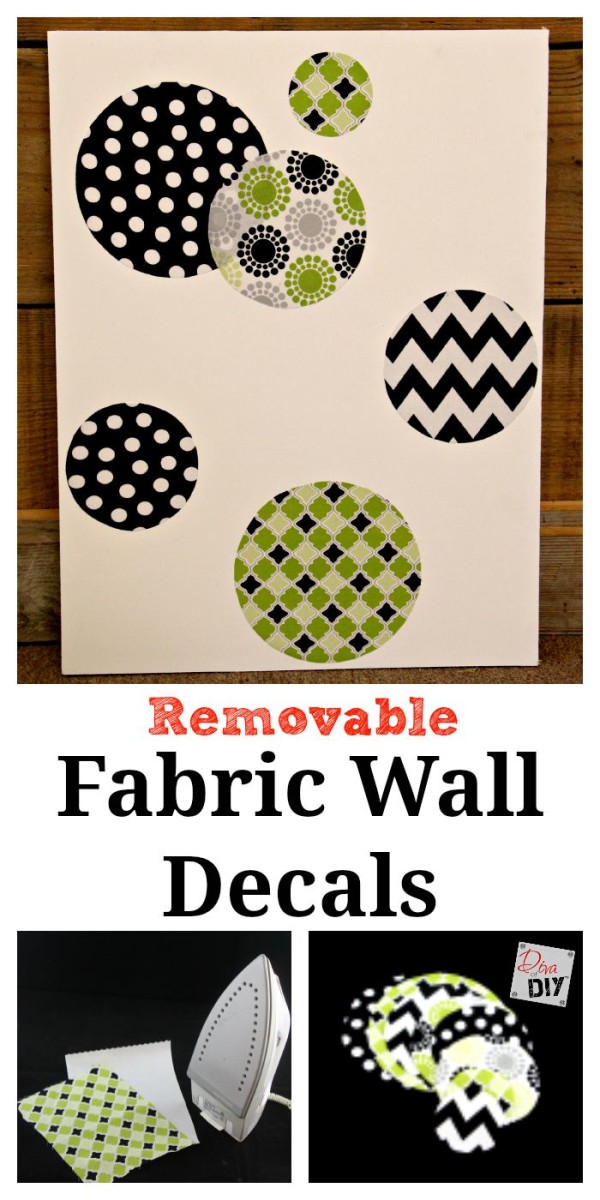
There comes a time in ones life when you realize how simple life can be. These DIY Fabric Wall Decals is one of those times!
There are times in my life when I’m like “Why can’t this be easy?”. My mind is always thinking and trying to come up with new ways to do them faster, better or easier and I over think everything. This DIY Fabric Wall Decal was one of those moments when the light bulb came on and I was super excited to complete the project!
 This DIY Fabric Wall Decals is one that you can do with your older kids. This would be a great way to add a pop of color to a room and you can even change out for seasons and holidays.
Supplies
- Heat-n-Bond
- Fabric in asst colors and patterns
- scissors
- Iron
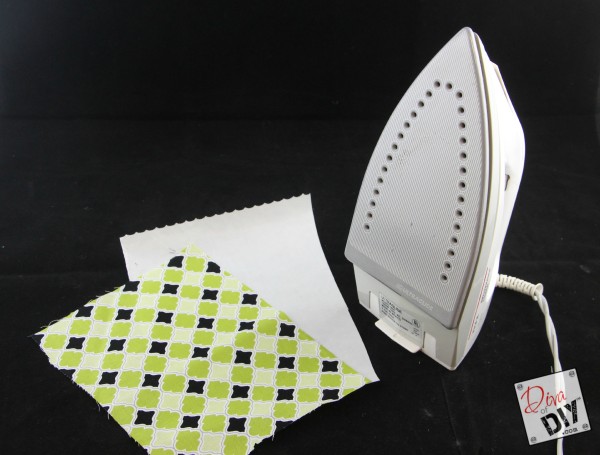
The first step is to heat up your iron with the heat set to the correct fabric setting.
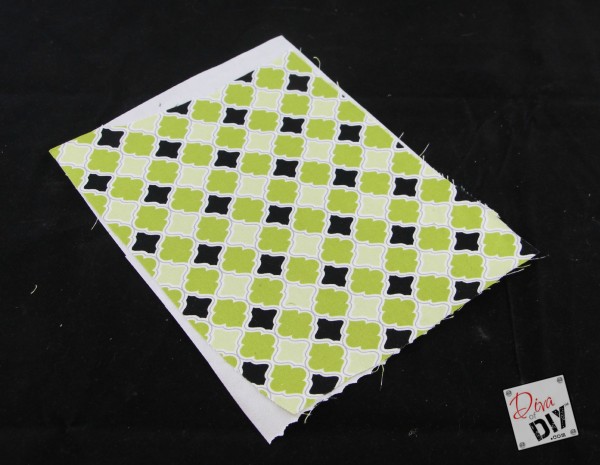 Next cut out a piece of fabric and Heat-n-bond in the same size. Place your fabric over the top of the Heat-N-Bond ensuring that the sticky side is facing the back side of the fabric. Using your iron heat the Heat-n-Bond until it’s adhered to the fabric.
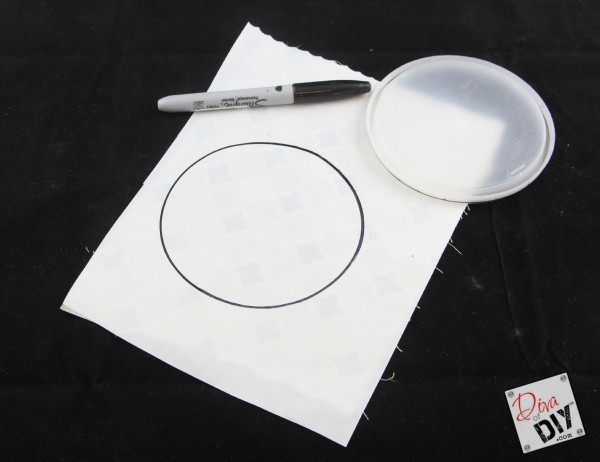 Grab a assortment of lids in sizes that you could like to use for your DIY Fabric Wall Decal. Trace the lid on the backside of the Heat-n-Bond.
*Tip: You don’t have to do circles, be creative! Grab fish fabric and fish shapes for a kids bathroom, tiaras for a princess room, cars for a boys bedroom or alphabet fabric and create letters….it’s all left up to your imagination. Remember that I’m just here to give you Project Ideas!
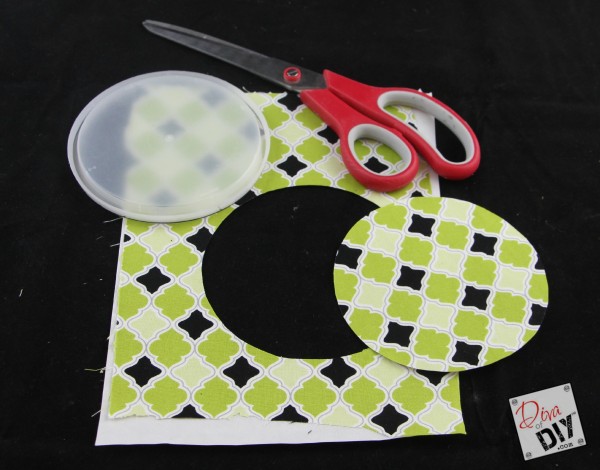
Using a pair of fabric scissors (Diva of DIY Tip: use the same scissors for fabric, use a different pair for paper) and cut out your shapes.
 I chose to do a variety of fabrics and sizes for this particular DIY Fabric Wall Project.
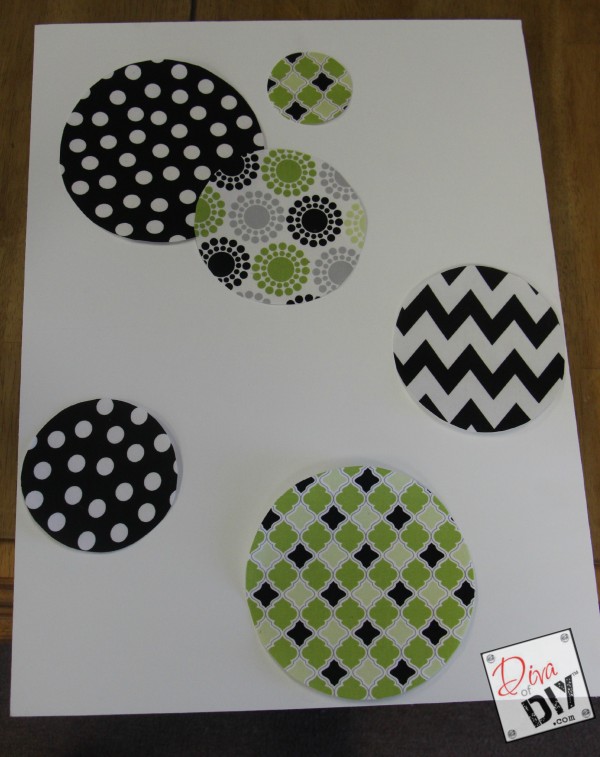 Layout your Fabric Wall Decals as you want them to be displayed. Play around with it a bit until you get the look you are going for.
 Peel the back of the Heat-N-Bond backing off and place down.
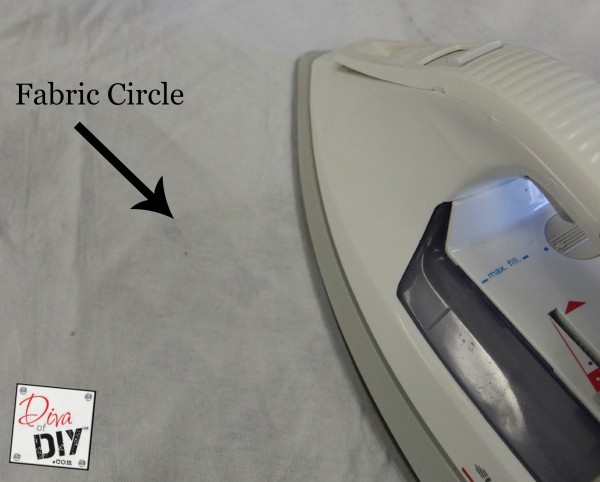 Using a light piece of linen place over the top of the fabric circle you just placed down. Heat a bit to ensure the backing adheres to the surface you are working with.
 You’ve know have beautiful DIY Fabric Wall Decals to go with your decor! This is also a great way to use up any scrap fabric that you have laying around. Plus, there’s no wrong way that you can mess this project up!
Speaking of left over fabric…here’s two projects that you may like and not to mention they are super simple!
Will you be adding this DIY Fabric Wall Decal project to your Project List?
You all inspire me and I LOVE to see the work that you’ve created. Feel free to share with me on Instagram, Twitter or Facebook. And as always, be sure to follow Diva Of DIY on Pinterest and sign up for our FREE Newsletter to receive the latest projects delivered straight to your inbox!