I love this time of year. The leaves are starting to change, the weather begins to cool down and I start decorating my porch for fall.

I love to decorate for the different seasons and one inexpensive change I can make with each holiday is my front door mat. One thing is for sure…this one has to go!
I know I know…I said inexpensive. If you have priced quality door mats lately in the store you know that they range anywhere from $25.00 to $60.00 and sometimes even more.
What if I could show you how you could make your own DIY door mat at a fraction of the cost? You would be excited right? Well jump up and down and yell “woohoo!” because that is exactly what I am going to show you now.
< This post contains affiliate links>
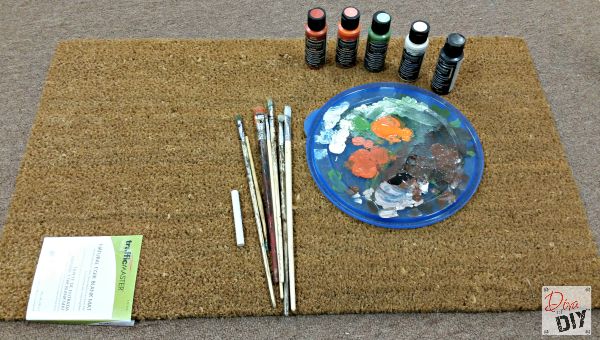
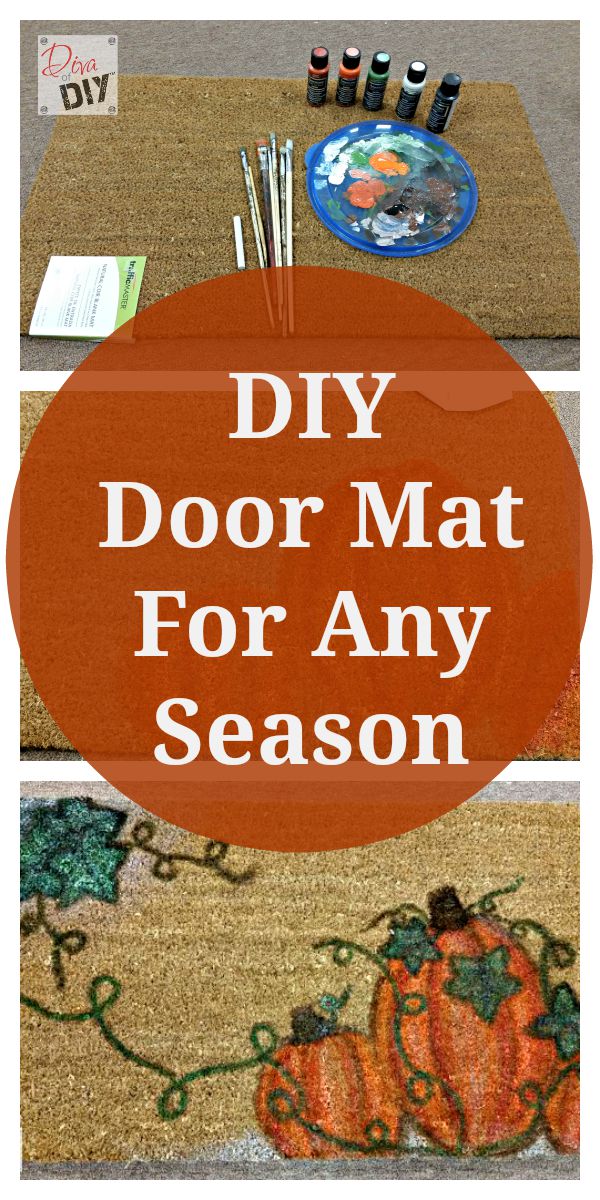
Supplies:
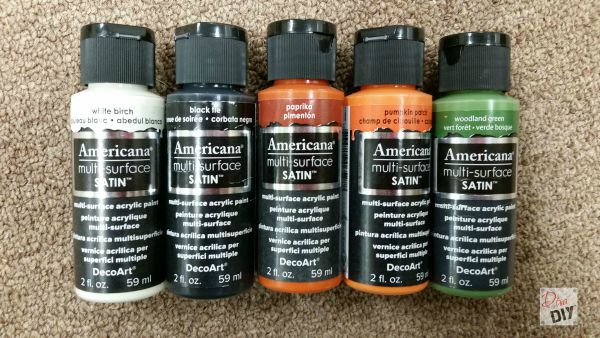
Americana Multi-Surface Paint* in the following colors:
(*This product is important because it is formulated for outdoor use)
- Artist paint brushes
- Stencils (optional)
When I was gathering supplies my door mats, I had a tough time finding stencils that were large enough and sturdy enough for this project. Here are some I found online:
I could never find any good alphabet stencils. If you know of any, please let me know so I can add it to the list.
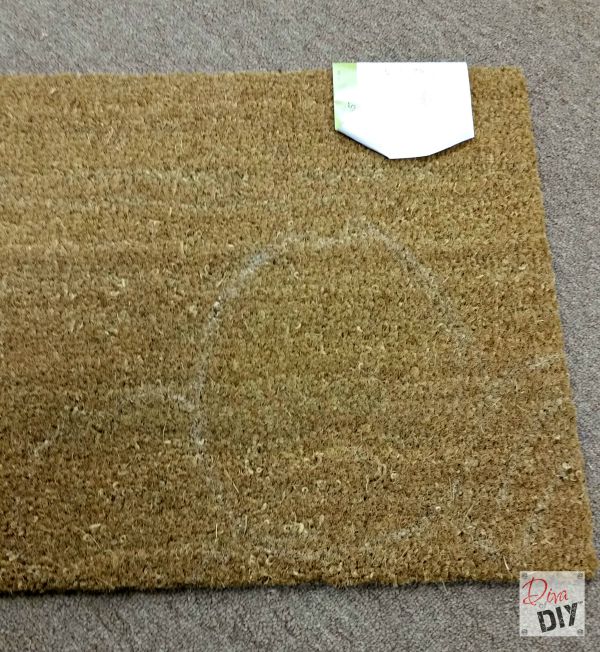
1) Decide on a design or theme for your door mat. I chose a fall pumpkin patch theme.
2) Use a piece of chalk to sketch out your design. For this step, I googled “cartoon pumpkins with stems and leaves” on my phone to have a frame of reference as I drew. I free-handed my design but you could easily use a stencil or even a projector to trace your design.
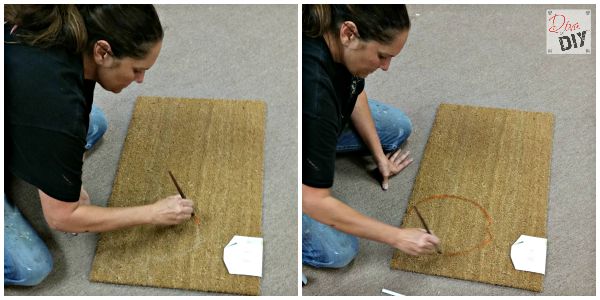
3) Using an artist paint brush, start adding paint. I always start with my outline.
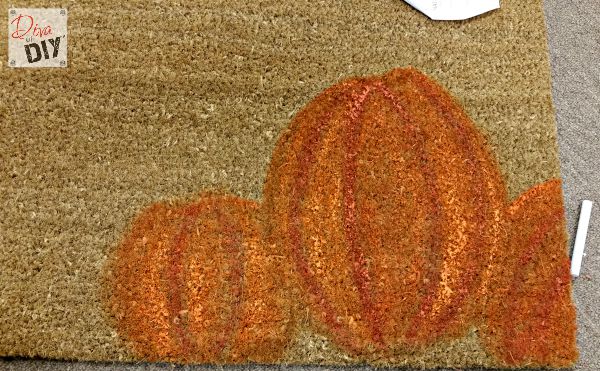
4) Once you outline is complete, start filling in your design. I like to add varying shades of the same color for depth so I usually always have a plastic plate handy for mixing colors.
If you have a second, check out my post on how I save money by mixing my own paint colors…it will change your crafty life.
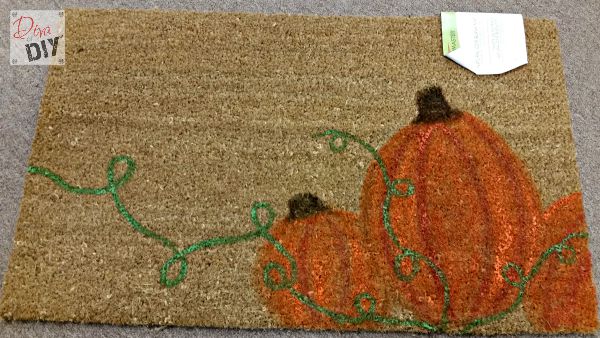
5) Add a vine or stem to your design. I actually love it just like this…

6) I added a few leaves for some added interest

7) I finished it off by adding some highlights and lowlights . I am not a trained artist so I don’t know if I put the shading where it is suppose to be…I add it where it looks good to me.
Wouldn’t these DIY door mats make amazing gifts? As I was making this one, I kept thinking of people on my gift list that would love one of these.
Each and everyone of you inspire me and I LOVE to see the work that you’ve created. Feel free to share with me on Instagram, Twitter or Facebook. And as always, be sure to follow Diva Of DIY on Pinterest and sign up for our FREE Newsletter to receive the latest projects delivered straight to your inbox!