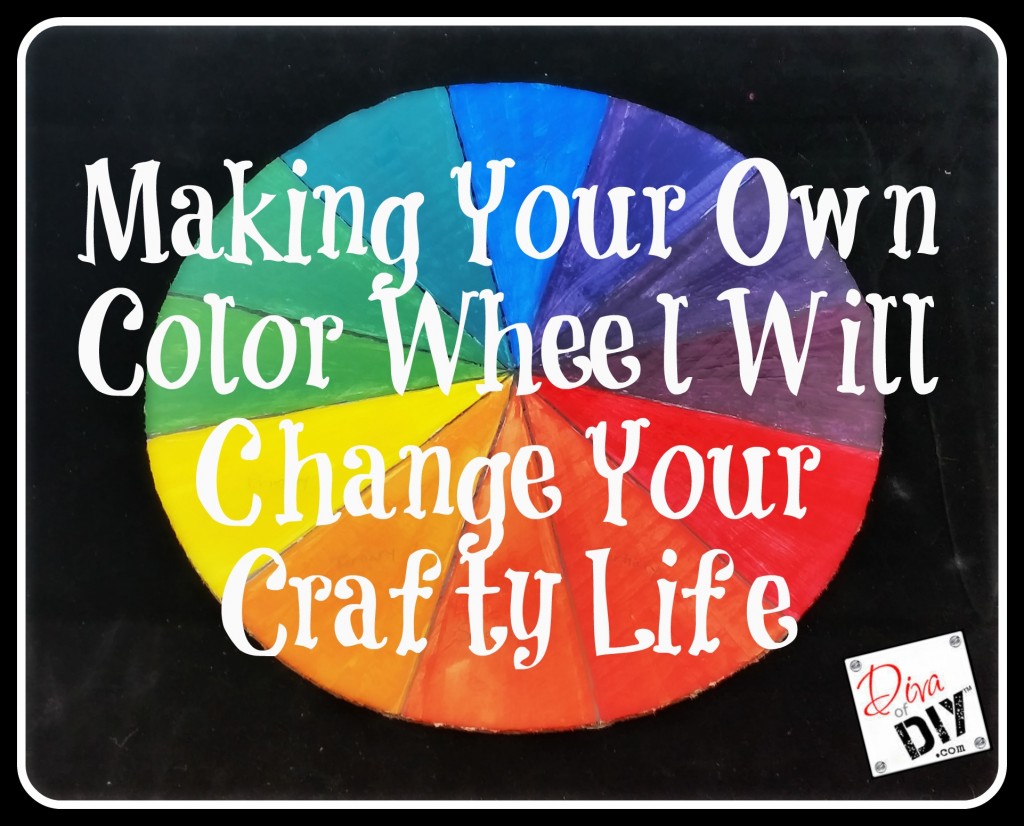
So today, we are going to make a color wheel and Leanne Lee, Diva of DIY, is going to show you how to make your very own. This will prove to be invaluable tool & if you have children old enough to participate in this activity I would highly recommend it.
Do you remember being introduced to everyone’s favorite rainbow icon…ROY G BIV? Red, Orange, Yellow, Green, Blue, Indigo and Violet.
If not, you probably at least remember being taught the basics of color mixing!
Red + Yellow = Orange
Blue + Yellow = Green
Blue + Red = Purple
If you use a lot of paint (whether it be for crafting, art or wall finishes) the same rules apply. Now I know what you are thinking…acrylic craft paints aren’t expensive so I will just buy the color I want when I want it and that is completely fine. Personally, I don’t have the room to store all of those paint colors or the extra time to go grab a color for every project.
Pro Tip: When you have the primary colors on hand you can customize the tint to the color you are looking for. That can’t be bought!
Did you know that the following professions use the color wheel on a daily basis:
- Painters
- Crafters
- Cabinet Finishers
- Faux Finishers
- Artists
- Hairdressers
- Interior Designer
- Architects
- Engineers
- Baker
- Chef
Pretty cool right?!? These are things that I think about on a daily basis. Consider me a weirdo if ya want!
Supplies Needed:
Acrylic Paints in the following colors:
- Red
- Blue
- Yellow
- White
- Black (optional)
I’ve heard from ya’ll multiple times that you would love to do some of these DIY projects, but, you live hours from a craft store, don’t have the time to stop in and grab the items that you want. We all have kids and busy lives so I get that. What I do {more times that I care to admit!} is order online and this Liquitex Basic Acrylic 4 Pack would be great to practice with.
- Plastic spoons, knife or popsicle sticks for stirring
- A large paper plate or freezer paper for a place to mix
- A paint brush
- A cup with fresh water to rinse your brush when changing colors
- Paper towels
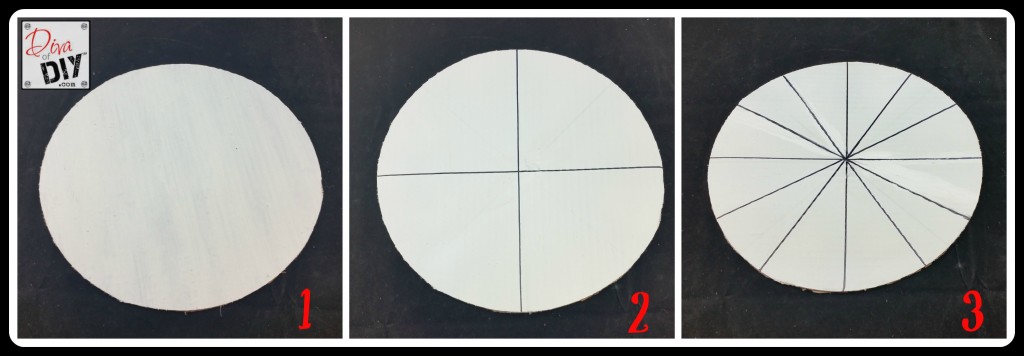
Start with a circle. I cut mine from a pizza box…DON’T JUDGE! You can use any type of cardboard or poster board…just make sure it is thick enough to hold the paint.
Paint the entire circle white. Let dry.
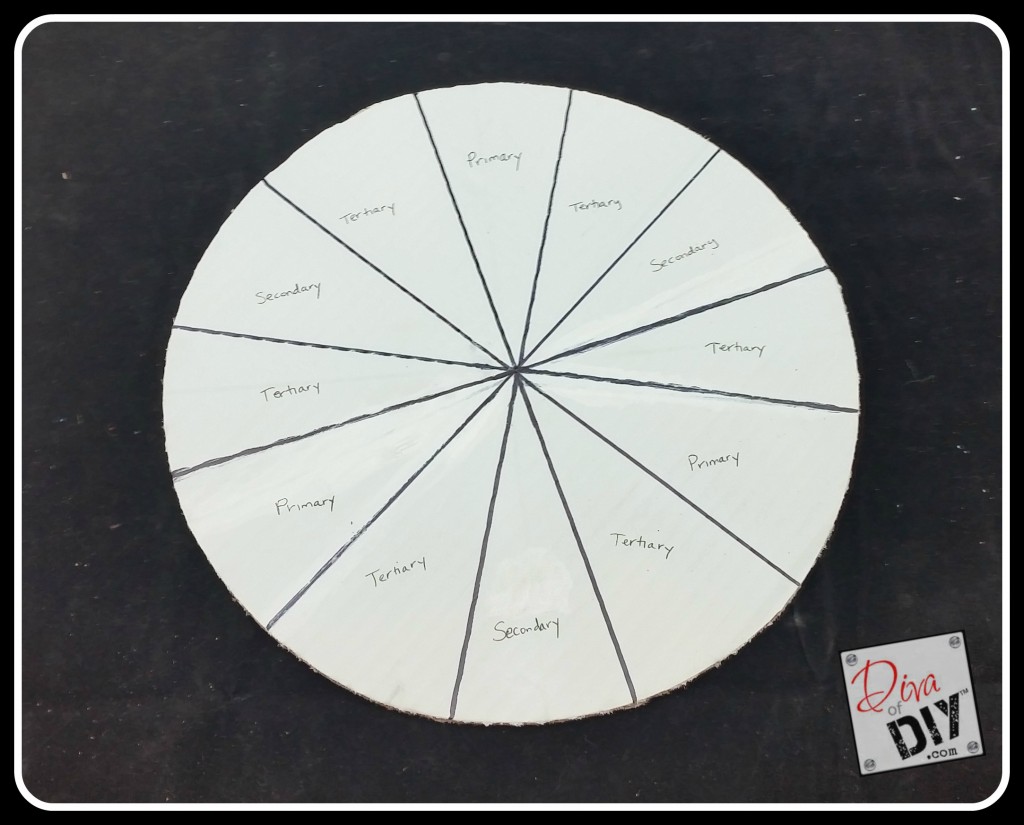
Start by dividing your circle into 4 equal parts. Next, divide each of the 4 large sections into 3 smaller sections so ultimately you will have 12 pie pieces.
Your 12 pie pieces will be labeled one of 3 color types:
- Primary
- Secondary
- Tertiary
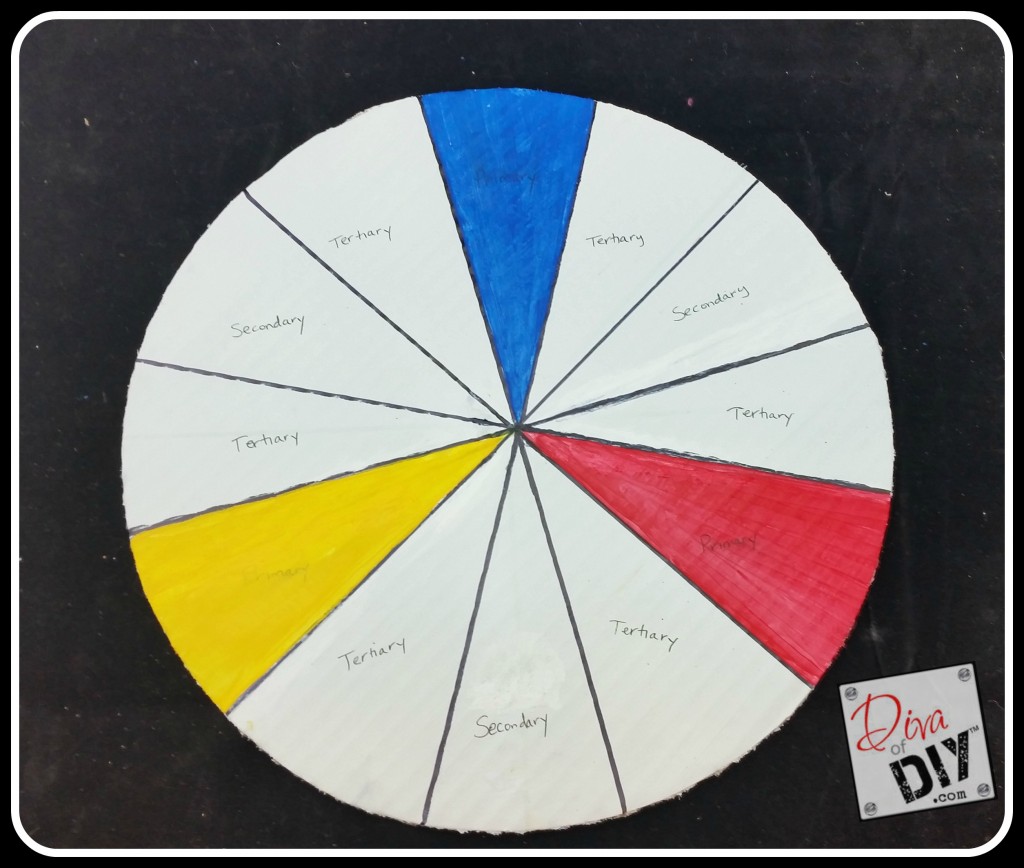
There are 3 primary colors – Red, Yellow and Blue.
Between each of the primary colors will be secondary and tertiary colors. For example, three color slices appear between red and blue. The center color is violet because red+blue=violet (purple). Between red and violet is the color red-violet and between violet and blue is blue-violet. The colors that are opposite each other on the color wheel, like red and green, are complementary colors.
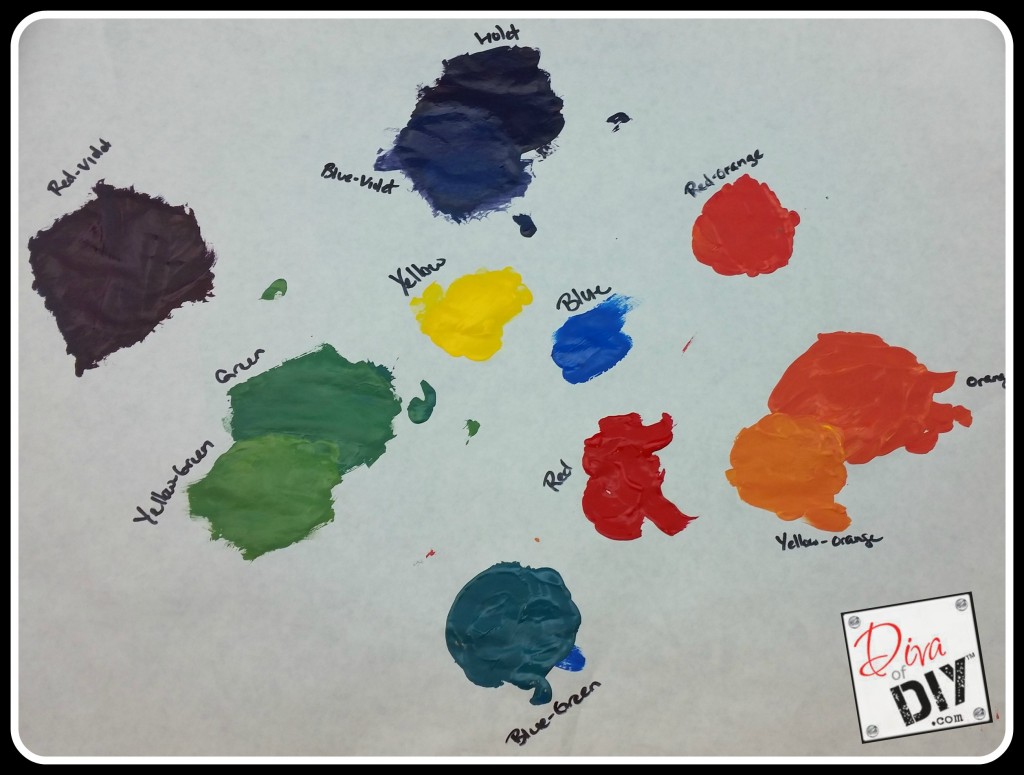
On your plate or wax paper squeeze out a squeeze out a quarter-size glob of a blue, red and yellow on your palette, spaced widely apart.
Start mixing the secondary colors. Do this by taking your mixing tool, scooping up a bit of red and a bit of yellow, then mixing them. Notice how the amount of each paint you add changes the orange color. Then mix the two other secondary colors, green and violet by mixing the other primary colors.
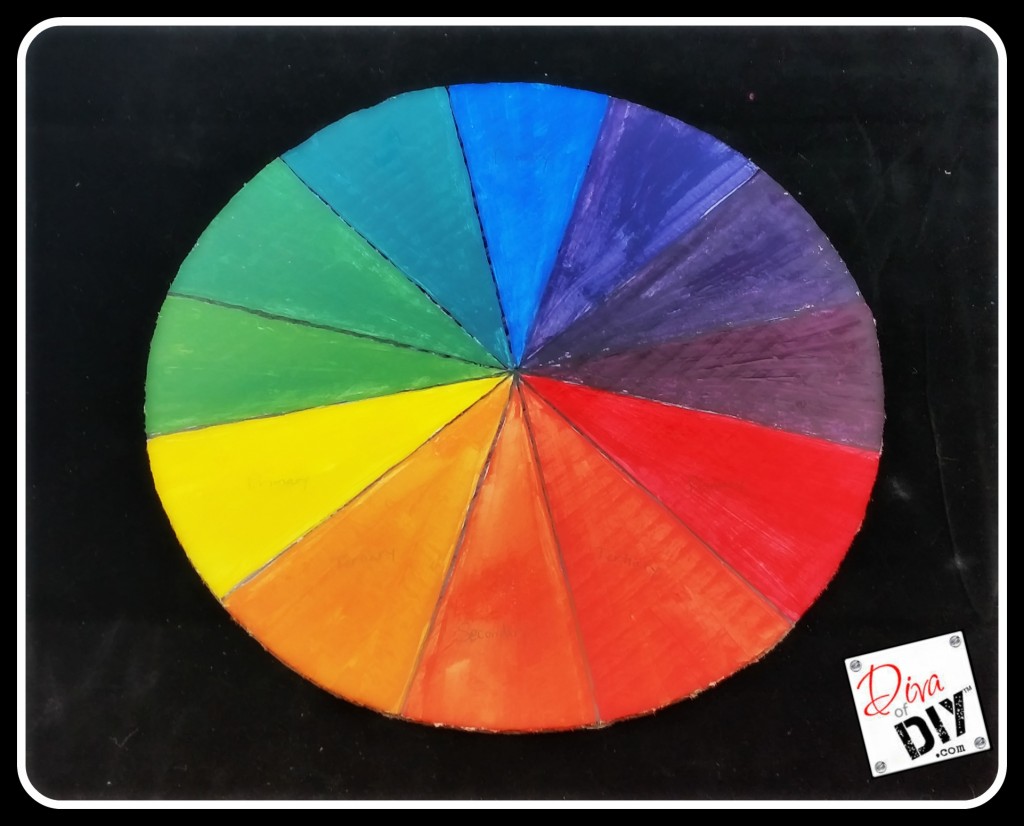
Once your secondary colors are mixed, try mixing tertiary colors. The tertiary colors are red-orange, yellow-orange, yellow-green, blue-green, blue-violet and red-violet. These colors are created by mixing a secondary color, like violet, and a primary color, like red, to create red-violet.
Now you can create different shades of the colors. On your plate or paper, smear three small globs of each color. Add a small amount of white to the first glob, and mix it. Then add a slightly larger amount of white to the second glob of that color. Then add even more white to the third glob. Notice the different shades of lightness and darkness that you get out of each color.
Create black by adding equal parts of complementary colors, like red and green. If the shade seems too warm, add some more green and vice versa. Then practice adding a bit of black to each of your mixed colors to make them darker.
I promise you these tips are life-changing if you are a crafter or someone who works with color on a regular basis.
Creating your very own color wheel sounds pretty easy right? Ya’ll inspire me and I LOVE to see the work that you’ve created. Feel free to share with me on Instagram, Twitter or Facebook. And as always, be sure to follow Diva Of DIY on Pinterest and sign up for our FREE Newsletter to receive the latest projects delivered straight to your inbox!

