
I had the nice folks at home depot cut the 4′ x 8′ sheets into 2′ x 4′ sheets to make them more manageable. Their policy is 2 cuts for free but any additional cut is not much at all.
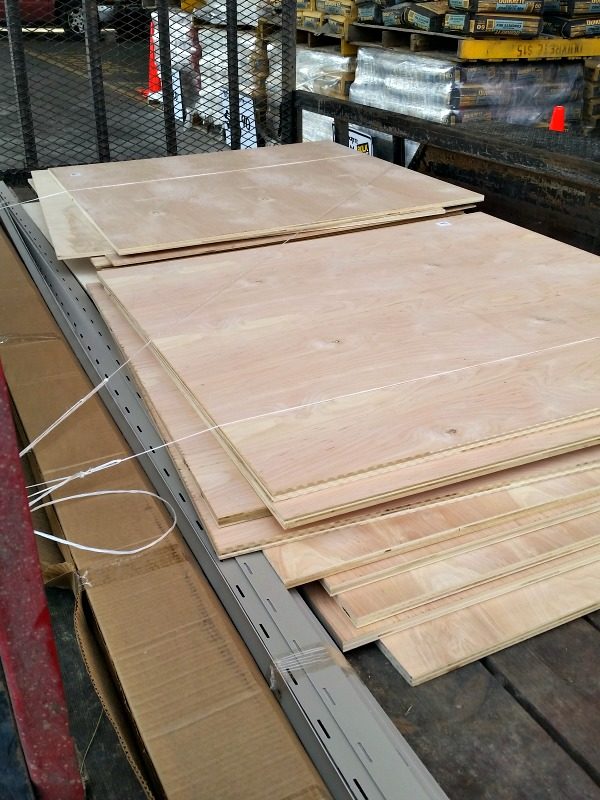
I loaded the cut plywood sheets onto my flatbed trailer and headed to the lake for a day of DIY fun.
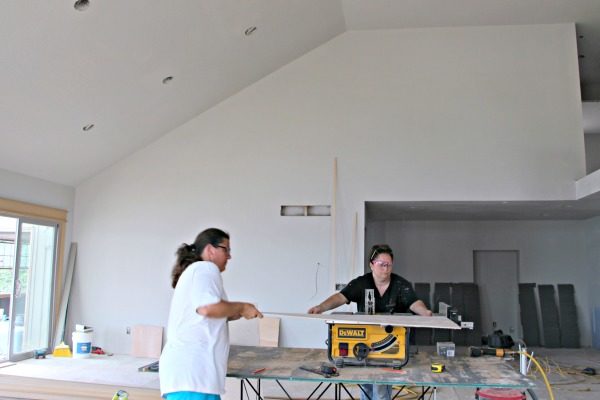
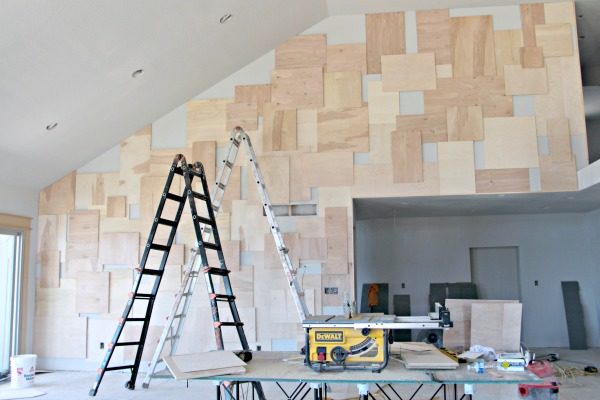
Step 1) Using a table saw
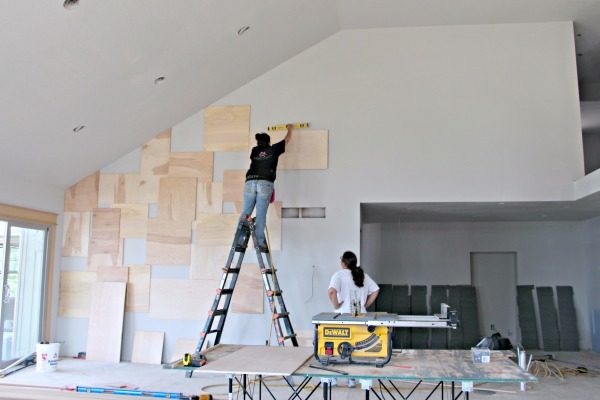
Step 2) Using a level

Don’t overthink this layer. You will be covering a lot of it up with the next layers.
If you’ve seen ‘Finding Nemo’, you probably remember Dory’s favorite phrase “just keep swimming”…well in my world it’s “just keep nailing”

and just keep nailing…
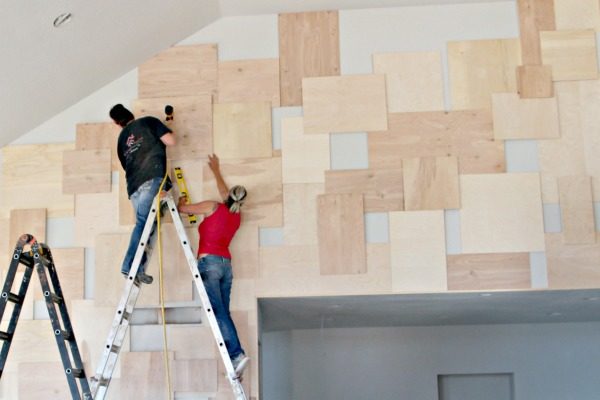
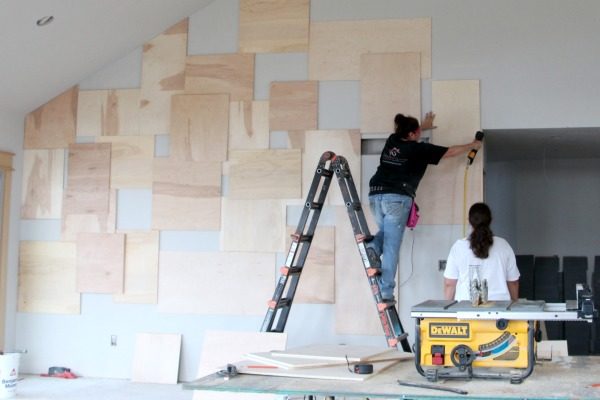
Step 3) Using the same process, begin overlapping the second layer of plywood to the base layer. I covered roughly 60% of the wall with this layer.
Just keep nailing…
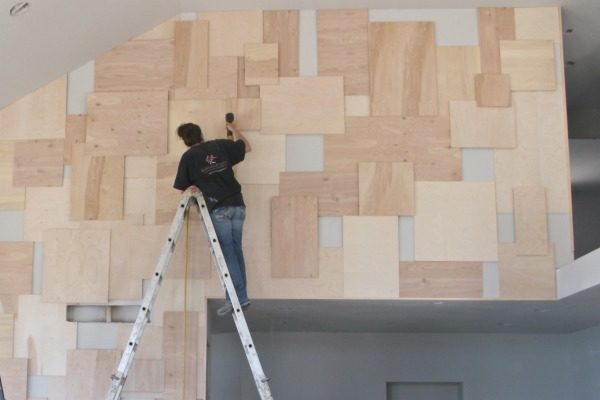
Step 4) Using the same process, attach the 3rd layer of plywood creating amazing depth and dimension. Again, make sure to alternate size and depth. I covered roughly 35% with this layer.
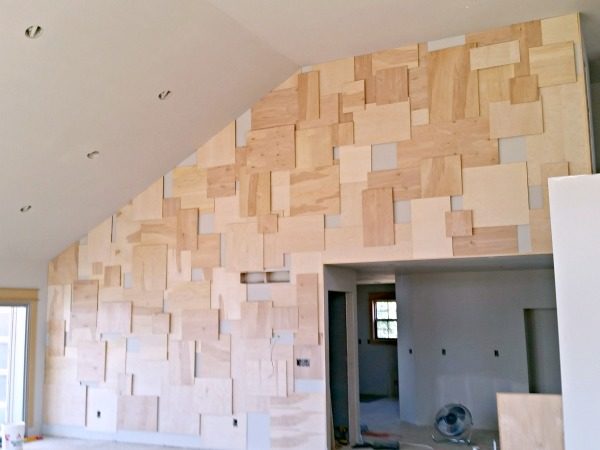
Here is the accent wall with the 3 layers of plywood. Amazing right? Just wait…you ain’t seen nothing yet.
Now, I am guessing that right now you are thinking this project seems like too much work. Stay with me…this enormous wall only took me two 8-hour days to attach the wood to the wall…and that includes shopping for the supplies!
Here is a quick video showing you the process:
