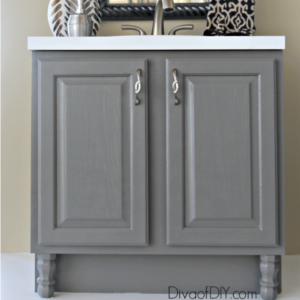
Painting your bathroom vanity is one of the quickest ways to change the look and feel of the room. In this post, Cheap Bathroom Makeover: How to Prep Your Outdated Vanity Like a Pro, I am going to show you the correct way to prepare the surface for paint.
Properly preparing your surface before you paint is the most important step to ensure a long-lasting finish. You are going to here me preach about “the prep” every time I write a cabinet-painting or staining tutorial. This post is titled “Cheap Bathroom Makeover” because good prep doesn’t have to cost a lot of money. On the other hand, it does take a lot of effort and trust me on this…if you skimp on this step, you will regret it down the road.
Prepping Steps for Your Cheap Bathroom Makeover:
Step 1) Begin by removing the cabinet door hardware. This refers to the drawer knobs or pulls. Place them in a plastic Ziploc bag
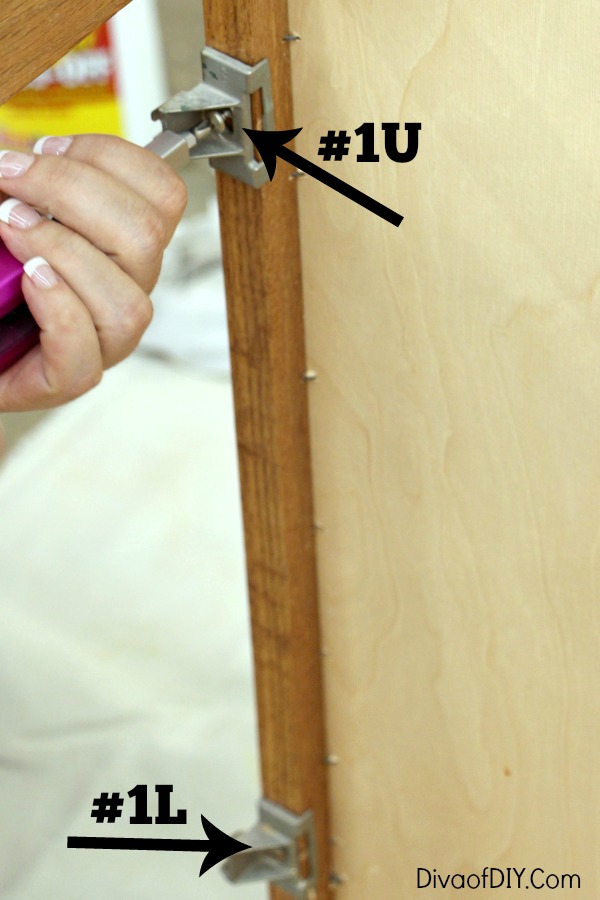
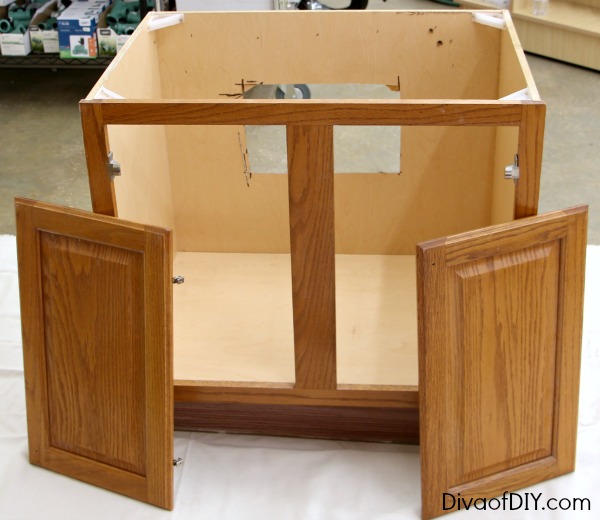
Step 2) Using a drill or screwdriver, remove the doors and door hardware one by one. Using a sharpie
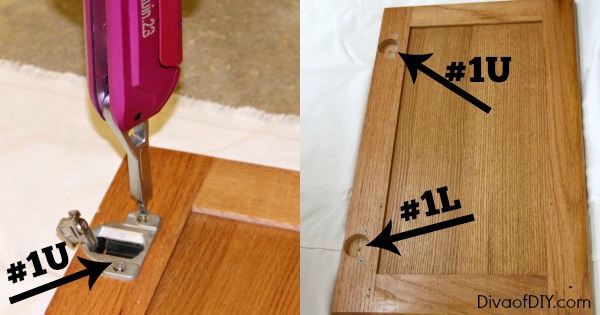
For example: I removed the first door and then removed the first door hinge. I will label it as such: The upper hinge will be labeled as “1U” which stands for the first door-upper hinge. The lower hinge will be labeled “1L” which stands for first door-lower hinge. Place those hinges in a ziploc bag. Once the hinges have been removed from the cabinet and door, label the door as 1U and 1L (see pic above) and label the cabinet base with the same numbers.
This may not seem like an important step but imagine a kitchen with 40 or more doors. You will never remember where the doors go without a system.
If you are replacing the hinges, you can skip the step of labeling the hinges but make sure to label the doors.
Repeat this step with all of the drawers. I always label the back end of the drawer and then place a piece of tape with a coordinating number on the drawer ledge on the cabinet base.

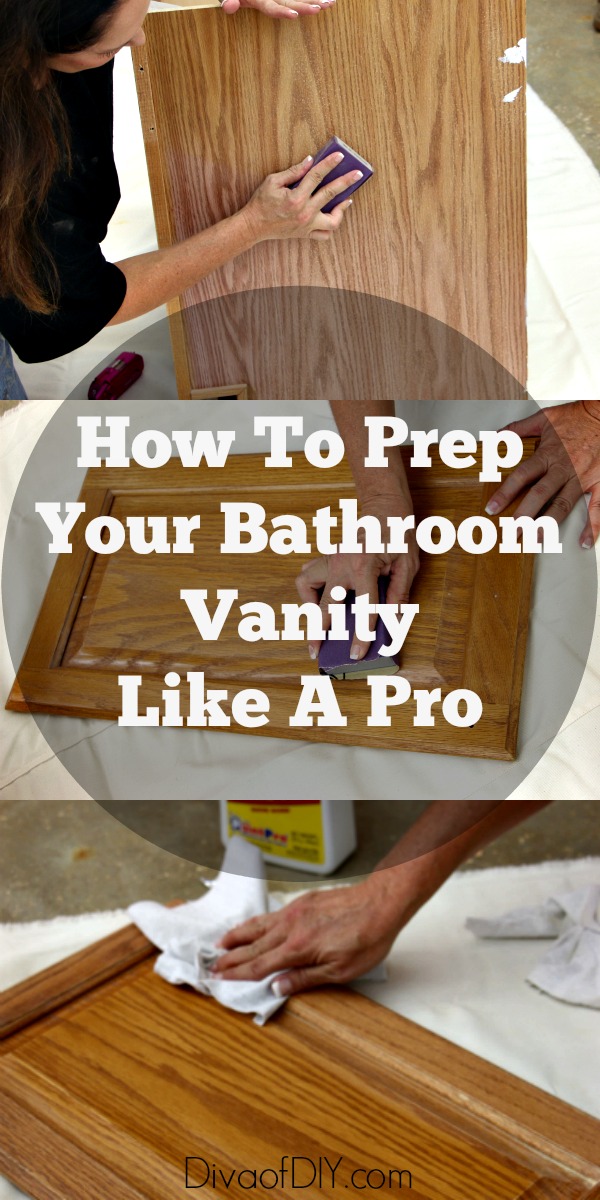
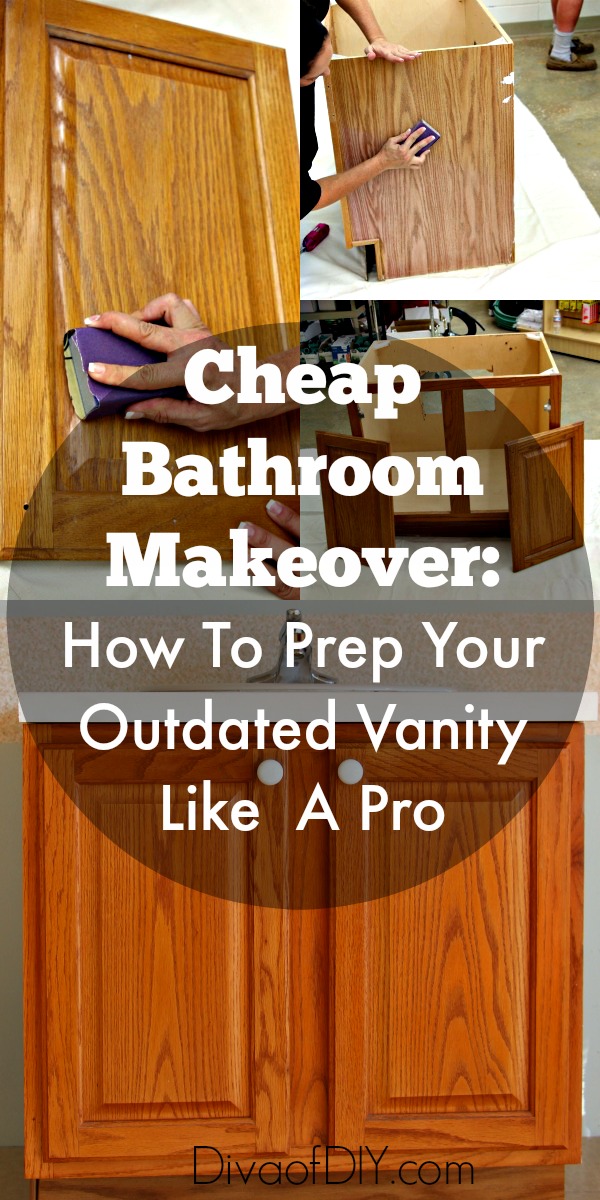
Step 3) Sand the cabinet base with 220-grit sandpaper
Step 4) Clean with Krud Kutter
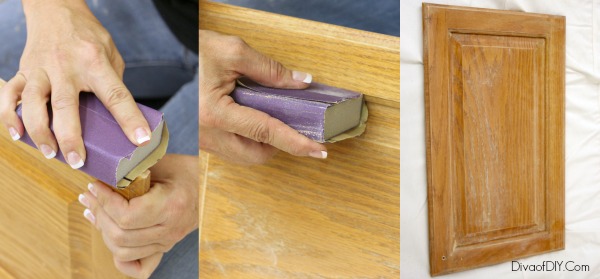
Repeat step 3 on the drawers (if applicable) and the front and back of all of the doors.
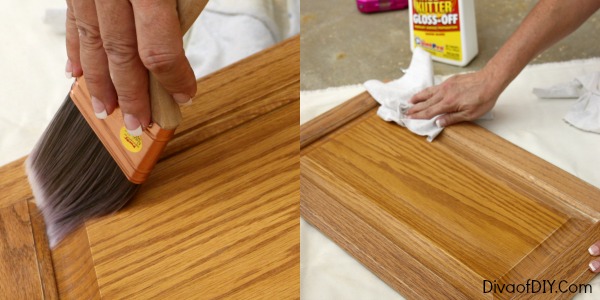
Repeat step 4 on the drawers (if applicable) and the front and backs of all of the doors. I like to use an angled paint brush 

Let completely dry.
Now you are ready to prime and paint.

This post contains affiliate links. If you buy something from clicking one of my links, I will get a commission from the sale. It will not cost you a penny more and allows me to keep sharing my ideas with you for free. You can see my full disclosure here. Thank you for supporting my blog!
Each and every one of you inspire me and I LOVE to see the work that you’ve created. Feel free to share with me on Instagram, Twitter or Facebook. And as always, be sure to follow Diva Of DIY on Pinterest and sign up for our FREE Newsletter to receive the latest projects delivered straight to your inbox!
If you like this project, Check out these: