
Is your powder bath in need a makeover? If your home is 15+ years old you probably have outdated wallpaper or paint color, carpet (why oh why do builders put carpet in the bathrooms) and a golden oak cabinet with a cultured marble top…sound familiar? If you have attempted an update, you may have stripped the wallpaper and/or updated the paint color. You may have even gone as far as tiling the bathroom but there is still that looming eyesore in the room…the vanity.
Most people can wrap their minds around paint and flooring but are at a loss when it comes to their cabinetry. Simply painting the cabinet and leaving the marble top is the quickest, least expensive fix but if its not what you want you will change it again later.
If you are stripping the wallpaper and/or painting and changing out floor covering, why not consider a furniture vanity? I know…cost right? Yes I have seen them cost as much as $800 for a single furniture piece. Rediculous!
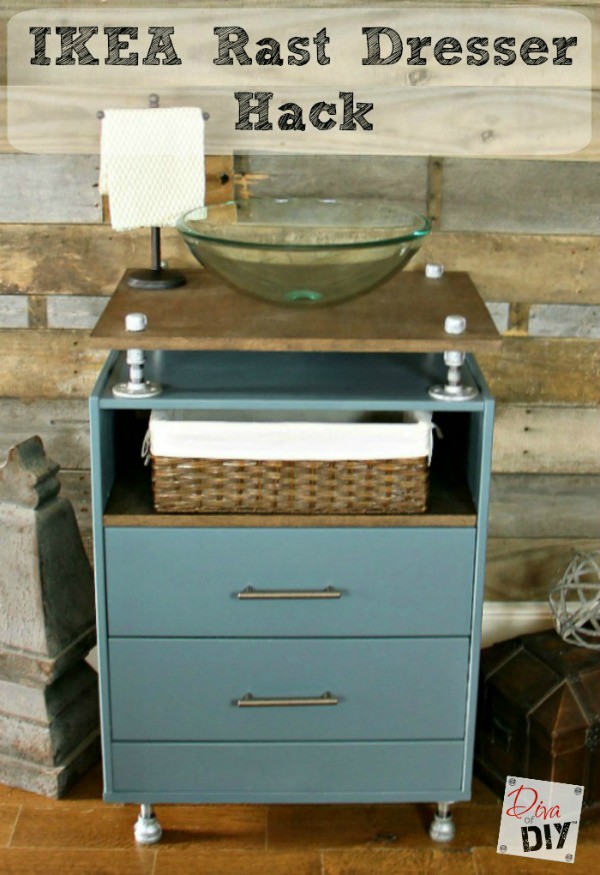
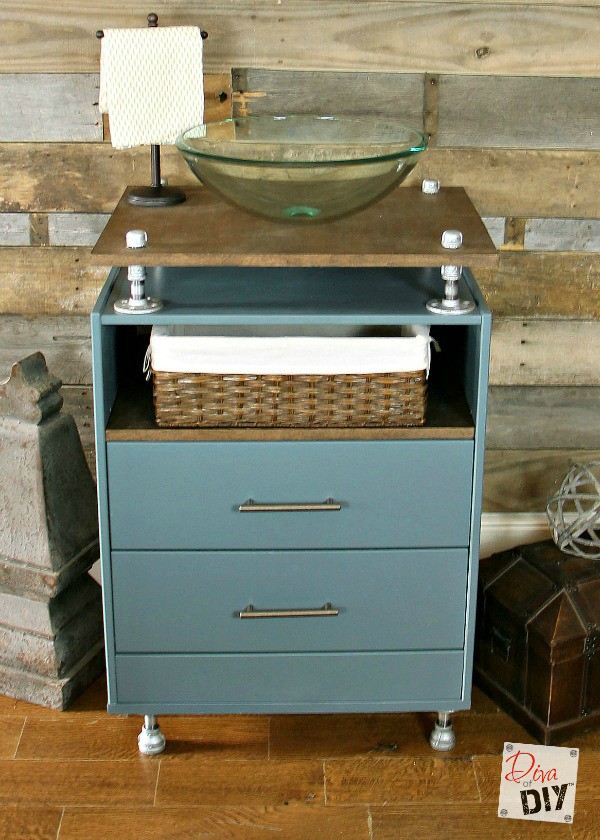
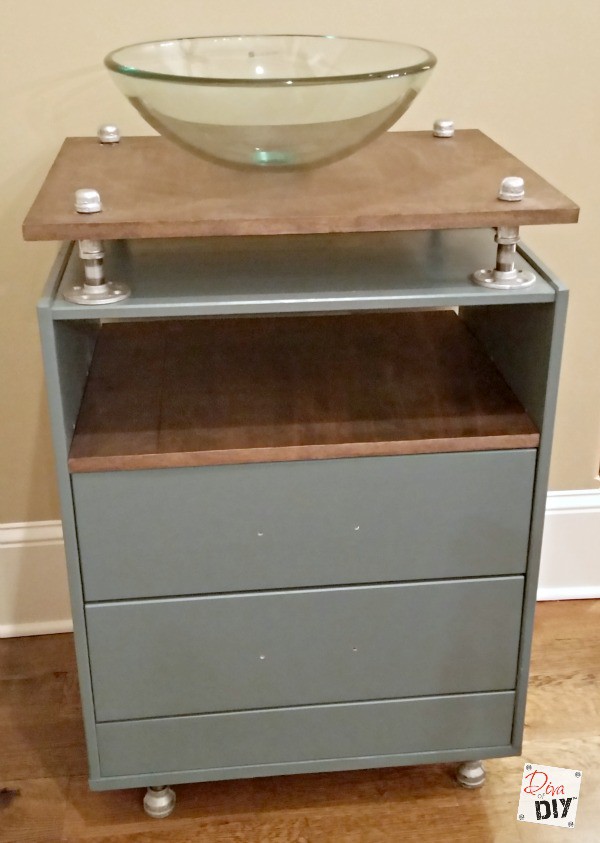
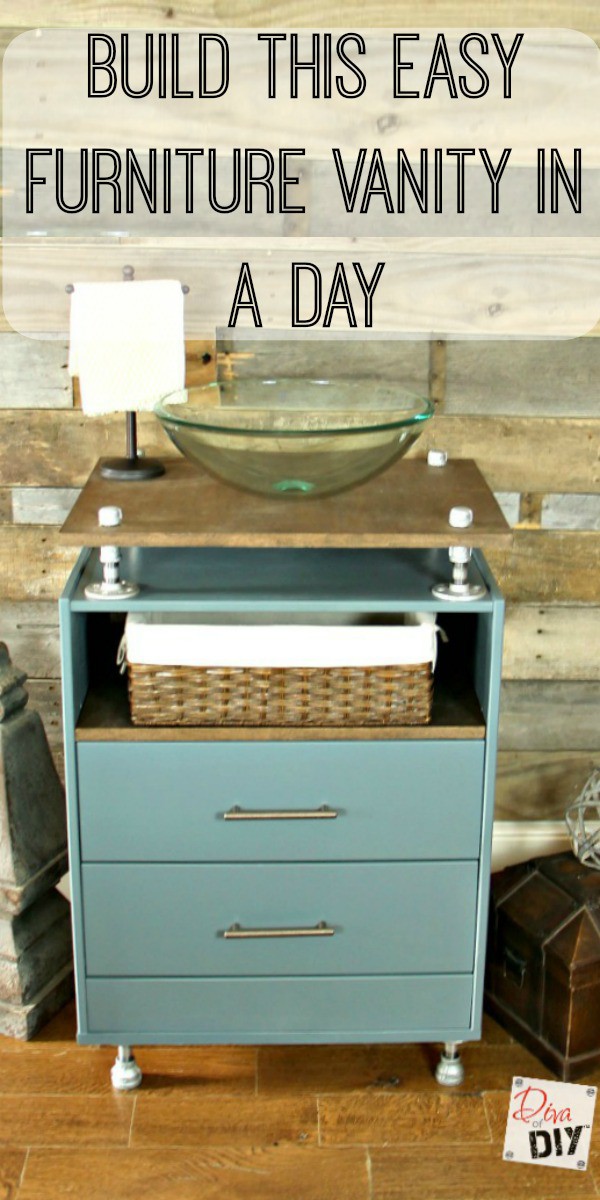
Today I am going to show you how to make a super stylish furniture vanity out of a piece of IKEA furniture. Btw, not just any piece but a $35.00 IKEA Rast Dresser…woop woop!
Yes friends this is what we call a HACK and it is going to be the perfect addition to my lake house project.
I am honored to be participating in this month’s IKEA Rast Hack/Furniture Flip sponsored by Hickory Hardware and PPG Voice of Color. This is how it works: IKEA provided each contestant with an IKEA Rast Dresser. We had the freedom to do whatever we wanted to do to it. PPG provided the amazing paint and Hickory Hardware provided the cabinet hardware. As far as the creativity…well that was left to our imagination. How did I do?
 Furniture Vanity Supplies
- IKEA Rast Dresser
- (2) 2’x4′ sheets of Purebond Plywood in Maple
- (2) 1″ x 2″ boards cut 18″ long
- 1″ wood screws
- Minwax stain in Espresso
- Wood Glue
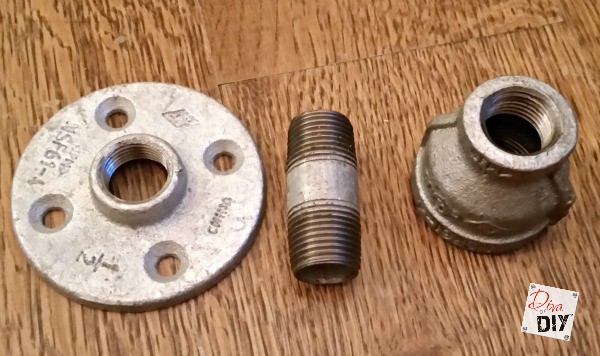
- Assorted Plumbing Parts:
- (4) 1/2″ x 1 1/2″Galvanized Nipples
- (8) 1/2″ x 2″ Galvanized Nipples
- (4) 1/2″ Couplings
- (4) 1″ x 1/2″ Coupling Reducers
- (8) 1/2″ Wall Flanges
- (4) 1/2″ Galvanized Iron Cap
- PPG SealGrip Acrylic Primer
- PPG Advantage 900 Acrylic Paint
- Hickory Hardware
Tools Needed:
- Circular Saw
- Drill
- Forstner bits
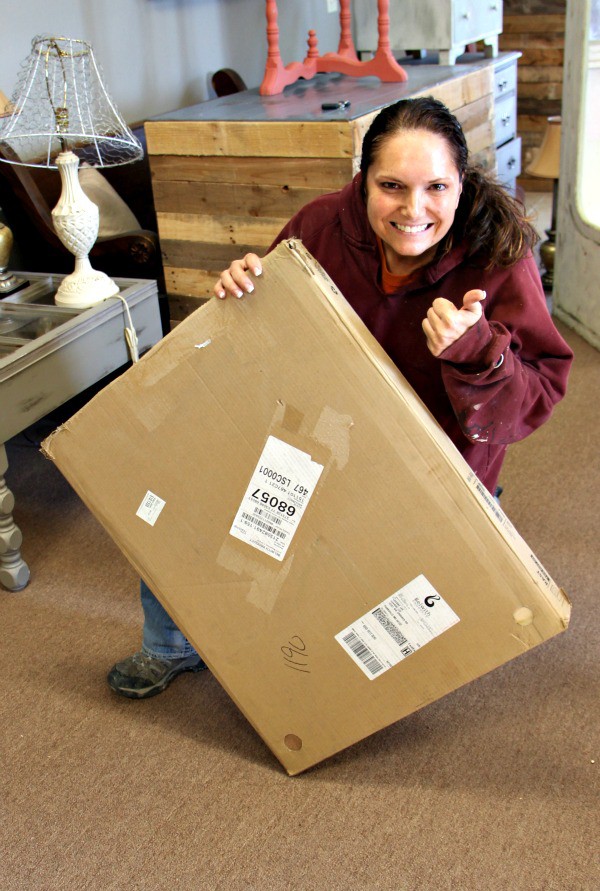
If you have never purchased IKEA furniture, you may be a bit surprised to find that it all comes flat in a box for you to assemble. Don’t be alarmed…it’s actually quite simple to put together. It also makes it much easier to “hack” because I don’t have to take it apart first ![]()
Furniture Vanity Instructions
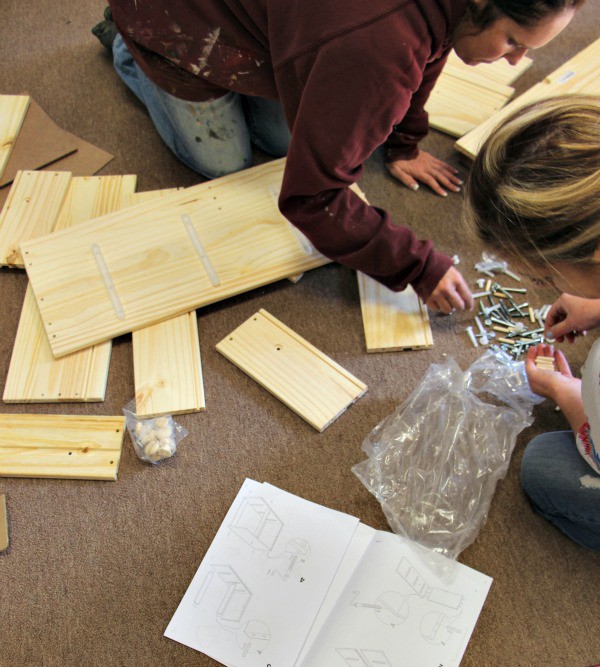
Step 1) Lay out all of your pieces and grab the enclosed instruction sheets. You typically don’t need any additional tools but you know me…sometimes I improvise. lol
This dresser has 3 drawers but I am only opting to use two of them. Save the extra wood…we will use it later.
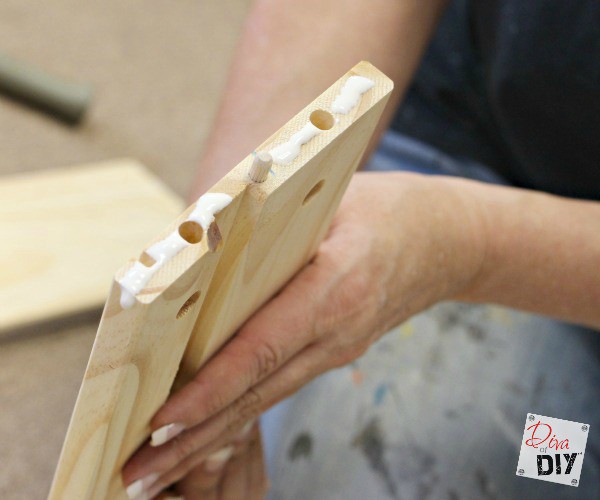
Step 2) Add wood glue to each joint where wood butts up to wood. This will not be in the instructions and you don’t have to do it but trust me…it will make your furniture vanity stronger. (Btw…I was so excited to take the picture that I didn’t notice the glue dripping over the side. Simply wipe off your joint once you have attached them together and remember…a little glue goes a long way)
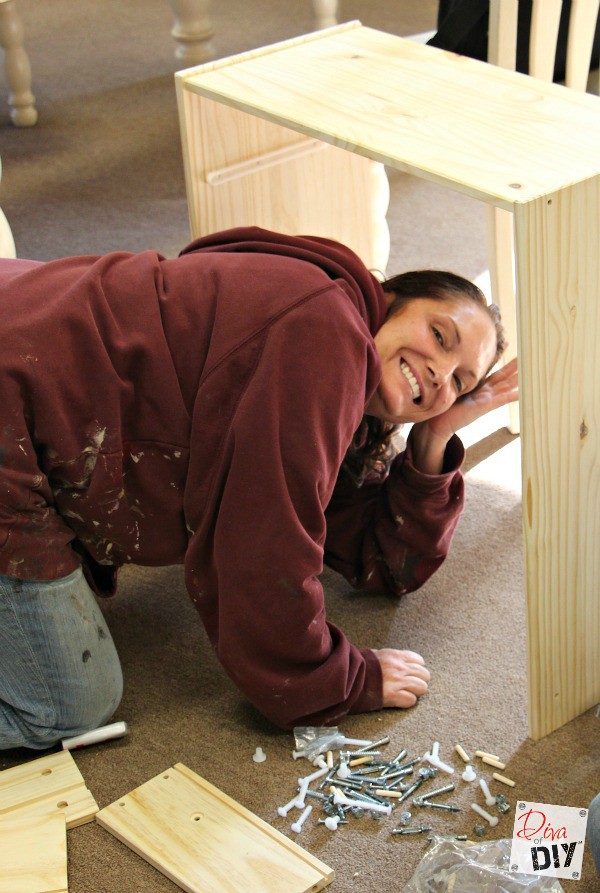
Sidebar…This is just me still excited about building my furniture vanity.
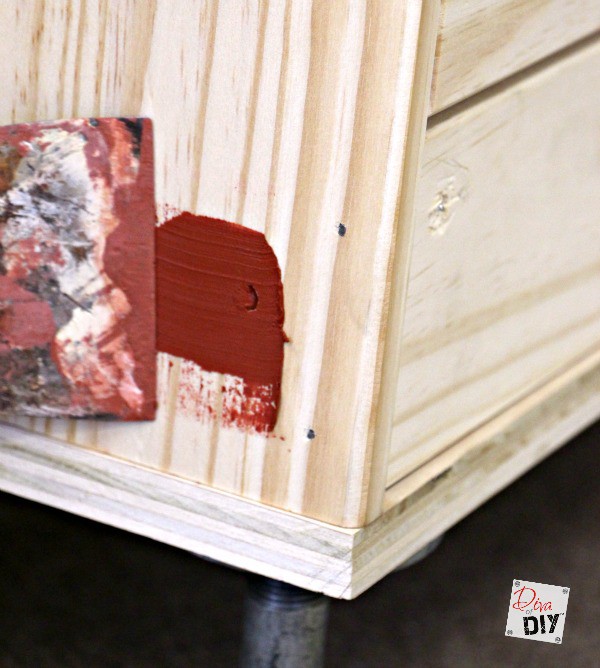
Step 3) Fill the imperfections using Bondo. Once you have the bones of your furniture vanity put together, fill all of the holes before you paint. Let Dry
Step 4) Sand Bondo smooth. Add another layer if necessary to hide the imperfections.
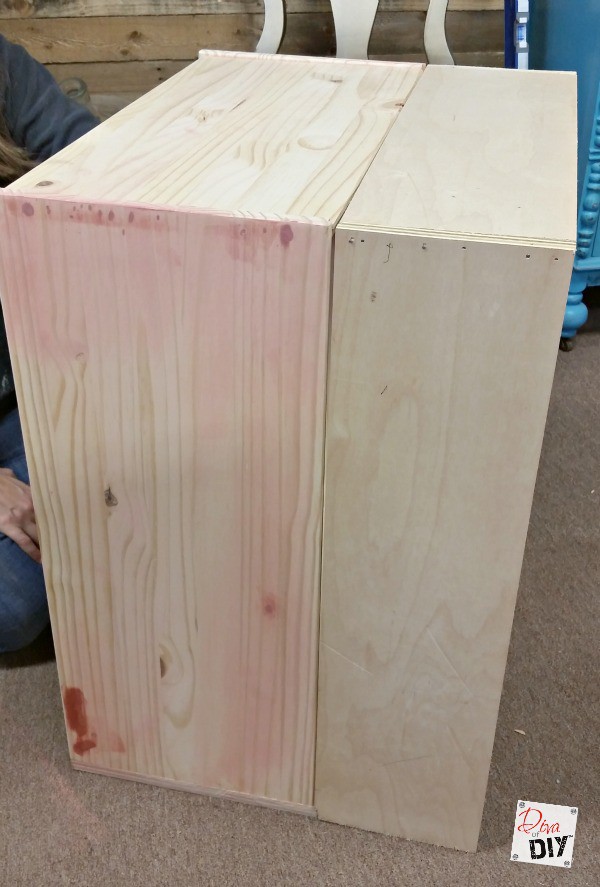
Because I am using a large round vessel sink for this furniture vanity, I needed to extend the depth of my dresser another 7 3/8″ so I could center the bowl. This was easy, I just created another small box and attached it to the back of the IKEA dresser.
Diva Tip: I used the wood left over from the drawer I didn’t use for part of the new box.
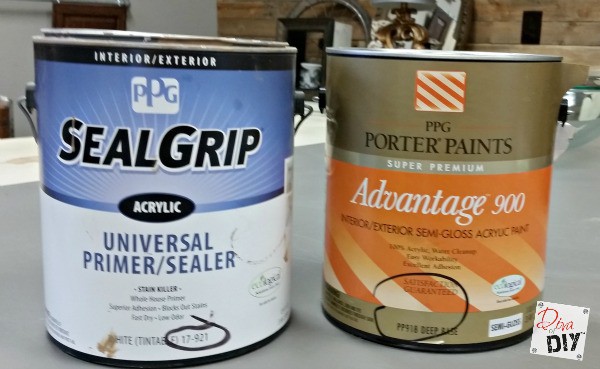
Step 5) Prime your furniture vanity. I always prime raw wood to give it a smooth, professional feel. For this project, I chose SealGrip, an acrylic universal primer/sealer by PPG. I have always had good luck with this primer so I am not changing now. Let dry.
Step 6) Lightly buff your primed piece using 220-grit or higher sandpaper. This ensures a good bond and removes any rough areas before painting.
Step 7) Apply 1-2 coats of paint to your vanity. I chose PPG’s Advantage 900 semi-gloss acrylic paint in the color “1037-5 Night Rendevous” and I must say…I am in love with my color choice ![]() . I also love the coverage of this paint. It went on smooth and dried extremely hard.
. I also love the coverage of this paint. It went on smooth and dried extremely hard.
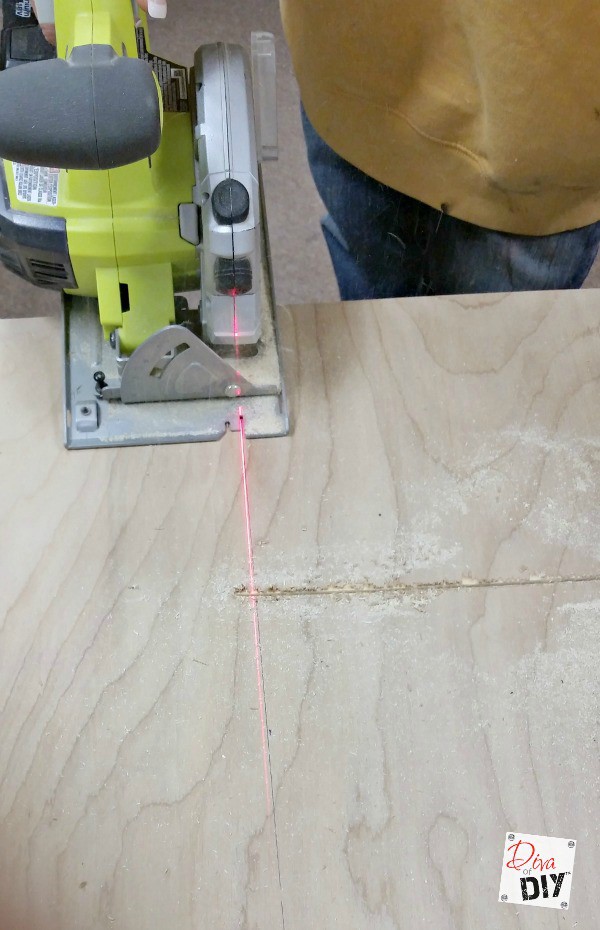
Step 8) Using a circular saw or table saw, cut 2 pieces of Purebond Plywood in Maple for the shelf and the top of the vanity.
My design required the following cuts:
- Top 24 3/4″ x 18 3/4″
- Shelf 23″ x 19″
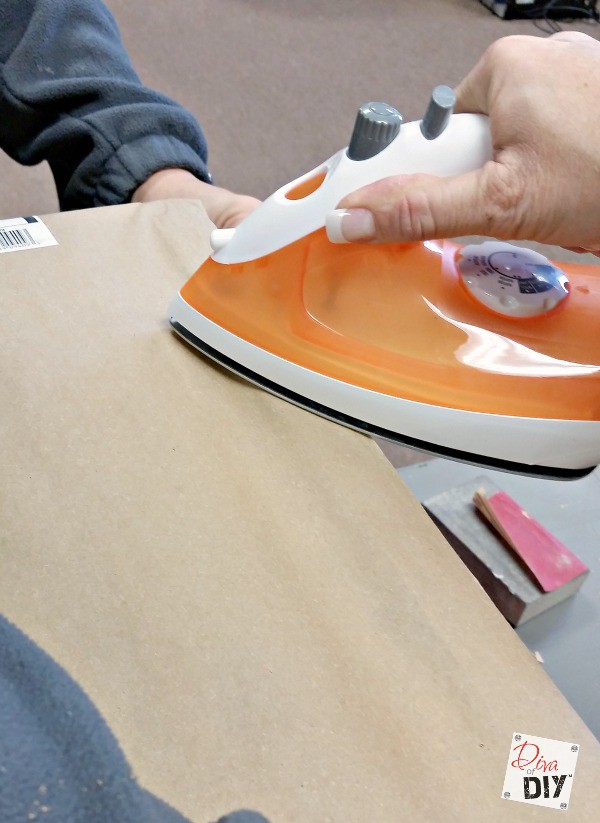 Step 9) Iron on wood veneer trim to edges of the shelf and top. This give the plywood a finished edge and will stain out evenly.

Step 10) Stain all sides of plywood in Espresso. Let dry.
Step 11) Apply 2 coats of sealer to stained plywood. This is super important since it’s a vanity and will be exposed to water. I chose a Fast-Dry Polyurethane. Let Dry.
Step 12) Lay out sink template so you know where to cut your hole. This is included in the box with the bowl.
Step 13) Attach a 1″ x 2″ board to each side of the dresser just above the second drawer. This will hold our stained shelf. Hint: I painted the 1″ x 2″ boards at the same time I painted the dresser and in the same color.

Step 13) Using a drill and a 1″ Forstner bit, drill through the plywood top in 4 places. Measure twice for accuracy.

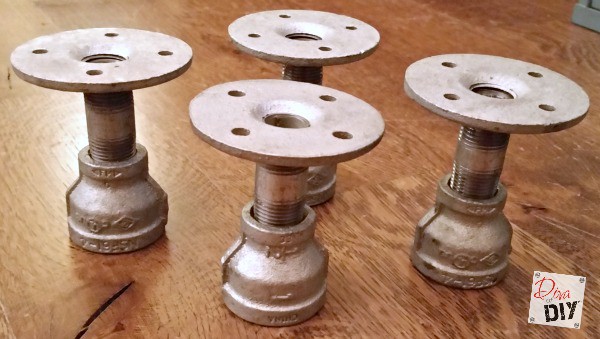
To assemble the hardware holding the top, screw the 2″ nipple into the 1/2″ wall flange. Next is the coupler. Then the 1 1/2″ nipple. Finish off with a cap.
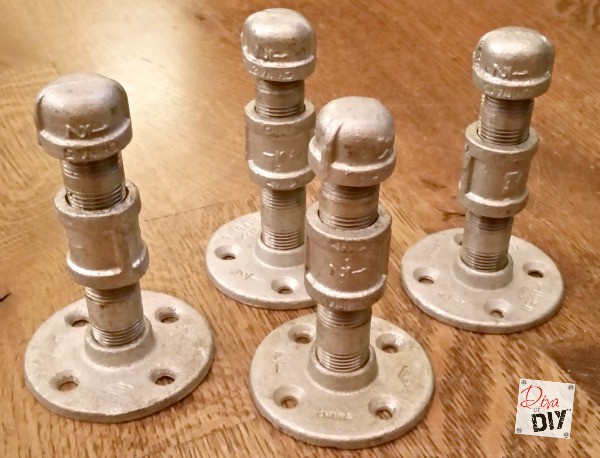
This is what they will look like assembled. Remove the cap…you will put this on last.
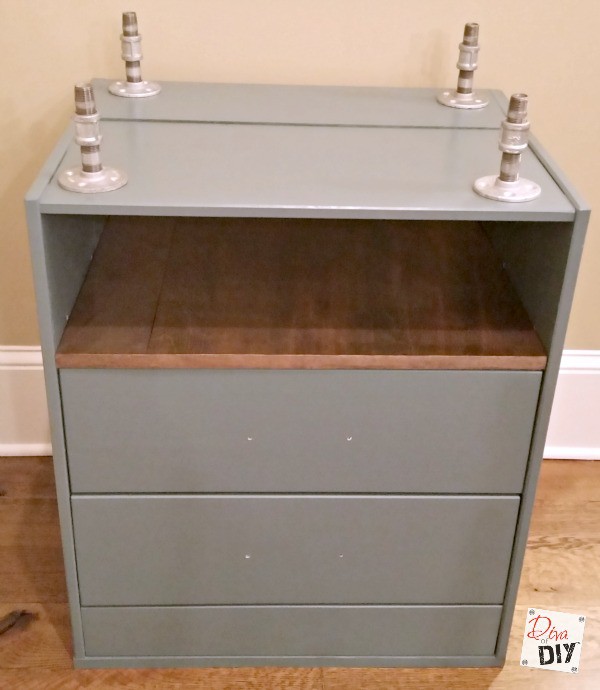
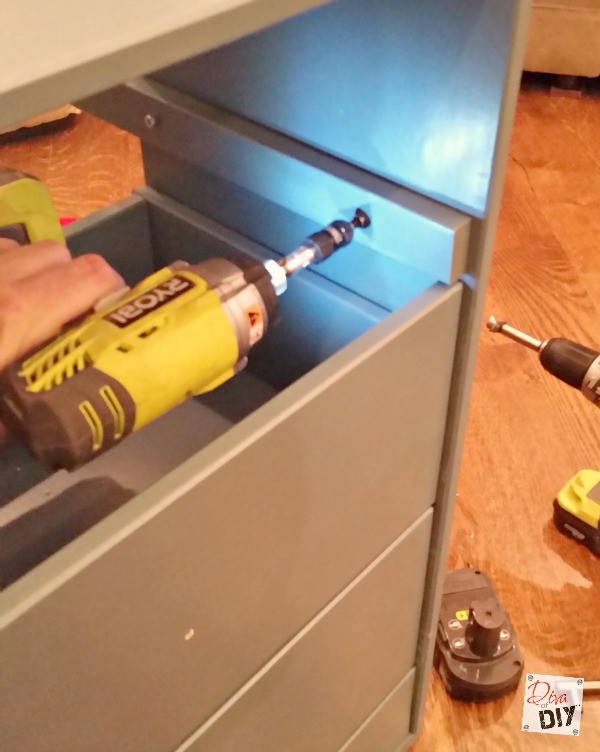
Step 14) Set the hardware you built on to the top of the dresser. Screw in place.
Step 15) Set the top plywood piece on top of the 4 pieces of hardware. Screw on the cap to hold in place.
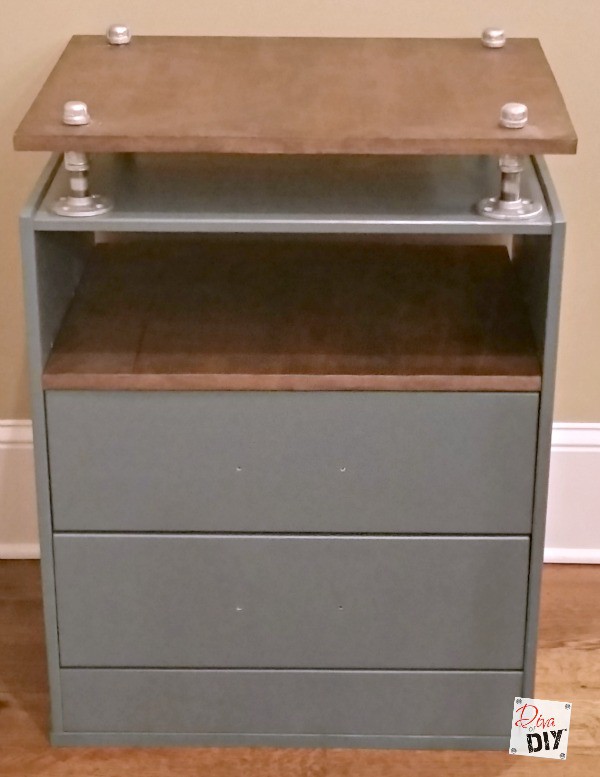
We are almost finished…time for the feet.
To make the feet, screw the 2″ nipple into the 1/2″ wall flange. Screw the reducing coupler to the other end of the nipple.
Aren’t they cute? and they will look great underneath my new furniture vanity.
Step 16) Attach the legs to the bottom using wood screws.
Diva Tip: After attach the legs this way, I would definitely put the legs on before you put the top on.
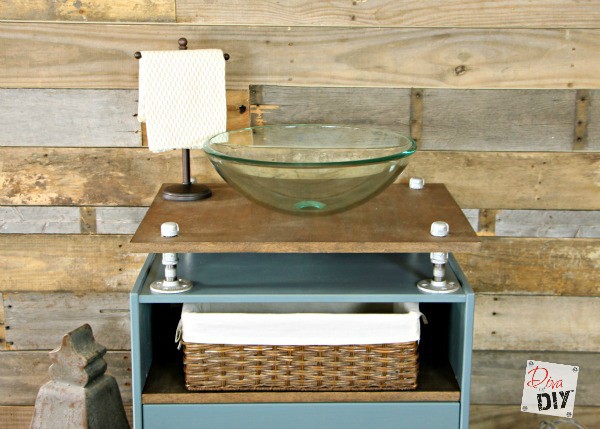
Step 17) Attach your vessel sink. I have not attached mine yet because it will be installed at the lake house towards the end of the remodel.
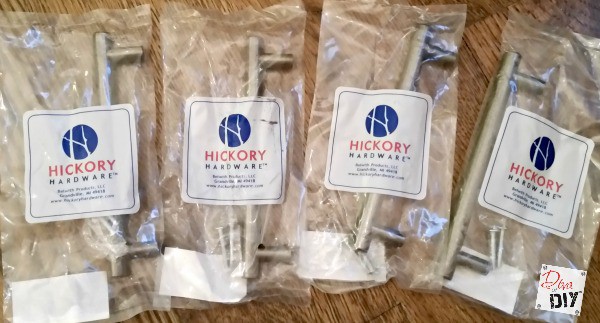
Step 18) Attach the hardware. This is my favorite part of the project. It’s like pairing the perfect jewelry with the perfect outfit. I chose 5″ galvanized steel pulls from Hickory Hardware and they are perfect!
Check back in a couple of months for pics of this beauty in its new house!
Each and everyone of you inspire me and I LOVE to see the work that you’ve created. Feel free to share with me on Instagram, Twitter or Facebook. And as always, be sure to follow Diva Of DIY on Pinterest and sign up for our FREE Newsletter to receive the latest projects delivered straight to your inbox!
If you like this project be sure to check out these similar projects: