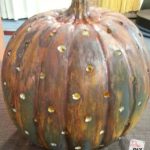
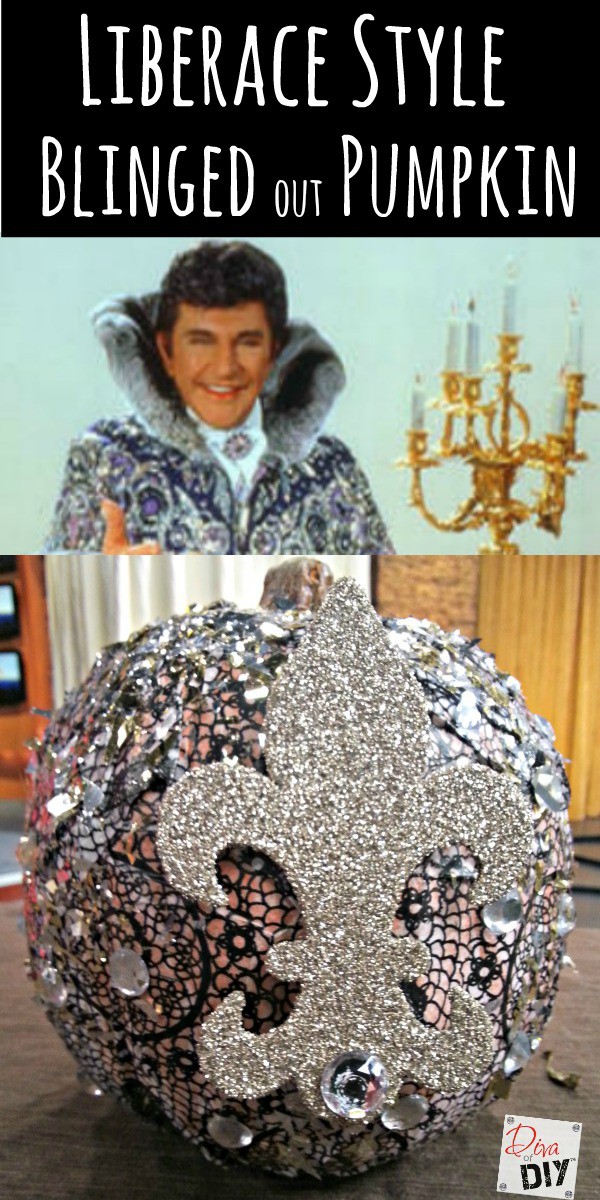
I love glitter, glam and all things with bling so when I saw the “Liberace” Pumpkin tutorial at Bead&Cord.com, I felt compelled to take the idea and run with it. I mean seriously…how can anything associated with “Liberace” be anything but glam-fabulous? So I grabbed a no carve pumpkin and got to work!

After glancing at hundreds of Liberace’s fabulous outfits, I found the perfect one…the inspiration for my “Liberace” pumpkin
This post contains affiliate links. If you buy something from clicking one of my links, I will get a commission from the sale. It will not cost you a penny more and allows me to keep sharing my ideas with you for free. You can see my full disclosure here. Thank you for supporting my blog!
No Carve Pumpkin Supplies needed:
- Foam Pumpkin
- Patterned Tissue Paper
or thin patterned wrapping paper (torn in sections)
- Mod Podge
- Foam Brush
or cheap brush to apply Mod Podge
- E6000 Spray Adhesive
(Did you know they had a spray?)
- E6000 Adhesive
- Embellishments
– sequins..glitter..rhinestones…


No Carve Pumpkin Instructions:

Step 1) Tear your tissue paper
Step 2) Using a foam brush

Step 3) While Mod Podge
Step 4) Continue to repeat steps until the entire pumpkin is covered.
Step 5) When the entire pumpkin is covered, re-coat pumpkin with one last layer of Mod Podge
Now…this is where you get to add your own personality to your no carve pumpkin…BLING IT OUT!
For those of you who follow my segments on Kansas City Live, you know I LOVE E6000

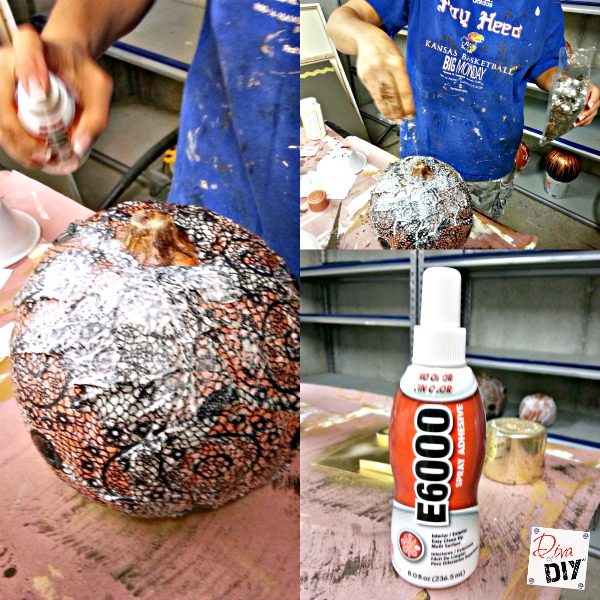
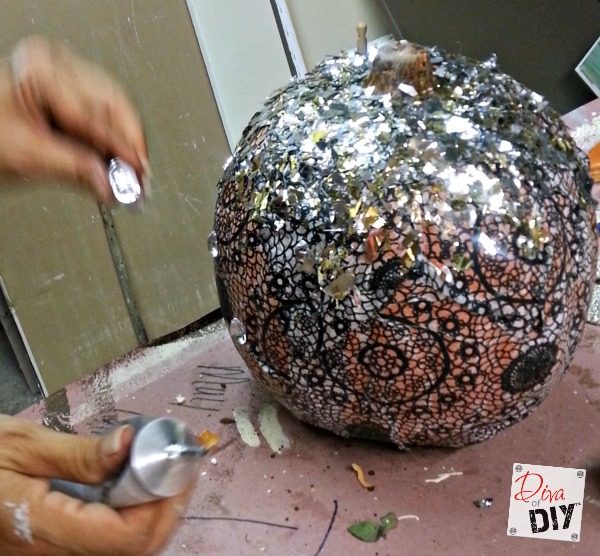
Step 6) Spray sections of E6000 Spray 
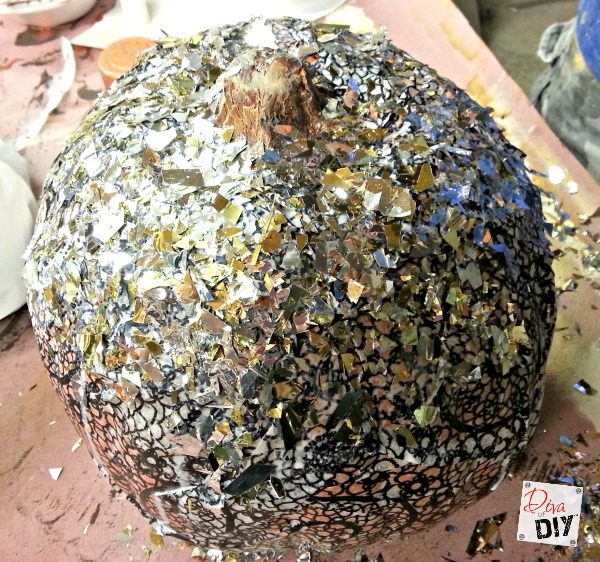
Step 7) Sprinkle with glitter
Step 8) Continue to layer sequins


Step 9) Using regular E6000 adhesive

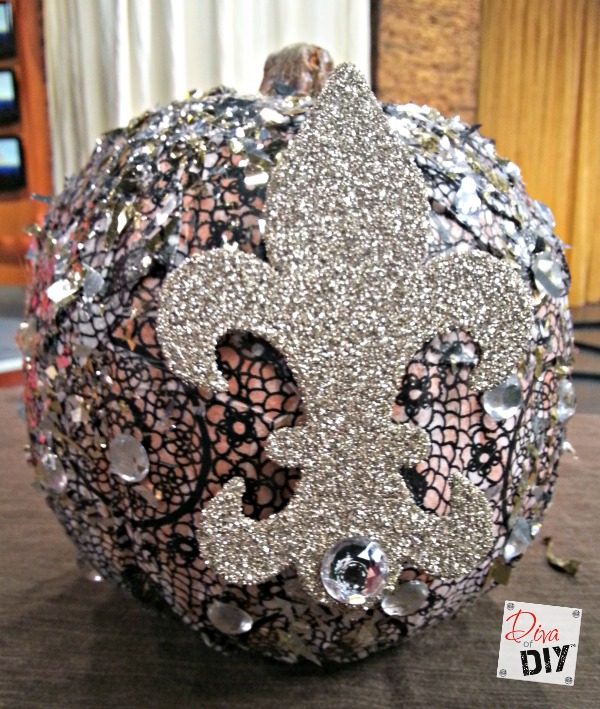
Step 10) For a cherry on the top, I attached this silver-glittered fleur de lis that I picked up in the dollar bin at Michaels Arts and Crafts store.
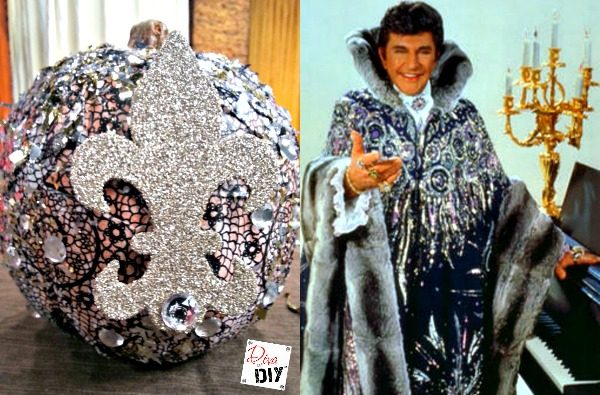
And here is my take on a Liberace pumpkin! What do you think?
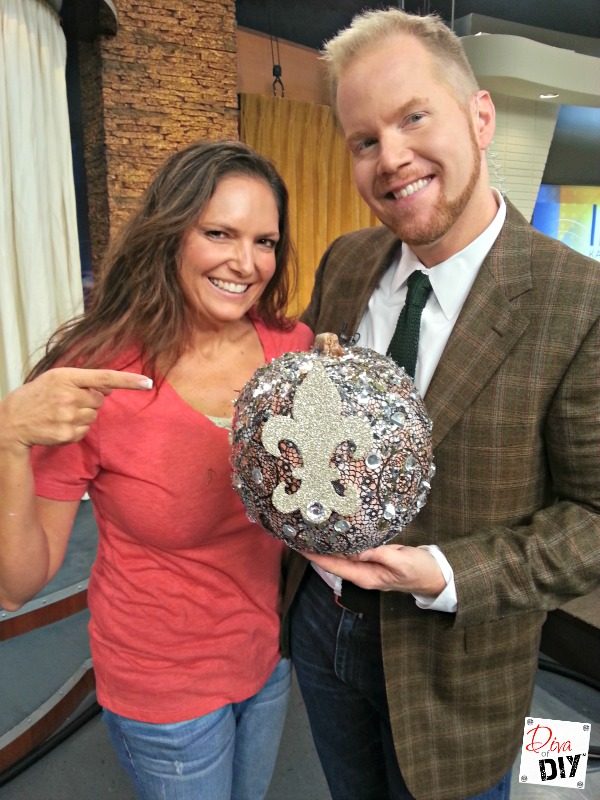
I gave my no carve Liberace pumpkin to my friend, Michael Mackie, on the set of Kansas City Live. He absolutely loved it!
Each and everyone of you inspire me and I LOVE to see the work that you’ve created. Feel free to share with me on Instagram, Twitter or Facebook. And as always, be sure to follow Diva Of DIY on Pinterest and sign up for our FREE Newsletter to receive the latest projects delivered straight to your inbox!
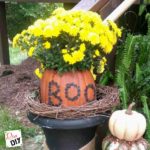
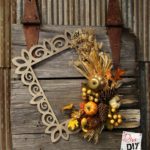
Looking for more Halloween and Fall inspirations? Check out these: