Welcome to the “Fab Furniture Flippin Contest” Sponsored By “Overlay’s” ! I’m excited to share my contest entry, a vintage furniture makeover. The theme for this month’s contest is “cut n paste with O’verlays”.
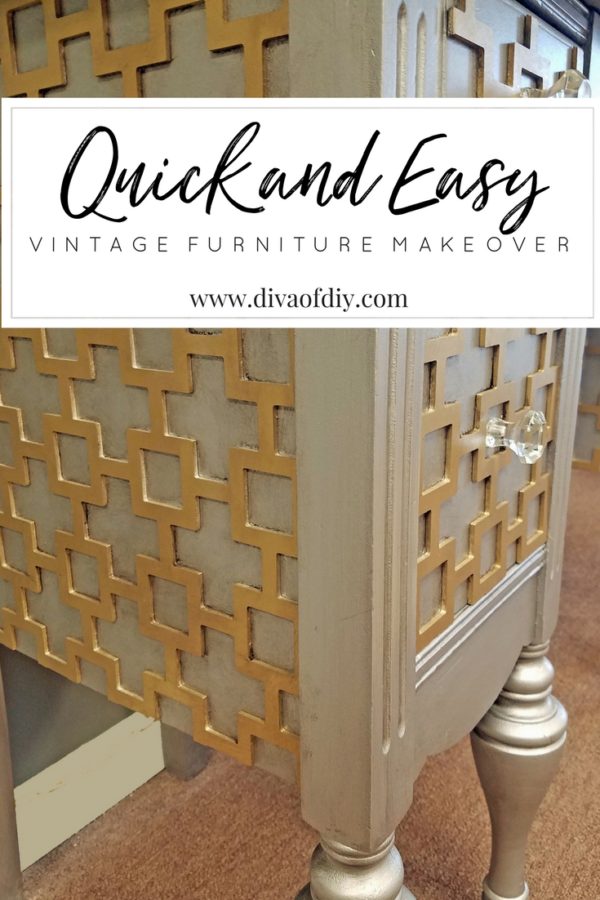
One of my favorite places to shop for furniture is garage sales. It is amazing what someone will practically give away because of a few imperfections. I picked up this piece of vintage furniture for $10 and transformed it to fit perfectly in our home.
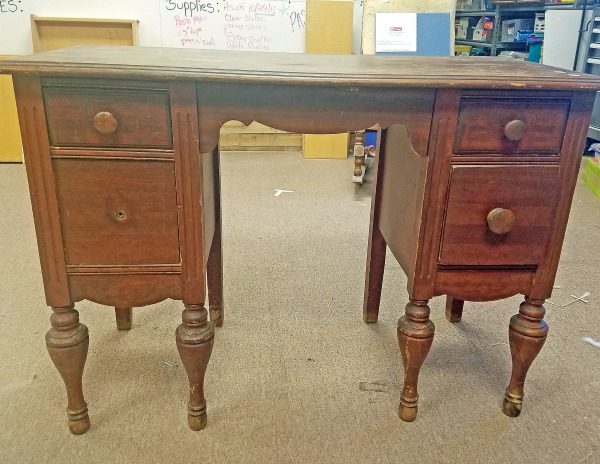
I spotted this desk on the driveway of the sale before I had even parked my truck. I immediately fell in love the curves of the piece and knew that I could give it a second chance in my home. It was missing one cabinet knob but hey let’s be real…I knew I would be replacing those anyway.
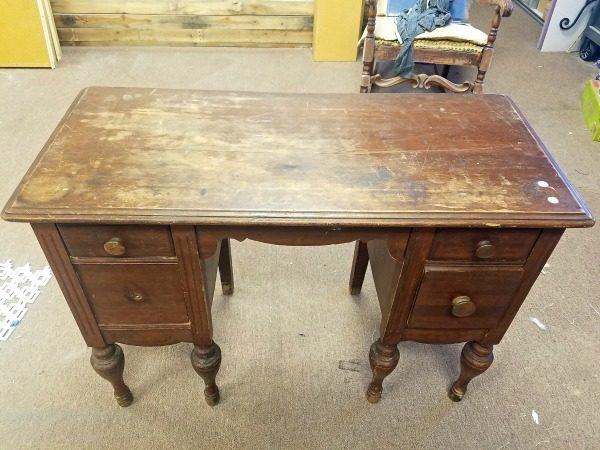
When I shop for used furniture, I look at the overall condition of the piece and check for broken legs, peeling veneer and failing drawers. The top of this piece was in pretty bad shape from years of neglect but I knew I was going to paint it so that wasn’t as issue for me.
Before I start this tutorial, I want to introduce you to an innovative company, O’verlays, that makes reinventing furniture super easy. O’verlays are decorative fretwork panels that come in all shapes and sizes which make it easy to customize your new, used and outdated furniture. Check out their site at myoverlays.com for patterns and inspiration.
Tutorial for my Vintage Furniture Makeover: Preparing The O’verlays
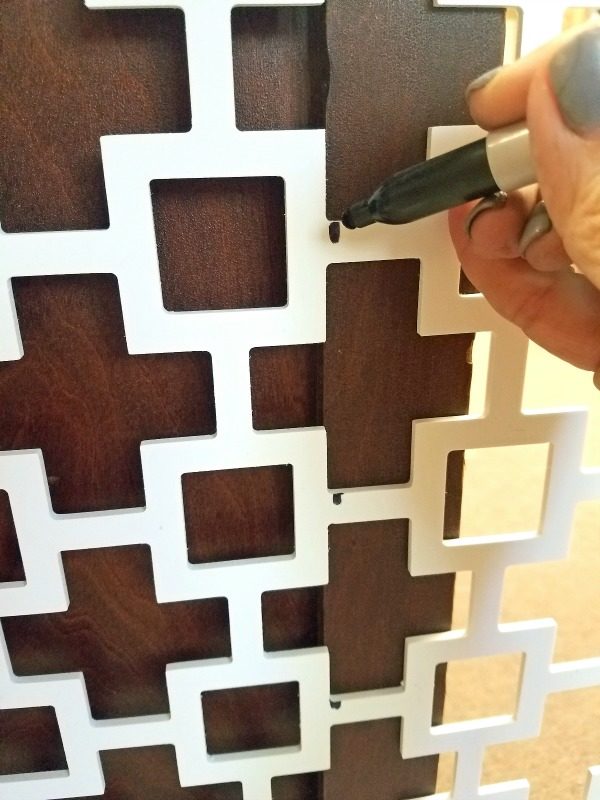
I chose 2 of the Harper mini pattern in a 24″ x 36″ size for my vintage furniture makeover because I knew it would give this old desk a modern feel. To fit the panel for your piece of furniture simply measure, mark and cut.
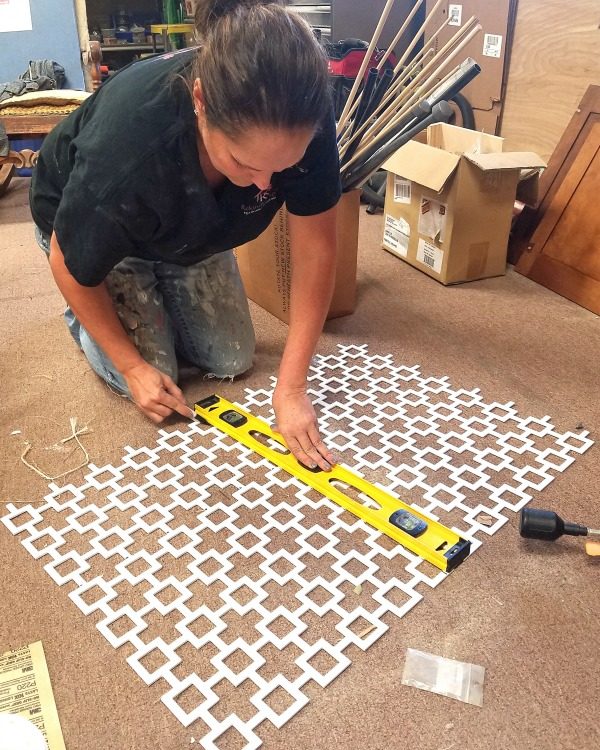
I used a straight edge to ensure a straight line.
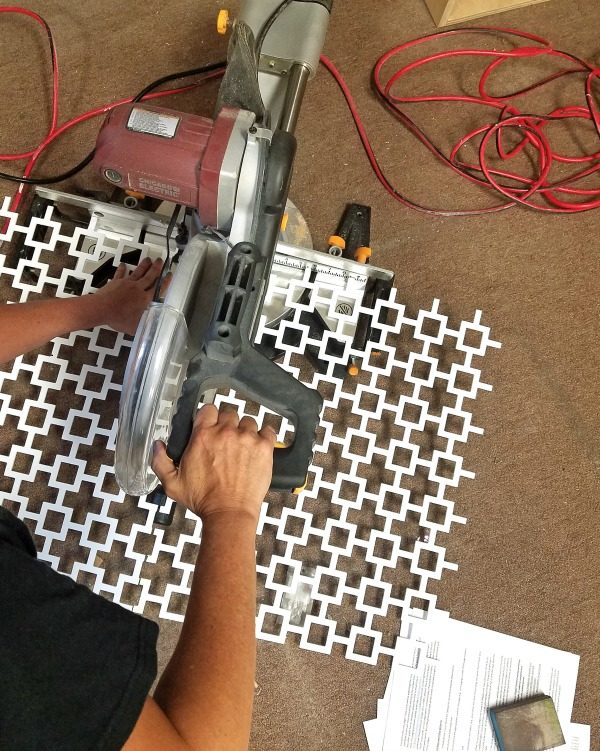
I opted to use my mitre saw to cut the big panels. A saw is not necessary for this step. You can easily score the surface with an exacto knife or cut with a pair of tin snips.
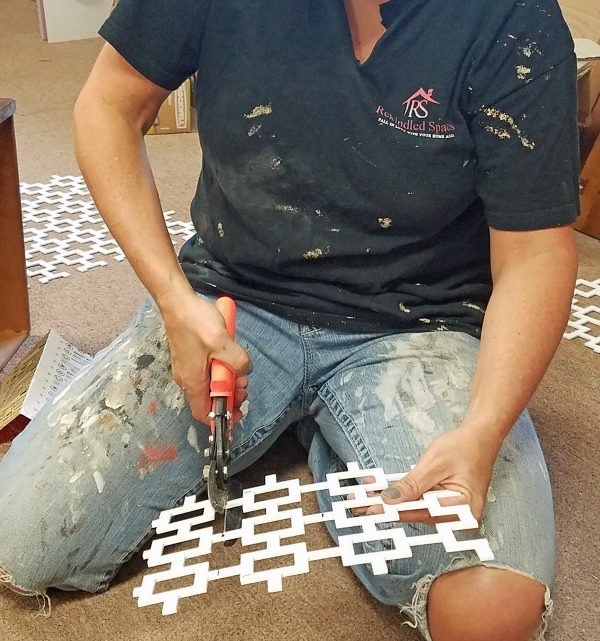
I used my tin snips for the drawer fronts because it required very little cutting.
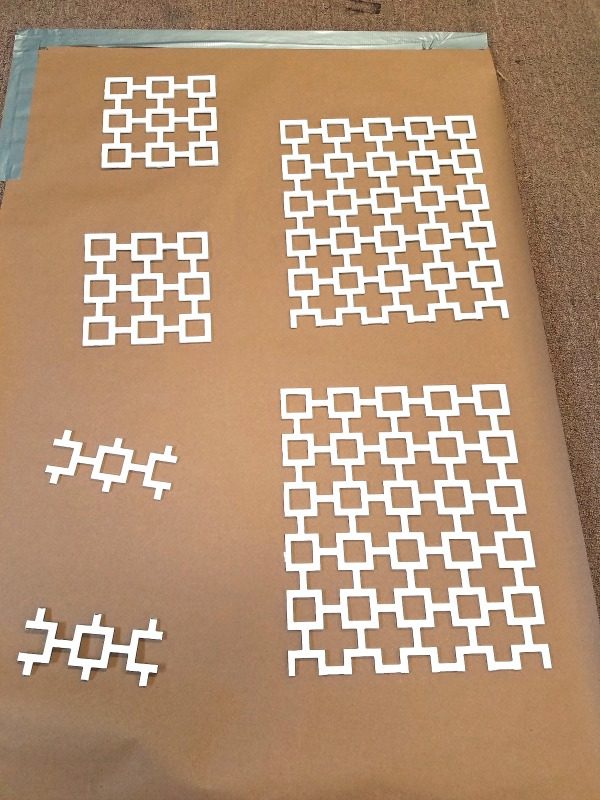
Once I had all of my pieces cut, I layed them out on a piece of builder paper.
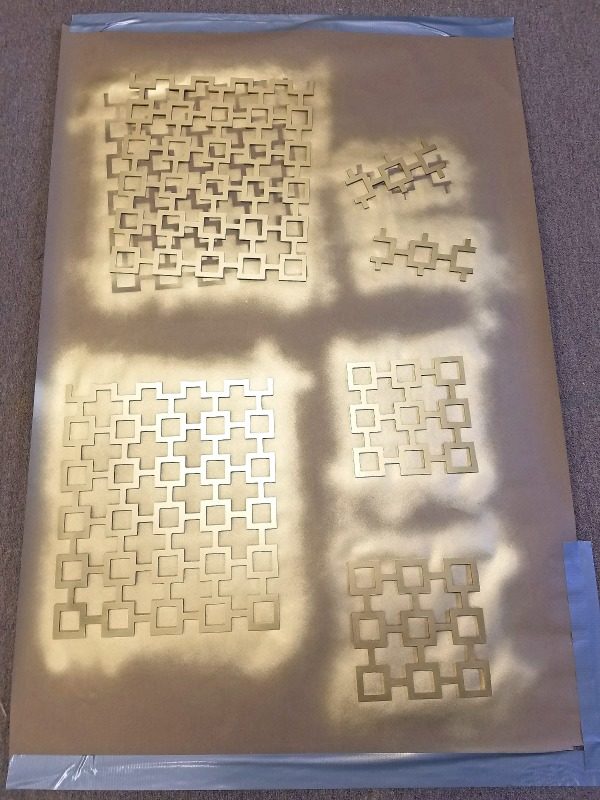
I sprayed all of my pieces in Rustoleum Metallic Gold and let them dry for several hours while I worked on the body of my desk.
Tutorial for my Vintage Furniture Makeover: Painting The Desk
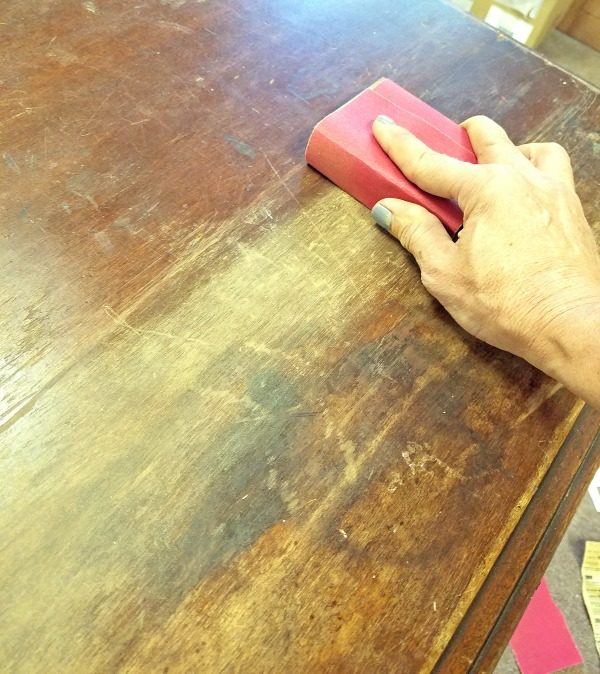
Call me old school but I sand every piece of furniture I stain or paint. This ensures that the surface is etched and will accept the next layer I add to it. To see all of my tips for prepping furniture for paint or stain, click here.
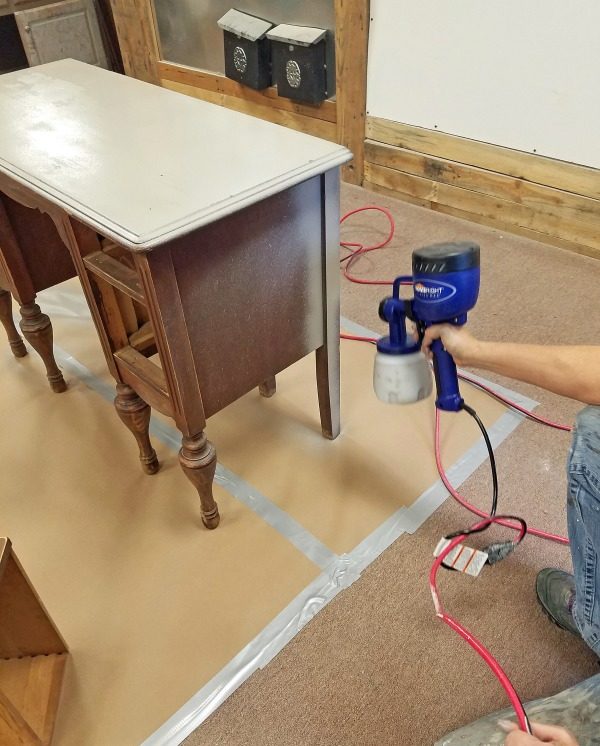
Once the piece has been properly prepped, it’s time for paint. I am using Sherwin Williams Pro-Classic semi-gloss latex enamel in Dovetail Gray as my primer/basecoat for my next layer which is metallic. I applied it with Homeright Finish Max but you could brush and roll it if you needed to.
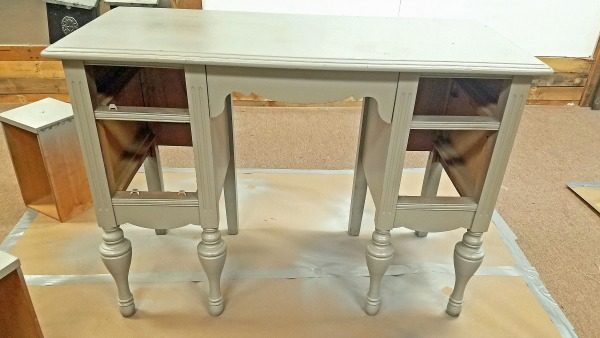
Here is the desk painted Dovetail Gray. I love the color so I contemplated leaving it and simply adding the Overlay panels but…
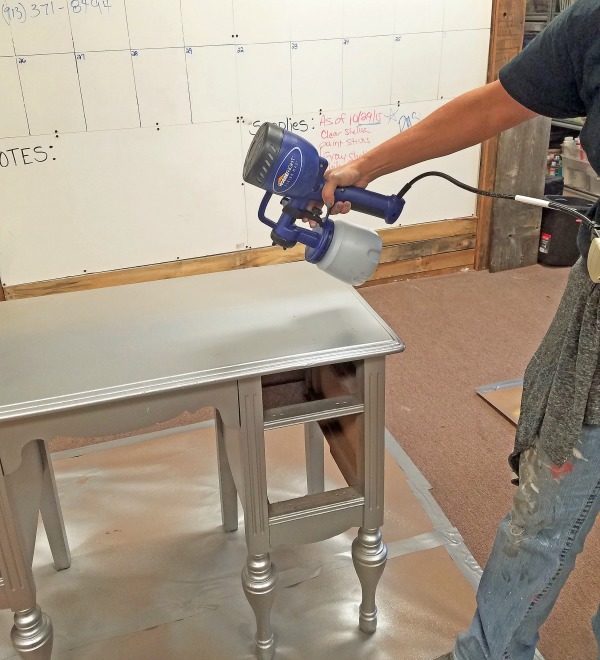
You should all know better by now. LOL For those of you who are visiting my blog for the first time…I am a professional cabinet and furniture finisher by trade so I add multiple layers to my pieces…it’s what I do!
Once my Dovetail Gray layered had completely dried, I sprayed on a coat of Modern Masters Metallic Paint in Opaque Silver…yummy!
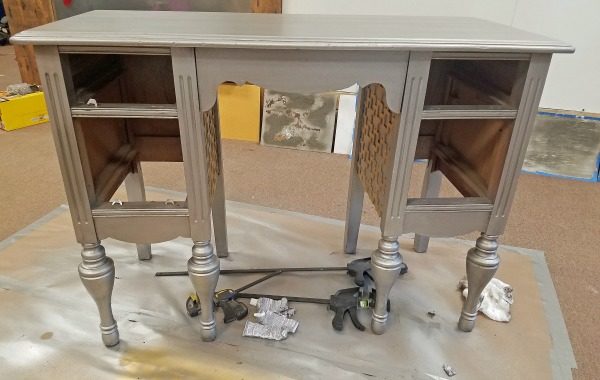
That’s better. Now that the piece is silver, I begin gluing on my gold O’verlays. I love mixing metals on my furniture pieces.
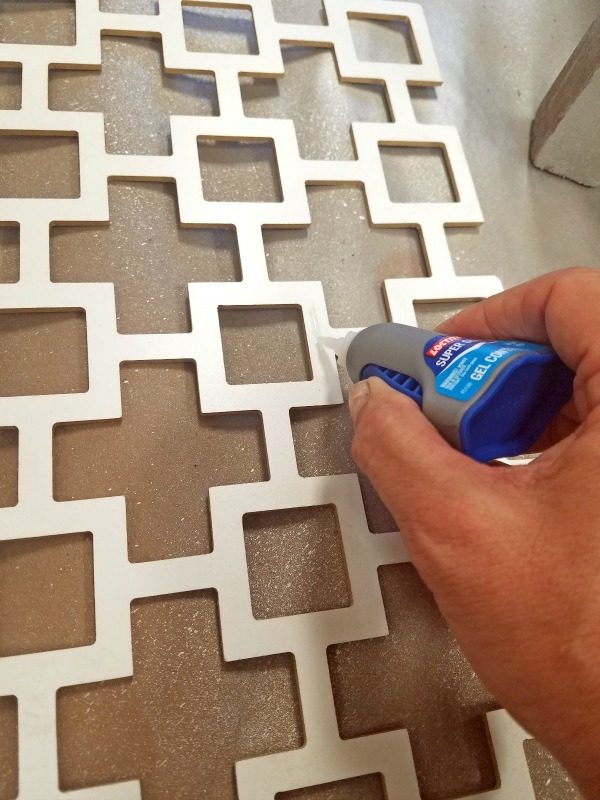
To adhere the panels to my vintage furniture piece, simply super glue them on. I used Loctite super glue and it worked like a charm.
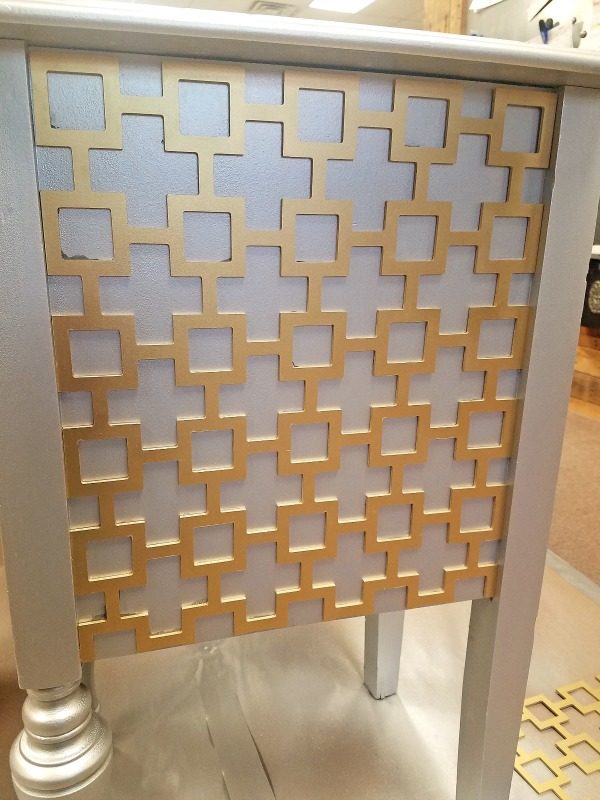
Here is what the panel looks like glued to the side of my desk. Crazy awesome right?
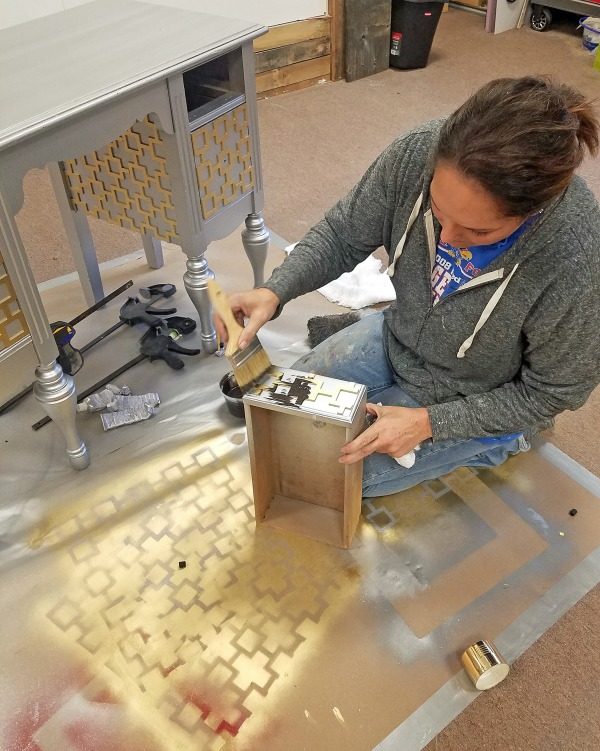
To finish off the piece, I glazed it with a Van Dyke glaze to age the metals a bit. To do this, simply brush on your glaze…
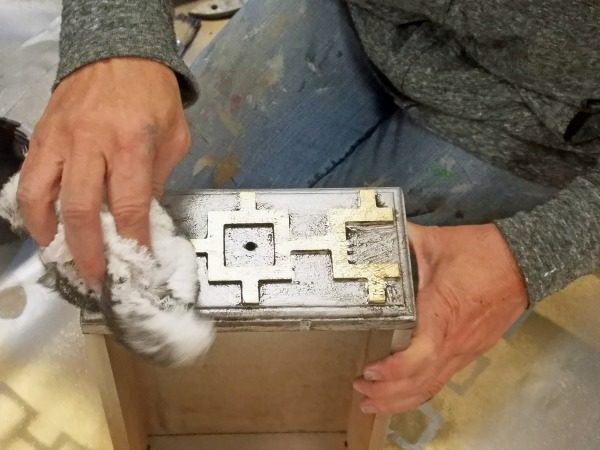
and wipe off with cheesecloth until you get the look you are going for. Once that dries, spray on a topcoat and you are finished. I added 4 crystal knobs and voila!
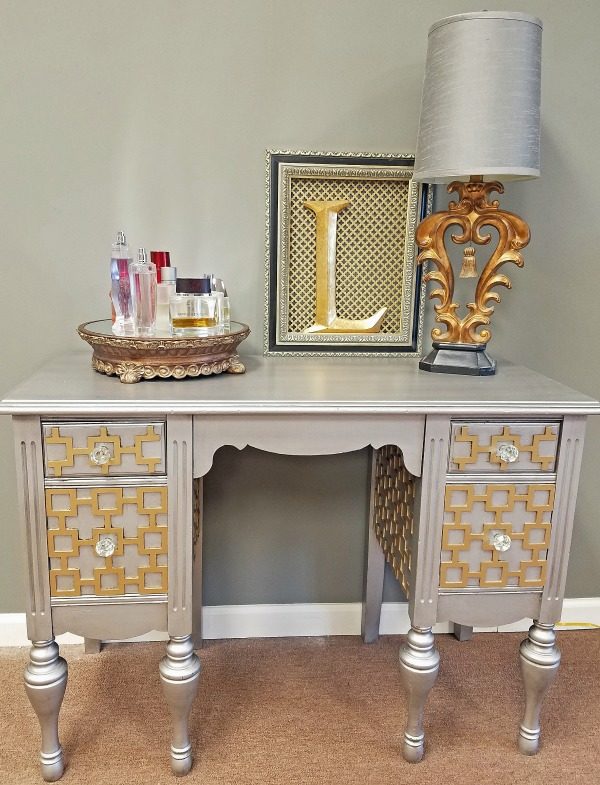
Isn’t it gorgeous? It doesn’t even look like it is the same piece of furniture. I am so pleased with how it turned out and I can’t believe how easy it was. O’verlays are seriously “The Bomb” and I will definitely be ordering more in the future.
Each and every one of you inspire me and I LOVE to see the work that you’ve created. Feel free to share with me on Instagram, Twitter or Facebook. And as always, be sure to follow Diva Of DIY on Pinterest and sign up for our FREE Newsletter to receive the latest projects delivered straight to your inbox!

Be sure to head on over to the link-up of other furniture makeovers completed by my blogging friends this month all using O’verlays! If you’re a blogger and are interested in joining the Fab Furniture Flippin’ Contest, contact [email protected] to sign up
