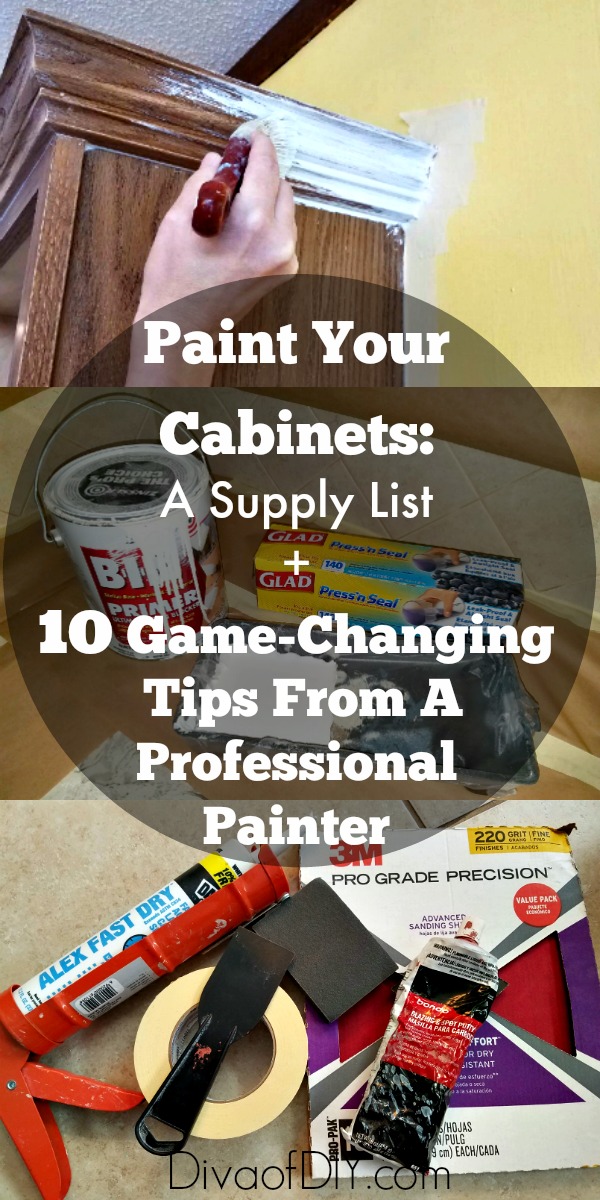
Having all of the supplies you need when you start a project is key to knocking the project out like a pro. When painting cabinets, you will not only need supplies to properly prepare the surface before you paint but you will also need good quality tools to apply your finish coats. The supplies don’t have to cost you a fortune if you know the simple “tricks of the trade” that professional painters like me have learned over the years.
This post contains affiliate links. If you buy something from clicking one of my links, I will get a commission from the sale. It will not cost you a penny more and allows me to keep sharing my ideas with you for free. You can see my full disclosure here. Thank you for supporting my blog!
Supplies needed when painting cabinets:
- 220-grit sandpaper sheets
(I buy these for my crew)
- Medium-grit sanding block
- Caulk
(This is what we use…make sure it’s paintable)
- Caulk Gun
- Bondo
(This is a game-changer)
- Krud Kutter
(I use this formula)
- Terrycloth rags
- Painter’s Tape
- Drill
or Screwdriver
- ShopVac
- Brush Attachment
(this is a life-saver)
- Scissors
- Primer
(This is the only product I will use before painting)
- Good Quality Paint (See Below)
- Paintbrush
- Mohair Mini Rollers
- Mini-Koter Roller Cage
- Mini Paint Tray
- Press & Seal
- Buffing Pads
- Paint Pyramids
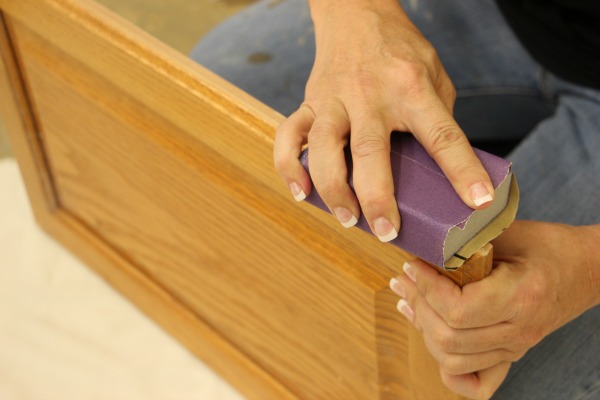
Tip 1) Sanding blocks can get expensive. To save money, I like to buy the full sandpaper sheets and cut them into thirds with scissors. Then, instead of buying a bunch of sanding blocks, I wrap my cut sandpaper around the worn out sanding block.
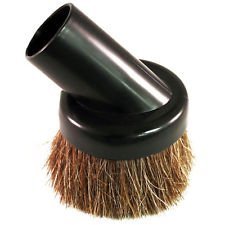
Tip 2) I always use a ShopVac to clean up the initial dust from sanding. This soft-bristled brush attachment is a game-changer.
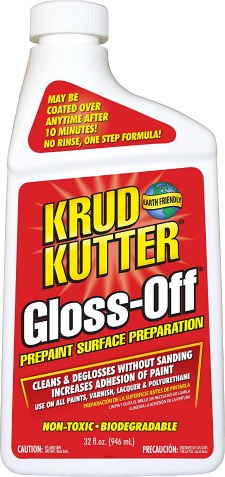
Tip 3) Krud Kutter is a great time-saver. This special formula will clean and degloss in one step! Now, the bottle says without sanding but trust me on this…ALWAYS SAND!
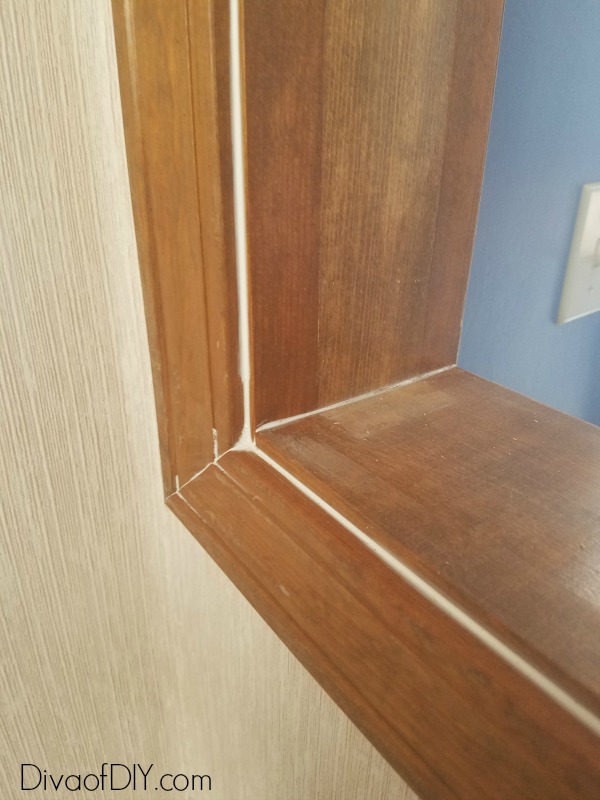
Tip 4) When painting cabinets, you will most likely need to caulk the seams and corners. See, when a cabinet is stained, you don’t see the gaps and seams but…when you paint it, all of those imperfections will surface. My tip is to follow my step by step tutorial for prepping a cabinet, then caulk all of the areas that have gaps. You can always apply one coat of primer
before you caulk so you can see exactly what will show up after painting.
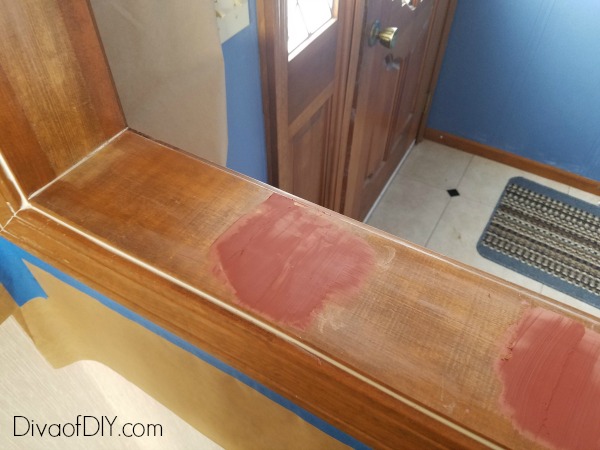
Tip 5) Using Bondo will make the difference between an amateur-looking finish and professional-looking finish. It is used to smooth out deep scratches, dents and imperfections. Again, if you are having a problem seeing the imperfections, apply a coat of primer first then you will be able to see the areas that need special attention.
Now…for my next 5 tips and my picks for paint to use on cabinets…
