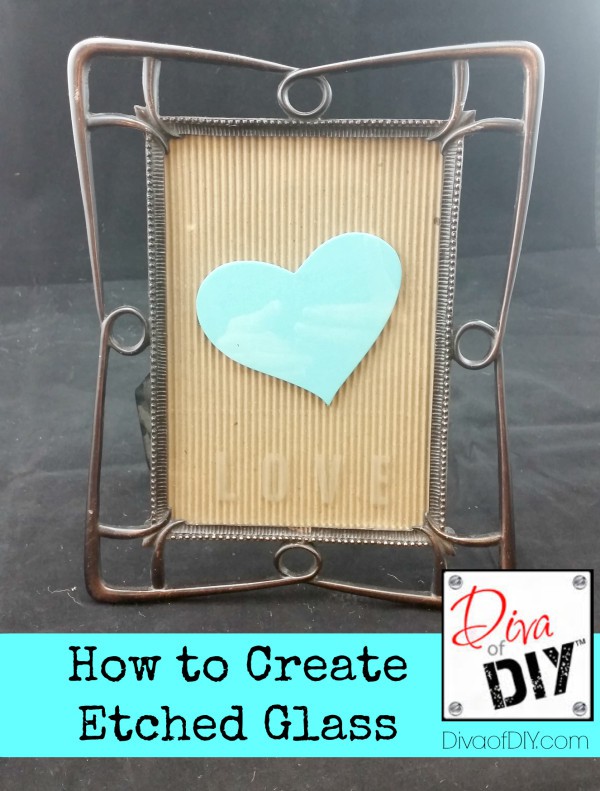
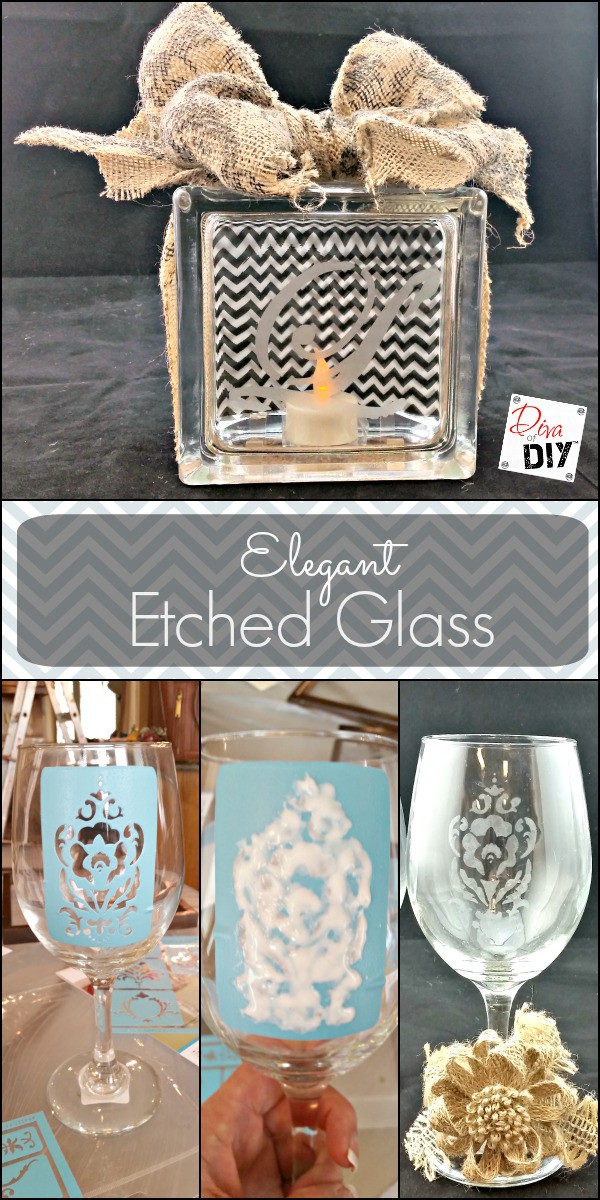
Have you always loved the look of etched glass? Ever thought to etch glass yourself from home? It’s really pretty easy to do! When you etch glass pieces yourself you can personalize your pieces at a fraction of the cost of special order it.
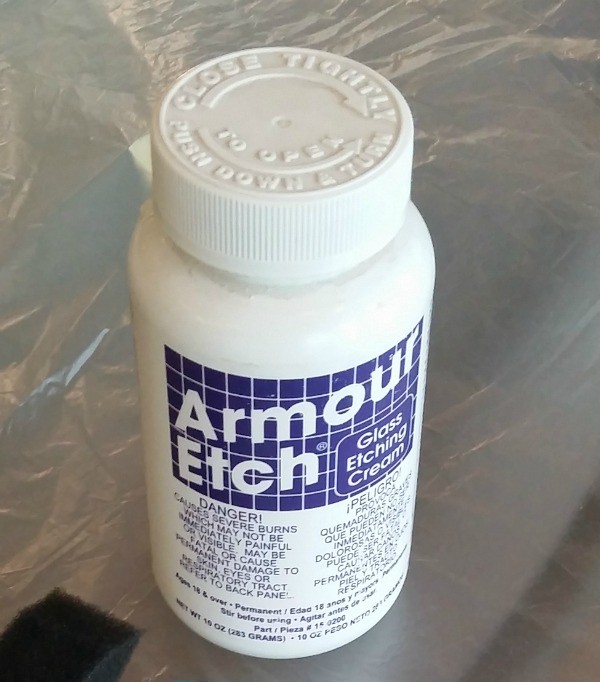
The trick is Armour Etch Cream, 22-Ounce…
This post contains affiliate links
Etch Glass Supplies
Piece of glass to etch
Foam Brush
Armour Etch Cream, 22-Ounce
Tape and/or Stencil Ease Repositionable Stencil Adhesive Spray – 4.4 oz. can
Armour Etch Over N Over Stencil, Full Alphabet or Design to Etch into the Glass – You can use specially made stencils that are sticky on the back or regular stencils
Etch Glass Instructions
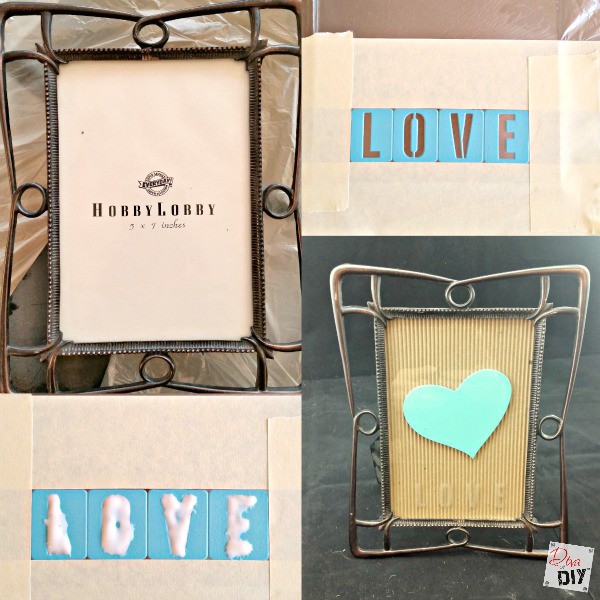
Step 1) Make sure the glass is clean and dry.
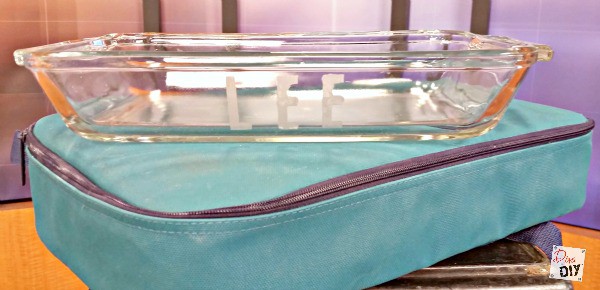
Step 2) Place your lettering or design onto the glass where you’d like for your pattern or lettering to be. If you are using stencils with a sticky back just make sure stencil is smoothly sealed down. If the stencil is not sticky you can spray it with stencil adhesive. I do this with my casserole dishes so you can read our name through the glass from the top! Or tape your stencil down with frog tape. You can also tape designs on the glass with the frog tape for designs.
Step 3) Place a half dollar sized amount of Armour Etch Cream, 22-Ounce onto a paper plate, scrap piece of wood, etc.
Step 4) Using your foam brush dap it into the armour etch and dap into your design that will be etched into the glass. The more Armour Etch that you use the darker your etch will appear. So if you want a light etch do a light coat.
Step 5) Let dry.
Step 6) Remove your stencil and frog tape if used! Stand back and admire your work!
My favorite glass to etch is my casserole dishes I take to pot lucks!
That was pretty easy, right?!? I’d love to see the projects that you did using this How to Etch Glass tutorial.
You all inspire me and I LOVE to see the work that you’ve created. Feel free to share with me on Instagram, Twitter or Facebook.
If you like this project, check out these: