
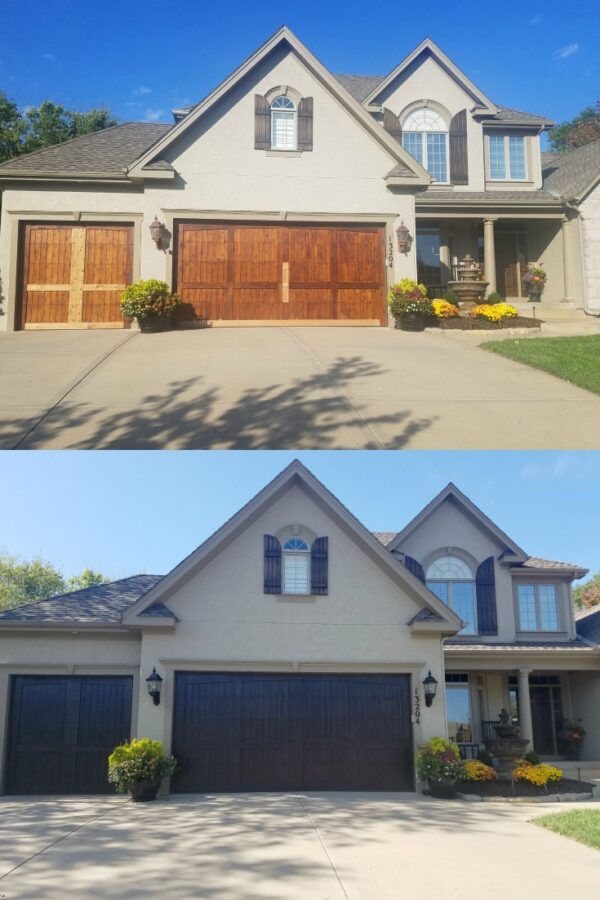
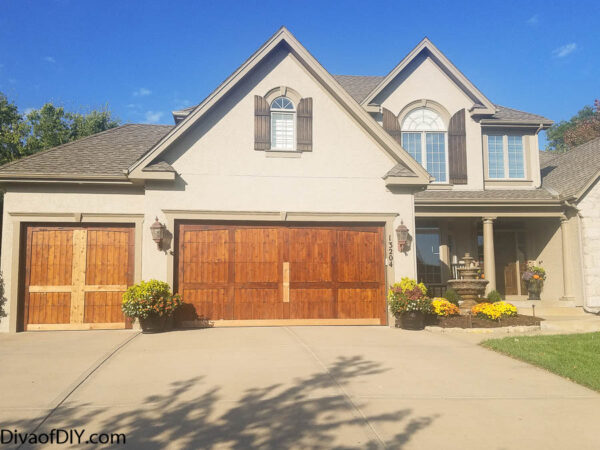
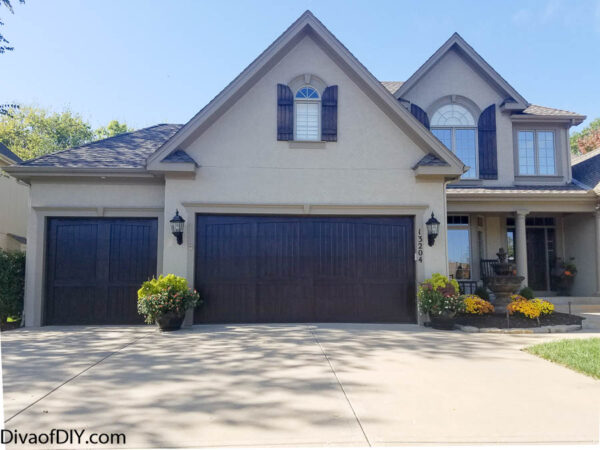
This is somewhat of a horror story: These homeowners hired a company to install new wood garage doors for their home. Staining and finishing the garage doors were included in the price. The homeowners selected a wood stain that matched their shutters and front door. Umm…EPIC FAIL! This is what the homeowners came home to. Needless to say, they were mortified. Clearly, the color isn’t even close!
The next call was to my company, Rekindled Spaces to see if we could fix it.
Sidenote: The lighter boards you see were boards that were replaced the day before we started because they cracked and split.
I have provided affiliate links for your shopping convenience. If you buy something from clicking one of my links, I will get a commission from the sale. It will not cost you a penny more and allows me to keep sharing my ideas with you for free. You can see my full disclosure here. Thank you for supporting my blog!
The tone of the stain the previous painters used on the doors was too orange to ever match their shutters and door, so we had to start from scratch.
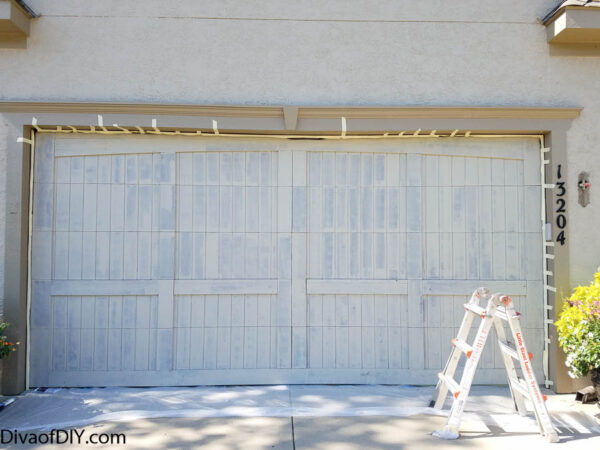
Because the doors were previously stained and sealed, we sanded the doors with 220-grit sandpaper and primed them with an oil primer made for wood. We let that dry overnight.
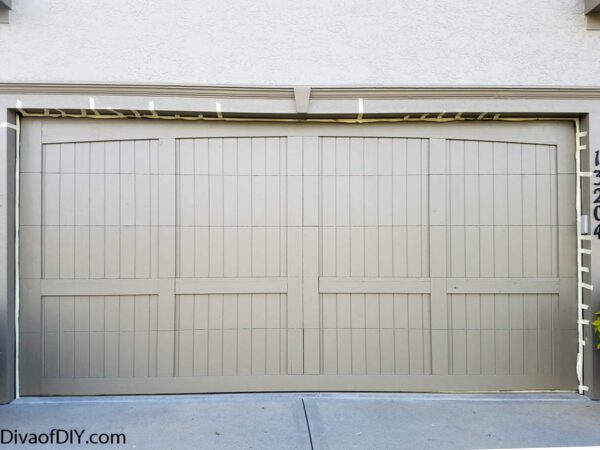
Applied 2 coats of Sherwin Williams Exterior Super Paint in the color Quiver Tan. Let dry overnight.
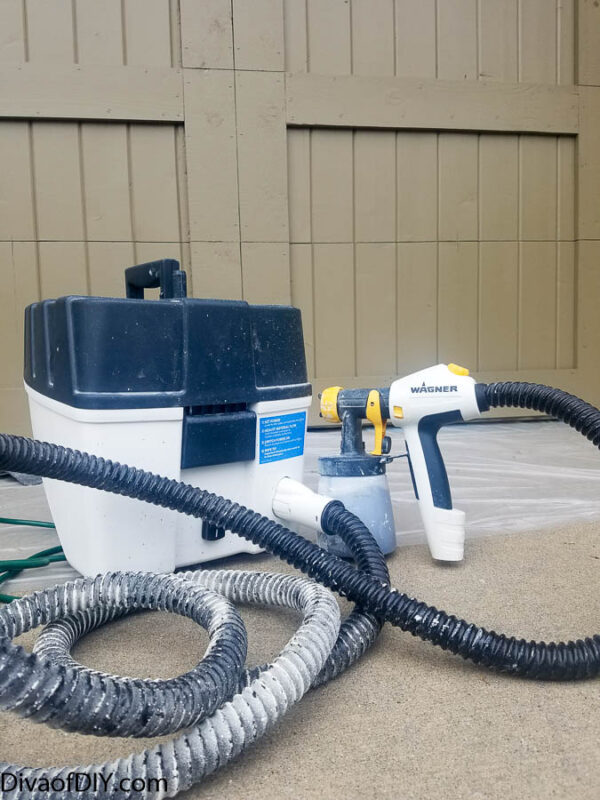
Here is my trick for creating a quick, even stained finish on garage doors…The Wagner Studio Pro Paint Sprayer.
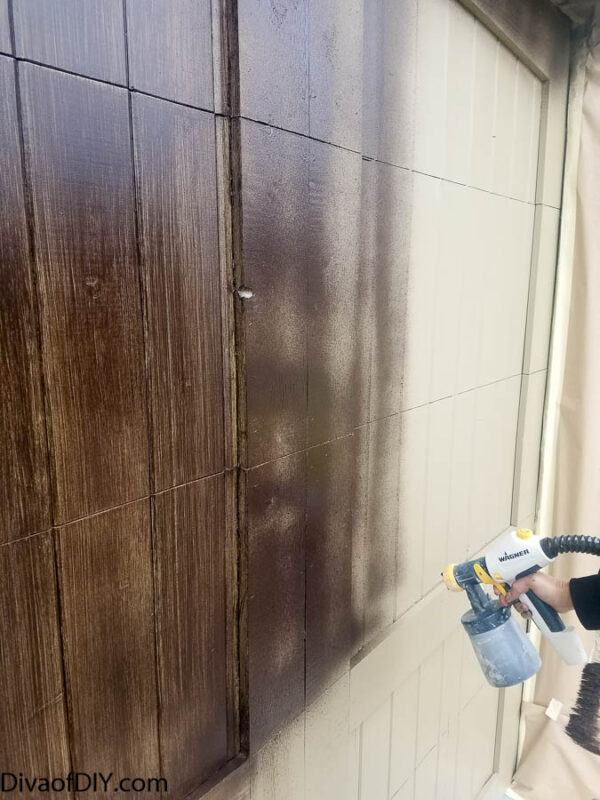
Load the desired stain color in the sprayer. I used Van Dyke Stain & Seal from Faux Effects. You can use any gel stain in any color for this.
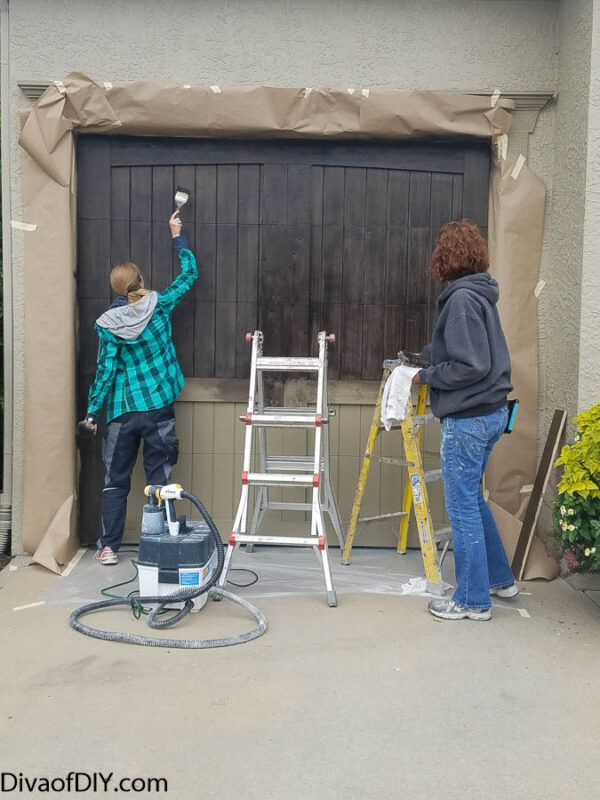
Once we applied the stain, we took a 3-4″ chip brush and smoothed out the finish. Let dry overnight.

We finished the doors with a UV protective sealer. This is my favorite sealer for interior and exterior finishes.
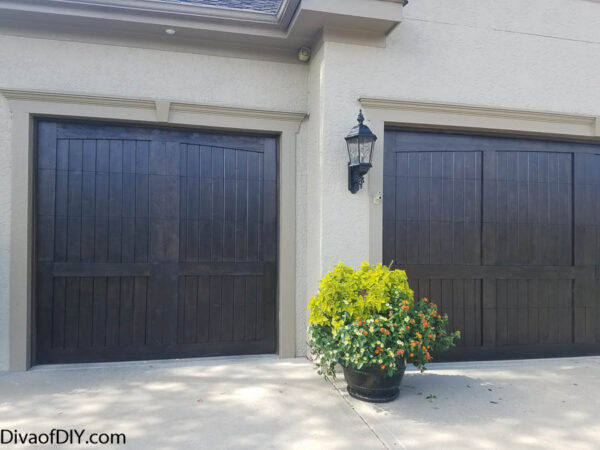
We also refinished her outdoor light fixtures. See how easy this project was here.
This was a pretty big project, but if you’re looking for small ways to make a big impact in your curb appeal, you can easily do that by upgrading things like light fixtures, house numbers, and garage door hardware. Here are a few options.
Each and every one of you inspire me and I LOVE to see the work that you’ve created. Feel free to share with me on Instagram, Twitter or Facebook. And as always, be sure to follow Diva Of DIY on Pinterest and sign up for our FREE Newsletter to receive the latest projects delivered straight to your inbox!